How to Use Tilt Sensor Mercury : Examples, Pinouts, and Specs

Introduction
The Tilt Sensor Mercury is an electronic component designed to detect changes in orientation or angle. It operates by utilizing a small amount of mercury inside a sealed tube, which completes or breaks an electrical circuit depending on the sensor's tilt. This makes it highly reliable for detecting angular changes or level positioning.
Common applications for the Tilt Sensor Mercury include:
- Level sensing in industrial equipment
- Position detection in robotics
- Safety mechanisms in devices that require orientation monitoring
- Motion detection in alarm systems
Explore Projects Built with Tilt Sensor Mercury
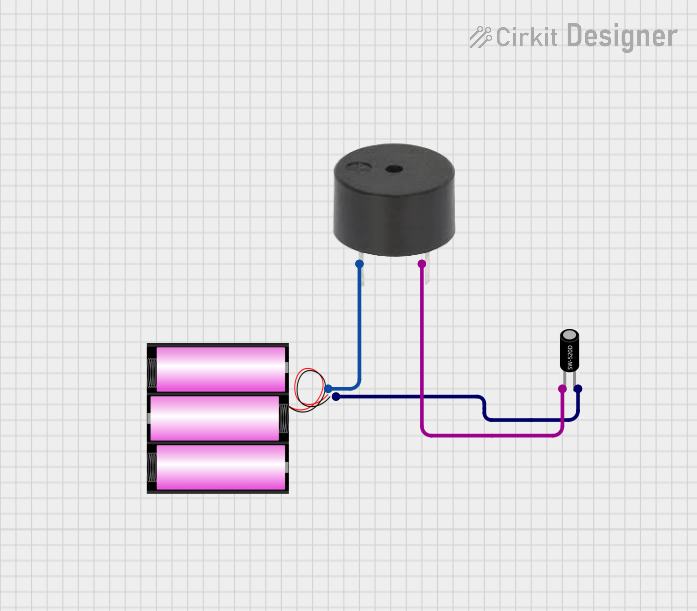
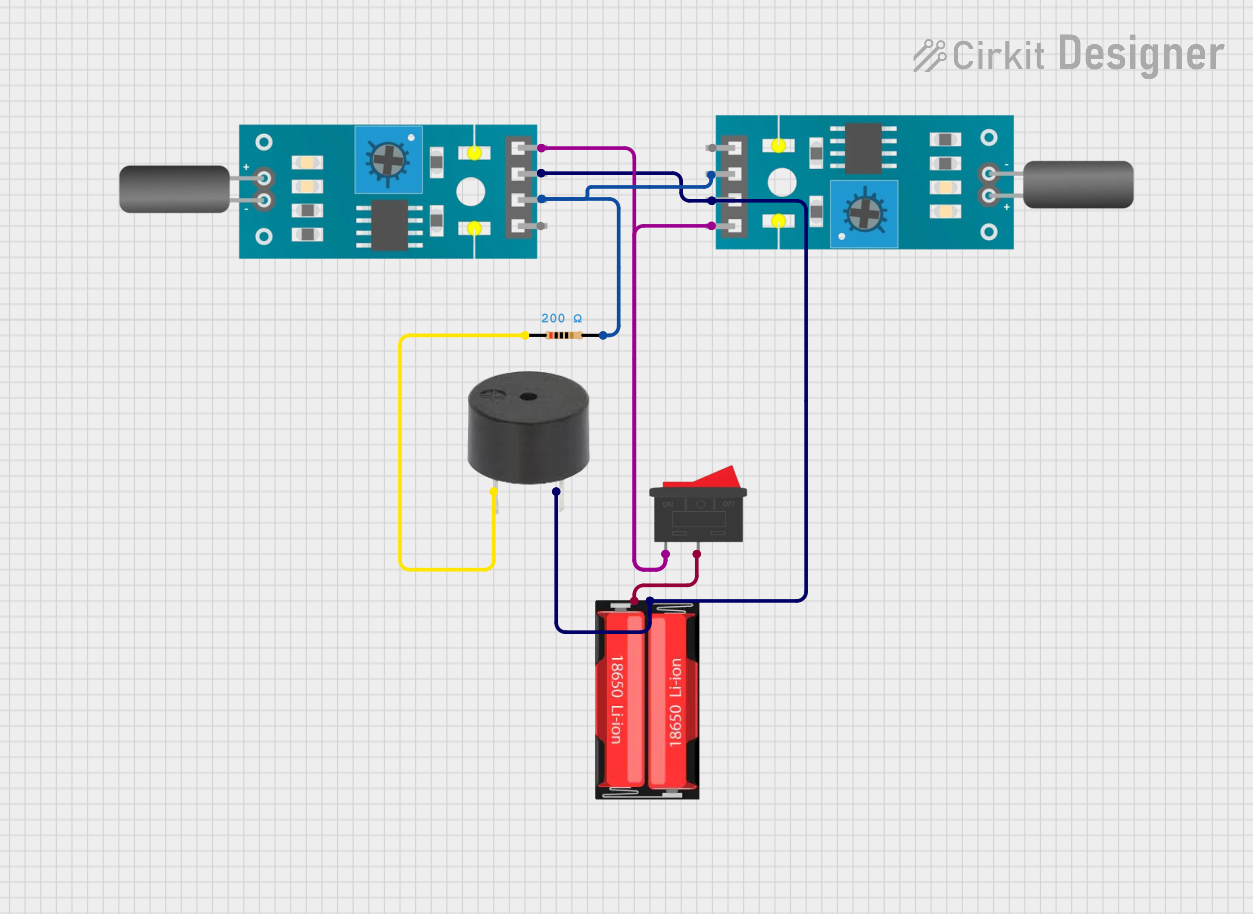
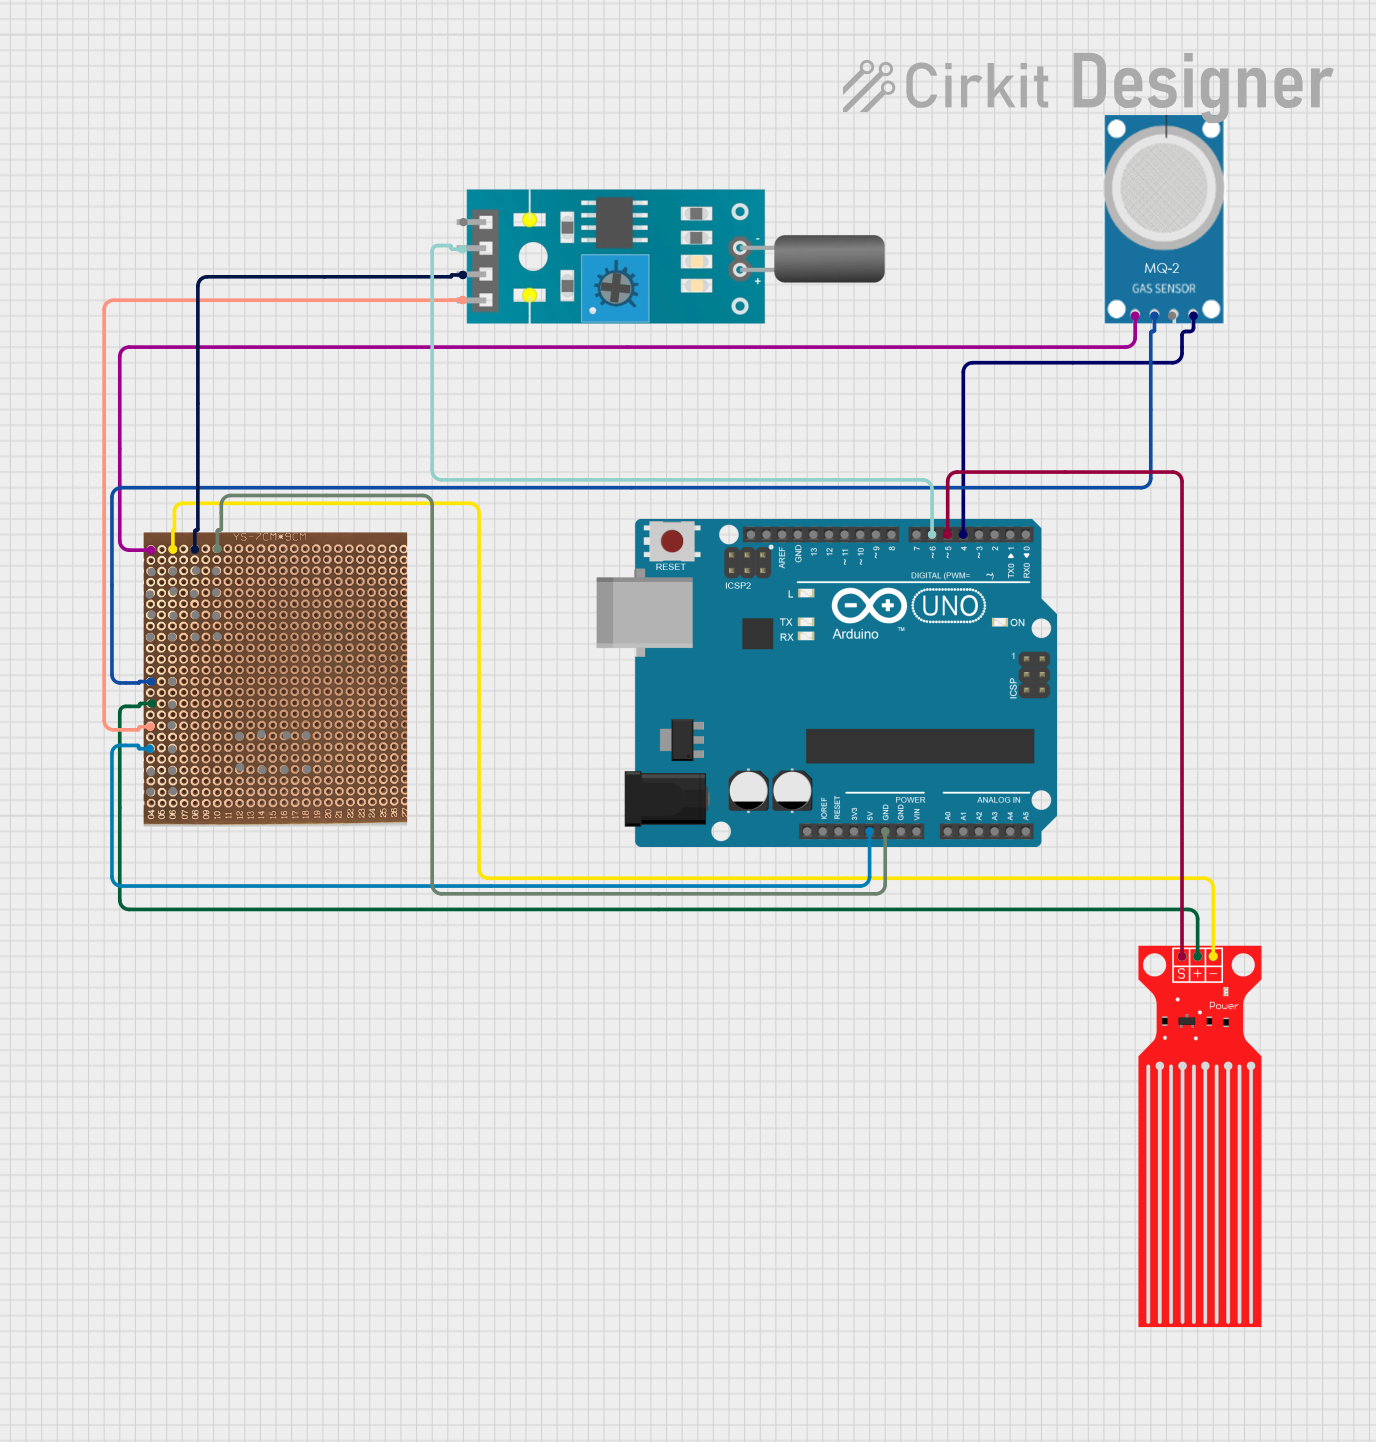
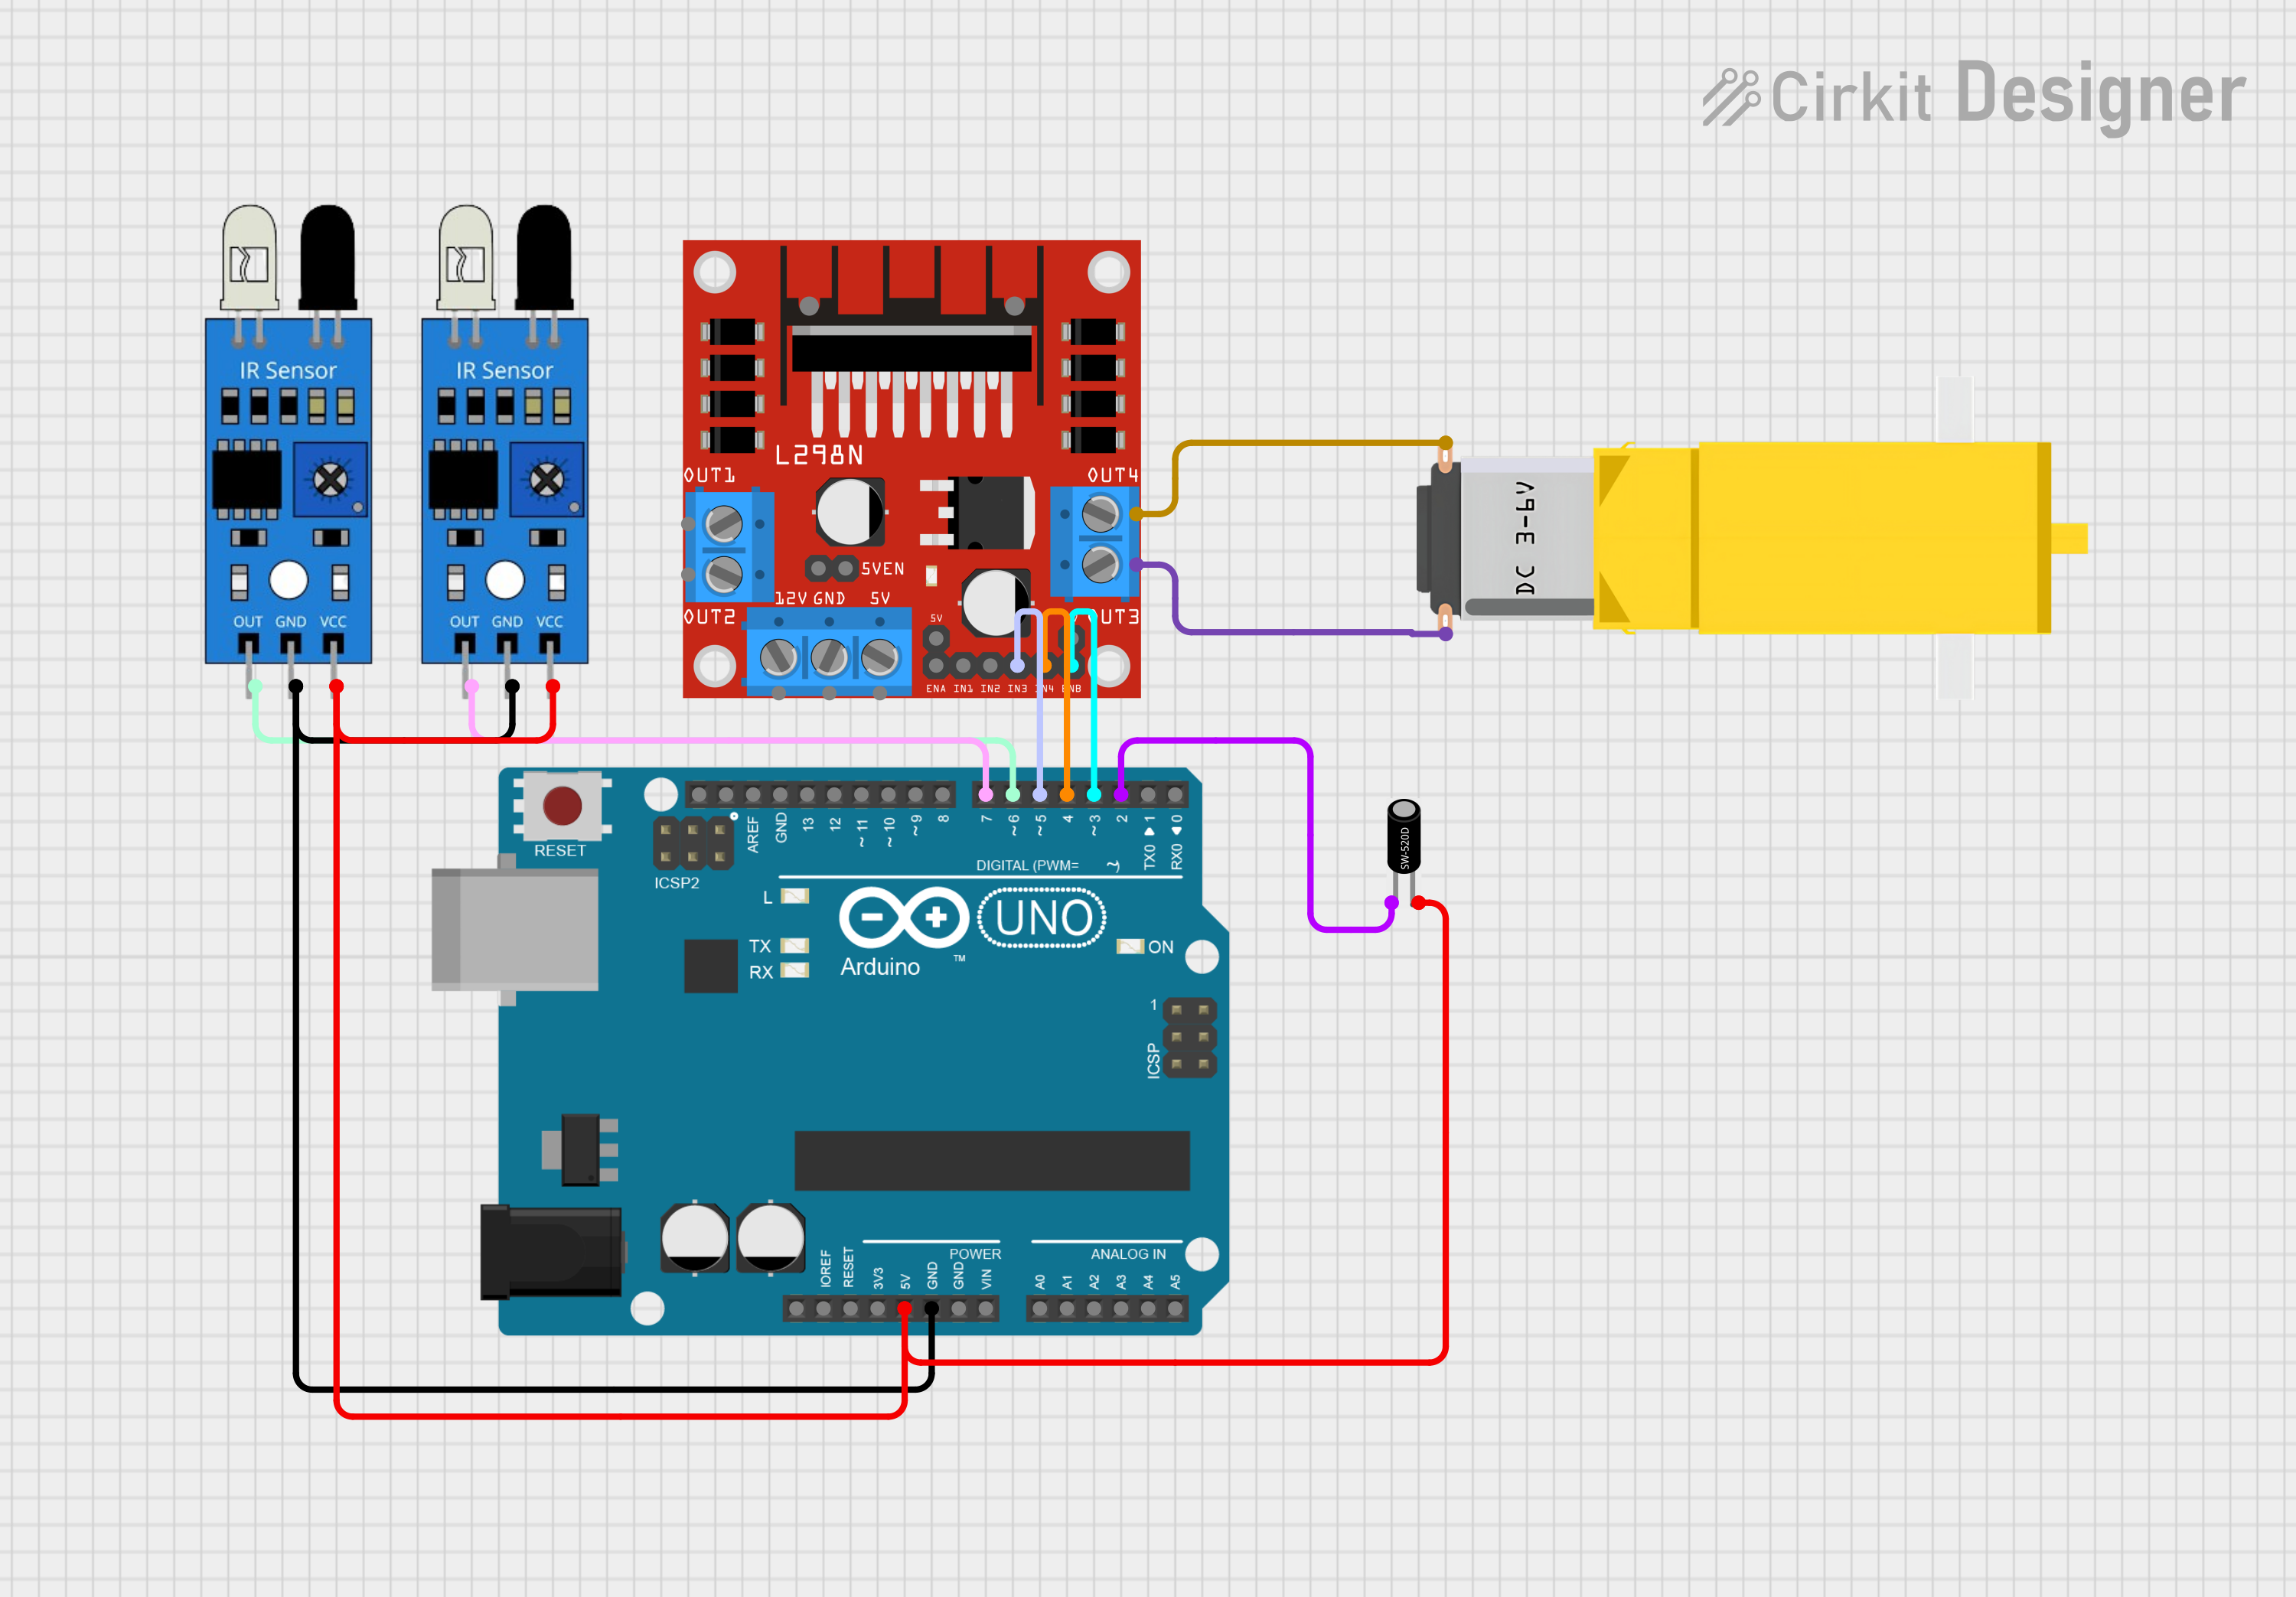
Explore Projects Built with Tilt Sensor Mercury
Technical Specifications
The following are the key technical details of the Tilt Sensor Mercury:
| Parameter | Value |
|---|---|
| Operating Voltage | 3.3V to 5V |
| Operating Current | < 5mA |
| Contact Resistance | < 10Ω (when closed) |
| Tilt Angle Range | Typically ±15° to ±90° |
| Response Time | Instantaneous |
| Operating Temperature | -20°C to +60°C |
| Dimensions | Varies by model (e.g., 10mm x 5mm) |
Pin Configuration and Descriptions
The Tilt Sensor Mercury typically has two pins. Below is the pin configuration:
| Pin | Description |
|---|---|
| Pin 1 | Connected to the positive terminal of the circuit (VCC) |
| Pin 2 | Connected to the input or ground of the circuit (GND) |
Usage Instructions
How to Use the Component in a Circuit
Basic Connection:
- Connect one pin of the tilt sensor to the positive voltage supply (VCC).
- Connect the other pin to the input of a microcontroller or to ground (GND) through a pull-down resistor.
- When the sensor tilts, the mercury inside completes the circuit, allowing current to flow.
Interfacing with a Microcontroller (e.g., Arduino UNO):
- The tilt sensor can be connected to a digital input pin of the Arduino.
- Use a pull-down resistor (e.g., 10kΩ) to ensure a stable signal when the sensor is not tilted.
Example Circuit Diagram:
VCC ---- Tilt Sensor ---- Digital Input Pin (Arduino)
             |
             |
           10kΩ
             |
            GND
Important Considerations and Best Practices
- Orientation: Ensure the sensor is mounted in the correct orientation for your application.
- Debouncing: The mercury inside the sensor may cause bouncing effects. Use software debouncing in your microcontroller code to filter out noise.
- Environmental Factors: Avoid using the sensor in environments with extreme temperatures or vibrations, as these can affect performance.
- Safety: Mercury is toxic. Handle the sensor carefully and avoid breaking the sealed tube.
Arduino UNO Example Code
Below is an example code snippet for using the Tilt Sensor Mercury with an Arduino UNO:
// Define the pin connected to the tilt sensor
const int tiltSensorPin = 2; // Digital pin 2
const int ledPin = 13;       // Built-in LED pin

void setup() {
  pinMode(tiltSensorPin, INPUT); // Set tilt sensor pin as input
  pinMode(ledPin, OUTPUT);       // Set LED pin as output
  Serial.begin(9600);            // Initialize serial communication
}

void loop() {
  int sensorState = digitalRead(tiltSensorPin); // Read the sensor state

  if (sensorState == HIGH) {
    // If the sensor is tilted, turn on the LED
    digitalWrite(ledPin, HIGH);
    Serial.println("Tilt detected!");
  } else {
    // If the sensor is not tilted, turn off the LED
    digitalWrite(ledPin, LOW);
    Serial.println("No tilt detected.");
  }

  delay(100); // Small delay to stabilize readings
}
Troubleshooting and FAQs
Common Issues and Solutions
Sensor Not Responding:
- Cause: Loose connections or incorrect wiring.
- Solution: Double-check all connections and ensure the sensor is properly connected to the circuit.
False Readings or Noise:
- Cause: Mercury bouncing inside the sensor.
- Solution: Implement software debouncing in your code or use a capacitor to filter noise.
Sensor Damaged:
- Cause: Physical damage to the sensor or exposure to extreme conditions.
- Solution: Replace the sensor and ensure proper handling in the future.
Arduino Not Detecting Sensor State:
- Cause: Incorrect pin configuration or missing pull-down resistor.
- Solution: Verify the pin configuration and ensure a pull-down resistor is used.
FAQs
Q1: Can the Tilt Sensor Mercury detect precise angles?
A1: No, the sensor is designed to detect tilt or orientation changes but cannot measure precise angles.
Q2: Is the sensor safe to use?
A2: Yes, as long as the sealed tube is intact. Avoid breaking the sensor, as mercury is toxic.
Q3: Can I use this sensor with a 3.3V system?
A3: Yes, the sensor operates within a voltage range of 3.3V to 5V.
Q4: How do I reduce noise in the sensor readings?
A4: Use software debouncing techniques or add a small capacitor across the sensor pins to filter out noise.