
How to Use sd card module: Examples, Pinouts, and Specs
 Design with sd card module in Cirkit Designer
Introduction
The SD Card Module is a compact and versatile component designed to interface SD cards with microcontrollers. It enables the storage and retrieval of data, making it ideal for applications requiring large amounts of non-volatile memory. This module is commonly used in data logging, multimedia storage, and file management systems. Its ease of use and compatibility with popular microcontrollers like Arduino make it a staple in many electronics projects.
Explore Projects Built with sd card module
 Open Project in Cirkit Designer
 Open Project in Cirkit Designer
 Open Project in Cirkit Designer
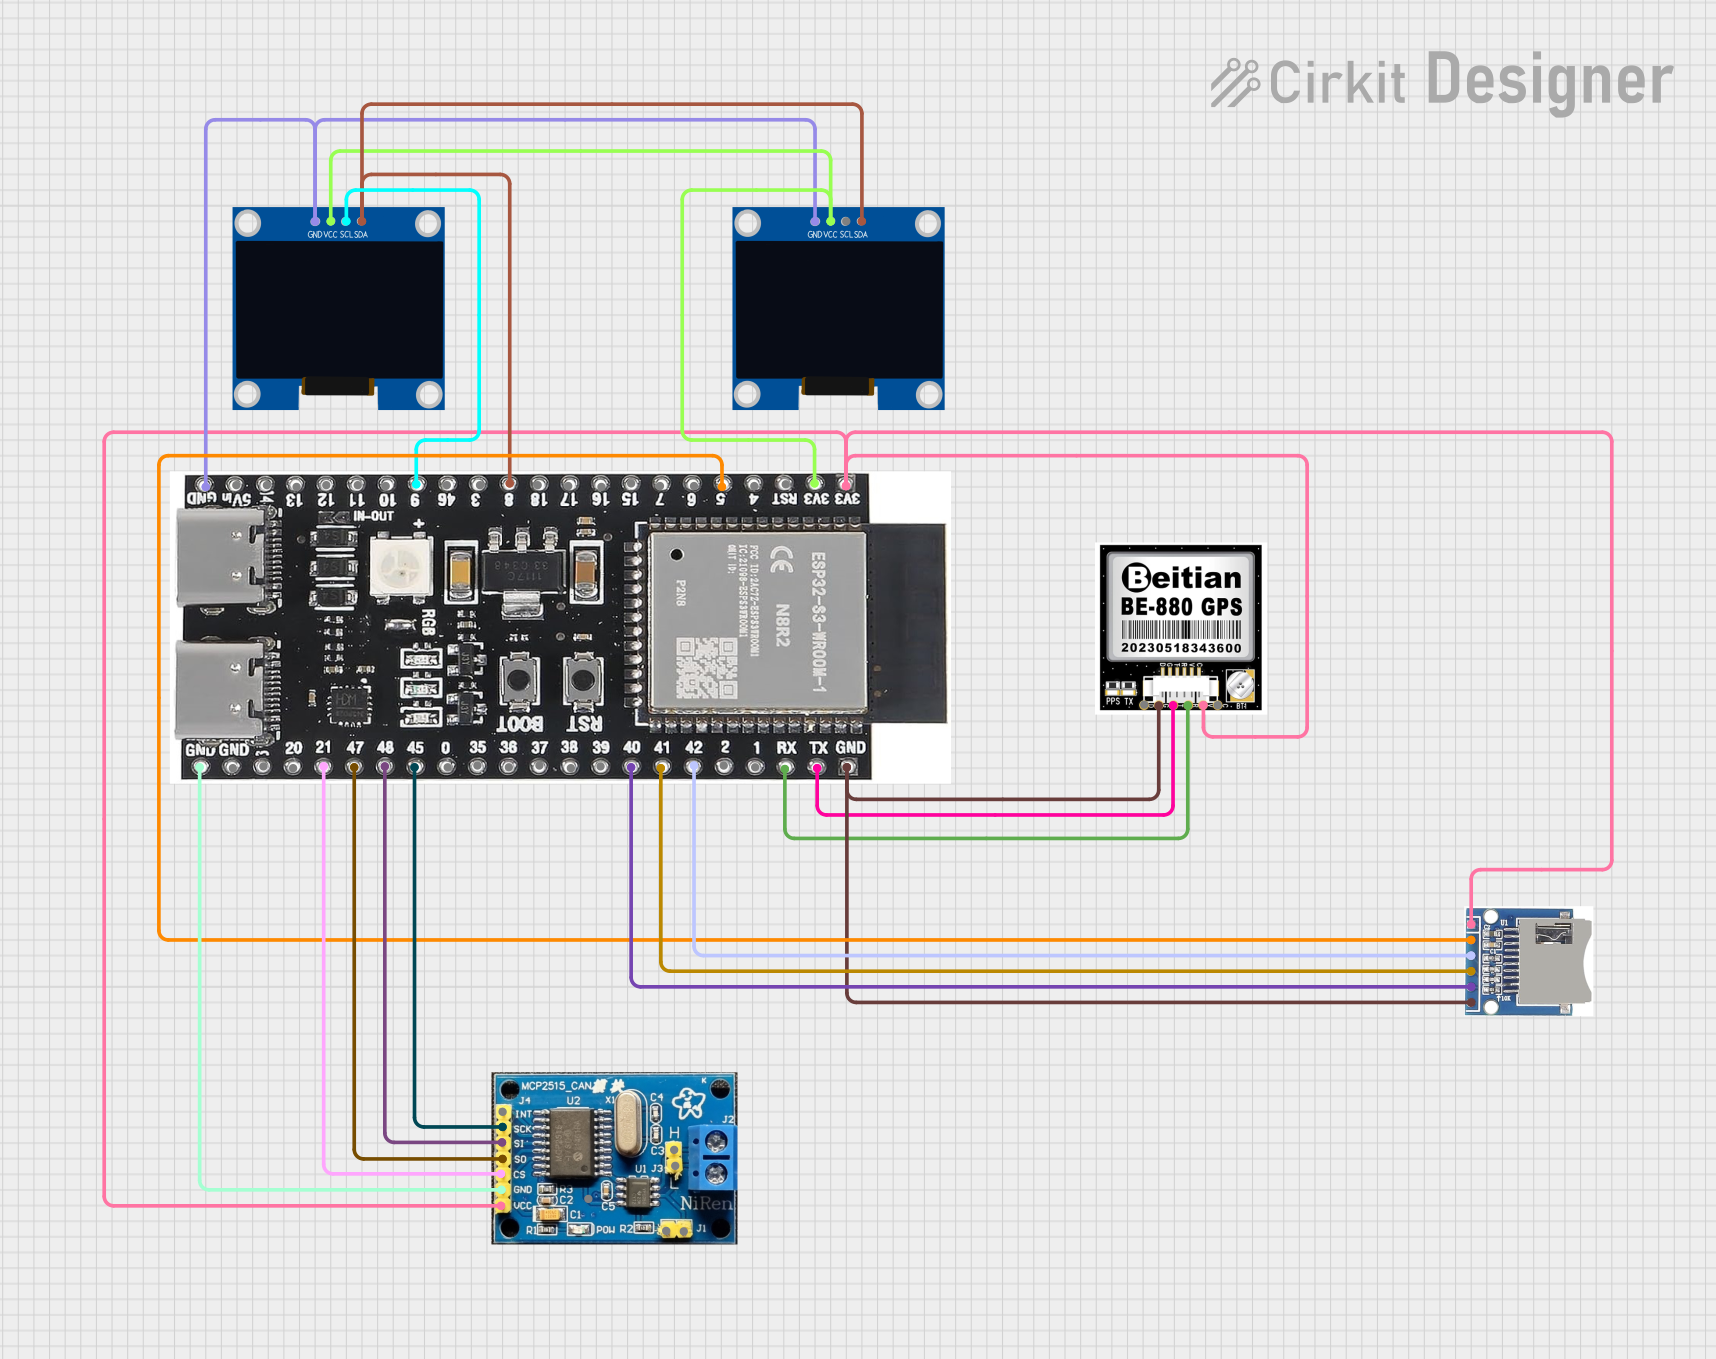 Open Project in Cirkit Designer
Explore Projects Built with sd card module
Open Project in Cirkit DesignerOpen Project in Cirkit DesignerOpen Project in Cirkit DesignerOpen Project in Cirkit DesignerCommon Applications:
- Data logging (e.g., temperature, humidity, or sensor data)
- Storing multimedia files (e.g., images, audio, or video)
- File management for embedded systems
- Portable storage solutions for IoT devices
Technical Specifications
Below are the key technical details of the SD Card Module:
| Parameter | Value |
|---|---|
| Operating Voltage | 3.3V to 5V |
| Communication Protocol | SPI (Serial Peripheral Interface) |
| Supported SD Cards | Standard SD and microSD cards |
| File System Support | FAT16/FAT32 |
| Current Consumption | ~100mA (varies with operation) |
| Dimensions | ~42mm x 24mm x 12mm |
Pin Configuration and Descriptions
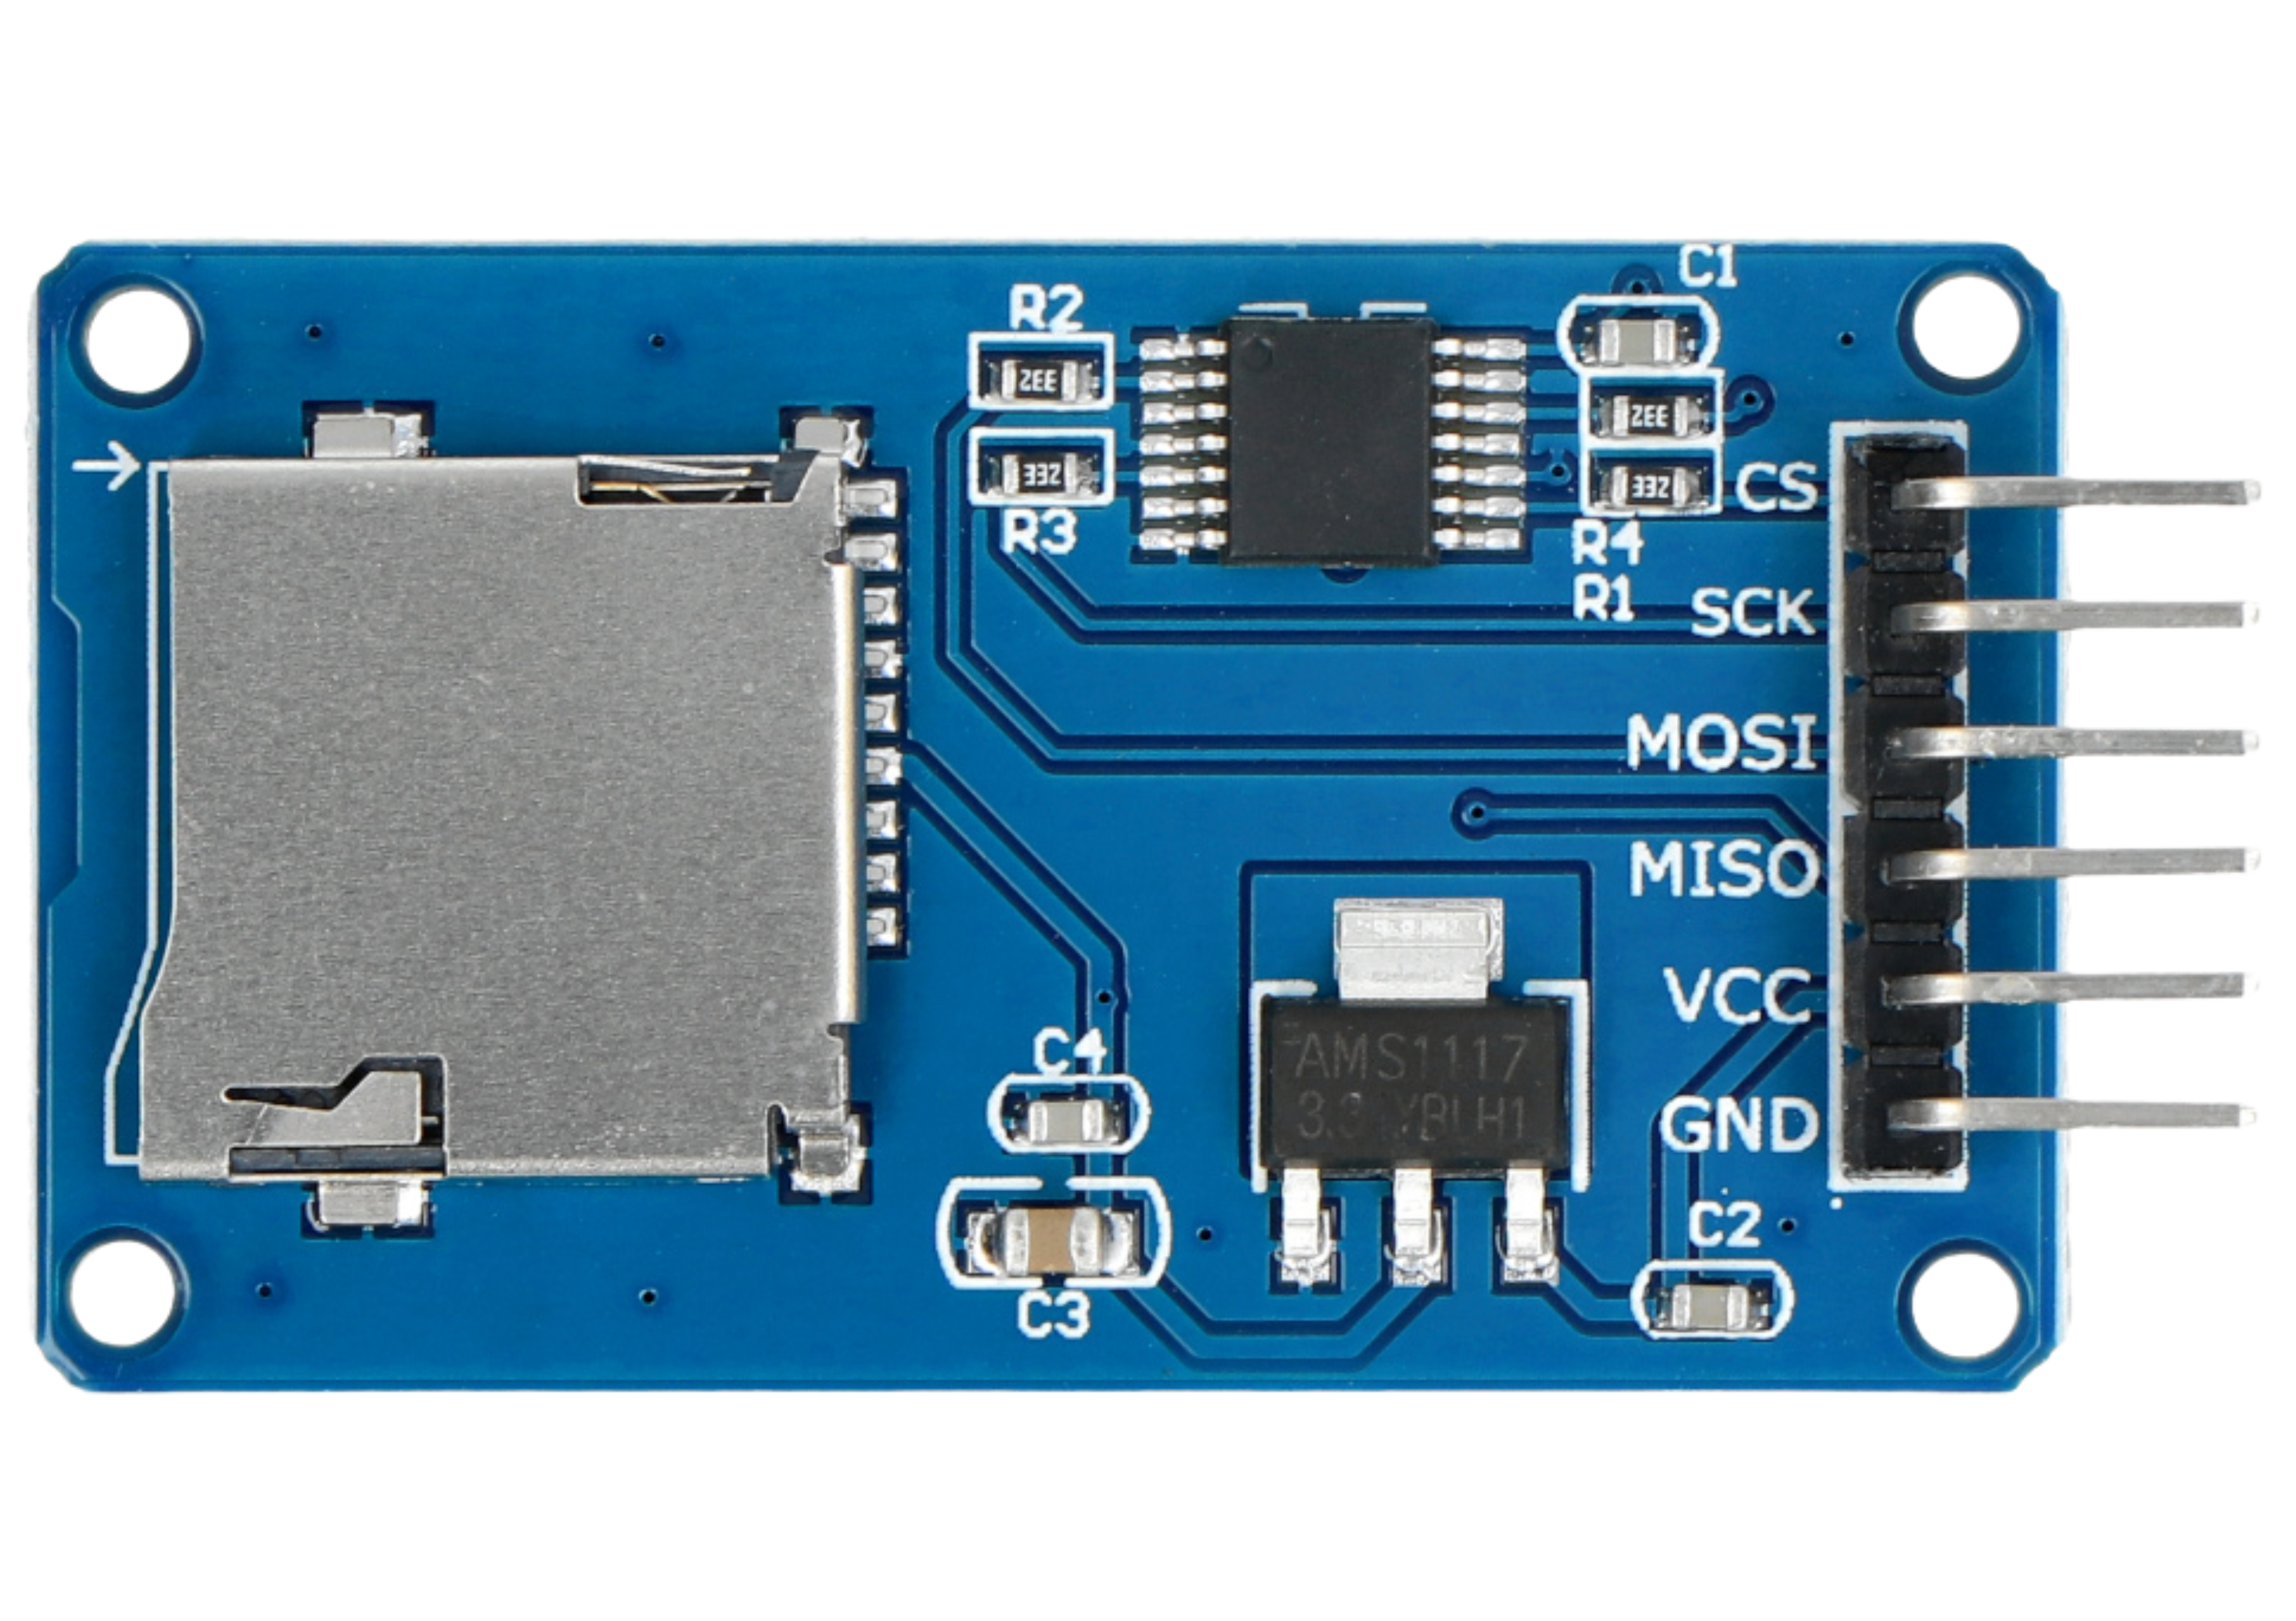
The SD Card Module typically has 6 pins. Below is the pinout and description:
| Pin | Name | Description |
|---|---|---|
| 1 | GND | Ground connection |
| 2 | VCC | Power supply (3.3V or 5V, depending on the module) |
| 3 | MISO | Master In Slave Out - Data output from the SD card to the microcontroller |
| 4 | MOSI | Master Out Slave In - Data input from the microcontroller to the SD card |
| 5 | SCK | Serial Clock - Clock signal for SPI communication |
| 6 | CS | Chip Select - Used to select the SD card module during SPI communication |
Usage Instructions
Connecting the SD Card Module to an Arduino UNO
To use the SD Card Module with an Arduino UNO, follow these steps:
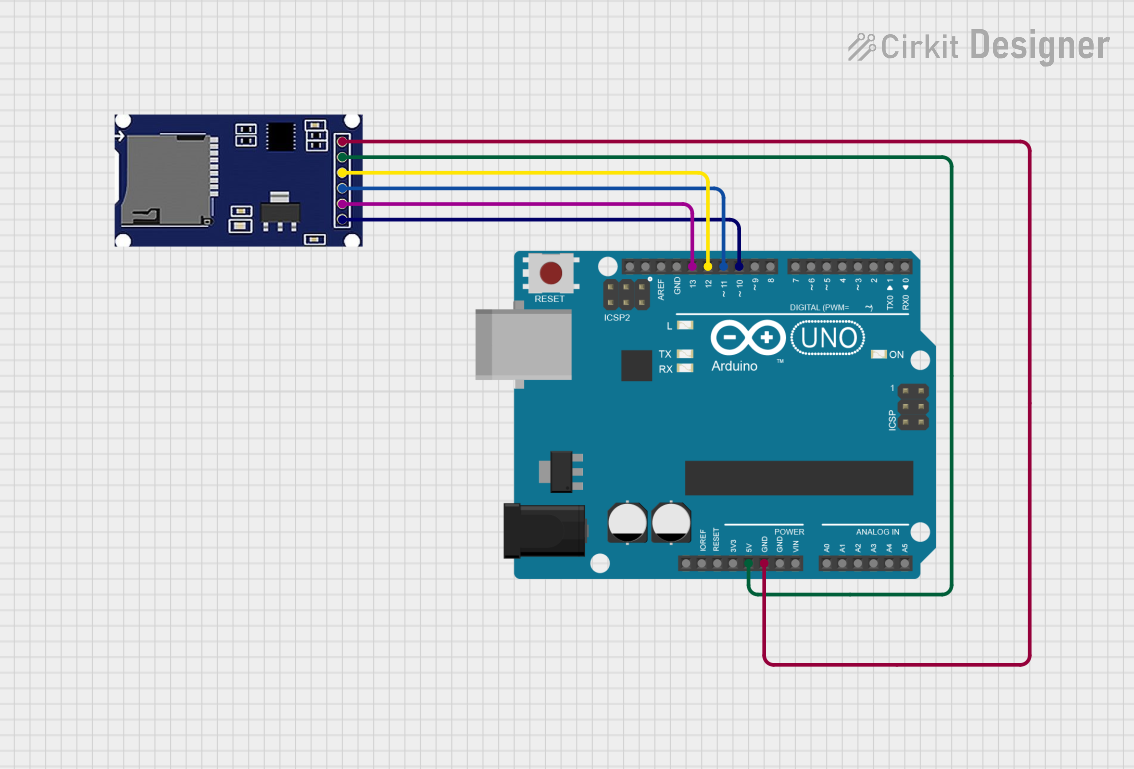
Wiring: Connect the module to the Arduino as shown below:
GND→ Arduino GNDVCC→ Arduino 5VMISO→ Arduino Pin 12MOSI→ Arduino Pin 11SCK→ Arduino Pin 13CS→ Arduino Pin 10 (or any other digital pin, but update the code accordingly)
Install the SD Library: Ensure the Arduino IDE has the built-in
SDlibrary installed. If not, install it via the Library Manager.Insert an SD Card: Format the SD card to FAT16 or FAT32 before use.
Upload Example Code: Use the following example code to initialize the SD card and write/read data:
#include <SPI.h>
#include <SD.h>

// Define the Chip Select (CS) pin for the SD card module
const int chipSelect = 10;

void setup() {
  // Initialize serial communication for debugging
  Serial.begin(9600);
  while (!Serial) {
    ; // Wait for the serial port to connect (for native USB boards)
  }

  Serial.println("Initializing SD card...");

  // Check if the SD card is present and can be initialized
  if (!SD.begin(chipSelect)) {
    Serial.println("Card failed, or not present");
    // Don't proceed if the card is not detected
    return;
  }
  Serial.println("Card initialized successfully!");

  // Create or open a file on the SD card
  File dataFile = SD.open("example.txt", FILE_WRITE);

  // Check if the file opened successfully
  if (dataFile) {
    dataFile.println("Hello, SD card!"); // Write data to the file
    dataFile.close(); // Close the file to save changes
    Serial.println("Data written to file.");
  } else {
    Serial.println("Error opening file.");
  }
}

void loop() {
  // Nothing to do here
}
Important Considerations:
- Voltage Levels: Ensure the module is compatible with the microcontroller's voltage levels. Most modules have onboard voltage regulators and level shifters for 5V compatibility.
- SD Card Formatting: Always format the SD card to FAT16 or FAT32 before use. Other file systems may not be supported.
- CS Pin Configuration: If using a pin other than 10 for
CS, update theSD.begin()function in the code. - Power Supply: Ensure the power supply can provide sufficient current (~100mA) for the module and SD card.
Troubleshooting and FAQs
Common Issues and Solutions:
SD Card Initialization Fails:
- Ensure the SD card is properly inserted into the module.
- Check the wiring and ensure all connections are secure.
- Verify that the SD card is formatted to FAT16 or FAT32.
File Not Opening or Writing:
- Ensure the file name is 8.3 format (e.g.,
example.txt). - Check if the SD card is full or write-protected.
- Ensure the file name is 8.3 format (e.g.,
Data Corruption:
- Always close files using
file.close()after writing to prevent data loss. - Avoid removing the SD card while the module is powered.
- Always close files using
Module Not Detected:
- Verify the
CSpin configuration in the code matches the wiring. - Check the power supply voltage and current.
- Verify the
FAQs:
Q: Can I use microSD cards with this module?
A: Yes, most SD Card Modules support both standard SD and microSD cards (with an adapter if needed).
Q: What is the maximum SD card size supported?
A: This depends on the module and library used. Typically, cards up to 32GB (FAT32) are supported.
Q: Can I use multiple SD Card Modules with one microcontroller?
A: Yes, but each module must have a unique CS pin, and you must manage the SPI communication accordingly.
Q: How do I check if a file exists on the SD card?
A: Use the SD.exists("filename.txt") function to check if a file exists.
By following this documentation, you can effectively integrate and troubleshoot the SD Card Module in your projects.