How to Use Hub T-Mini Plus LiDAR: Examples, Pinouts, and Specs
Introduction
The Hub T-Mini Plus LiDAR is a compact and high-performance LiDAR sensor designed for precise distance measurement and mapping. Manufactured by China T-Mini Plus LiDAR, this sensor is ideal for applications requiring accurate spatial awareness, such as robotics, automation, drones, and autonomous vehicles. Its small form factor and robust design make it suitable for both indoor and outdoor environments.
Explore Projects Built with Hub T-Mini Plus LiDAR


Explore Projects Built with Hub T-Mini Plus LiDAR
Common Applications
- Obstacle detection and avoidance in robotics
- 3D mapping and SLAM (Simultaneous Localization and Mapping)
- Distance measurement in industrial automation
- Navigation for drones and autonomous vehicles
- Smart home devices requiring spatial awareness
Technical Specifications
The following table outlines the key technical details of the Hub T-Mini Plus LiDAR:
| Parameter | Specification |
|---|---|
| Operating Voltage | 5V DC |
| Power Consumption | ≤ 1.5W |
| Measurement Range | 0.1m to 12m |
| Accuracy | ±2% (at 0.1m to 6m) |
| Scanning Frequency | 5 Hz to 15 Hz |
| Field of View (FOV) | 360° |
| Communication Interface | UART (3.3V TTL) |
| Data Rate | 115200 bps |
| Operating Temperature | -10°C to 60°C |
| Dimensions | 50mm x 50mm x 40mm |
| Weight | 80g |
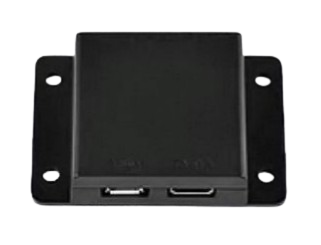
Pin Configuration
The Hub T-Mini Plus LiDAR features a 4-pin interface for power and communication. The pinout is as follows:
| Pin | Name | Description |
|---|---|---|
| 1 | VCC | Power input (5V DC) |
| 2 | GND | Ground |
| 3 | TX | UART Transmit (3.3V TTL) |
| 4 | RX | UART Receive (3.3V TTL) |
Usage Instructions
Connecting the Hub T-Mini Plus LiDAR
- Power Supply: Connect the VCC pin to a 5V DC power source and the GND pin to ground.
- UART Communication:
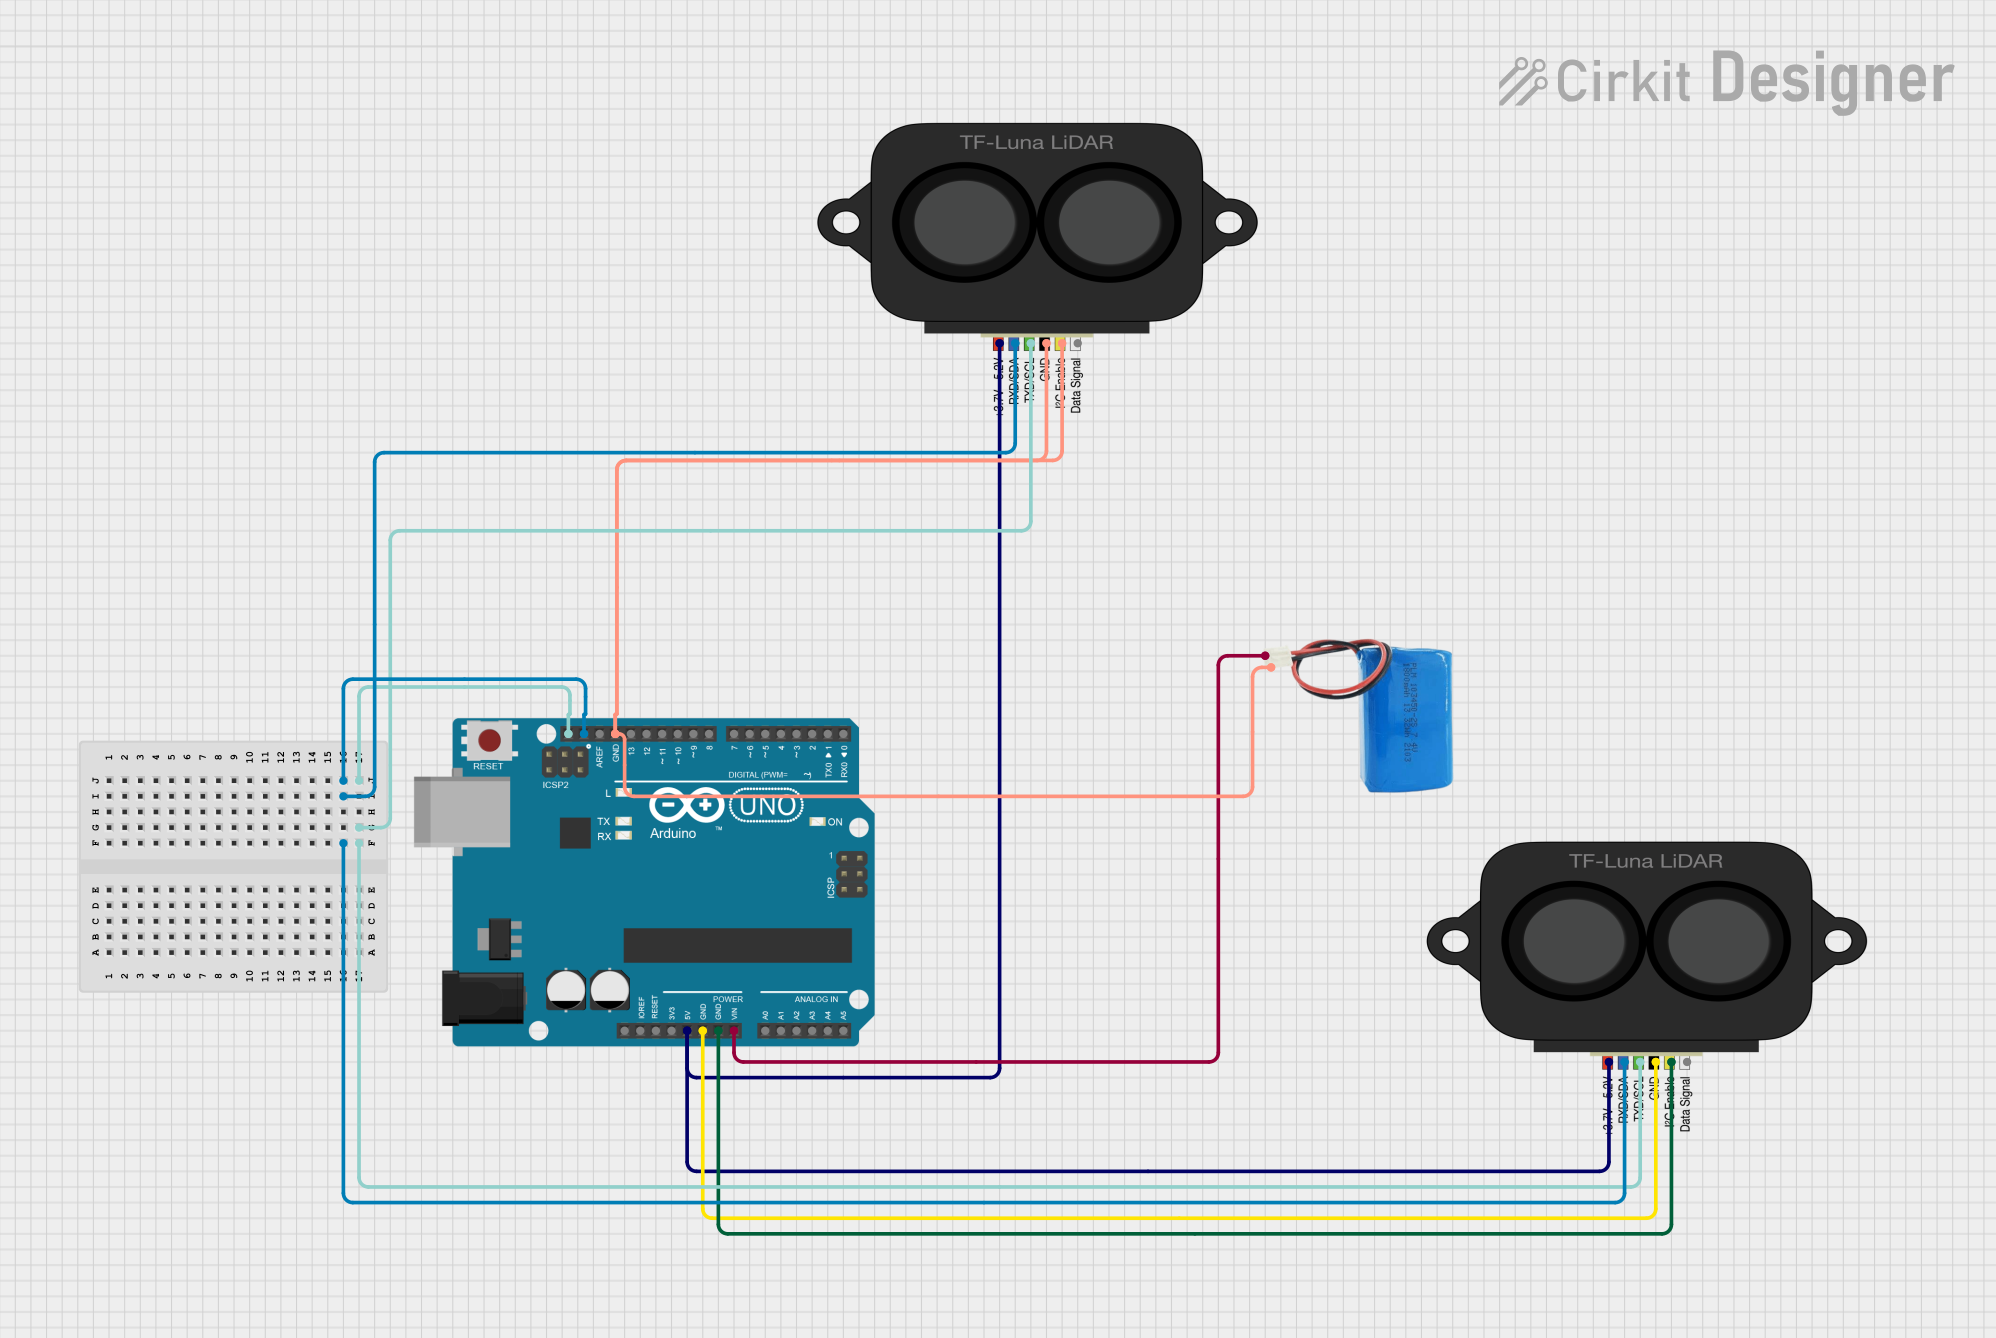
- Connect the TX pin of the LiDAR to the RX pin of your microcontroller (e.g., Arduino UNO).
- Connect the RX pin of the LiDAR to the TX pin of your microcontroller.
- Ensure Compatibility: The LiDAR operates at 3.3V TTL logic levels. If your microcontroller uses 5V logic, use a level shifter to prevent damage.
Example: Using with Arduino UNO
Below is an example code snippet to interface the Hub T-Mini Plus LiDAR with an Arduino UNO:
#include <SoftwareSerial.h>

// Define the RX and TX pins for SoftwareSerial
SoftwareSerial lidarSerial(10, 11); // RX = Pin 10, TX = Pin 11

void setup() {
  Serial.begin(9600); // Initialize Serial Monitor at 9600 bps
  lidarSerial.begin(115200); // Initialize LiDAR communication at 115200 bps

  Serial.println("Hub T-Mini Plus LiDAR Initialized");
}

void loop() {
  if (lidarSerial.available()) {
    // Read data from the LiDAR
    String lidarData = "";
    while (lidarSerial.available()) {
      char c = lidarSerial.read();
      lidarData += c;
    }

    // Print the received data to the Serial Monitor
    Serial.println("LiDAR Data: " + lidarData);
  }

  delay(100); // Small delay to avoid flooding the Serial Monitor
}
Best Practices
- Power Supply: Ensure a stable 5V power source to avoid measurement inaccuracies.
- Mounting: Secure the LiDAR sensor on a vibration-free surface for optimal performance.
- Environment: Avoid direct exposure to strong sunlight or reflective surfaces, as these may interfere with measurements.
- Data Parsing: The LiDAR outputs data in a specific format. Refer to the manufacturer's protocol documentation for parsing details.
Troubleshooting and FAQs
Common Issues and Solutions
| Issue | Possible Cause | Solution |
|---|---|---|
| No data received from the LiDAR | Incorrect wiring or baud rate mismatch | Verify connections and set baud rate to 115200. |
| Inaccurate distance measurements | Strong sunlight or reflective surfaces | Use in controlled lighting conditions or avoid reflective objects. |
| LiDAR not powering on | Insufficient power supply | Ensure a stable 5V DC power source. |
| Data appears garbled in Serial Monitor | Logic level mismatch or incorrect parsing | Use a level shifter if needed and verify data format. |
FAQs
Can the Hub T-Mini Plus LiDAR be used outdoors?
- Yes, it is designed for both indoor and outdoor use. However, avoid direct exposure to strong sunlight for best results.
What is the maximum range of the LiDAR?
- The maximum range is 12 meters under optimal conditions.
Does the LiDAR support other communication protocols?
- No, the Hub T-Mini Plus LiDAR only supports UART communication.
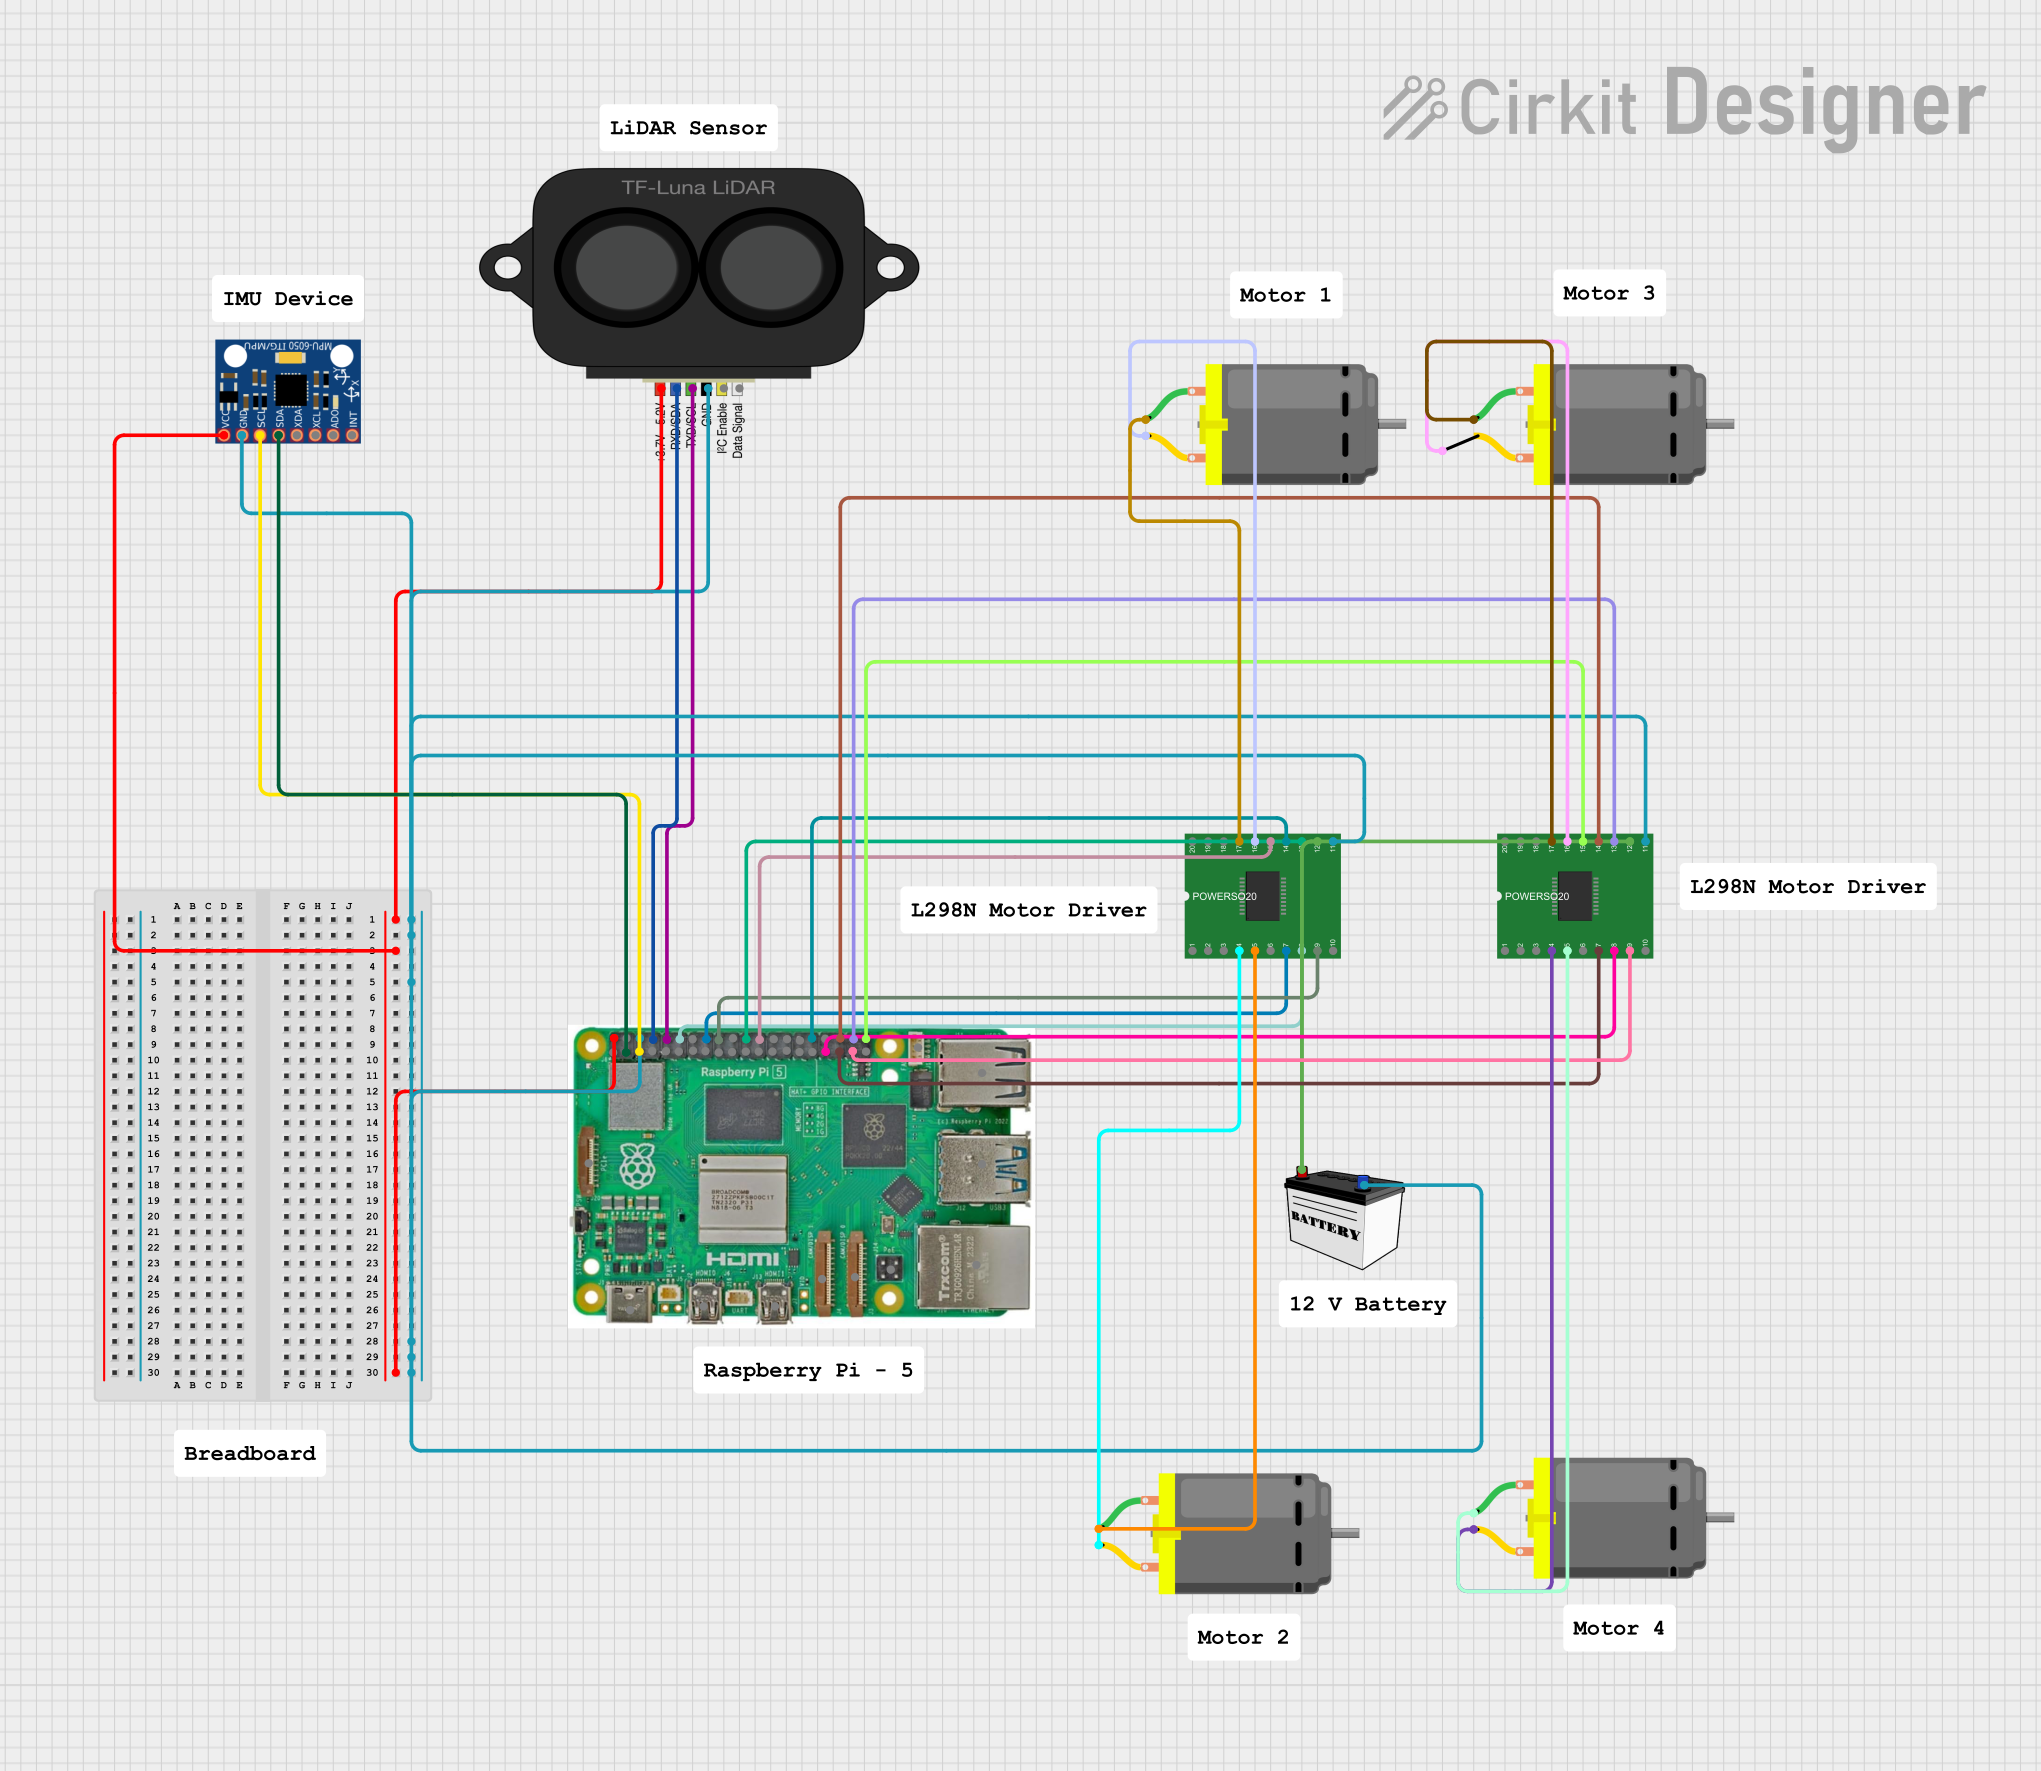
Can I use this LiDAR with a Raspberry Pi?
- Yes, the LiDAR can be connected to a Raspberry Pi via its UART interface. Ensure proper voltage level conversion if necessary.
By following this documentation, you can effectively integrate the Hub T-Mini Plus LiDAR into your projects and troubleshoot common issues with ease.