Cirkit Designer Logo
Cirkit Designer
Your all-in-one circuit design IDE
Home / 
Component Documentation

How to Use ProtoSnap - Pro Mini - Buzzer: Examples, Pinouts, and Specs
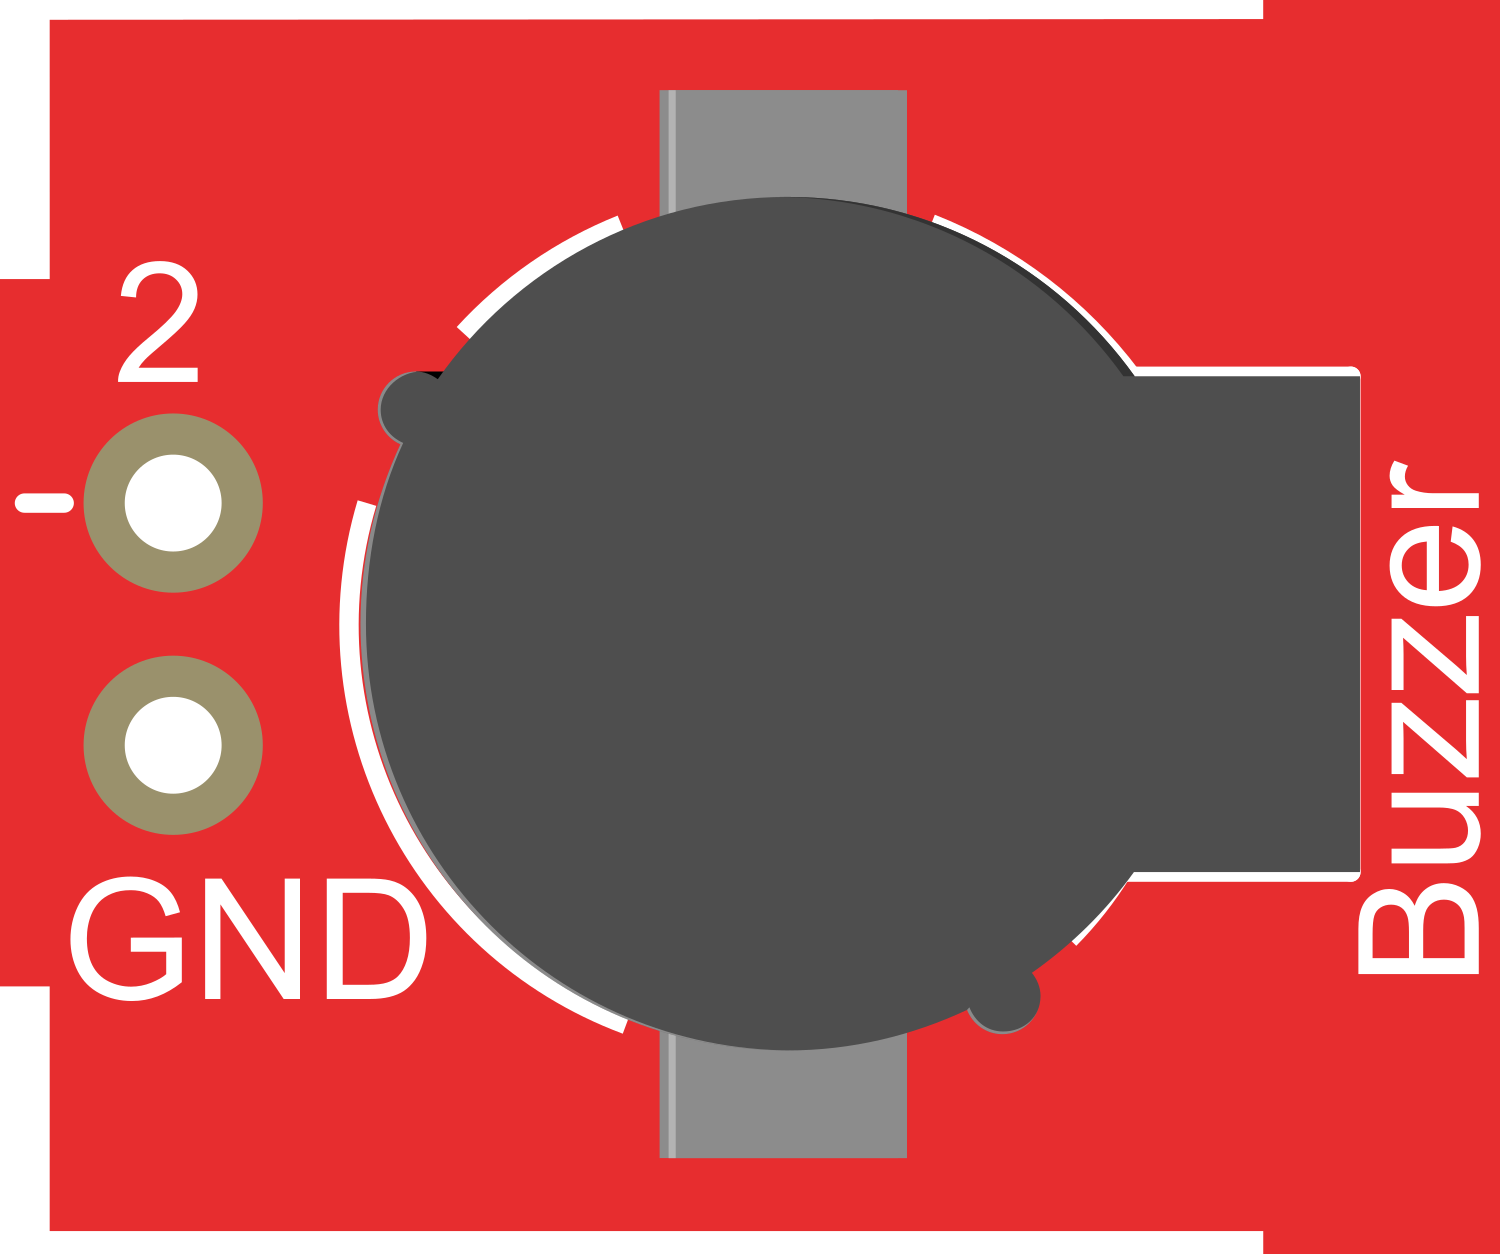
Image of ProtoSnap - Pro Mini - Buzzer
Cirkit Designer LogoDesign with ProtoSnap - Pro Mini - Buzzer in Cirkit Designer

Introduction

The ProtoSnap - Pro Mini - Buzzer is a compact audio signaling device that can be integrated into various electronic projects. It is designed to produce a range of sounds, from simple beeps to complex tones, making it suitable for applications such as alarm systems, interactive projects, and musical instruments. Its small form factor and ease of use with microcontroller platforms like the Arduino UNO make it a popular choice for hobbyists and educators alike.

Explore Projects Built with ProtoSnap - Pro Mini - Buzzer
Use Cirkit Designer to design, explore, and prototype these projects online. Some projects support real-time simulation. Click "Open Project" to start designing instantly!
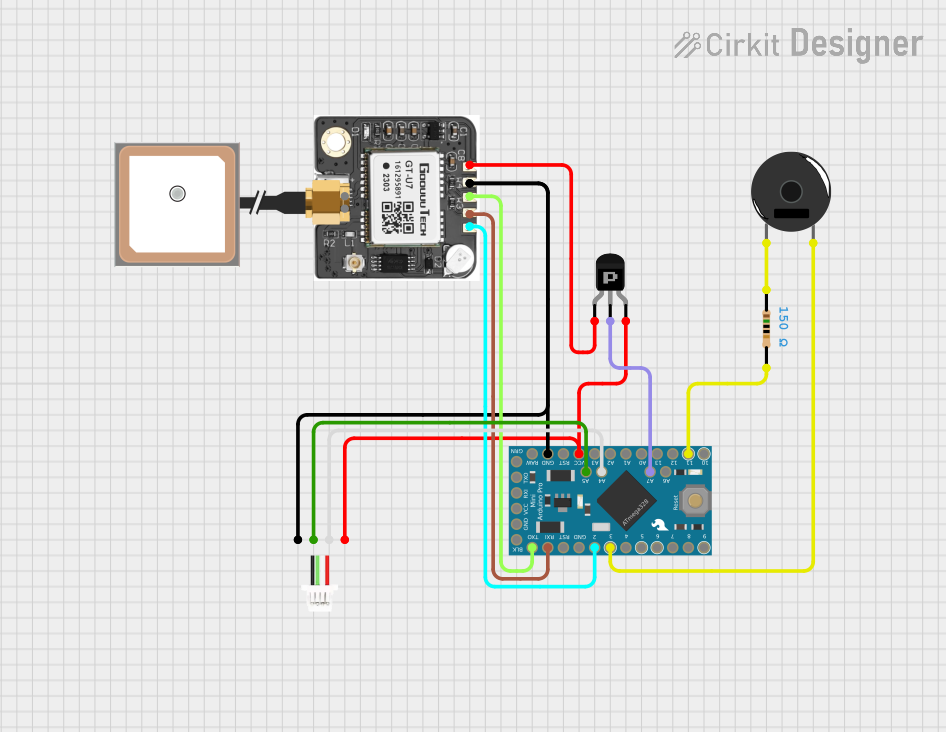
Arduino Pro Mini GPS Tracker with Piezo Buzzer Alert
Image of R8 FCU: A project utilizing ProtoSnap - Pro Mini - Buzzer in a practical application
This circuit is a GPS tracking system that uses an Arduino Pro Mini to interface with a neo 6m GPS module and a piezo buzzer. The GPS module provides location data to the Arduino, which can trigger the buzzer through a PNP transistor and a resistor for alerting purposes. The JST SH1 I2C connector is used for additional I2C communication.
Cirkit Designer LogoOpen Project in Cirkit Designer
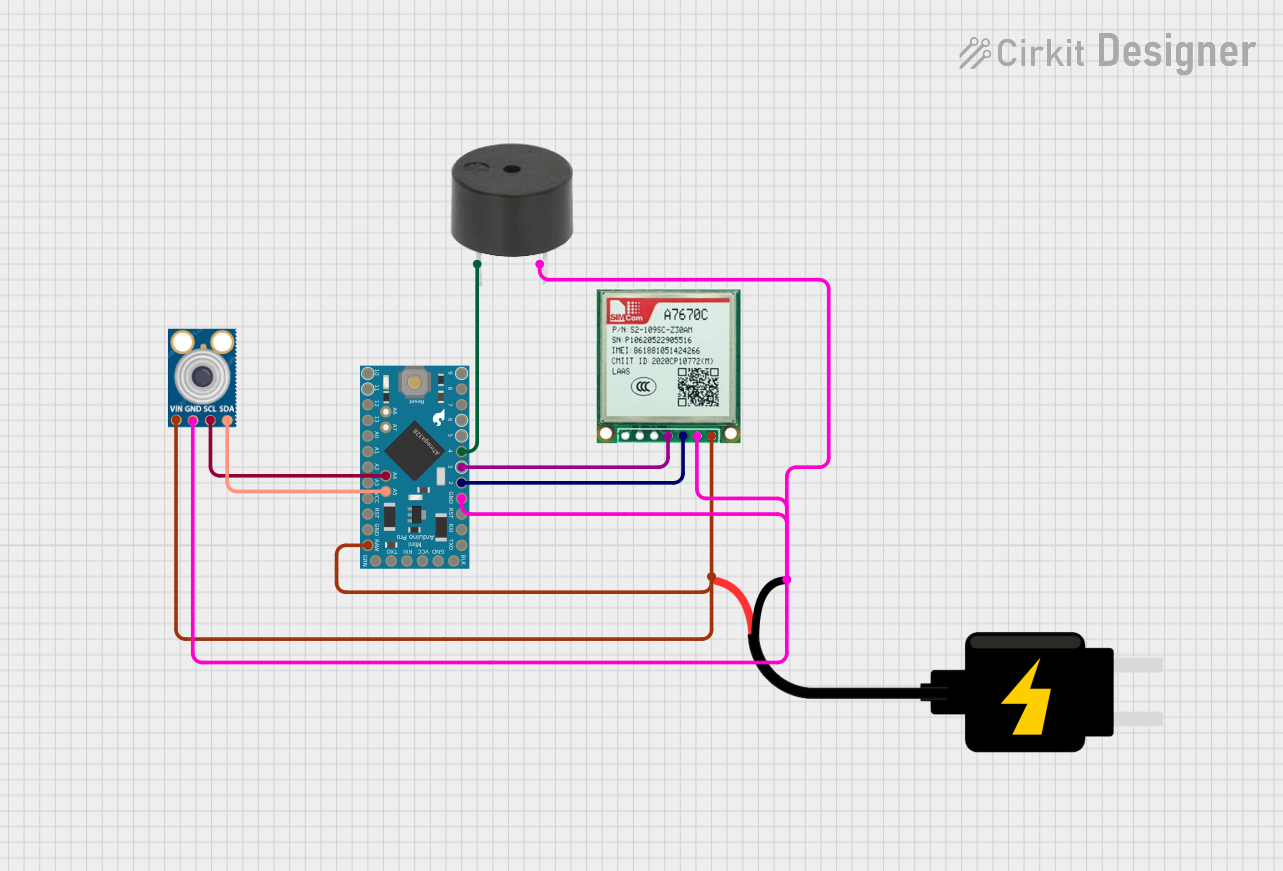
Arduino Pro Mini Based Temperature Monitoring and GSM Communication System
Image of file alert sms: A project utilizing ProtoSnap - Pro Mini - Buzzer in a practical application
This circuit features an Arduino Pro Mini microcontroller connected to a Sim A7670c module for cellular communication, an MLX90614 infrared temperature sensor, and a buzzer for audible alerts. The Arduino facilitates data exchange between the Sim A7670c and the MLX90614 sensor, and controls the buzzer. Power is supplied by a 5V DC source connected to all components, ensuring a common operating voltage.
Cirkit Designer LogoOpen Project in Cirkit Designer
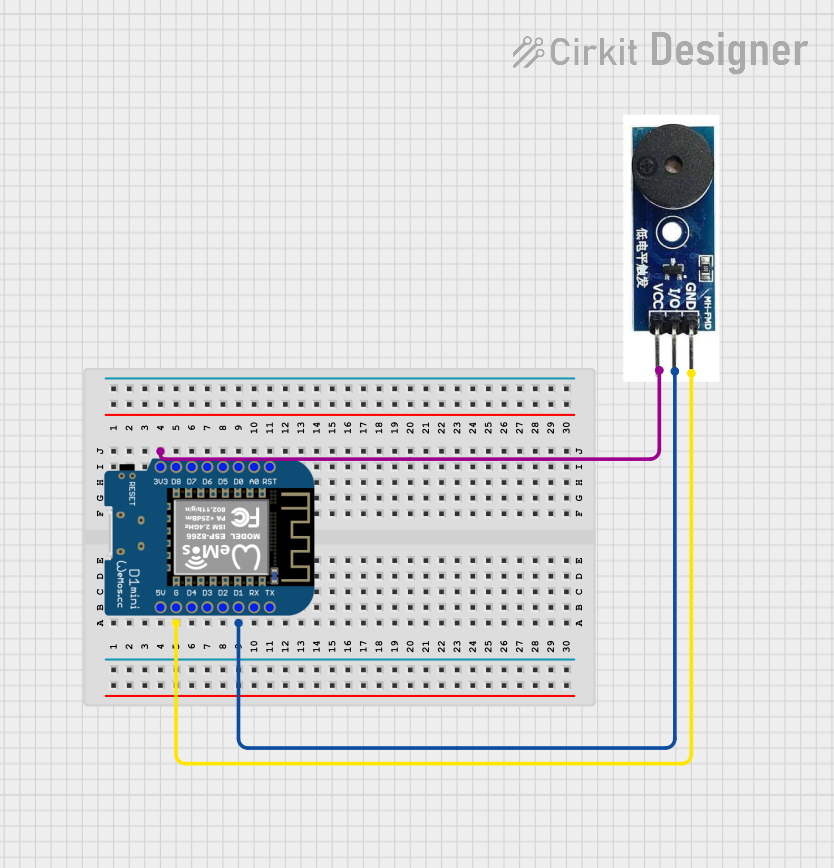
Wi-Fi Controlled Buzzer with Wemos D1 Mini
Image of Buzzer Twinkle: A project utilizing ProtoSnap - Pro Mini - Buzzer in a practical application
This circuit consists of a Wemos D1 Mini microcontroller connected to an active buzzer module. The Wemos D1 Mini provides power to the buzzer and controls it through its D1 pin, allowing for programmable sound output.
Cirkit Designer LogoOpen Project in Cirkit Designer
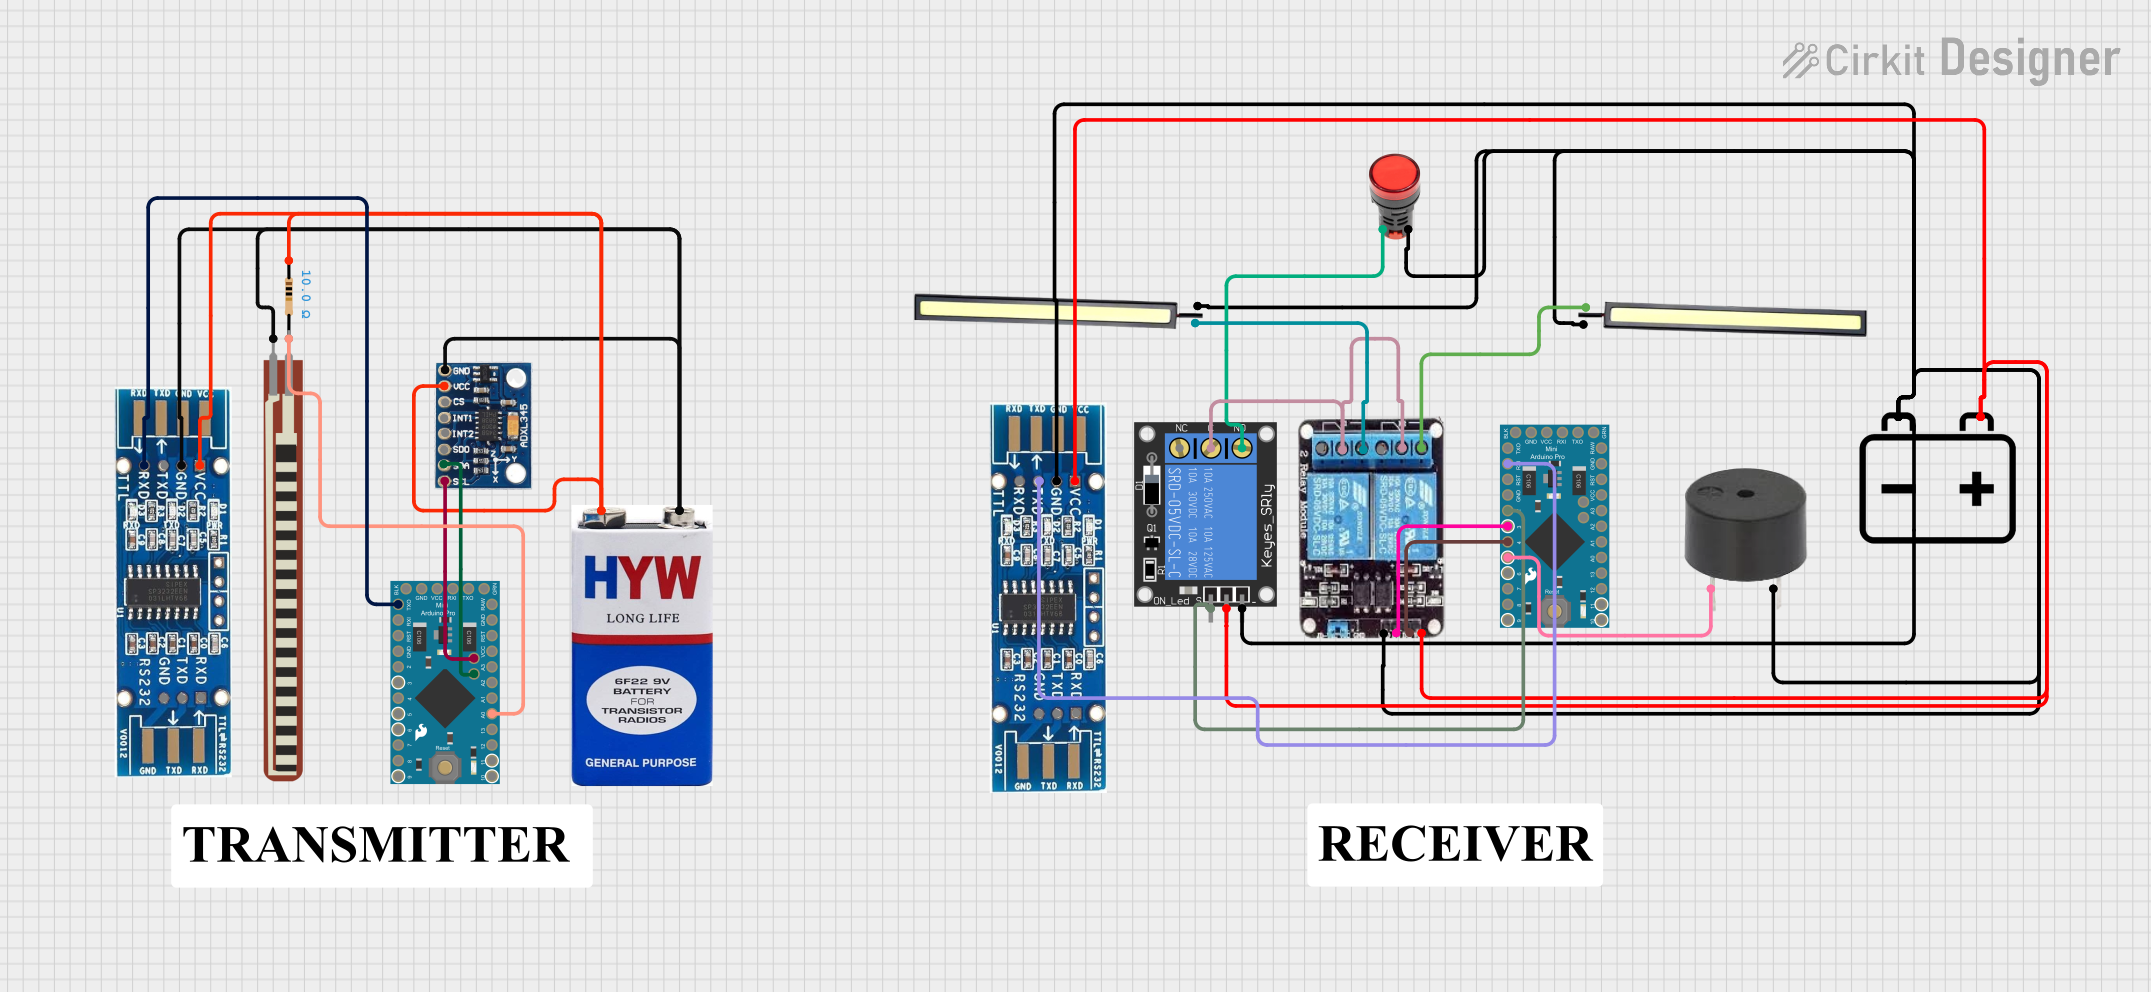
Arduino Pro Mini-Based Smart Home Automation with ADXL345 and RS232 Communication
Image of bicycle FULL: A project utilizing ProtoSnap - Pro Mini - Buzzer in a practical application
This circuit features two Arduino Pro Mini microcontrollers interfacing with various sensors and actuators. One Arduino reads data from an ADXL345 accelerometer and communicates with an RS232 module, while the other controls a 2-channel relay to manage two 12V LEDs, a 1-channel relay to control a red lamp, and a buzzer. Power is supplied by 9V and 12V batteries.
Cirkit Designer LogoOpen Project in Cirkit Designer

Explore Projects Built with ProtoSnap - Pro Mini - Buzzer

Use Cirkit Designer to design, explore, and prototype these projects online. Some projects support real-time simulation. Click "Open Project" to start designing instantly!
Image of R8 FCU: A project utilizing ProtoSnap - Pro Mini - Buzzer in a practical application
Arduino Pro Mini GPS Tracker with Piezo Buzzer Alert
This circuit is a GPS tracking system that uses an Arduino Pro Mini to interface with a neo 6m GPS module and a piezo buzzer. The GPS module provides location data to the Arduino, which can trigger the buzzer through a PNP transistor and a resistor for alerting purposes. The JST SH1 I2C connector is used for additional I2C communication.
Cirkit Designer LogoOpen Project in Cirkit Designer
Image of file alert sms: A project utilizing ProtoSnap - Pro Mini - Buzzer in a practical application
Arduino Pro Mini Based Temperature Monitoring and GSM Communication System
This circuit features an Arduino Pro Mini microcontroller connected to a Sim A7670c module for cellular communication, an MLX90614 infrared temperature sensor, and a buzzer for audible alerts. The Arduino facilitates data exchange between the Sim A7670c and the MLX90614 sensor, and controls the buzzer. Power is supplied by a 5V DC source connected to all components, ensuring a common operating voltage.
Cirkit Designer LogoOpen Project in Cirkit Designer
Image of Buzzer Twinkle: A project utilizing ProtoSnap - Pro Mini - Buzzer in a practical application
Wi-Fi Controlled Buzzer with Wemos D1 Mini
This circuit consists of a Wemos D1 Mini microcontroller connected to an active buzzer module. The Wemos D1 Mini provides power to the buzzer and controls it through its D1 pin, allowing for programmable sound output.
Cirkit Designer LogoOpen Project in Cirkit Designer
Image of bicycle FULL: A project utilizing ProtoSnap - Pro Mini - Buzzer in a practical application
Arduino Pro Mini-Based Smart Home Automation with ADXL345 and RS232 Communication
This circuit features two Arduino Pro Mini microcontrollers interfacing with various sensors and actuators. One Arduino reads data from an ADXL345 accelerometer and communicates with an RS232 module, while the other controls a 2-channel relay to manage two 12V LEDs, a 1-channel relay to control a red lamp, and a buzzer. Power is supplied by 9V and 12V batteries.
Cirkit Designer LogoOpen Project in Cirkit Designer

Technical Specifications

General Specifications

  • Operating Voltage: 3.3V to 5V
  • Sound Output: >85dB at 10cm
  • Resonant Frequency: 2.7kHz ± 0.5kHz
  • Current Consumption: <25mA (at 5V)
  • Operating Temperature: -20°C to 70°C

Pin Configuration and Descriptions

Pin Number Name Description
1 VCC Connect to the positive supply voltage (3.3V to 5V)
2 GND Connect to the ground of the circuit

Usage Instructions

Connecting the Buzzer to a Circuit

  1. Connect the VCC pin of the buzzer to a digital output pin on the Arduino UNO.
  2. Connect the GND pin of the buzzer to the ground (GND) on the Arduino UNO.

Generating Sound

To generate sound, you need to toggle the digital output pin connected to the VCC pin of the buzzer at a specific frequency. This can be done using the tone() function in the Arduino IDE.

Best Practices

  • Do not exceed the maximum voltage rating of 5V as it may damage the buzzer.
  • Ensure that the buzzer is mounted securely to prevent vibrations from affecting other components.
  • Use a current-limiting resistor if operating the buzzer at a voltage significantly lower than its rated voltage to prevent excessive current draw.

Example Code for Arduino UNO

// Define the buzzer pin
const int buzzerPin = 9;

void setup() {
  // Initialize the buzzer pin as an output
  pinMode(buzzerPin, OUTPUT);
}

void loop() {
  // Turn on the buzzer at 2.7kHz for 1 second
  tone(buzzerPin, 2700);
  delay(1000);
  
  // Turn off the buzzer
  noTone(buzzerPin);
  delay(1000);
}

Troubleshooting and FAQs

Common Issues

  • Buzzer not sounding: Ensure that the connections are secure and the buzzer is receiving the correct voltage.
  • Sound is too faint: Check if the buzzer is properly mounted and not obstructed. Also, verify that the voltage is within the specified range.
  • Buzzer sounds continuously: Make sure that the noTone() function is called to stop the sound after the desired duration.

FAQs

Q: Can I use the ProtoSnap - Pro Mini - Buzzer with a 3.3V supply? A: Yes, the buzzer can operate with a supply voltage as low as 3.3V, but the sound output may be reduced compared to using a 5V supply.

Q: Is it possible to play different tones with the buzzer? A: Yes, by varying the frequency parameter in the tone() function, you can play different tones.

Q: How do I control the volume of the buzzer? A: The volume of the buzzer is not directly controllable; it is determined by the voltage and the frequency. However, you can create a perceived change in volume by varying the duration and pattern of the sound.

Q: Can the buzzer be used to play melodies? A: Yes, by sequencing different frequencies and durations, you can create simple melodies with the buzzer.

For further assistance or more complex troubleshooting, please refer to the manufacturer's documentation or contact technical support.