
How to Use Matek 12S-PRO BEC: Examples, Pinouts, and Specs
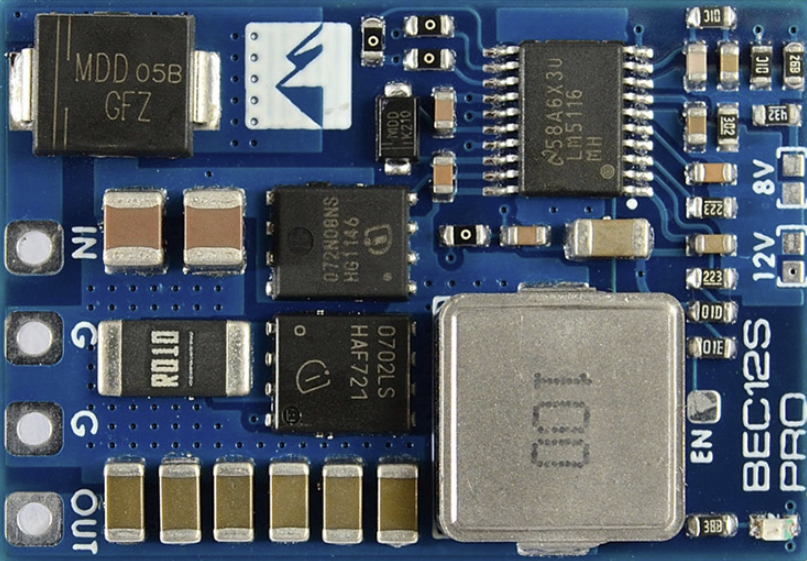
 Design with Matek 12S-PRO BEC in Cirkit Designer
Introduction
The Matek 12S-PRO BEC is a high-performance battery eliminator circuit (BEC) designed to provide a stable and reliable voltage output for powering servos, flight controllers, and other onboard electronics in multi-rotor and fixed-wing aircraft. It is specifically engineered to handle high-voltage input from batteries, making it an ideal choice for demanding applications in UAVs, drones, and RC aircraft.
Explore Projects Built with Matek 12S-PRO BEC
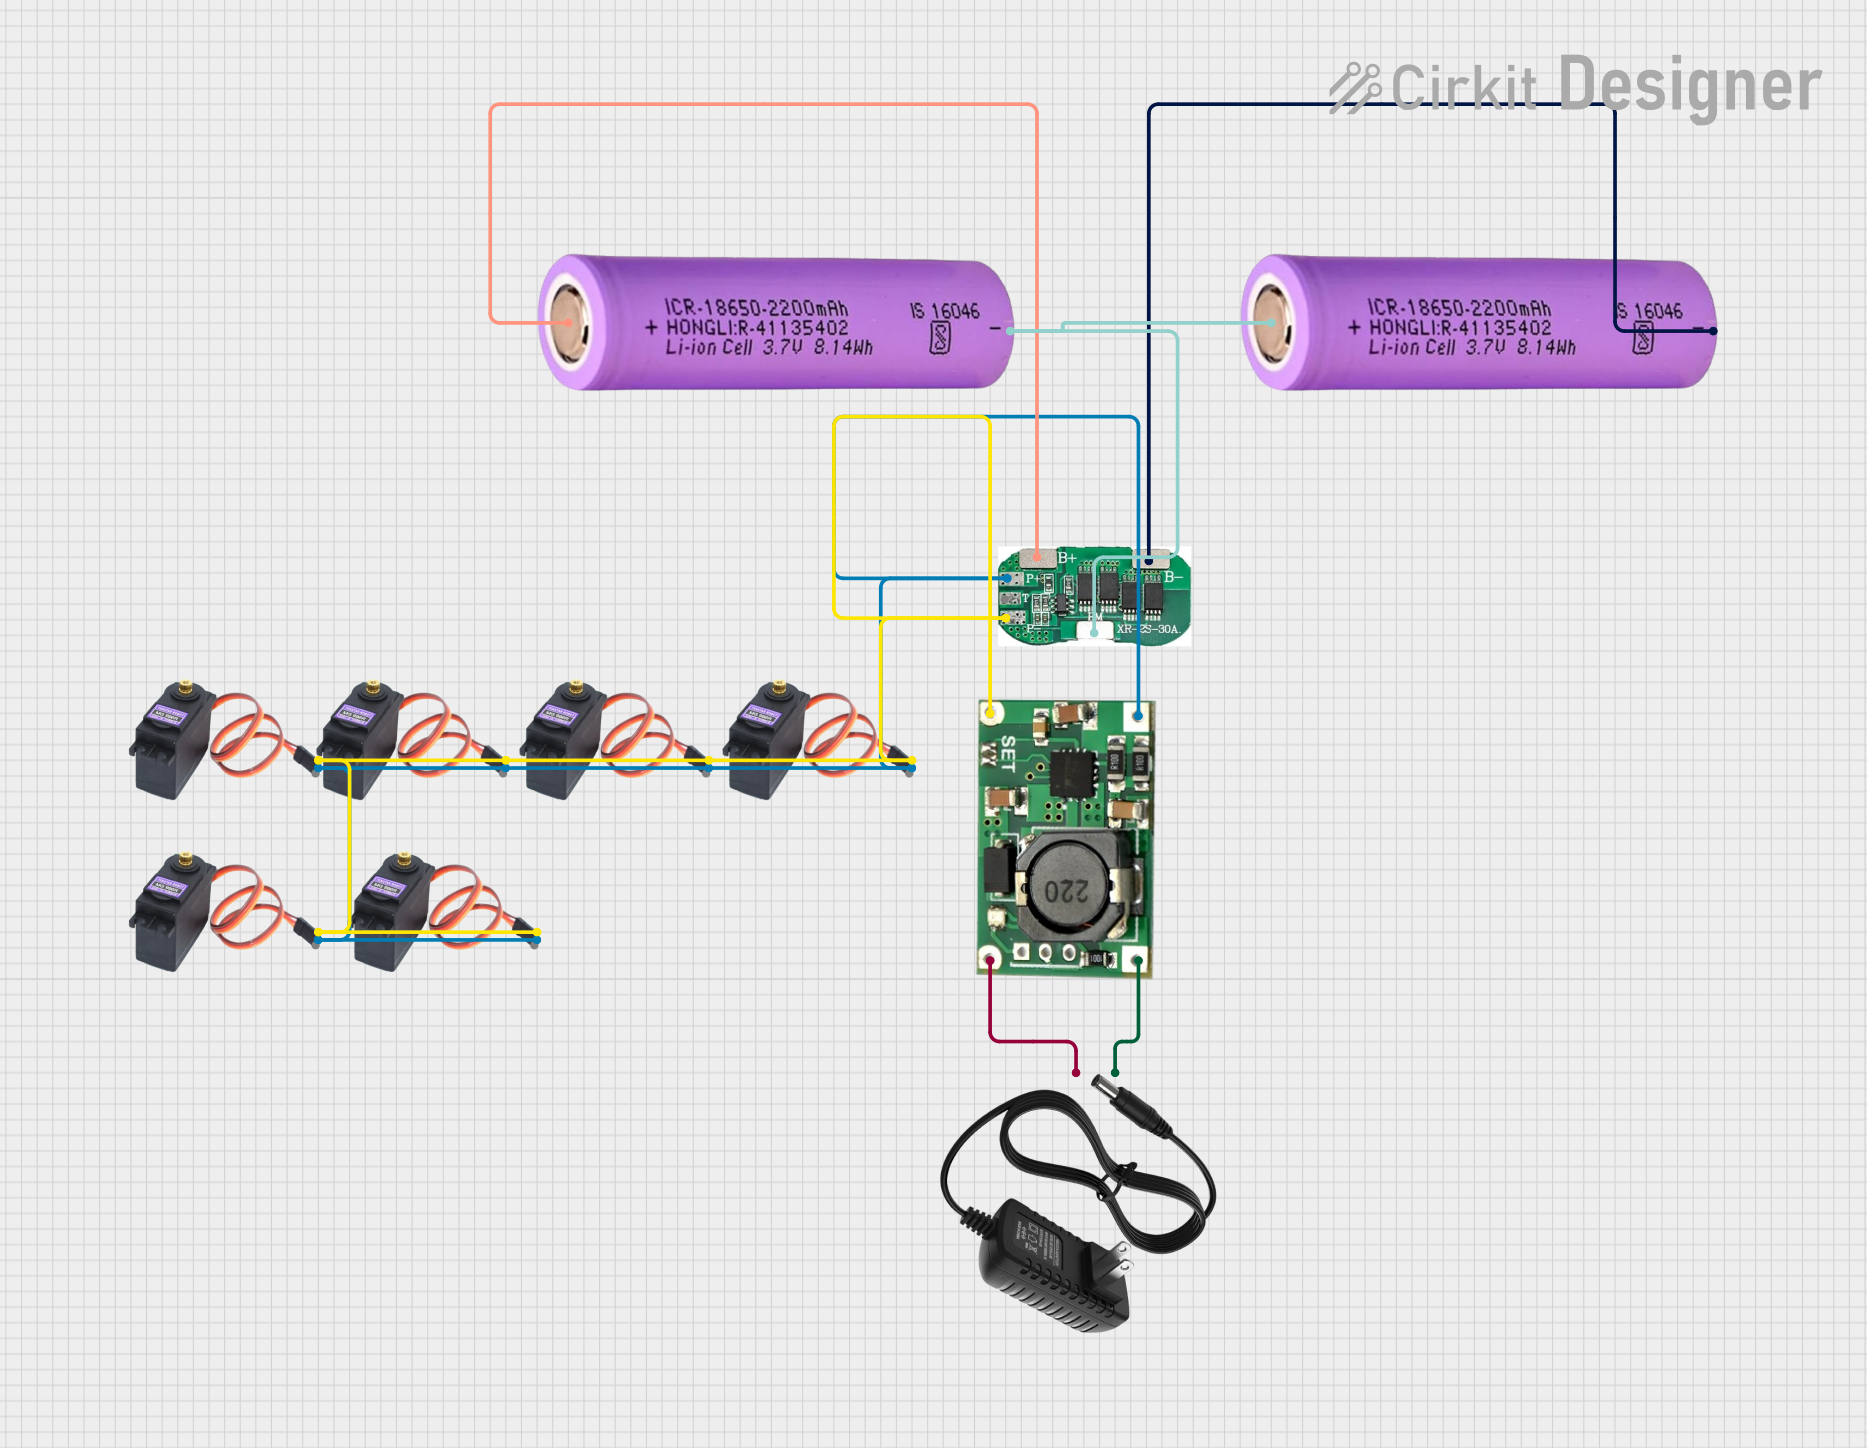 Open Project in Cirkit Designer
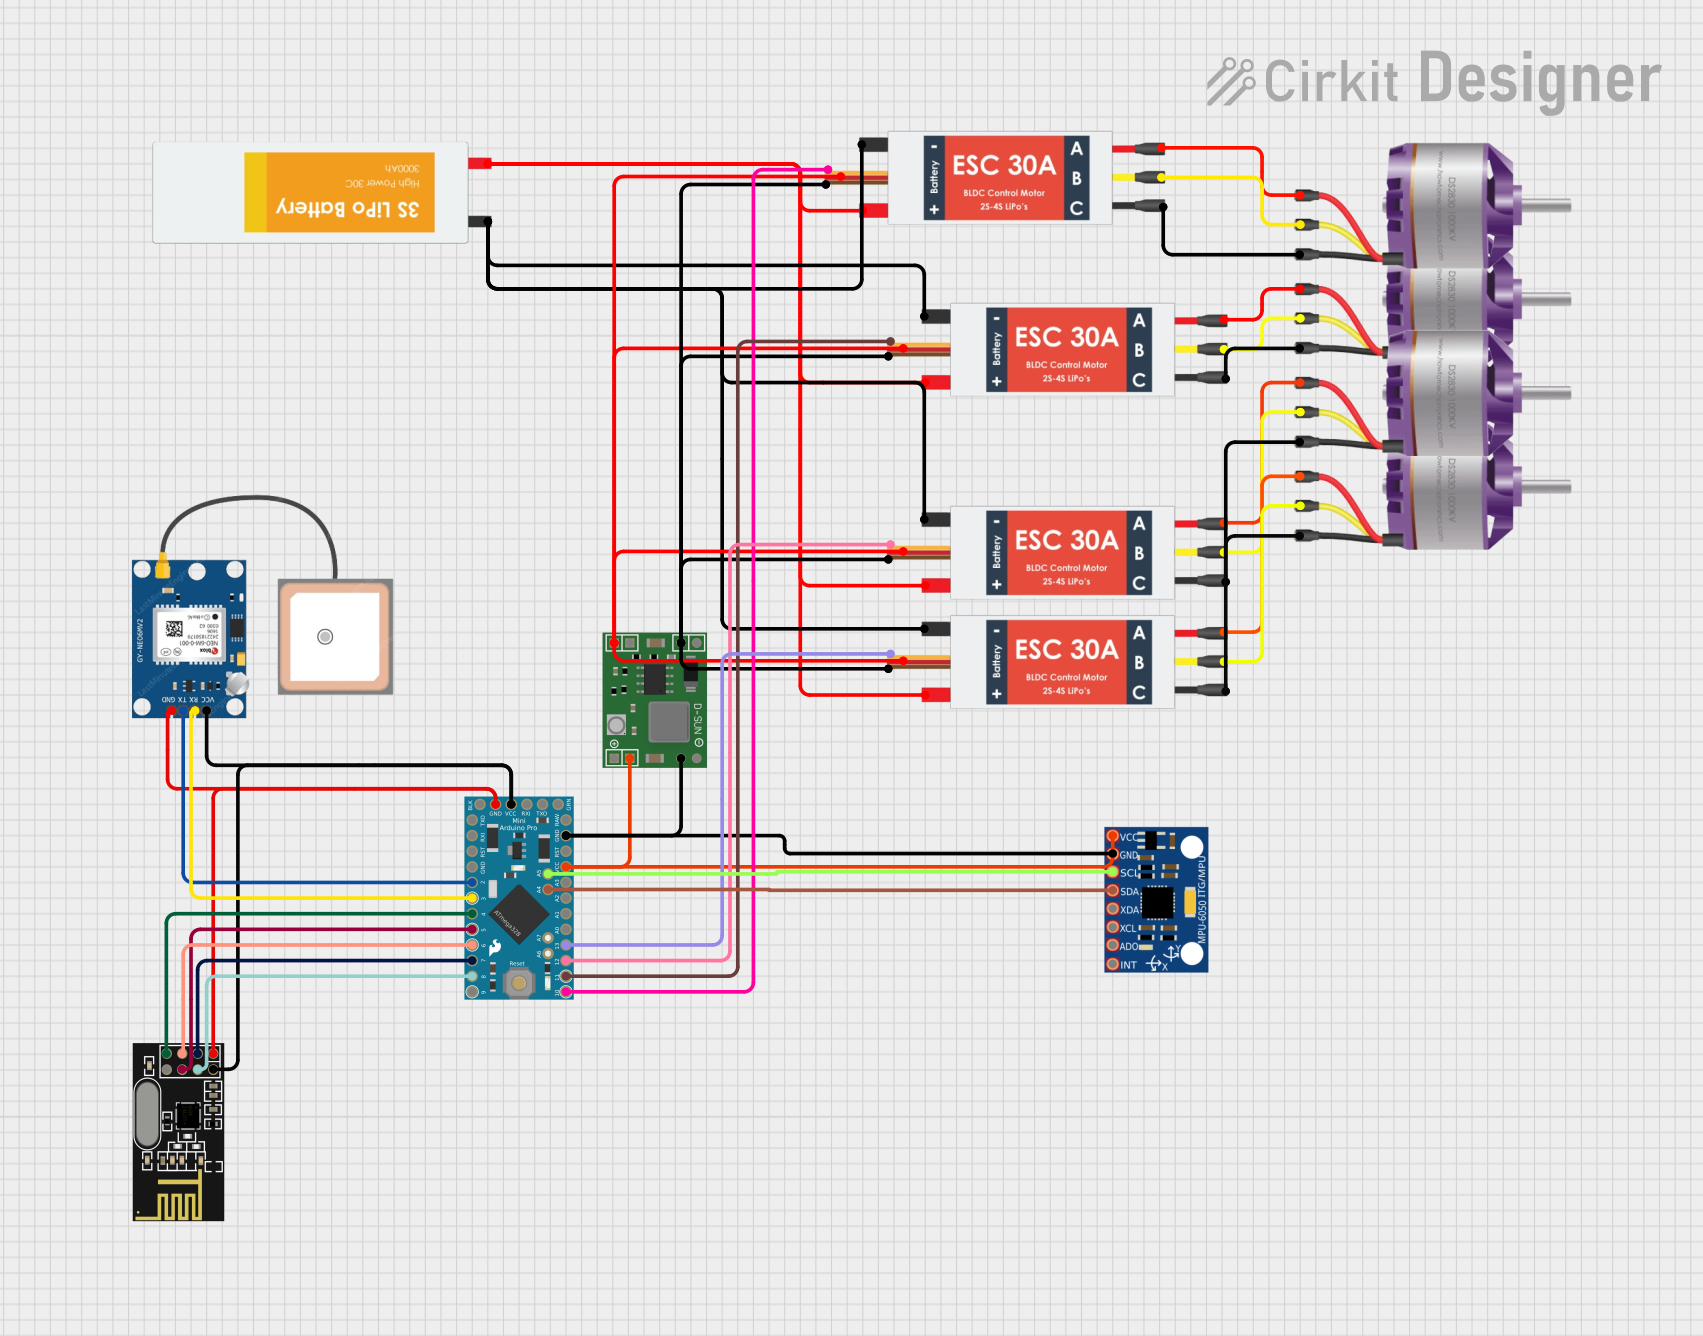 Open Project in Cirkit Designer
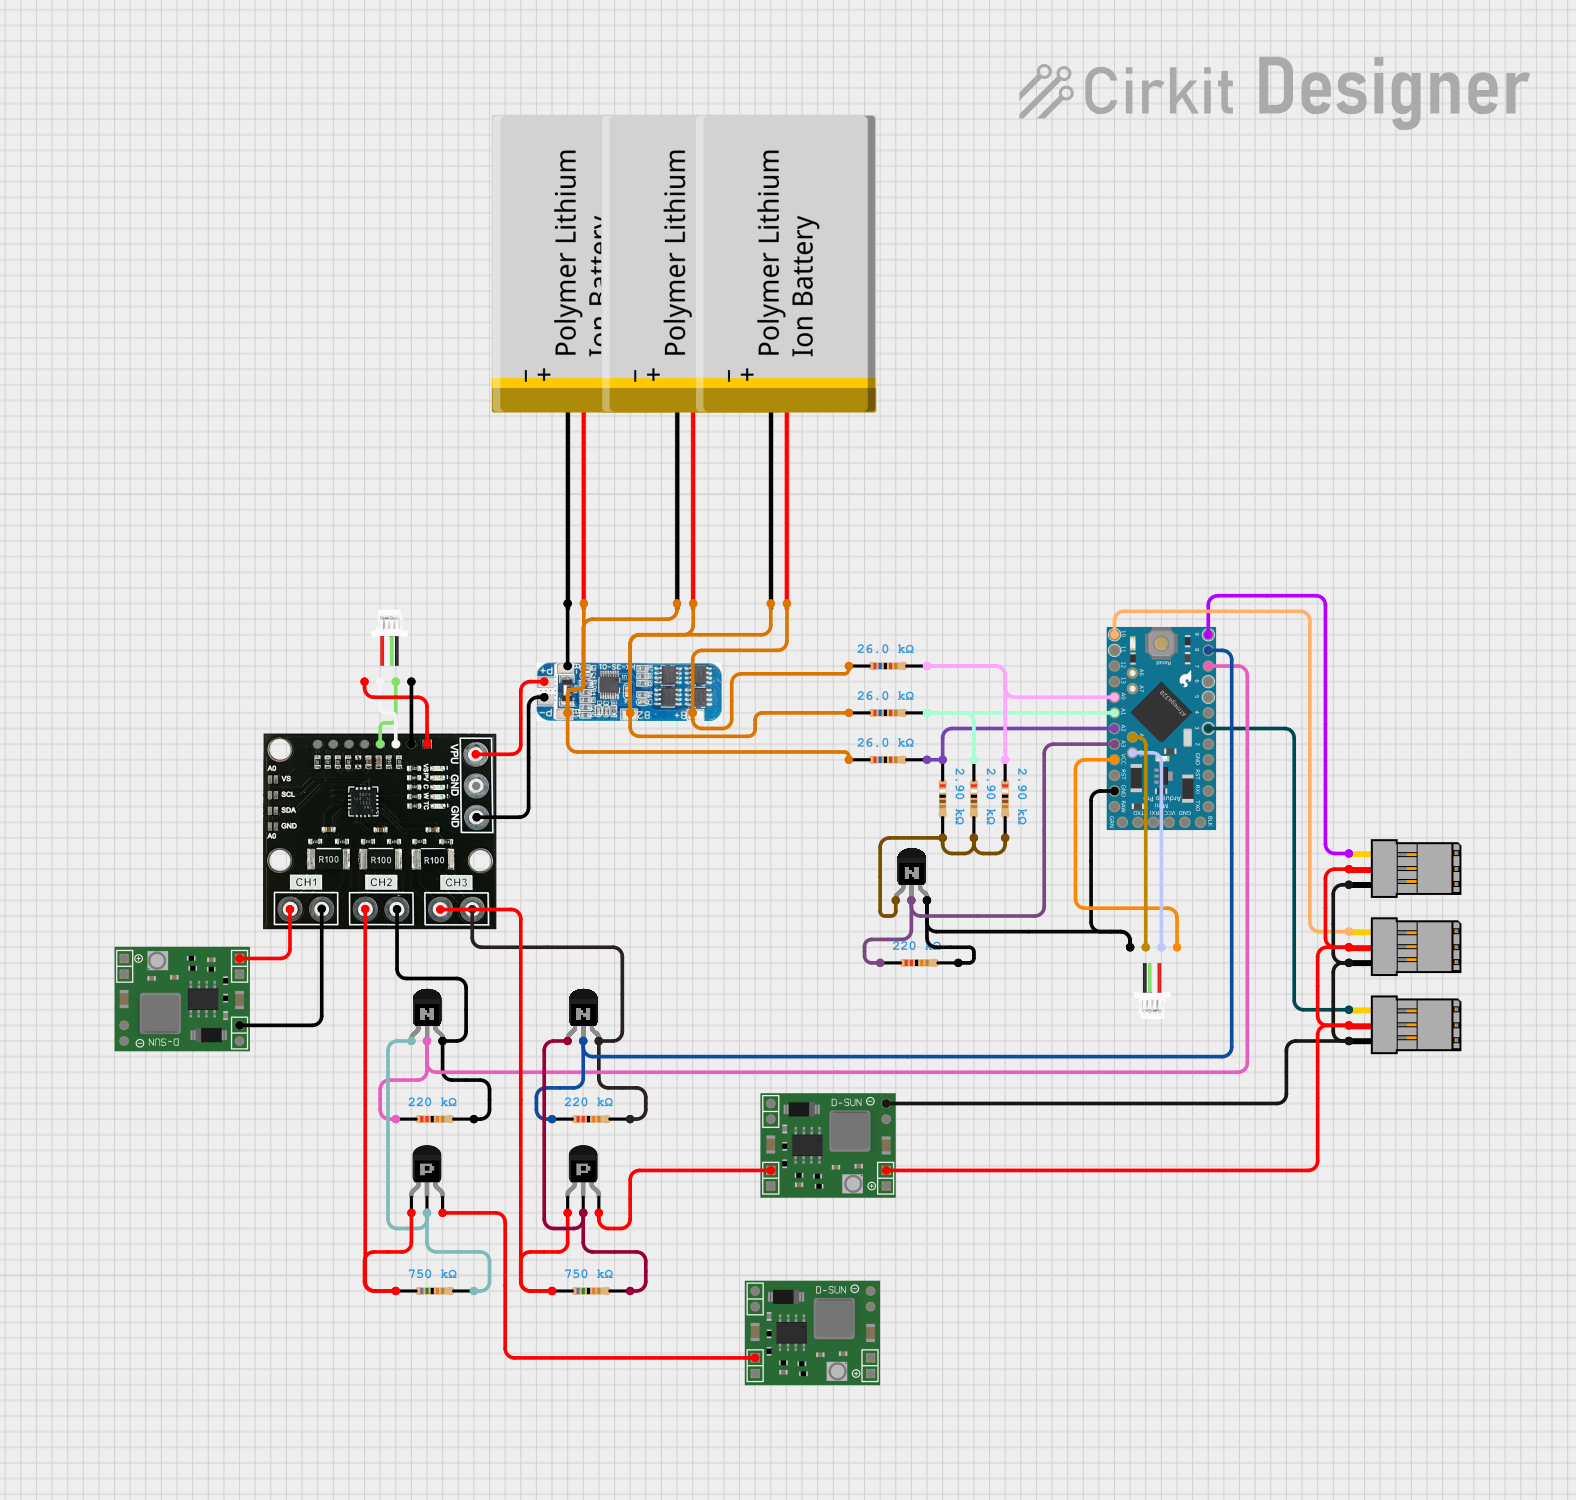 Open Project in Cirkit Designer
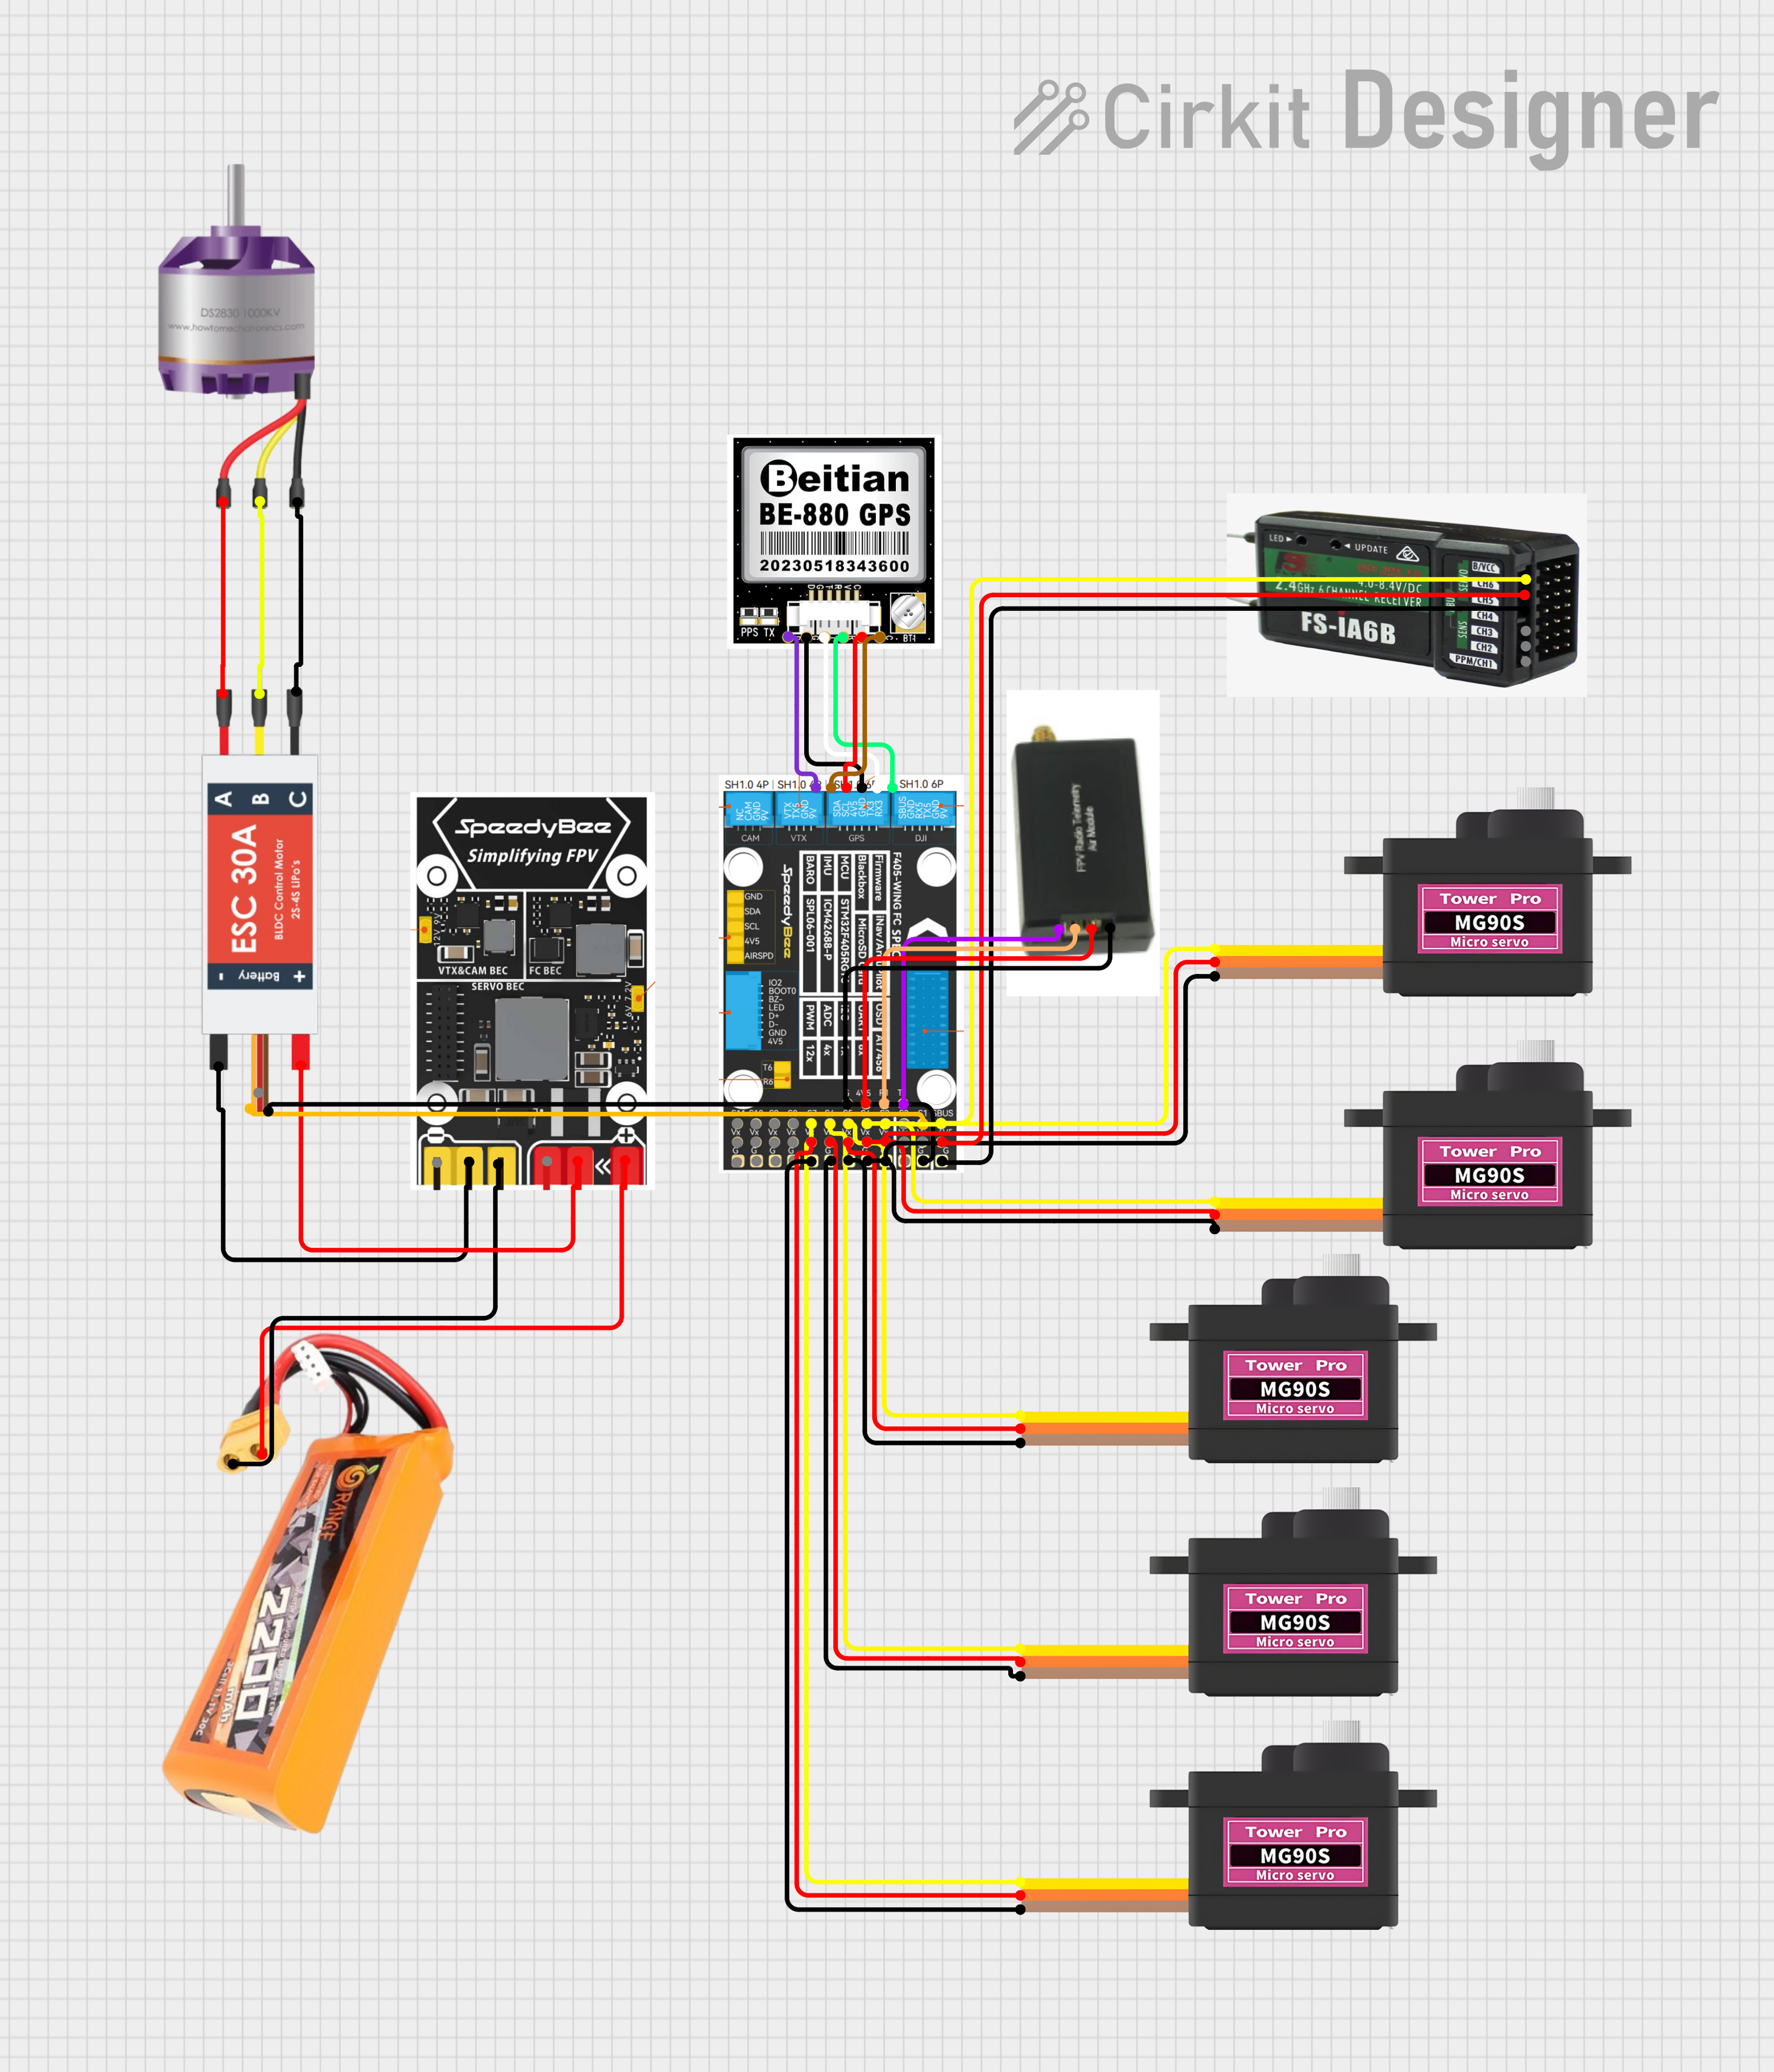 Open Project in Cirkit Designer
Explore Projects Built with Matek 12S-PRO BEC
Open Project in Cirkit DesignerOpen Project in Cirkit DesignerOpen Project in Cirkit DesignerOpen Project in Cirkit DesignerCommon Applications and Use Cases
- Powering flight controllers, servos, and receivers in drones and RC aircraft.
- Voltage regulation for high-voltage battery systems (up to 12S LiPo).
- Providing stable power to onboard electronics in multi-rotor and fixed-wing platforms.
- Reducing the need for separate power supplies by stepping down high-voltage battery input.
Technical Specifications
Key Technical Details
- Input Voltage Range: 9V to 60V (3S to 12S LiPo batteries)
- Output Voltage Options: 5V, 9V, 12V (selectable via solder pads)
- Maximum Output Current: 5A continuous, 6A peak
- Efficiency: Up to 95%
- Dimensions: 21mm x 15mm x 6mm
- Weight: 4g
- Protection Features: Overcurrent protection, thermal shutdown, and short-circuit protection.
Pin Configuration and Descriptions
The Matek 12S-PRO BEC has a simple pinout for easy integration into your circuit. Below is the pin configuration:
| Pin Name | Description |
|---|---|
| VIN+ | Positive input voltage terminal (connect to the positive terminal of the battery). |
| VIN- | Negative input voltage terminal (connect to the negative terminal of the battery). |
| VOUT+ | Positive output voltage terminal (connect to the load or electronics to be powered). |
| VOUT- | Negative output voltage terminal (connect to the ground of the load or electronics). |
Usage Instructions
How to Use the Matek 12S-PRO BEC in a Circuit
Select the Output Voltage:
- Locate the solder pads on the BEC labeled "5V," "9V," and "12V."
- Use a soldering iron to bridge the pads corresponding to the desired output voltage.
- Ensure only one voltage option is selected at a time.
Connect the Input Voltage:
- Connect the VIN+ pin to the positive terminal of your battery (3S to 12S LiPo).
- Connect the VIN- pin to the negative terminal of your battery.
Connect the Output Voltage:
- Connect the VOUT+ pin to the positive terminal of the device or electronics you want to power.
- Connect the VOUT- pin to the ground terminal of the device or electronics.
Verify Connections:
- Double-check all connections to ensure proper polarity and avoid short circuits.
- Use a multimeter to confirm the output voltage before connecting sensitive electronics.
Power On:
- Turn on the power supply or connect the battery to the BEC.
- Verify that the output voltage is stable and within the selected range.
Important Considerations and Best Practices
- Ensure the input voltage is within the specified range (9V to 60V) to avoid damaging the BEC.
- Do not exceed the maximum continuous output current of 5A to prevent overheating.
- Mount the BEC in a location with adequate airflow to improve heat dissipation.
- Use appropriate wire gauges for input and output connections to handle the current safely.
- If using the BEC with an Arduino UNO or other microcontrollers, ensure the output voltage matches the microcontroller's operating voltage (e.g., 5V for Arduino UNO).
Example: Connecting to an Arduino UNO
If you are using the Matek 12S-PRO BEC to power an Arduino UNO, follow these steps:
- Set the output voltage to 5V by bridging the "5V" solder pads.
- Connect the VOUT+ pin to the Arduino's 5V pin.
- Connect the VOUT- pin to the Arduino's GND pin.
Here is a simple Arduino code example to test the setup:
// Example code to blink an LED connected to pin 13 on the Arduino UNO
// Ensure the Matek 12S-PRO BEC is providing 5V to the Arduino UNO.

void setup() {
  pinMode(13, OUTPUT); // Set pin 13 as an output pin
}

void loop() {
  digitalWrite(13, HIGH); // Turn the LED on
  delay(1000);            // Wait for 1 second
  digitalWrite(13, LOW);  // Turn the LED off
  delay(1000);            // Wait for 1 second
}
Troubleshooting and FAQs
Common Issues and Solutions
No Output Voltage:
- Cause: Incorrect solder pad selection or poor soldering.
- Solution: Verify the solder pads are correctly bridged for the desired output voltage. Re-solder if necessary.
Overheating:
- Cause: Exceeding the maximum output current or poor ventilation.
- Solution: Reduce the load current or improve airflow around the BEC.
Output Voltage Fluctuations:
- Cause: Input voltage instability or excessive load.
- Solution: Ensure the input voltage is stable and within the specified range. Reduce the load if necessary.
Short Circuit Detected:
- Cause: Incorrect wiring or a short circuit in the connected load.
- Solution: Inspect all connections for shorts and correct any wiring errors.
FAQs
Q: Can I use the Matek 12S-PRO BEC with a 2S LiPo battery?
A: No, the minimum input voltage is 9V, which corresponds to a 3S LiPo battery.Q: How do I know if the BEC is overheating?
A: The BEC includes thermal shutdown protection. If it overheats, it will automatically shut down to prevent damage.Q: Can I power multiple devices with the BEC?
A: Yes, as long as the total current draw does not exceed 5A continuous or 6A peak.Q: Is the Matek 12S-PRO BEC waterproof?
A: No, the BEC is not waterproof. Protect it from moisture and water exposure during use.
This concludes the documentation for the Matek 12S-PRO BEC. Follow the guidelines above to ensure safe and efficient operation of this high-performance component.