
How to Use Atlas Scientific RJ-11 Flow Meter Breakout: Examples, Pinouts, and Specs
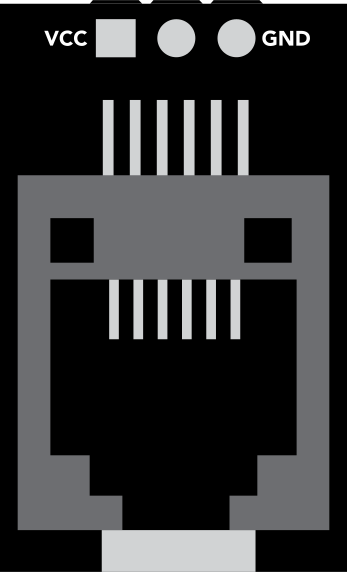
 Design with Atlas Scientific RJ-11 Flow Meter Breakout in Cirkit Designer
Introduction
The Atlas Scientific RJ-11 Flow Meter Breakout is a compact and efficient breakout board designed to interface seamlessly with RJ-11 flow meters. It simplifies the process of connecting flow meters to microcontrollers or other electronic systems by providing easy access to the flow meter's signals. This breakout board is ideal for applications requiring precise flow rate measurements, such as water management systems, industrial automation, and environmental monitoring.
Explore Projects Built with Atlas Scientific RJ-11 Flow Meter Breakout
 Open Project in Cirkit Designer
 Open Project in Cirkit Designer
 Open Project in Cirkit Designer
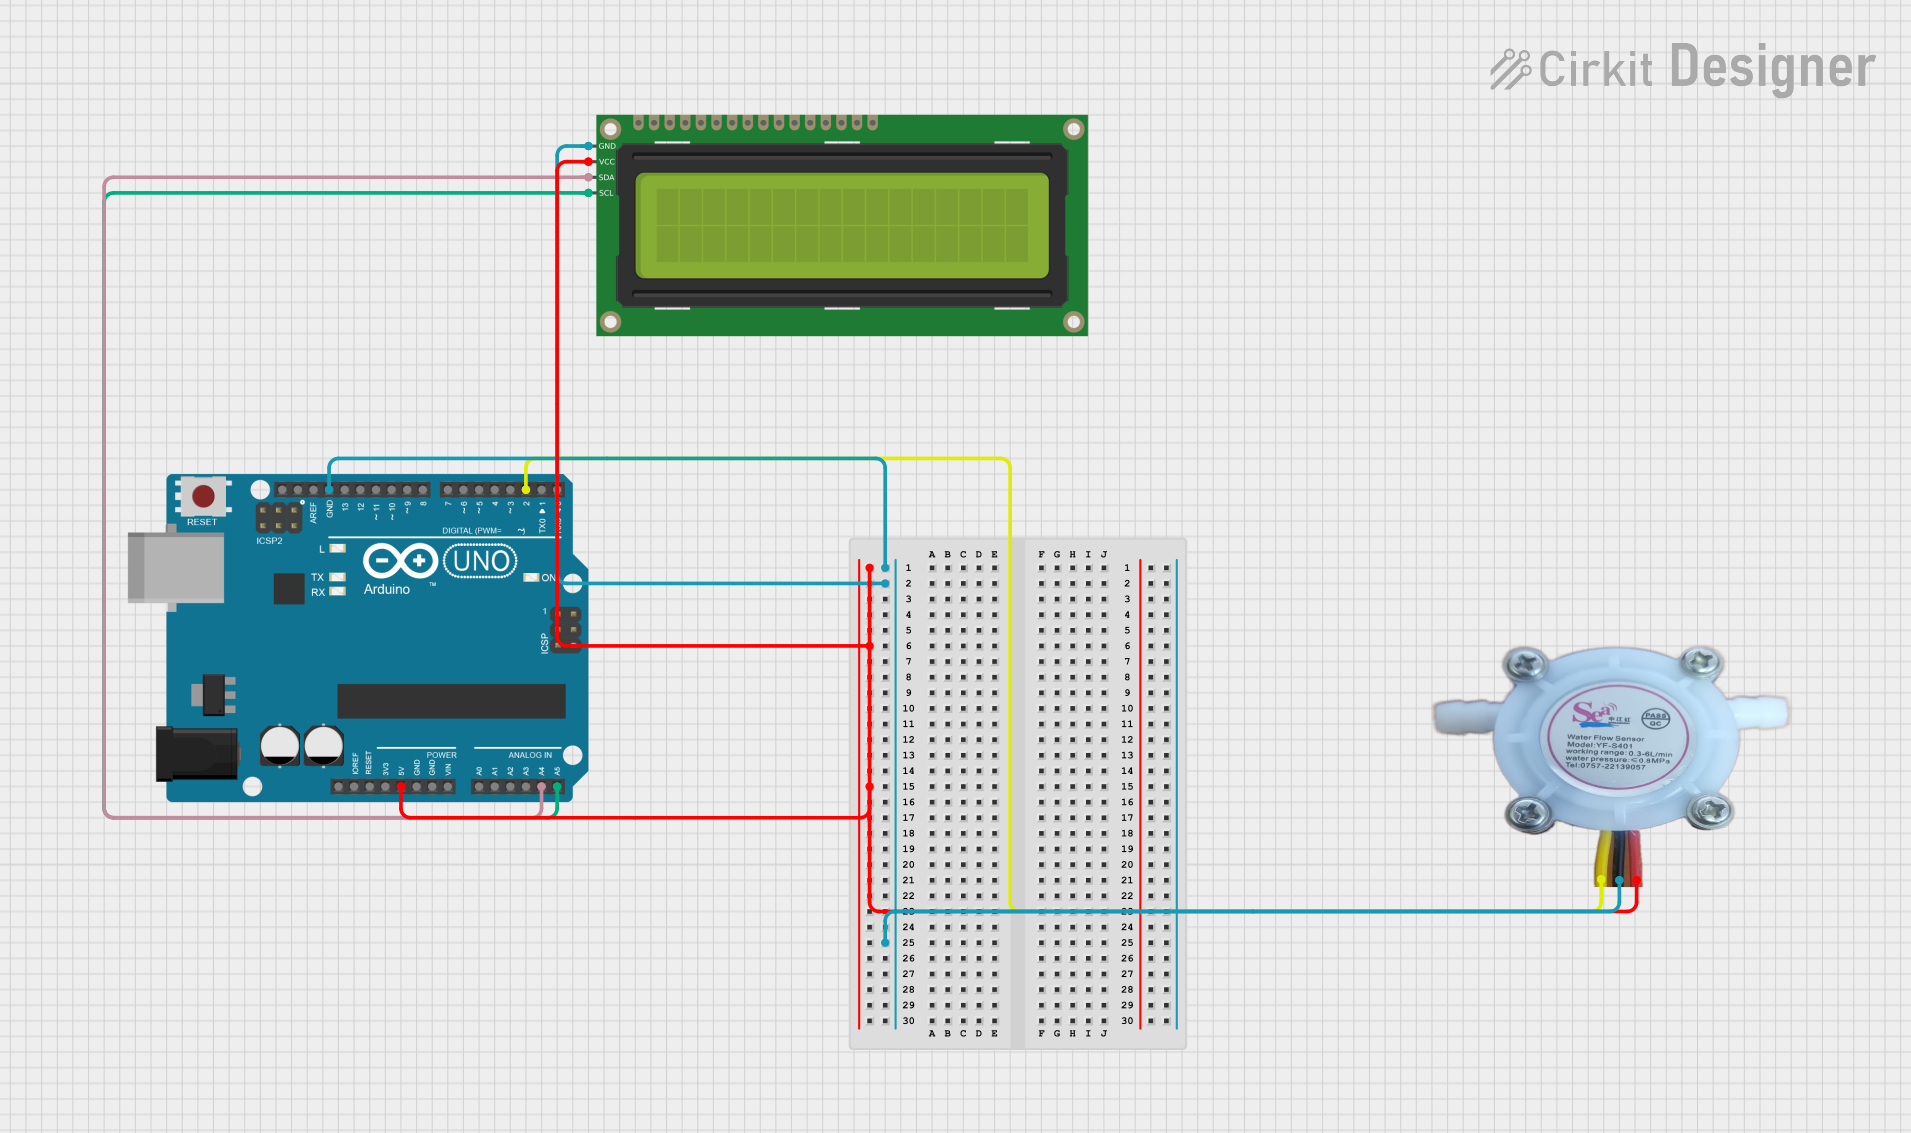 Open Project in Cirkit Designer
Explore Projects Built with Atlas Scientific RJ-11 Flow Meter Breakout
Open Project in Cirkit DesignerOpen Project in Cirkit DesignerOpen Project in Cirkit DesignerOpen Project in Cirkit DesignerCommon Applications
- Water flow monitoring in irrigation systems
- Industrial fluid control and measurement
- Environmental monitoring and data logging
- Integration with microcontrollers like Arduino or Raspberry Pi for IoT projects
Technical Specifications
The Atlas Scientific RJ-11 Flow Meter Breakout is designed to work with a wide range of flow meters and microcontrollers. Below are its key technical details:
Key Specifications
| Parameter | Value |
|---|---|
| Input Voltage | 3.3V to 5.5V |
| Output Signal | Digital pulse (square wave) |
| Compatible Flow Meters | RJ-11 interface flow meters |
| Operating Temperature | -40°C to 85°C |
| Dimensions | 25mm x 20mm x 5mm |
Pin Configuration
The breakout board features a 4-pin header for easy connection to a microcontroller. Below is the pinout description:
| Pin Name | Description |
|---|---|
| VCC | Power input (3.3V to 5.5V) |
| GND | Ground |
| SIGNAL | Digital pulse output from the flow meter |
| NC | Not connected (reserved for future use) |
Usage Instructions
Connecting the Breakout Board
- Power Supply: Connect the
VCCpin to a 3.3V or 5V power source and theGNDpin to ground. - Flow Meter Connection: Plug the RJ-11 connector from the flow meter into the breakout board's RJ-11 port.
- Signal Output: Connect the
SIGNALpin to a digital input pin on your microcontroller to read the flow meter's output.
Important Considerations
- Ensure the power supply voltage matches the specifications (3.3V to 5.5V) to avoid damaging the breakout board.
- Use pull-up resistors on the
SIGNALline if required by your microcontroller. - The output signal is a digital pulse, where the frequency corresponds to the flow rate. Refer to your flow meter's datasheet for the pulse-to-flow rate conversion factor.
Example: Using with Arduino UNO
Below is an example of how to use the Atlas Scientific RJ-11 Flow Meter Breakout with an Arduino UNO to measure water flow:
// Example code for interfacing the Atlas Scientific RJ-11 Flow Meter Breakout
// with an Arduino UNO. This code calculates the flow rate in liters per minute.

const int flowMeterPin = 2; // Digital pin connected to the SIGNAL pin
volatile int pulseCount = 0; // Variable to store pulse count

// Flow meter calibration factor (pulses per liter)
// Replace with the value from your flow meter's datasheet
const float calibrationFactor = 4.5;

unsigned long previousMillis = 0;
const unsigned long interval = 1000; // 1-second interval for flow rate calculation

void setup() {
  pinMode(flowMeterPin, INPUT_PULLUP); // Set the SIGNAL pin as input with pull-up
  attachInterrupt(digitalPinToInterrupt(flowMeterPin), countPulse, RISING);
  Serial.begin(9600); // Initialize serial communication
}

void loop() {
  unsigned long currentMillis = millis();

  // Calculate flow rate every second
  if (currentMillis - previousMillis >= interval) {
    previousMillis = currentMillis;

    // Calculate flow rate in liters per minute
    float flowRate = (pulseCount / calibrationFactor) * 60.0;
    pulseCount = 0; // Reset pulse count for the next interval

    // Print the flow rate to the Serial Monitor
    Serial.print("Flow Rate: ");
    Serial.print(flowRate);
    Serial.println(" L/min");
  }
}

// Interrupt service routine to count pulses
void countPulse() {
  pulseCount++;
}
Best Practices
- Use shielded cables for the RJ-11 connection in noisy environments to reduce interference.
- Secure the breakout board and flow meter to prevent mechanical stress on the RJ-11 connector.
- Regularly clean and maintain the flow meter to ensure accurate readings.
Troubleshooting and FAQs
Common Issues
No Signal Output:
- Ensure the flow meter is properly connected to the RJ-11 port.
- Verify that the
VCCandGNDpins are correctly powered. - Check for loose or damaged wires.
Inaccurate Flow Rate Readings:
- Confirm the calibration factor matches the flow meter's specifications.
- Inspect the flow meter for blockages or debris.
Intermittent Signal:
- Check for electrical noise or interference in the circuit.
- Use shorter cables or shielded wires for the
SIGNALline.
FAQs
Q: Can I use this breakout board with a 3.3V microcontroller?
A: Yes, the breakout board is compatible with both 3.3V and 5V systems.
Q: How do I determine the calibration factor for my flow meter?
A: Refer to the flow meter's datasheet or contact the manufacturer for the pulse-to-flow rate conversion factor.
Q: Can I connect multiple flow meters to a single microcontroller?
A: Yes, but each flow meter will require its own breakout board and a dedicated digital input pin.
Q: Is the breakout board waterproof?
A: No, the breakout board is not waterproof. Ensure it is used in a dry environment or enclosed in a protective case.
By following this documentation, you can effectively integrate the Atlas Scientific RJ-11 Flow Meter Breakout into your projects for accurate and reliable flow rate measurements.