How to Use LED strip : Examples, Pinouts, and Specs

 Design with LED strip in Cirkit Designer
Introduction
An LED strip is a flexible circuit board populated with light-emitting diodes (LEDs) that emit light when powered. These strips are versatile, easy to install, and available in various colors, brightness levels, and configurations. They are commonly used for decorative lighting, accent lighting, task lighting, and even in DIY electronics projects.
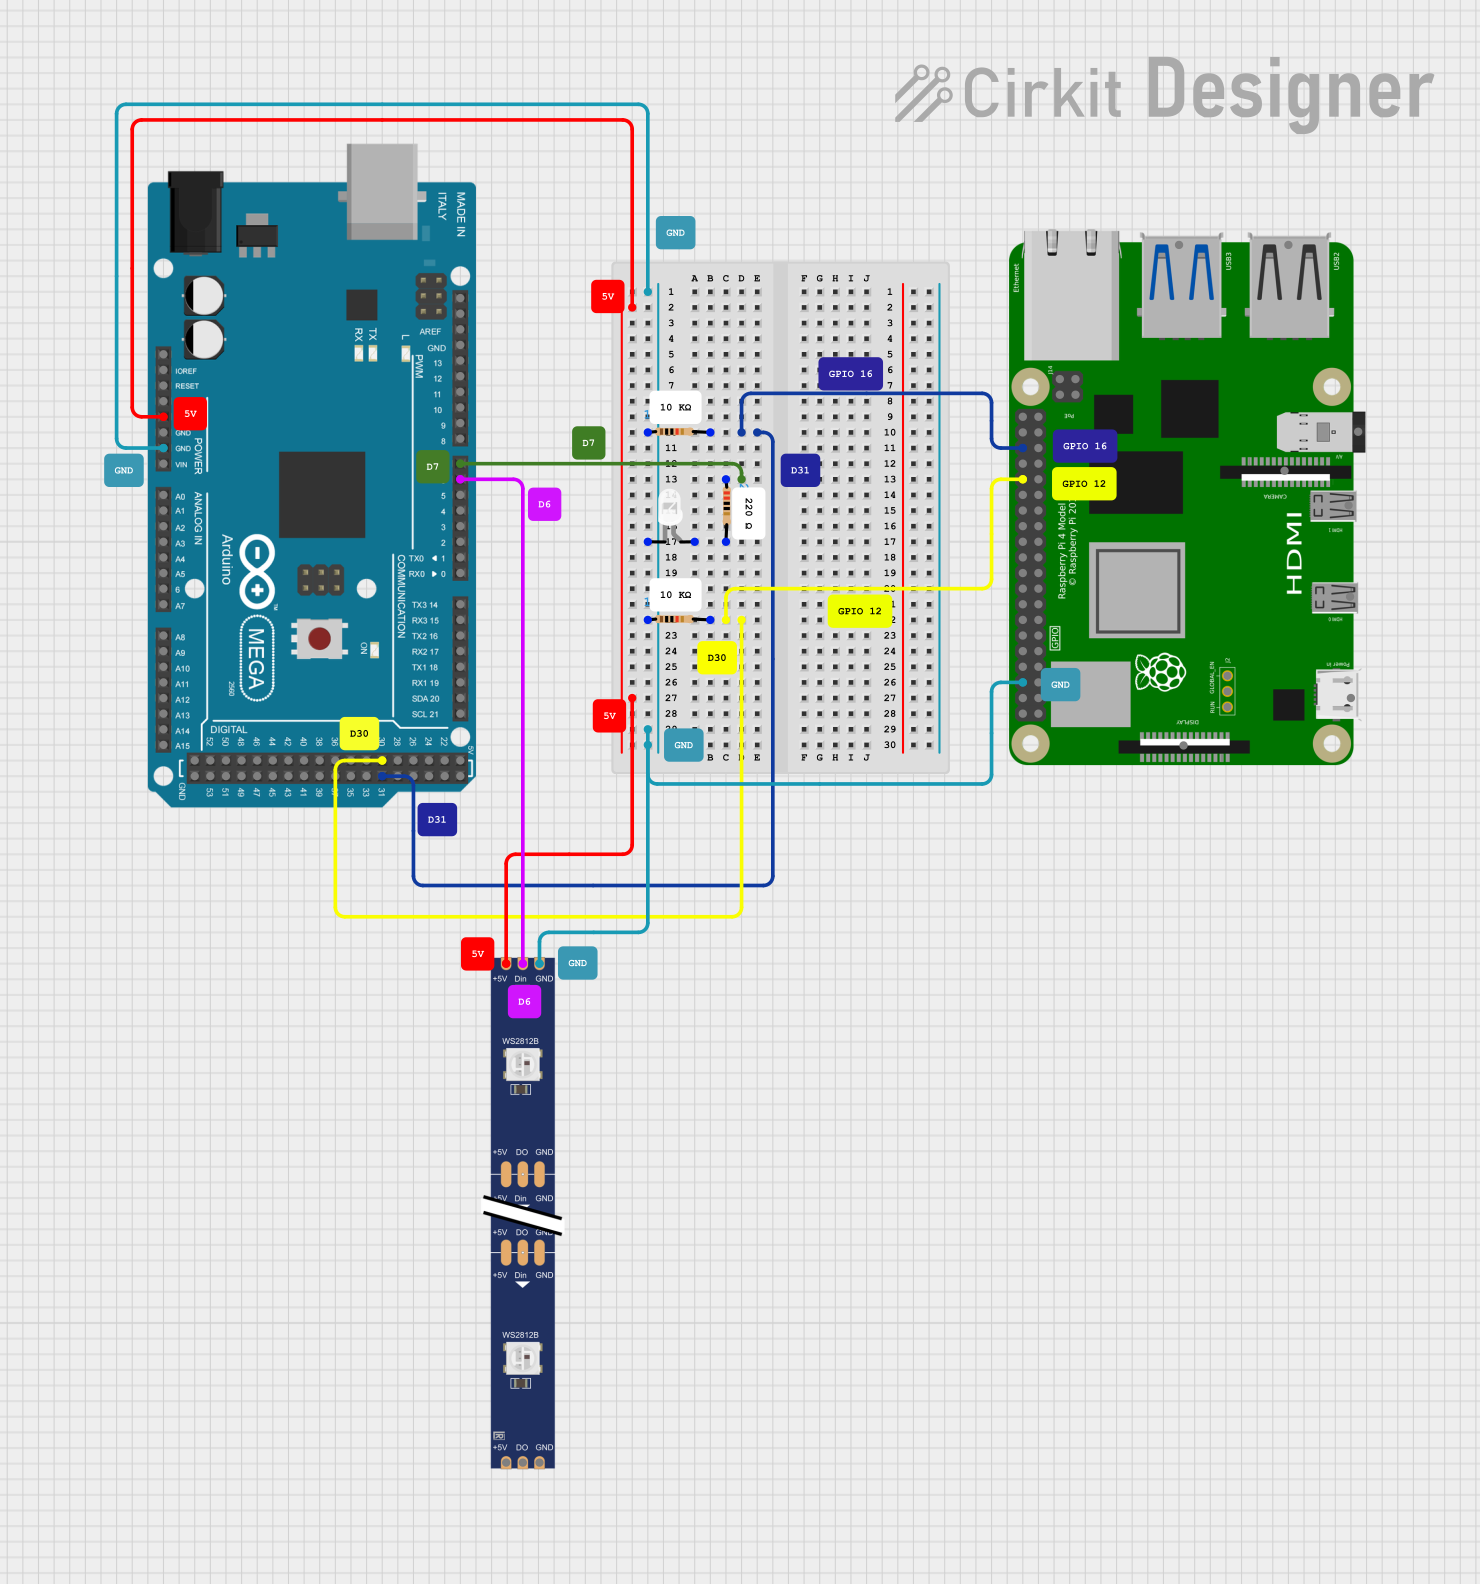
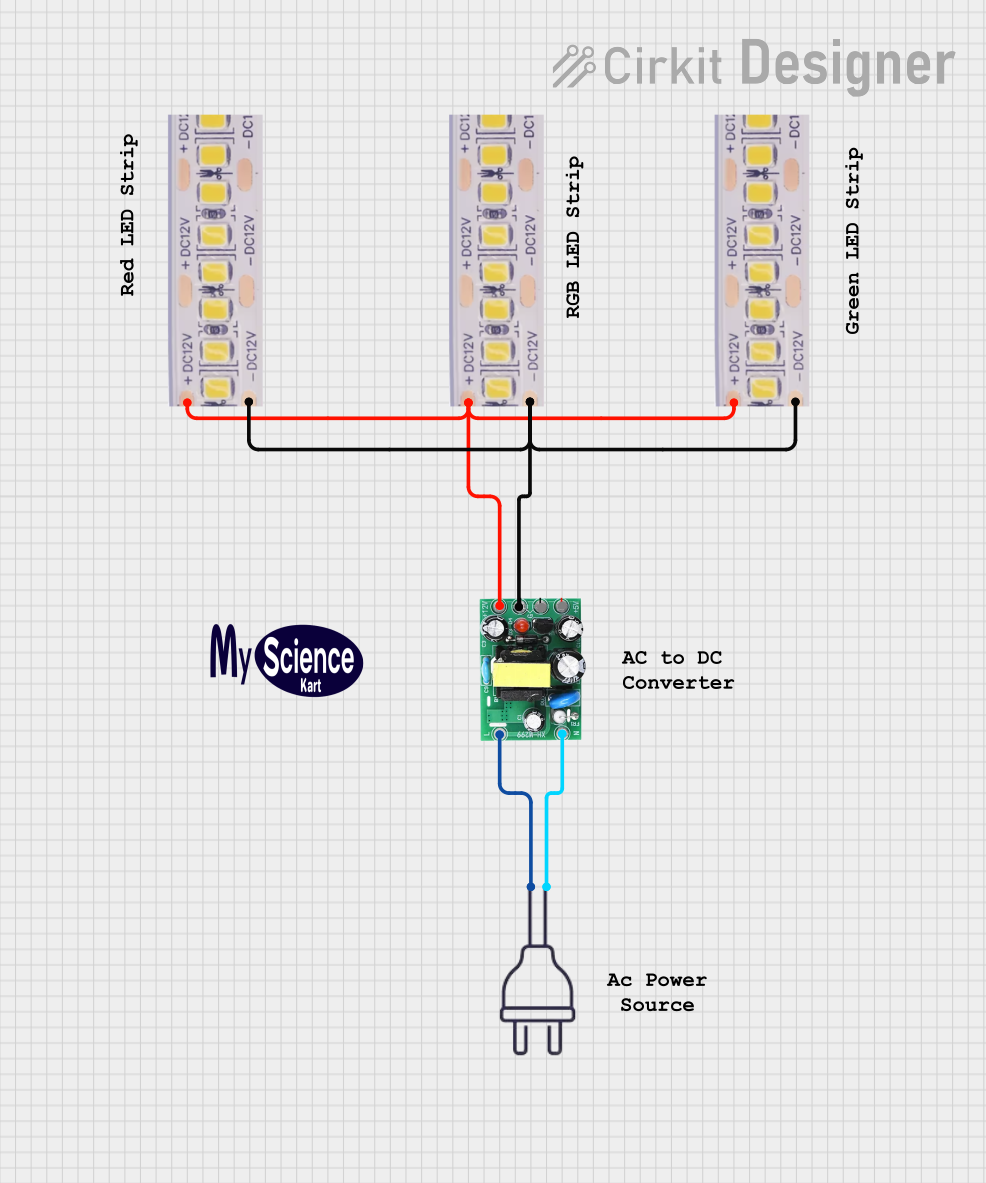
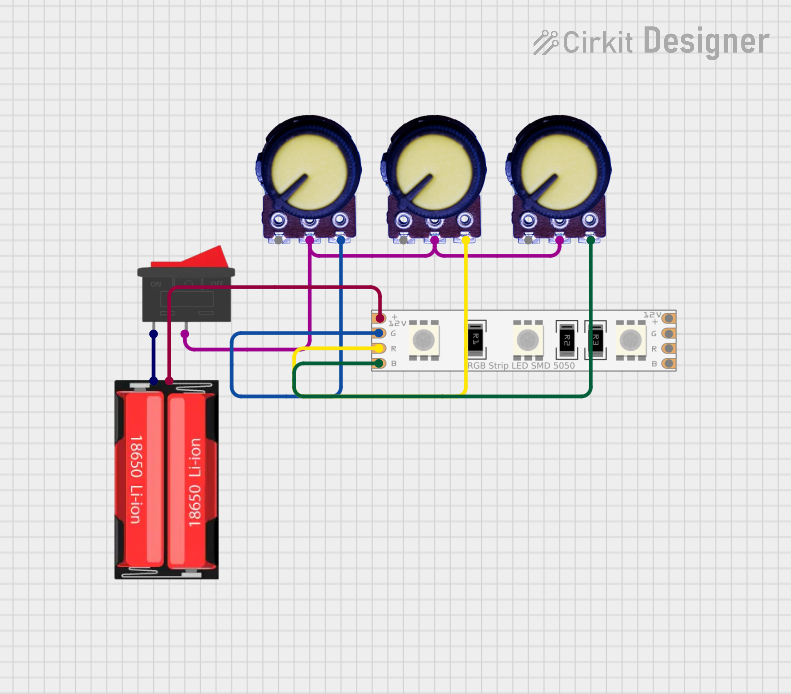
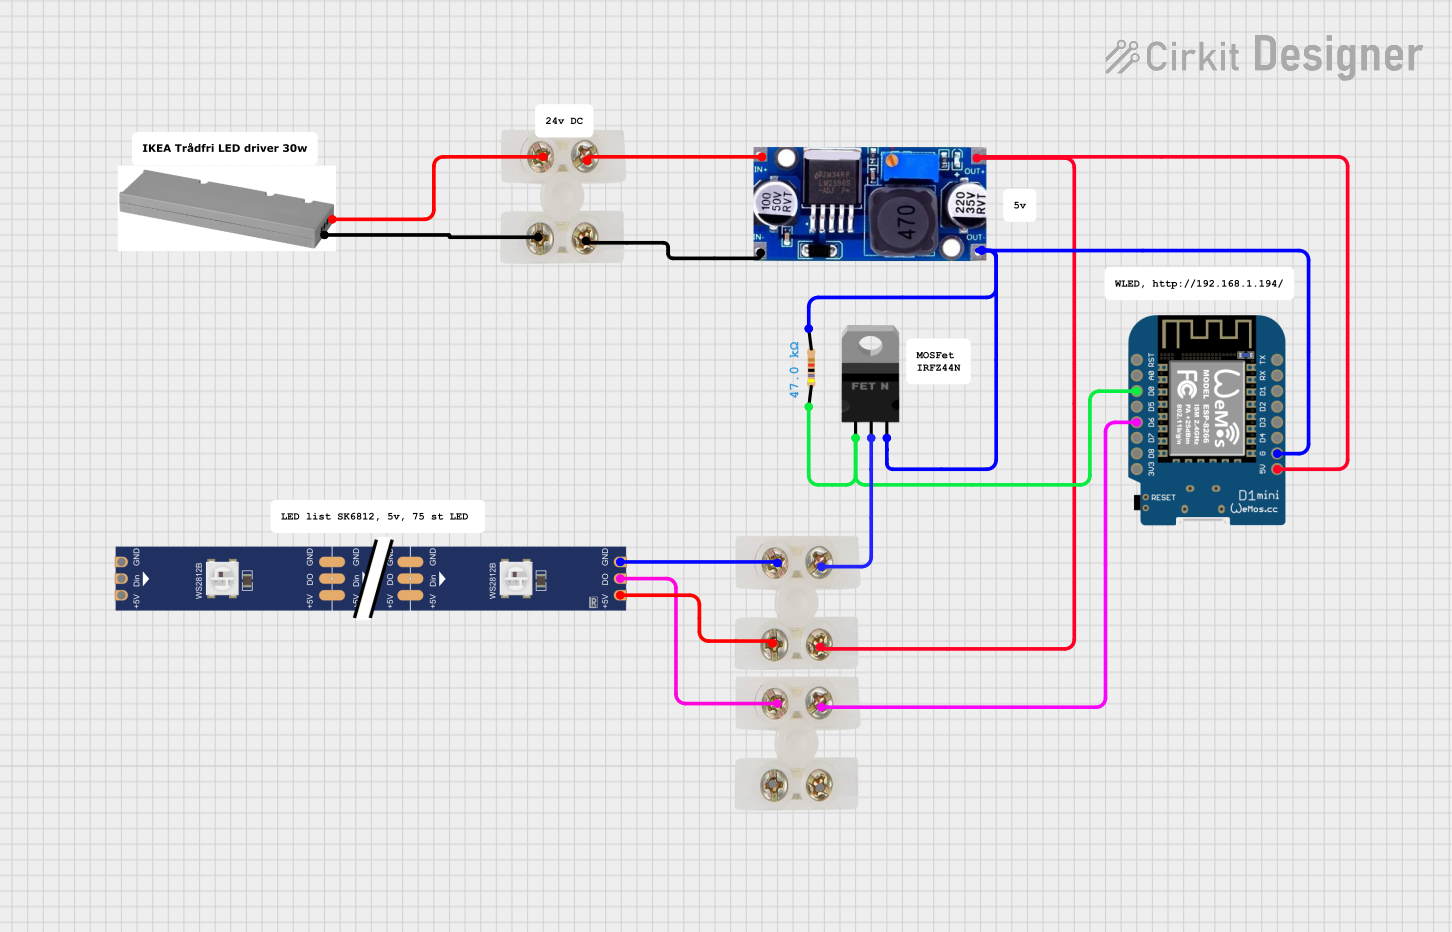
Explore Projects Built with LED strip

 Open Project in Cirkit Designer
 Open Project in Cirkit Designer
 Open Project in Cirkit Designer
 Open Project in Cirkit Designer
Explore Projects Built with LED strip

 Open Project in Cirkit Designer
 Open Project in Cirkit Designer
 Open Project in Cirkit Designer
 Open Project in Cirkit Designer
Common Applications and Use Cases
- Home Decor: Under-cabinet lighting, cove lighting, and backlighting for TVs or mirrors.
- Commercial Use: Store displays, signage, and architectural lighting.
- Automotive: Interior and exterior vehicle lighting.
- DIY Projects: Arduino-based projects, mood lighting, and custom designs.
- Functional Lighting: Task lighting for workspaces or kitchens.
Technical Specifications
The specifications of an LED strip can vary depending on the type and manufacturer. Below are the general specifications for a typical LED strip:
General Specifications
| Parameter | Value/Range |
|---|---|
| Input Voltage | 5V, 12V, or 24V (depending on model) |
| Power Consumption | 4.8W to 14.4W per meter |
| LED Type | SMD 3528, SMD 5050, or SMD 2835 |
| LED Density | 30, 60, or 120 LEDs per meter |
| Color Options | Single-color, RGB, or RGBW |
| Beam Angle | 120° |
| Lifespan | ~50,000 hours |
| Waterproof Rating | IP20 (non-waterproof) to IP68 (fully waterproof) |
Pin Configuration and Descriptions
For an RGB LED strip with a 4-pin connector:
| Pin Name | Description |
|---|---|
| +V | Positive voltage input (e.g., 12V) |
| R | Red channel control |
| G | Green channel control |
| B | Blue channel control |
For a single-color LED strip with a 2-pin connector:
| Pin Name | Description |
|---|---|
| +V | Positive voltage input |
| GND | Ground connection |
Usage Instructions
How to Use the LED Strip in a Circuit
- Power Supply: Select a power supply that matches the voltage rating of your LED strip (e.g., 12V or 24V). Ensure the power supply can handle the total current draw of the strip.
- Connecting the Strip:
- For single-color strips, connect the +V pin to the positive terminal of the power supply and the GND pin to the negative terminal.
- For RGB strips, use an RGB controller to manage the color channels. Connect the controller's output to the LED strip and its input to the power supply.
- Mounting: Use the adhesive backing (if available) to attach the strip to a clean, dry surface. For non-adhesive strips, use mounting clips or channels.
- Control: For RGB or addressable LED strips, use a controller or microcontroller (e.g., Arduino) to adjust colors, brightness, and effects.
Important Considerations and Best Practices
- Voltage Matching: Always use a power supply with the correct voltage rating for your LED strip.
- Current Capacity: Ensure the power supply can provide sufficient current for the entire strip.
- Heat Management: For high-power strips, consider using aluminum channels to dissipate heat.
- Cutting the Strip: LED strips can usually be cut at marked intervals. Use sharp scissors and ensure proper reconnection if needed.
- Polarity: Double-check connections to avoid reversing polarity, which can damage the LEDs.
Example: Controlling an RGB LED Strip with Arduino UNO
Below is an example of how to control an RGB LED strip using an Arduino UNO and an NPN transistor for each color channel.
// Example code to control an RGB LED strip with Arduino UNO
// Ensure the LED strip is connected via transistors to handle current draw

// Define pins for RGB channels
const int redPin = 9;   // Red channel connected to PWM pin 9
const int greenPin = 10; // Green channel connected to PWM pin 10
const int bluePin = 11;  // Blue channel connected to PWM pin 11

void setup() {
  // Set RGB pins as outputs
  pinMode(redPin, OUTPUT);
  pinMode(greenPin, OUTPUT);
  pinMode(bluePin, OUTPUT);
}

void loop() {
  // Example: Cycle through colors
  setColor(255, 0, 0); // Red
  delay(1000);
  setColor(0, 255, 0); // Green
  delay(1000);
  setColor(0, 0, 255); // Blue
  delay(1000);
}

// Function to set RGB color
void setColor(int red, int green, int blue) {
  analogWrite(redPin, red);   // Set red channel brightness
  analogWrite(greenPin, green); // Set green channel brightness
  analogWrite(bluePin, blue);  // Set blue channel brightness
}
Troubleshooting and FAQs
Common Issues and Solutions
LED Strip Does Not Light Up:
- Cause: Incorrect wiring or insufficient power supply.
- Solution: Verify all connections and ensure the power supply matches the strip's voltage and current requirements.
Uneven Brightness:
- Cause: Voltage drop along the strip.
- Solution: Use shorter strips or inject power at multiple points along the strip.
Flickering LEDs:
- Cause: Insufficient power supply or loose connections.
- Solution: Check the power supply's capacity and secure all connections.
Overheating:
- Cause: High power consumption or poor heat dissipation.
- Solution: Use aluminum channels for heat management and ensure proper ventilation.
FAQs
Can I cut the LED strip to a custom length? Yes, most LED strips can be cut at marked intervals. Check the manufacturer's guidelines for cutting points.
How do I extend an LED strip? Use compatible connectors or solder wires to join two strips. Ensure the power supply can handle the additional load.
Can I dim the LED strip? Yes, use a dimmer or a PWM signal from a microcontroller like Arduino to adjust brightness.
Is it safe to use LED strips outdoors? Only use LED strips with an appropriate waterproof rating (e.g., IP65 or IP68) for outdoor applications.