
How to Use Do Sensor: Examples, Pinouts, and Specs
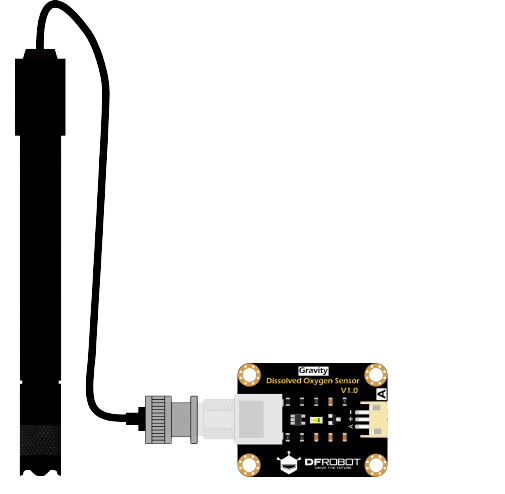
 Design with Do Sensor in Cirkit Designer
Introduction
The DO Sensor, manufactured by DF Robot (Part ID: DO SENSOR), is a versatile sensor designed to detect and measure specific physical properties or environmental conditions. It is commonly used in automation and control systems to trigger actions based on the sensed data. This sensor is particularly useful in applications requiring real-time monitoring and response, such as water quality analysis, environmental monitoring, and industrial automation.
Explore Projects Built with Do Sensor
 Open Project in Cirkit Designer
 Open Project in Cirkit Designer
 Open Project in Cirkit Designer
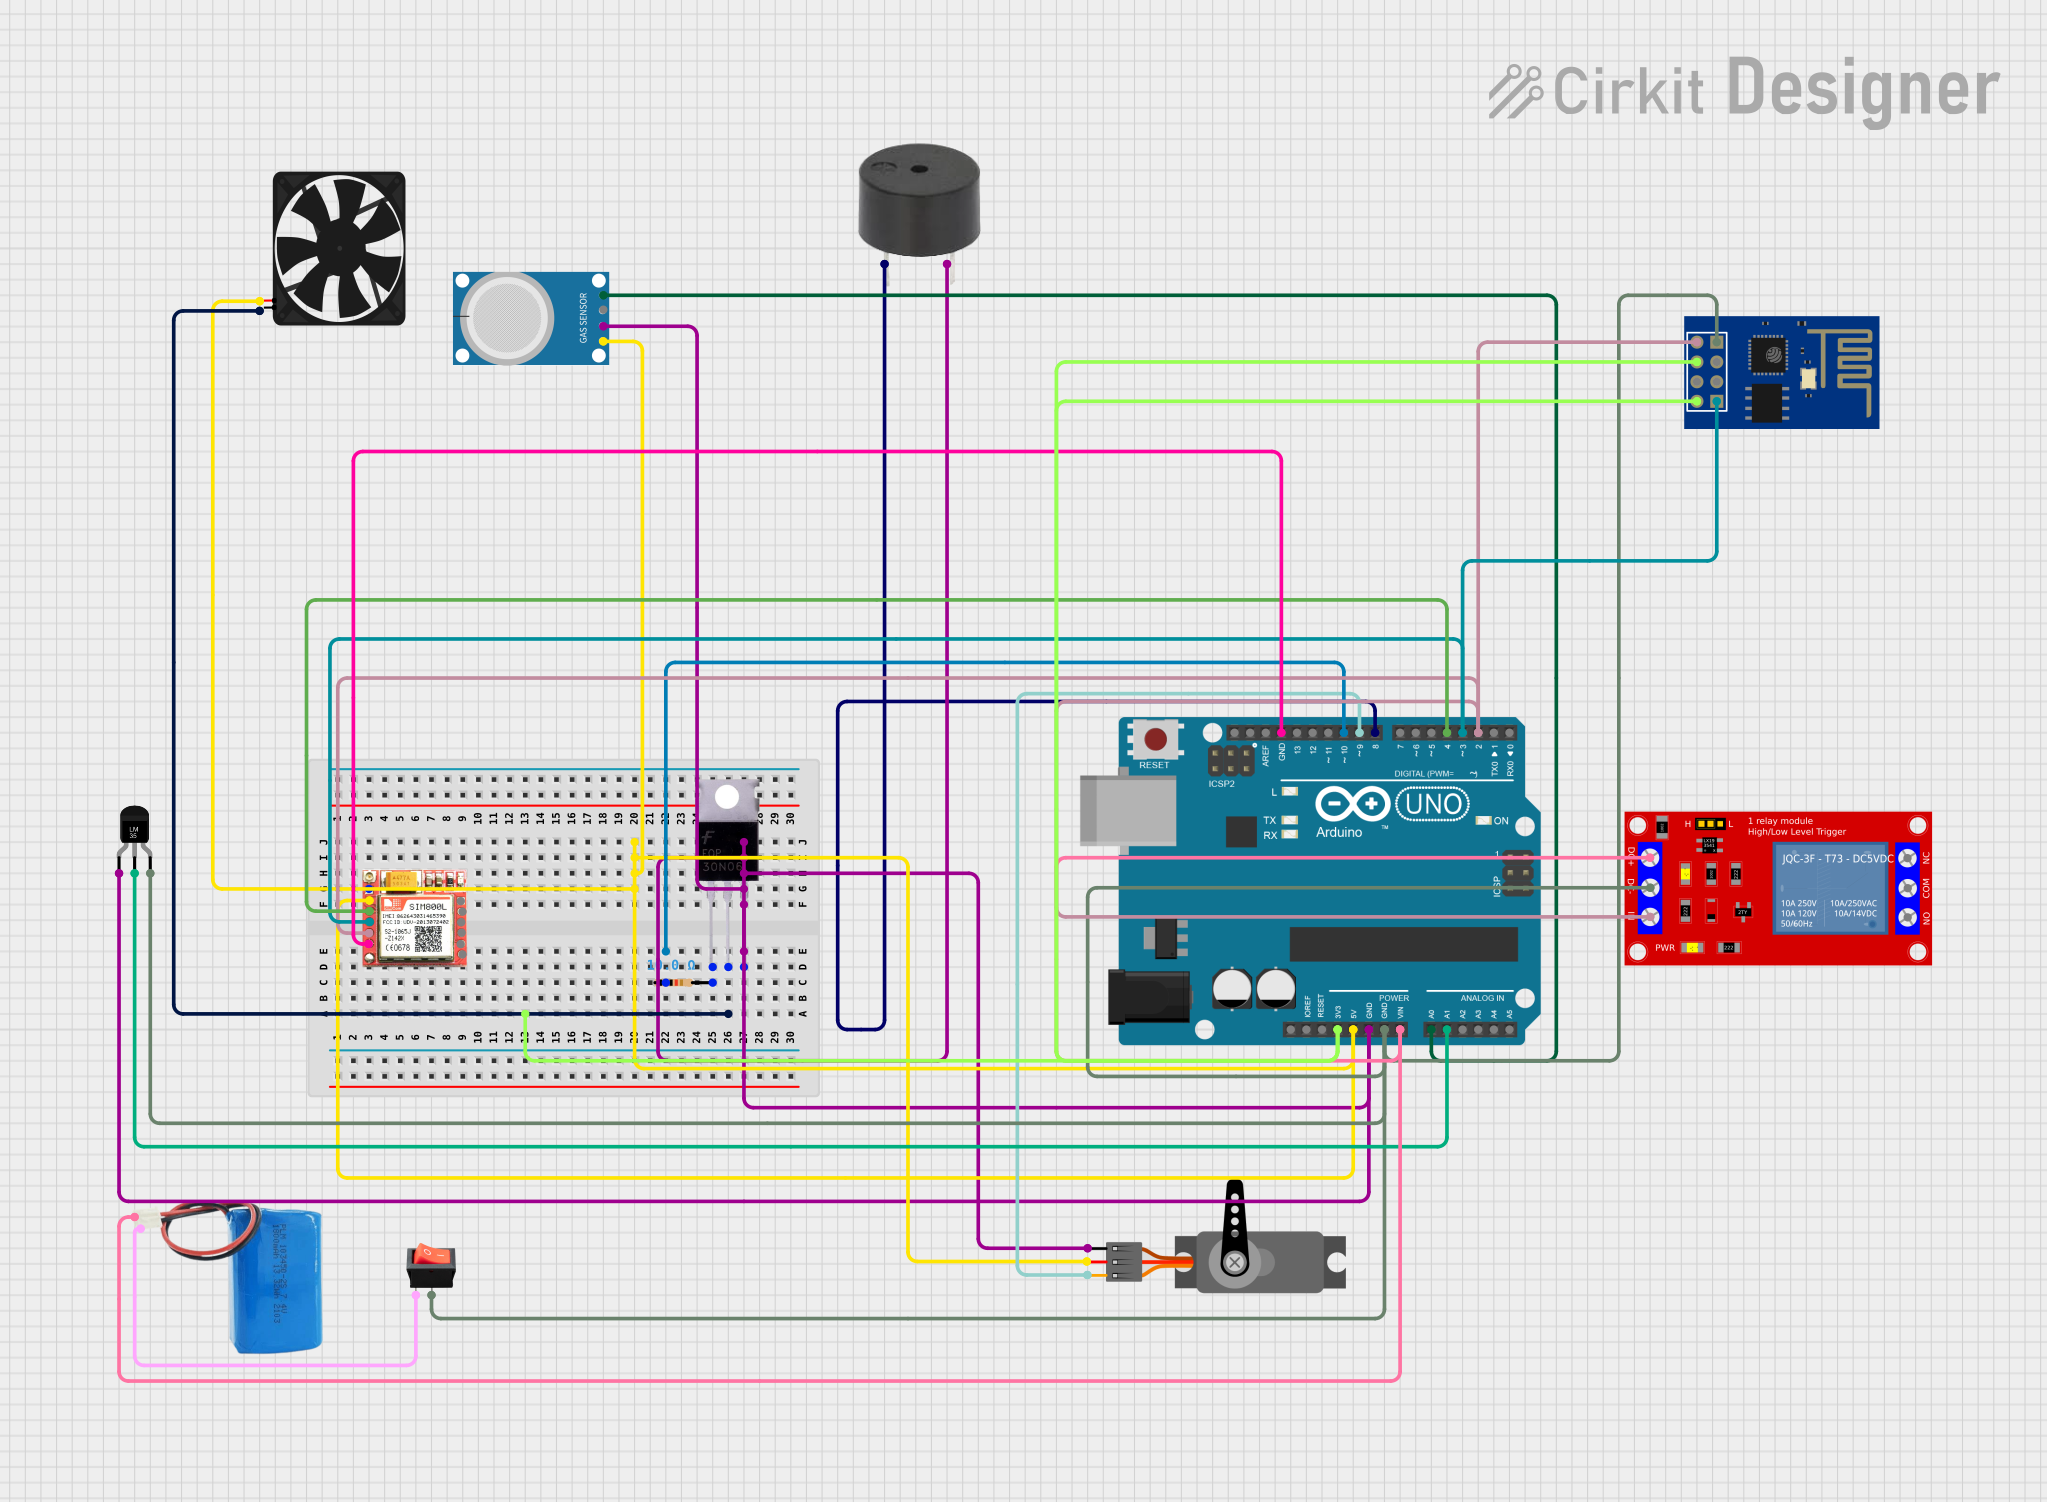 Open Project in Cirkit Designer
Explore Projects Built with Do Sensor
Open Project in Cirkit DesignerOpen Project in Cirkit DesignerOpen Project in Cirkit DesignerOpen Project in Cirkit DesignerCommon Applications
- Water quality monitoring (e.g., dissolved oxygen levels in aquariums or water treatment plants)
- Environmental sensing in agriculture and aquaponics
- Industrial automation systems
- Educational and research projects involving sensor-based data collection
Technical Specifications
The following table outlines the key technical details of the DO Sensor:
| Parameter | Specification |
|---|---|
| Manufacturer | DF Robot |
| Part ID | DO SENSOR |
| Operating Voltage | 3.3V - 5.0V |
| Output Signal | Analog voltage (0-3.0V) |
| Measurement Range | 0 - 20 mg/L (Dissolved Oxygen) |
| Accuracy | ±0.1 mg/L |
| Operating Temperature | 0°C to 50°C |
| Response Time | < 60 seconds |
| Dimensions | 42mm x 32mm x 15mm |
| Interface Type | Analog |
Pin Configuration
The DO Sensor has a simple 3-pin interface for easy integration into circuits. The pin configuration is as follows:
| Pin | Name | Description |
|---|---|---|
| 1 | VCC | Power supply input (3.3V - 5.0V) |
| 2 | GND | Ground connection |
| 3 | AOUT | Analog output signal proportional to oxygen levels |
Usage Instructions
How to Use the DO Sensor in a Circuit
- Power the Sensor: Connect the
VCCpin to a 3.3V or 5.0V power source and theGNDpin to the ground of your circuit. - Read the Output: Connect the
AOUTpin to an analog input pin of a microcontroller (e.g., Arduino UNO) to read the sensor's output signal. - Calibrate the Sensor: Before using the sensor for precise measurements, calibrate it using a known oxygen concentration solution to ensure accuracy.
- Monitor the Data: Use the microcontroller to process the analog signal and convert it into meaningful dissolved oxygen (DO) values.
Important Considerations
- Temperature Compensation: The sensor's readings can be affected by temperature. Use a temperature sensor in conjunction with the DO Sensor for accurate measurements.
- Avoid Contamination: Ensure the sensor probe is clean and free from contaminants to maintain accuracy.
- Power Supply Stability: Use a stable power supply to avoid fluctuations in the sensor's output signal.
Example Code for Arduino UNO
Below is an example of how to interface the DO Sensor with an Arduino UNO to measure dissolved oxygen levels:
// DO Sensor Example Code for Arduino UNO
// Reads the analog output from the DO Sensor and converts it to a voltage value
// Note: Ensure the sensor is calibrated for accurate readings.

const int DO_SENSOR_PIN = A0; // Analog pin connected to the DO Sensor's AOUT pin
float voltage = 0.0;          // Variable to store the sensor's output voltage
float DO_value = 0.0;         // Variable to store the calculated DO value

void setup() {
  Serial.begin(9600); // Initialize serial communication at 9600 baud
  pinMode(DO_SENSOR_PIN, INPUT); // Set the sensor pin as input
}

void loop() {
  int sensorValue = analogRead(DO_SENSOR_PIN); // Read the analog value from the sensor
  voltage = sensorValue * (5.0 / 1023.0);      // Convert the analog value to voltage
  DO_value = voltage * 6.67;                   // Example conversion factor for DO (calibrate as needed)

  // Print the results to the Serial Monitor
  Serial.print("Voltage: ");
  Serial.print(voltage);
  Serial.print(" V, Dissolved Oxygen: ");
  Serial.print(DO_value);
  Serial.println(" mg/L");

  delay(1000); // Wait for 1 second before the next reading
}
Notes:
- The conversion factor (
6.67) in the code is an example. You must calibrate the sensor to determine the correct factor for your specific application. - Ensure the sensor is submerged in the liquid being measured during operation.
Troubleshooting and FAQs
Common Issues and Solutions
No Output Signal
- Cause: Incorrect wiring or loose connections.
- Solution: Verify that the
VCC,GND, andAOUTpins are properly connected.
Inaccurate Readings
- Cause: Sensor not calibrated or contaminated probe.
- Solution: Calibrate the sensor using a known oxygen concentration solution and clean the probe.
Fluctuating Output
- Cause: Unstable power supply or electrical noise.
- Solution: Use a regulated power supply and ensure proper grounding.
Slow Response Time
- Cause: Sensor probe is dirty or damaged.
- Solution: Clean the probe and inspect for physical damage.
FAQs
Q: Can the DO Sensor be used in saltwater environments?
A: Yes, the sensor can be used in saltwater, but frequent calibration is recommended to account for salinity effects.
Q: How often should the sensor be calibrated?
A: Calibration frequency depends on usage. For critical applications, calibrate before each use. For general monitoring, calibrate weekly.
Q: Can the sensor measure other gases?
A: No, the DO Sensor is specifically designed to measure dissolved oxygen in liquids.
Q: What is the lifespan of the sensor?
A: The sensor's lifespan depends on usage and maintenance. Regular cleaning and proper storage can extend its life.
This concludes the documentation for the DF Robot DO Sensor. For further assistance, refer to the manufacturer's datasheet or support resources.