How to Use Float Switch: Examples, Pinouts, and Specs
Introduction
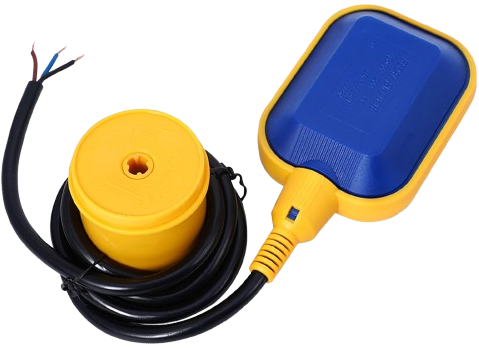
A float switch is a device used to detect the level of liquid within a tank or reservoir. It operates by using a buoyant float that rises and falls with the liquid level, triggering an electrical switch to open or close a circuit. Float switches are widely used in applications where liquid level monitoring and control are essential.
Explore Projects Built with Float Switch
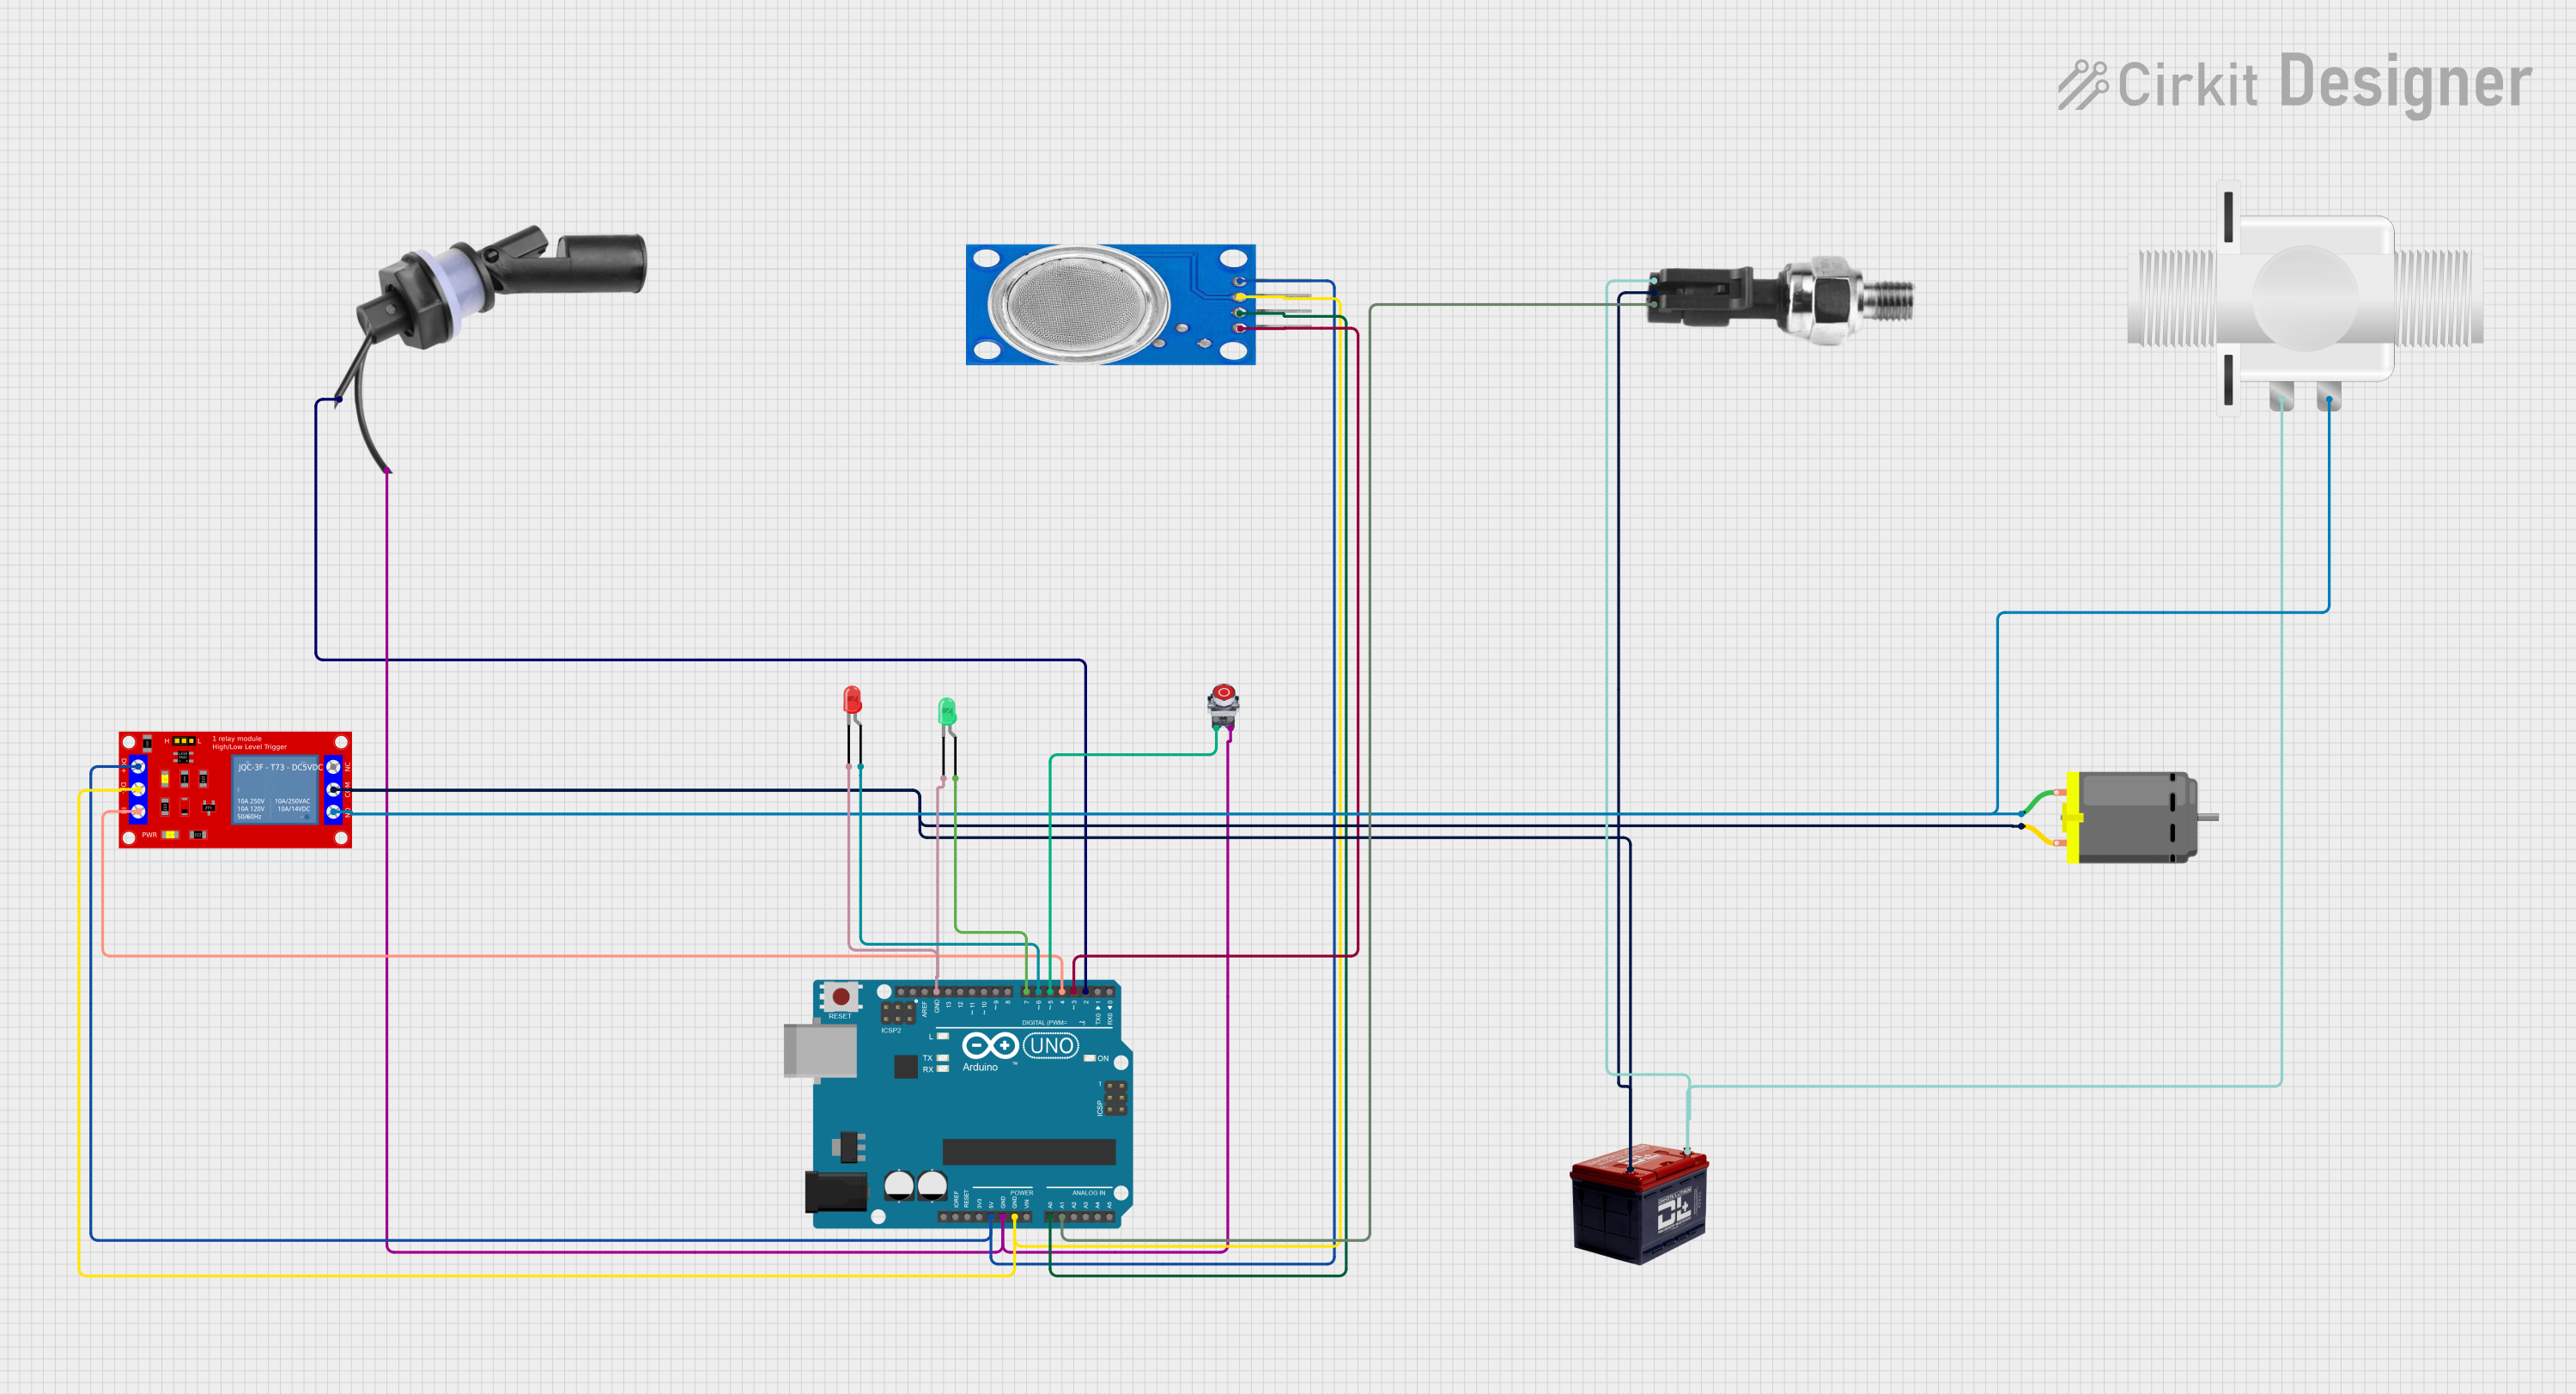
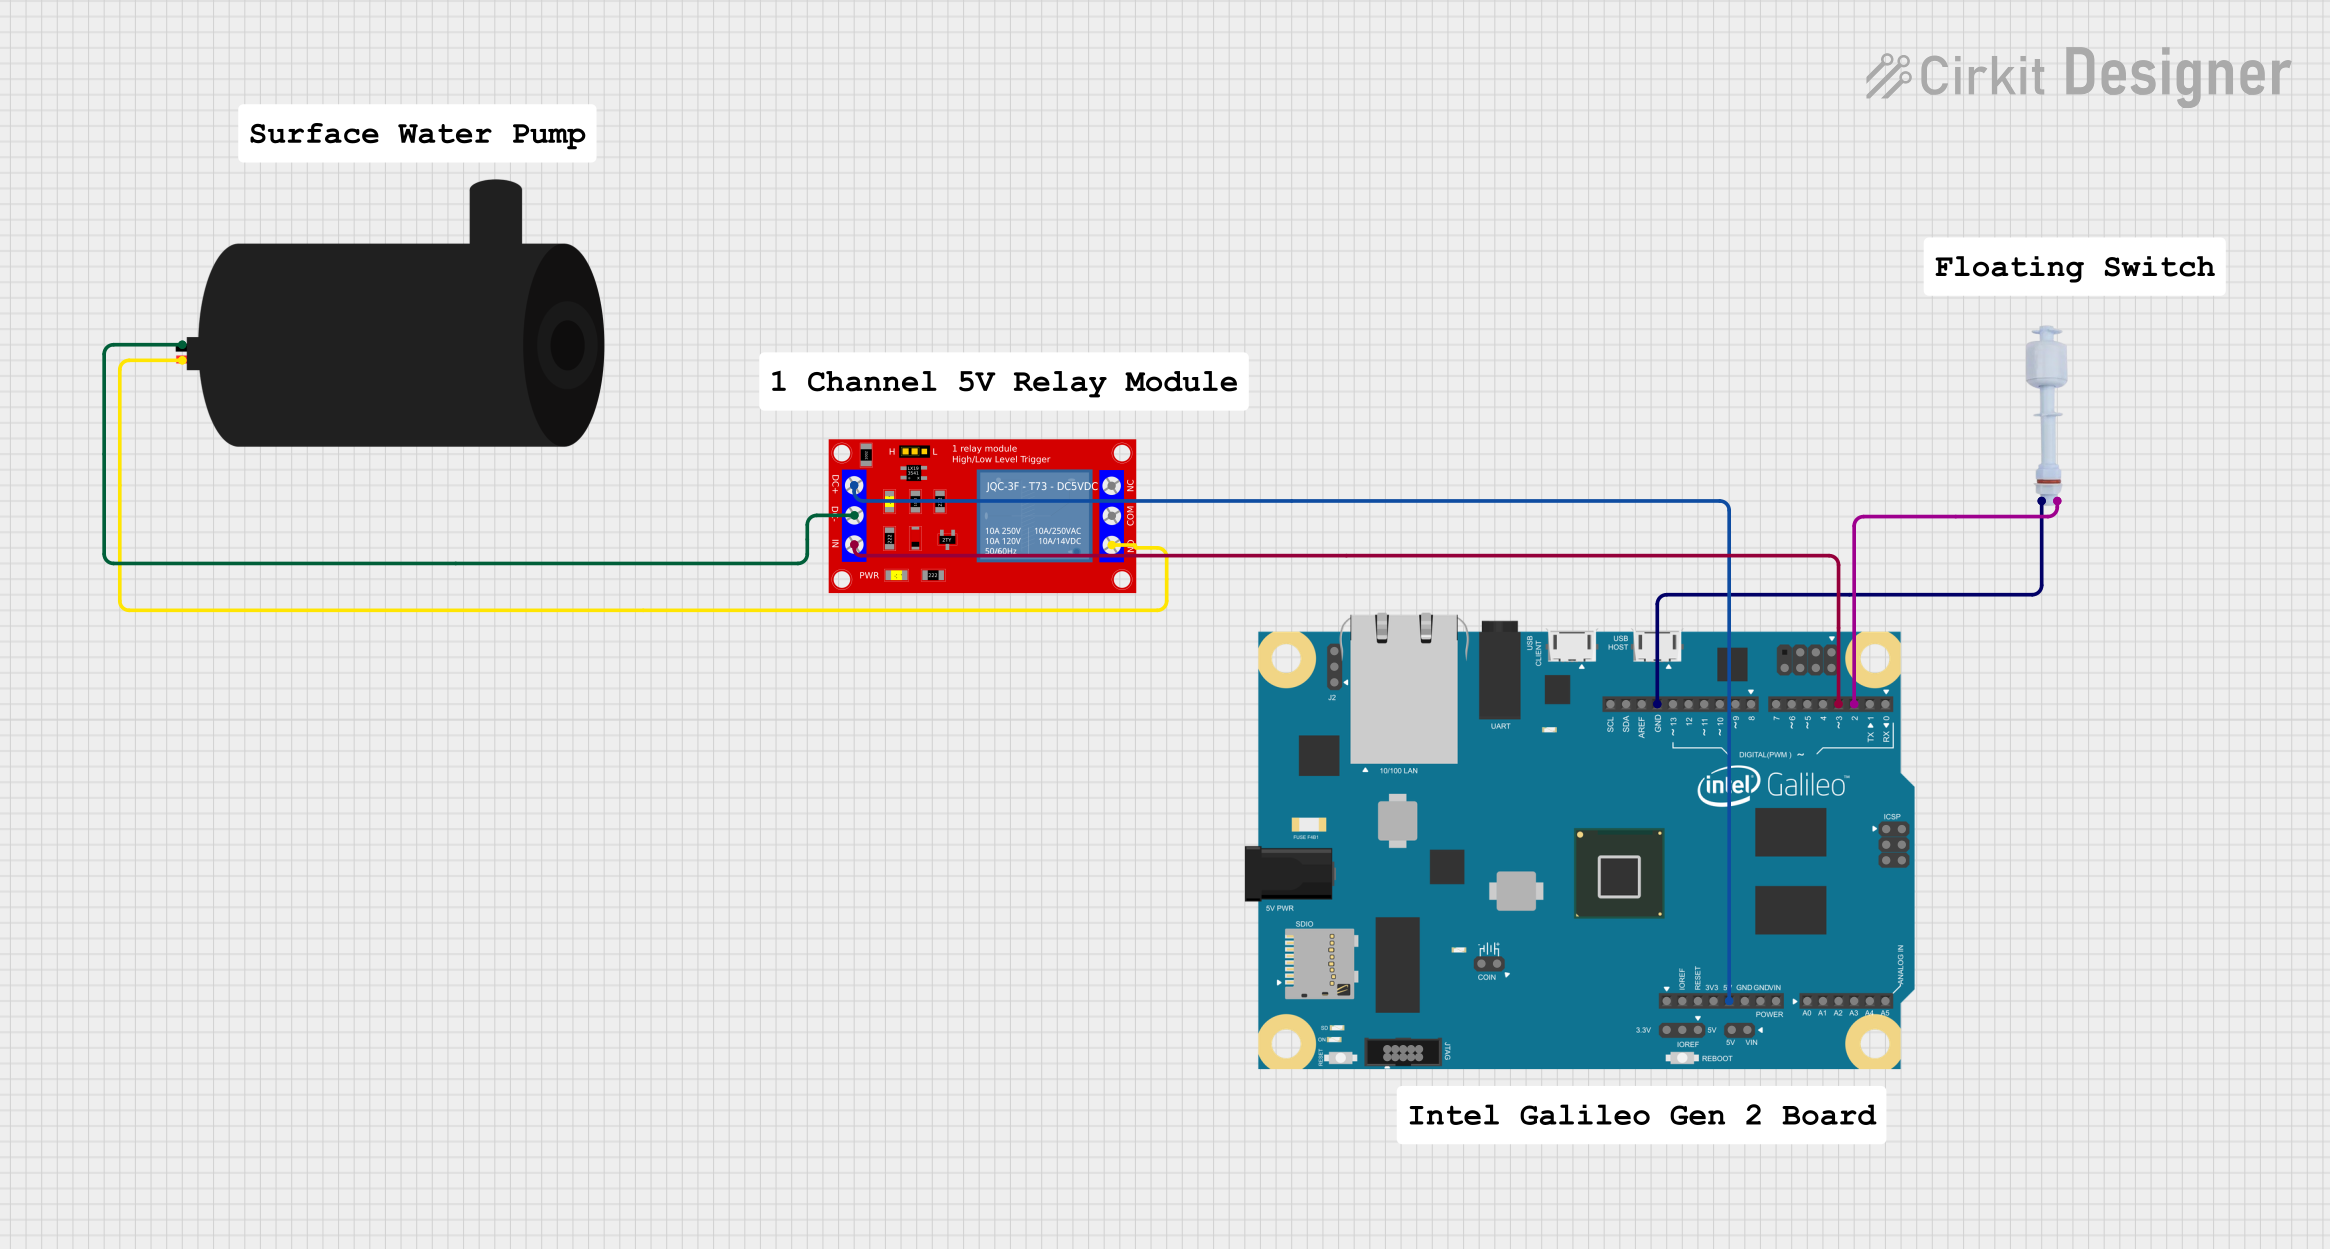
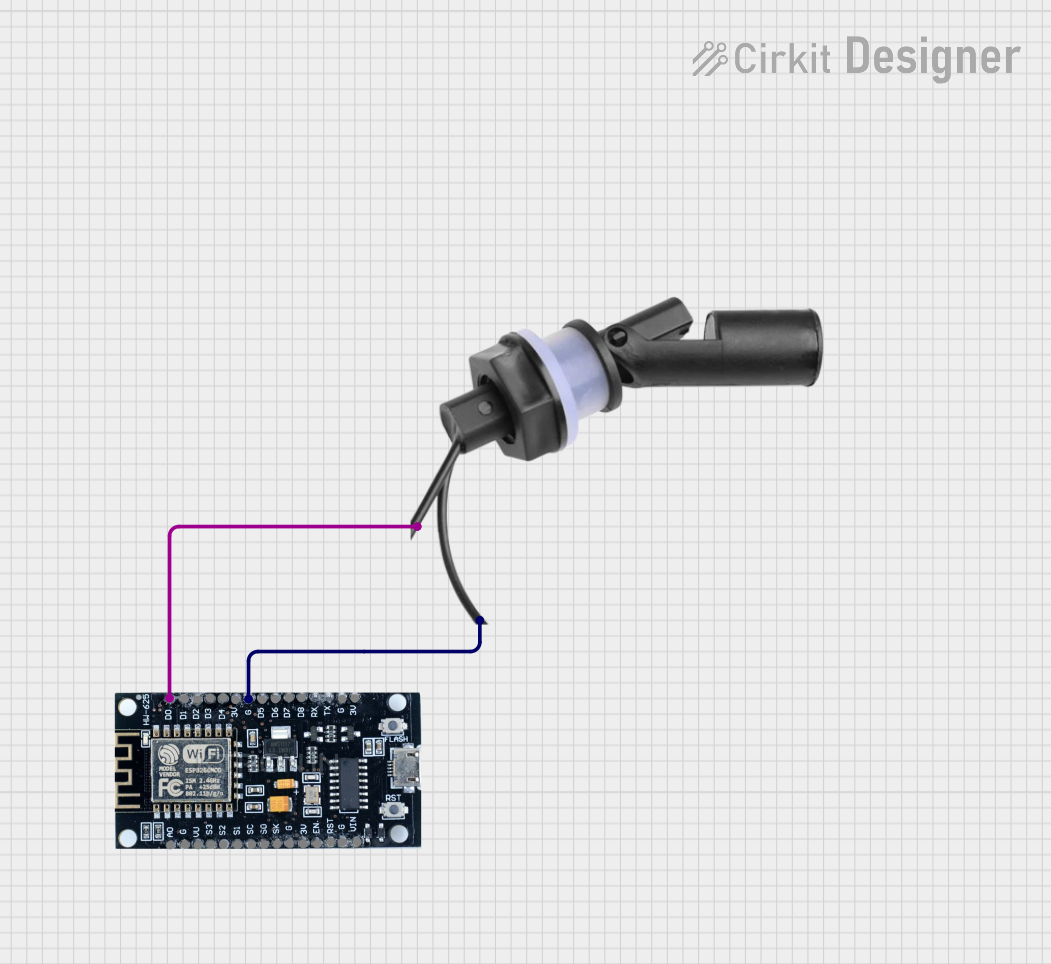
Explore Projects Built with Float Switch
Common Applications and Use Cases
- Water level monitoring in tanks and reservoirs
- Automatic pump control for filling or draining tanks
- Liquid level alarms in industrial processes
- Monitoring and controlling sump pumps
- Preventing overflow or dry-run conditions in water systems
Technical Specifications
Below are the key technical details for a typical float switch. Specifications may vary depending on the specific model.
| Parameter | Value |
|---|---|
| Operating Voltage | 5V to 240V AC/DC |
| Maximum Current | 0.5A to 15A (model-dependent) |
| Contact Type | Normally Open (NO) or Normally Closed (NC) |
| Operating Temperature | -10°C to 80°C |
| Material | Polypropylene, Stainless Steel, or ABS |
| Cable Length | 1m to 5m (varies by model) |
| Float Diameter | 25mm to 50mm (varies by model) |
| Liquid Compatibility | Water, oil, and other non-corrosive liquids |
Pin Configuration and Descriptions
Float switches typically have two or three wires for connection. The table below describes the wiring configuration:
| Wire Color | Function |
|---|---|
| Red | Common (COM) |
| Black | Normally Open (NO) contact |
| Blue | Normally Closed (NC) contact (if available) |
Note: Some float switches may only have two wires (Red and Black), in which case they operate as either NO or NC depending on the orientation.
Usage Instructions
How to Use the Float Switch in a Circuit
- Determine the Contact Type: Identify whether the float switch is Normally Open (NO) or Normally Closed (NC). This information is typically provided in the product datasheet.
- Connect the Wires:
- For a two-wire float switch, connect one wire to the power source and the other to the load or control circuit.
- For a three-wire float switch, connect the Red wire to the power source, and use either the Black (NO) or Blue (NC) wire depending on your application.
- Position the Float Switch:
- Install the float switch in the tank or reservoir at the desired liquid level.
- Ensure the float can move freely without obstructions.
- Test the Circuit:
- Simulate changes in liquid level to verify that the float switch operates as expected.
- Check for proper switching of the circuit (open or close) when the float moves.
Important Considerations and Best Practices
- Orientation: Ensure the float switch is installed in the correct orientation (vertical or horizontal) as specified by the manufacturer.
- Liquid Compatibility: Verify that the float switch material is compatible with the liquid being monitored.
- Electrical Ratings: Do not exceed the voltage or current ratings of the float switch to avoid damage or failure.
- Debris and Contamination: Keep the float switch clean and free from debris to ensure reliable operation.
- Safety Precautions: Always disconnect power before installing or servicing the float switch.
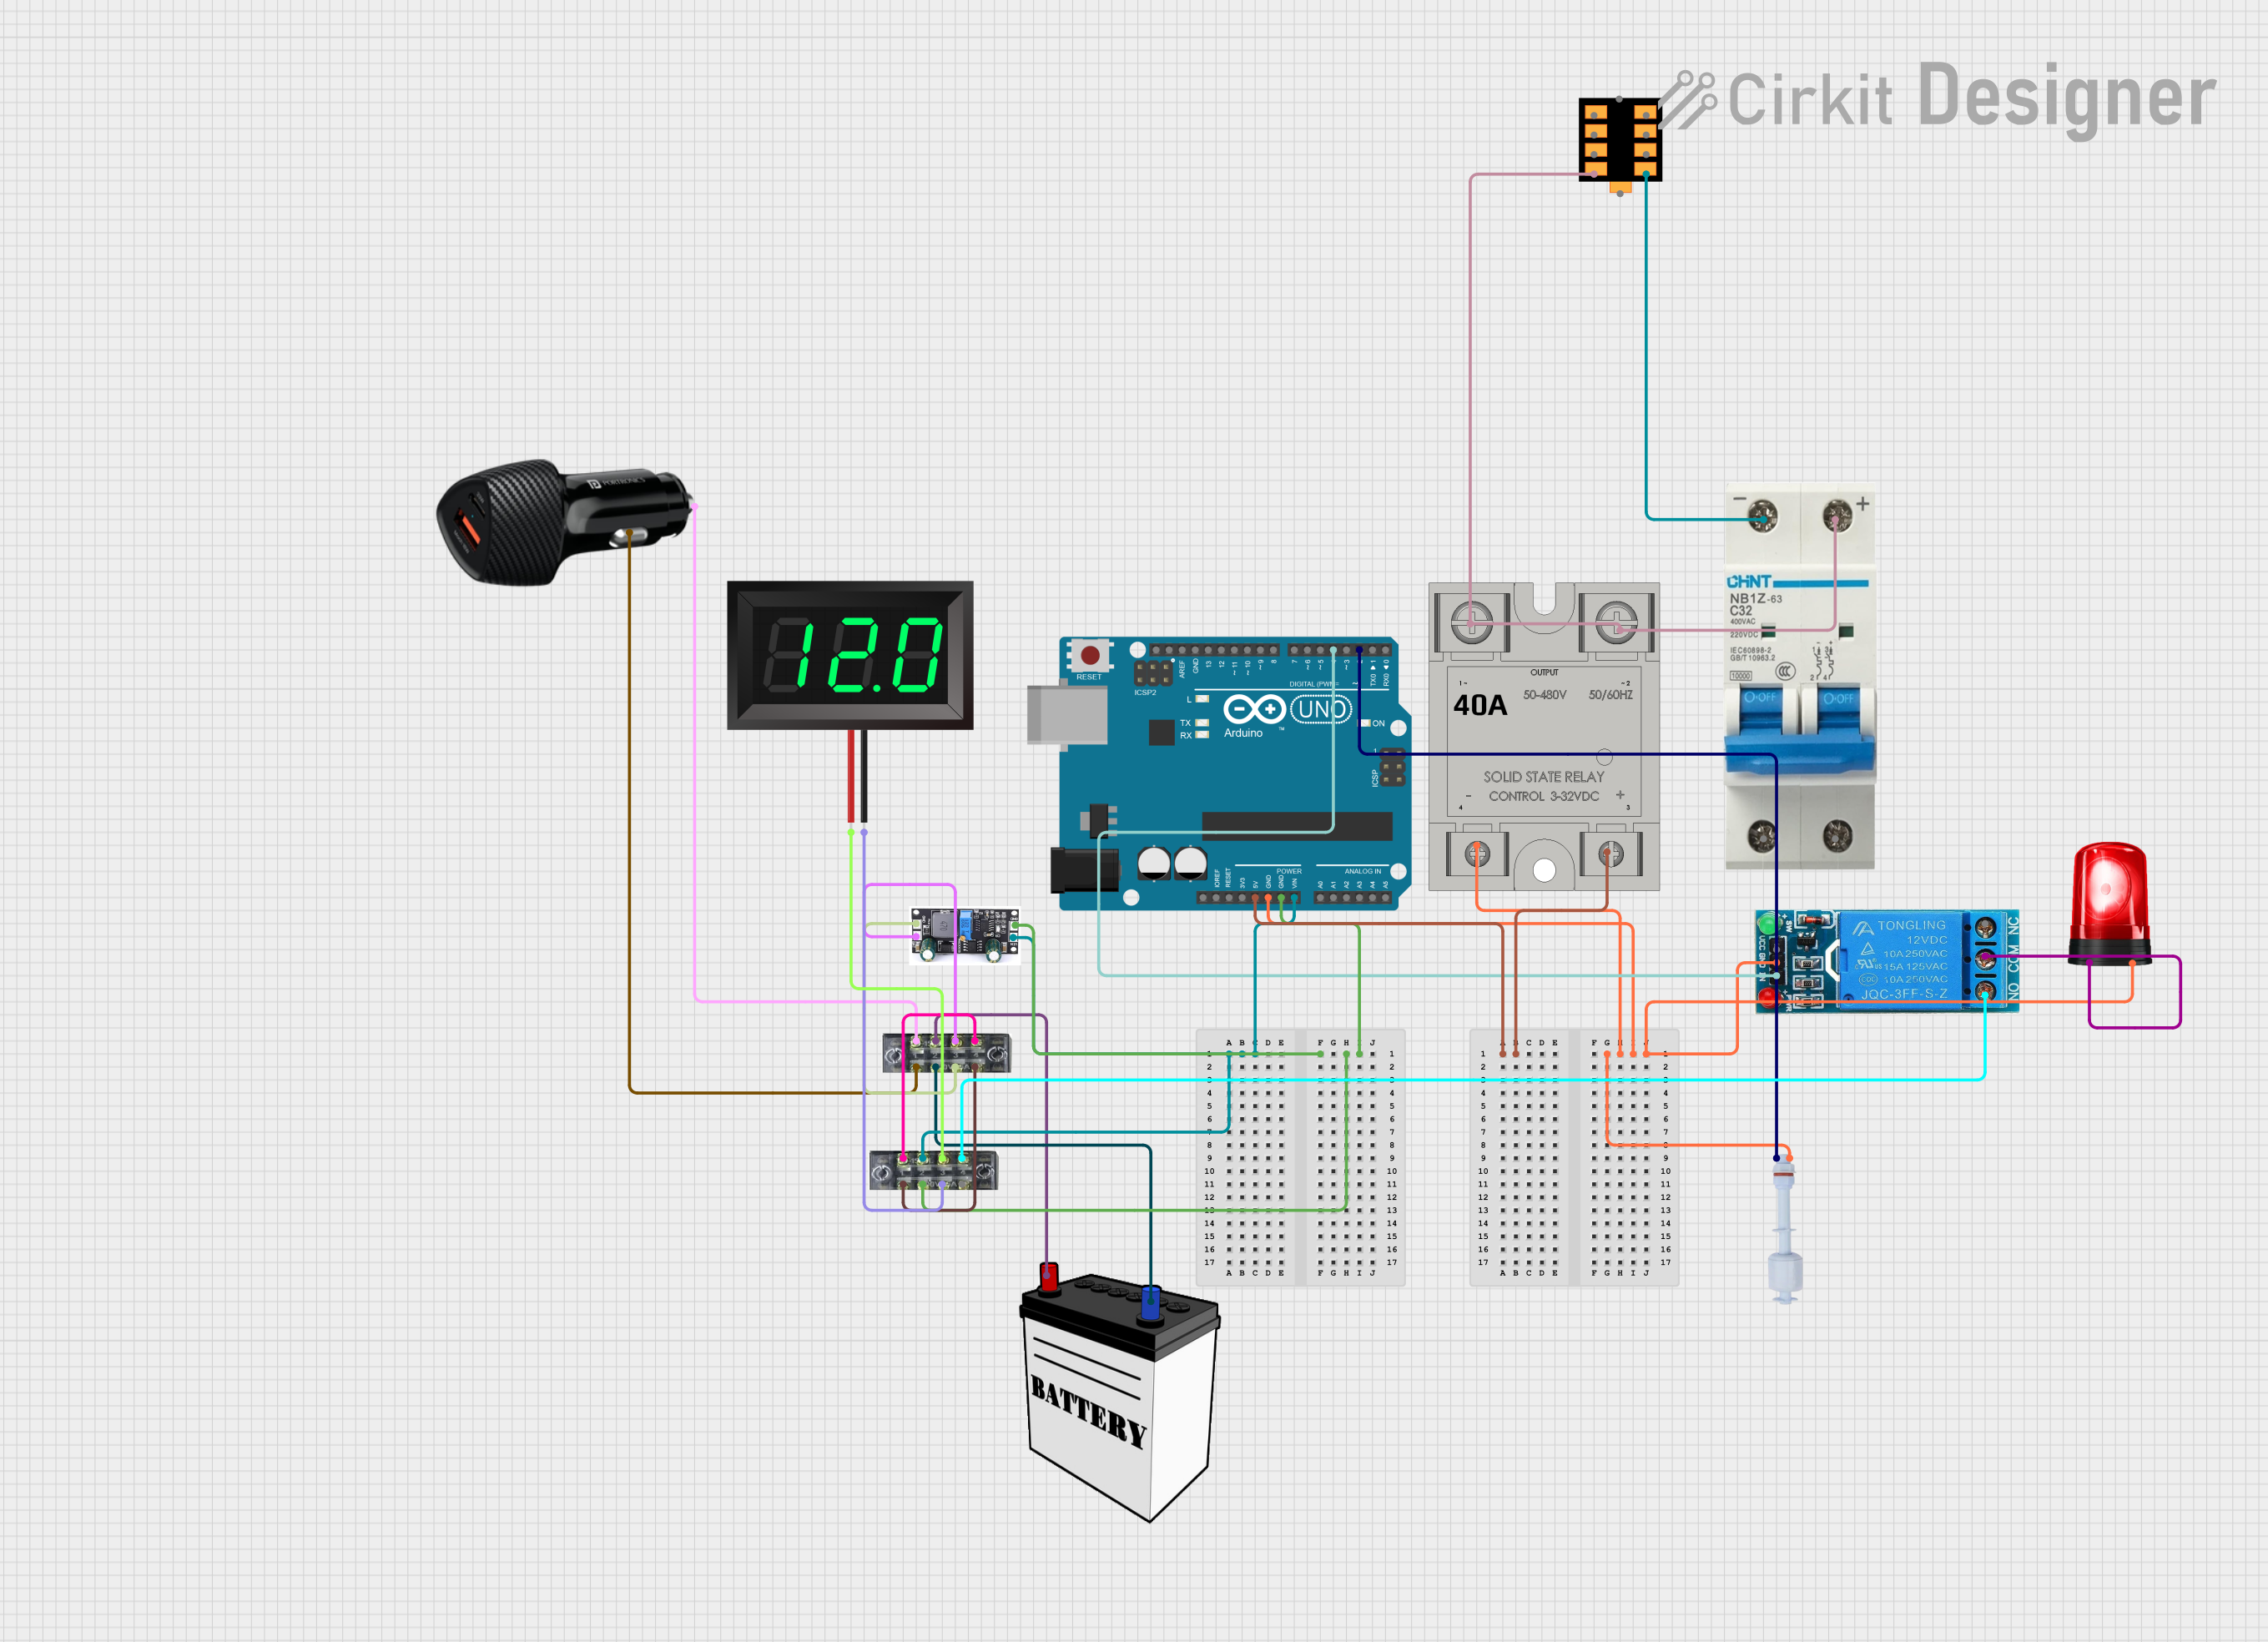
Example: Connecting a Float Switch to an Arduino UNO
Below is an example of how to use a float switch with an Arduino UNO to monitor water levels and control an LED.
Circuit Diagram
- Connect the Red wire of the float switch to the 5V pin on the Arduino.
- Connect the Black wire to a digital input pin (e.g., pin 2) on the Arduino.
- Use a pull-down resistor (10kΩ) between the input pin and ground.
Arduino Code
// Float Switch Example with Arduino UNO
// This code monitors the float switch and turns an LED on or off based on the
// liquid level.

const int floatSwitchPin = 2; // Pin connected to the float switch
const int ledPin = 13;        // Pin connected to the onboard LED

void setup() {
  pinMode(floatSwitchPin, INPUT); // Set float switch pin as input
  pinMode(ledPin, OUTPUT);        // Set LED pin as output
  digitalWrite(ledPin, LOW);      // Turn off LED initially
  Serial.begin(9600);             // Initialize serial communication
}

void loop() {
  int floatState = digitalRead(floatSwitchPin); // Read float switch state

  if (floatState == HIGH) {
    // Float switch is triggered (liquid level high)
    digitalWrite(ledPin, HIGH); // Turn on LED
    Serial.println("Liquid level HIGH");
  } else {
    // Float switch is not triggered (liquid level low)
    digitalWrite(ledPin, LOW);  // Turn off LED
    Serial.println("Liquid level LOW");
  }

  delay(500); // Wait for 500ms before next reading
}
Troubleshooting and FAQs
Common Issues and Solutions
Float Switch Not Triggering:
- Cause: Incorrect wiring or loose connections.
- Solution: Double-check the wiring and ensure all connections are secure.
Switch Stuck in One Position:
- Cause: Debris or contamination around the float.
- Solution: Clean the float and ensure it moves freely.
Incorrect Liquid Level Detection:
- Cause: Improper installation or orientation.
- Solution: Reinstall the float switch according to the manufacturer's instructions.
Float Switch Damaged:
- Cause: Exceeding voltage or current ratings.
- Solution: Replace the float switch and ensure the circuit operates within the specified ratings.
FAQs
Q1: Can a float switch be used with corrosive liquids?
A1: Only if the float switch is made of materials compatible with the corrosive liquid. Check the product specifications.
Q2: How do I know if my float switch is Normally Open (NO) or Normally Closed (NC)?
A2: This information is typically provided in the product datasheet. You can also test the switch with a multimeter.
Q3: Can I use a float switch to control a high-power pump?
A3: Float switches are usually rated for low currents. Use a relay or contactor to control high-power devices.
Q4: What happens if the float switch cable is too short?
A4: You can extend the cable using waterproof connectors, but ensure the connections are secure and insulated.