
How to Use Loudspeaker: Examples, Pinouts, and Specs
 Design with Loudspeaker in Cirkit Designer
Introduction
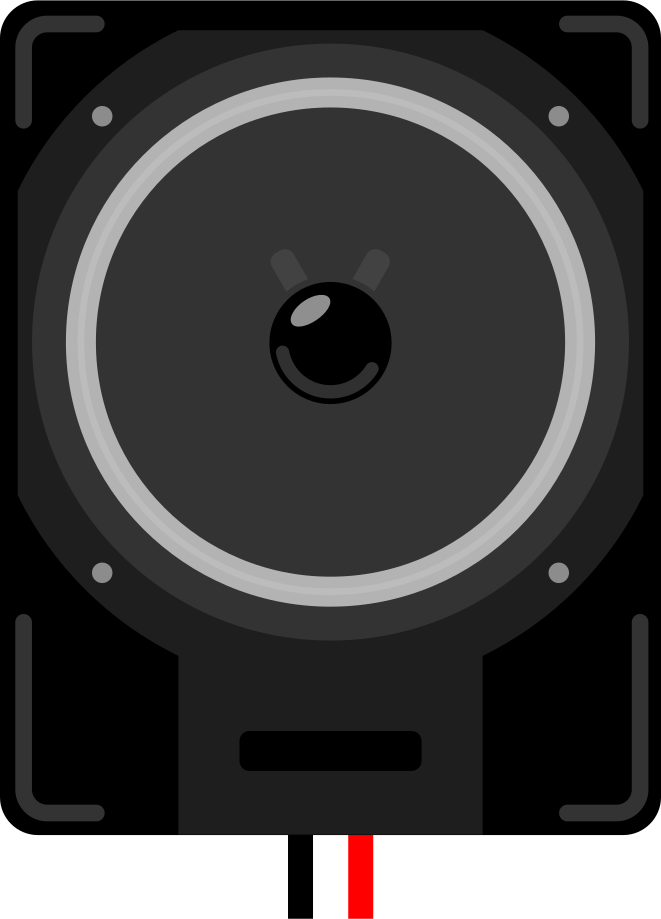
A loudspeaker is an electroacoustic transducer that converts electrical energy into sound waves, allowing audio signals to be heard. It is a critical component in audio systems, enabling the reproduction of sound from electronic devices. Loudspeakers are widely used in various applications, including home audio systems, public address systems, musical instruments, and portable devices like smartphones and laptops.
Explore Projects Built with Loudspeaker
 Open Project in Cirkit Designer
 Open Project in Cirkit Designer
 Open Project in Cirkit Designer
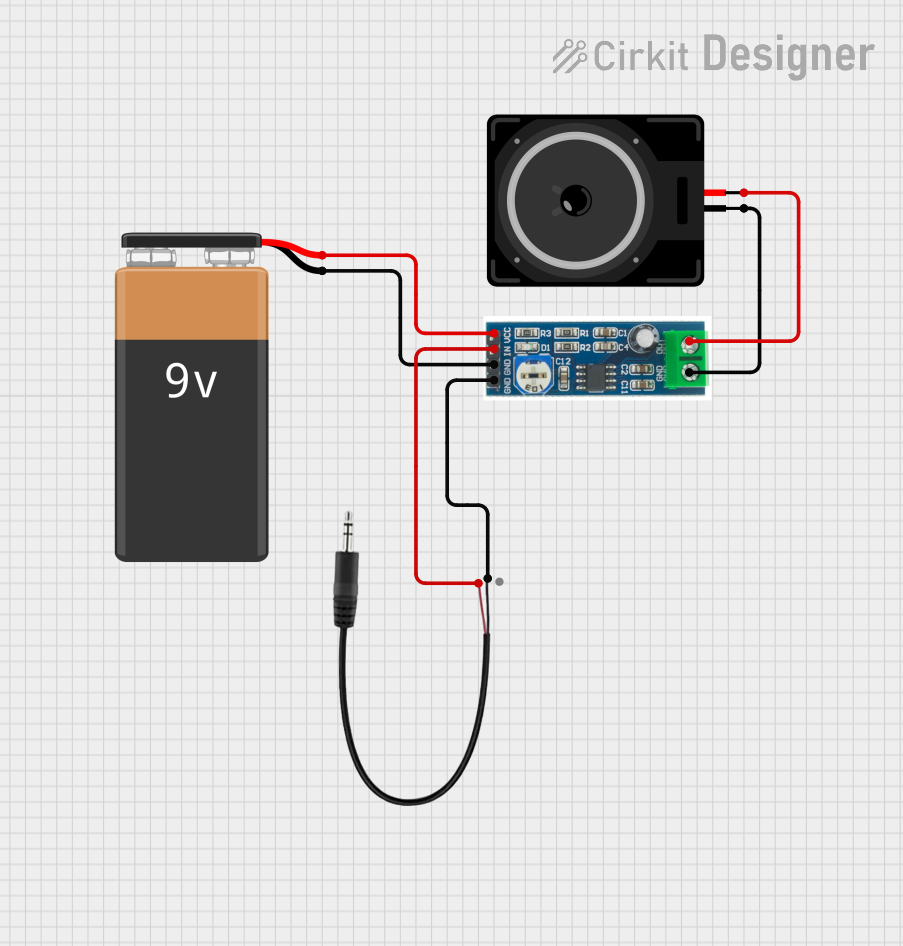 Open Project in Cirkit Designer
Explore Projects Built with Loudspeaker
Open Project in Cirkit DesignerOpen Project in Cirkit DesignerOpen Project in Cirkit DesignerOpen Project in Cirkit DesignerTechnical Specifications
Below are the general technical specifications for a typical loudspeaker. Note that actual values may vary depending on the specific model and manufacturer.
General Specifications
- Type: Dynamic loudspeaker (commonly used)
- Impedance: 4Ω, 8Ω, or 16Ω (common values)
- Power Handling: 1W to 1000W (depending on the application)
- Frequency Response: 20 Hz to 20 kHz (varies by design)
- Sensitivity: 85 dB to 100 dB (measured at 1W/1m)
- Cone Material: Paper, polypropylene, or composite materials
- Magnet Type: Ferrite or neodymium
Pin Configuration and Descriptions
Loudspeakers typically have two terminals for electrical connections. These terminals are often labeled as "+" (positive) and "-" (negative).
| Pin/Terminal | Description |
|---|---|
| Positive (+) | Connects to the positive output of the amplifier or audio source. |
| Negative (-) | Connects to the negative output of the amplifier or audio source. |
Usage Instructions
How to Use the Loudspeaker in a Circuit
- Determine the Impedance: Ensure the loudspeaker's impedance matches the output impedance of the amplifier or audio source for optimal performance.
- Connect the Terminals:
- Connect the positive terminal of the loudspeaker to the positive output of the amplifier.
- Connect the negative terminal of the loudspeaker to the negative output of the amplifier.
- Power Handling: Ensure the amplifier's power output does not exceed the loudspeaker's rated power handling to avoid damage.
- Enclosure Design: For optimal sound quality, mount the loudspeaker in an appropriate enclosure designed for its size and type.
Important Considerations and Best Practices
- Avoid Overloading: Do not exceed the loudspeaker's power rating, as this can cause permanent damage to the voice coil.
- Polarity Matters: Ensure correct polarity when connecting the loudspeaker to avoid phase cancellation, which can degrade sound quality.
- Use Proper Wiring: Use wires with sufficient gauge to handle the current without significant resistance or voltage drop.
- Enclosure Design: Use a well-designed enclosure to enhance sound quality and prevent distortion.
Example: Connecting a Loudspeaker to an Arduino UNO
You can use a loudspeaker with an Arduino UNO for simple audio output. Below is an example of generating a tone using the Arduino tone() function.
Circuit Diagram
- Connect the positive terminal of the loudspeaker to Arduino pin 9 through a 100Ω resistor.
- Connect the negative terminal of the loudspeaker to the Arduino GND pin.
Code Example
// Arduino code to generate a tone on a loudspeaker
// Connect the loudspeaker to pin 9 through a 100Ω resistor

void setup() {
  // No setup required for tone generation
}

void loop() {
  tone(9, 440); // Generate a 440 Hz tone (A4 note) on pin 9
  delay(1000);  // Play the tone for 1 second
  noTone(9);    // Stop the tone
  delay(1000);  // Wait for 1 second before repeating
}
Troubleshooting and FAQs
Common Issues
No Sound Output:
- Cause: Incorrect wiring or loose connections.
- Solution: Verify the connections and ensure the amplifier or audio source is functioning properly.
Distorted Sound:
- Cause: Overdriving the loudspeaker or using an incompatible amplifier.
- Solution: Reduce the volume or use an amplifier that matches the loudspeaker's specifications.
Low Volume:
- Cause: Insufficient power from the amplifier.
- Solution: Use an amplifier with higher power output, but within the loudspeaker's rated power handling.
Overheating:
- Cause: Prolonged use at high power levels.
- Solution: Operate the loudspeaker within its rated power range and allow cooling periods.
FAQs
Q: Can I connect a loudspeaker directly to an Arduino?
A: While it is possible for low-power applications, it is recommended to use a resistor or an amplifier to protect the Arduino and improve sound quality.Q: What happens if I reverse the polarity of the loudspeaker?
A: Reversing polarity may cause phase issues, leading to reduced sound quality, especially in multi-speaker setups.Q: How do I choose the right loudspeaker for my project?
A: Consider factors like impedance, power handling, frequency response, and the intended application to select a suitable loudspeaker.Q: Can I use a loudspeaker without an enclosure?
A: While possible, using an enclosure improves sound quality by enhancing bass response and reducing distortion.