Cirkit Designer Logo
Cirkit Designer
Your all-in-one circuit design IDE
Home / 
Component Documentation

How to Use Adafruit 0.56 inch 7-segment LED Backpack White: Examples, Pinouts, and Specs
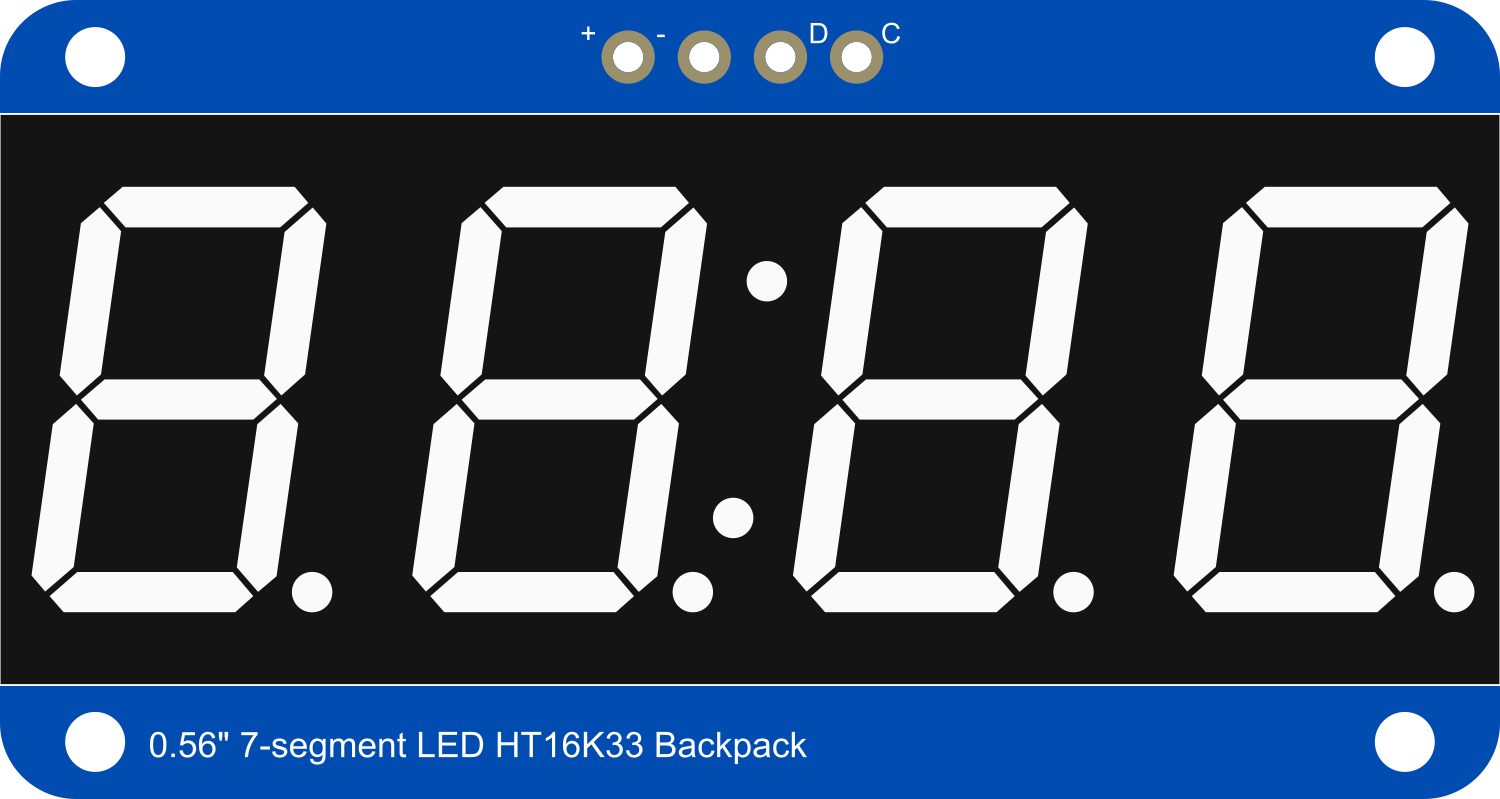
Image of Adafruit 0.56 inch 7-segment LED Backpack White
Cirkit Designer LogoDesign with Adafruit 0.56 inch 7-segment LED Backpack White in Cirkit Designer

Introduction

The Adafruit 0.56 inch 7-segment LED Backpack White is a compact and user-friendly module that simplifies the process of interfacing a 7-segment LED display with microcontrollers such as Arduino. This component is ideal for displaying numerical information in a clear and readable format. Common applications include clocks, timers, counters, and other projects requiring numeric output.

Explore Projects Built with Adafruit 0.56 inch 7-segment LED Backpack White
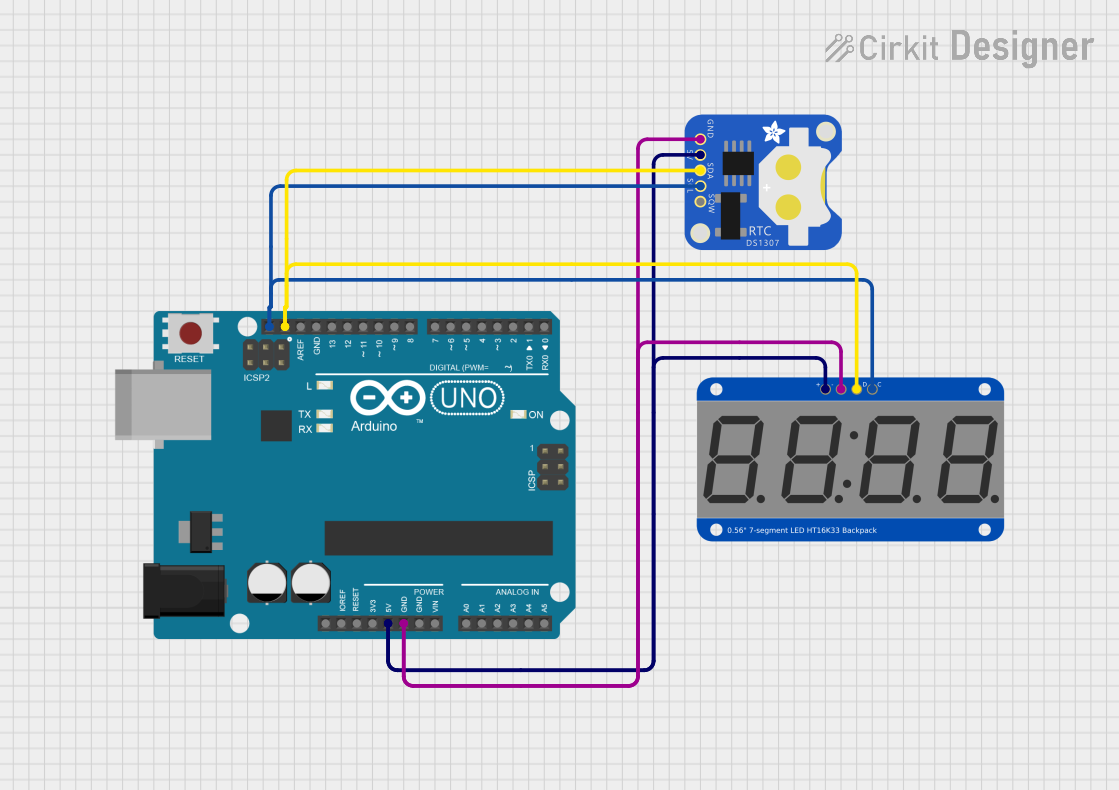
Use Cirkit Designer to design, explore, and prototype these projects online. Some projects support real-time simulation. Click "Open Project" to start designing instantly!
Arduino UNO Controlled Dual Seven Segment Display with Pushbutton Interaction and AHT10 Temperature Sensor
Image of enel290: A project utilizing Adafruit 0.56 inch 7-segment LED Backpack White in a practical application
This circuit features an Arduino UNO microcontroller connected to two seven-segment displays, a pushbutton, a red LED with a 330-ohm resistor, and an AHT10 temperature and humidity sensor. The Arduino controls the segments of the displays via its digital pins and reads the pushbutton state. The LED is used as an indicator, and the AHT10 sensor interfaces with the Arduino over I2C to provide environmental data.
Cirkit Designer LogoOpen Project in Cirkit Designer
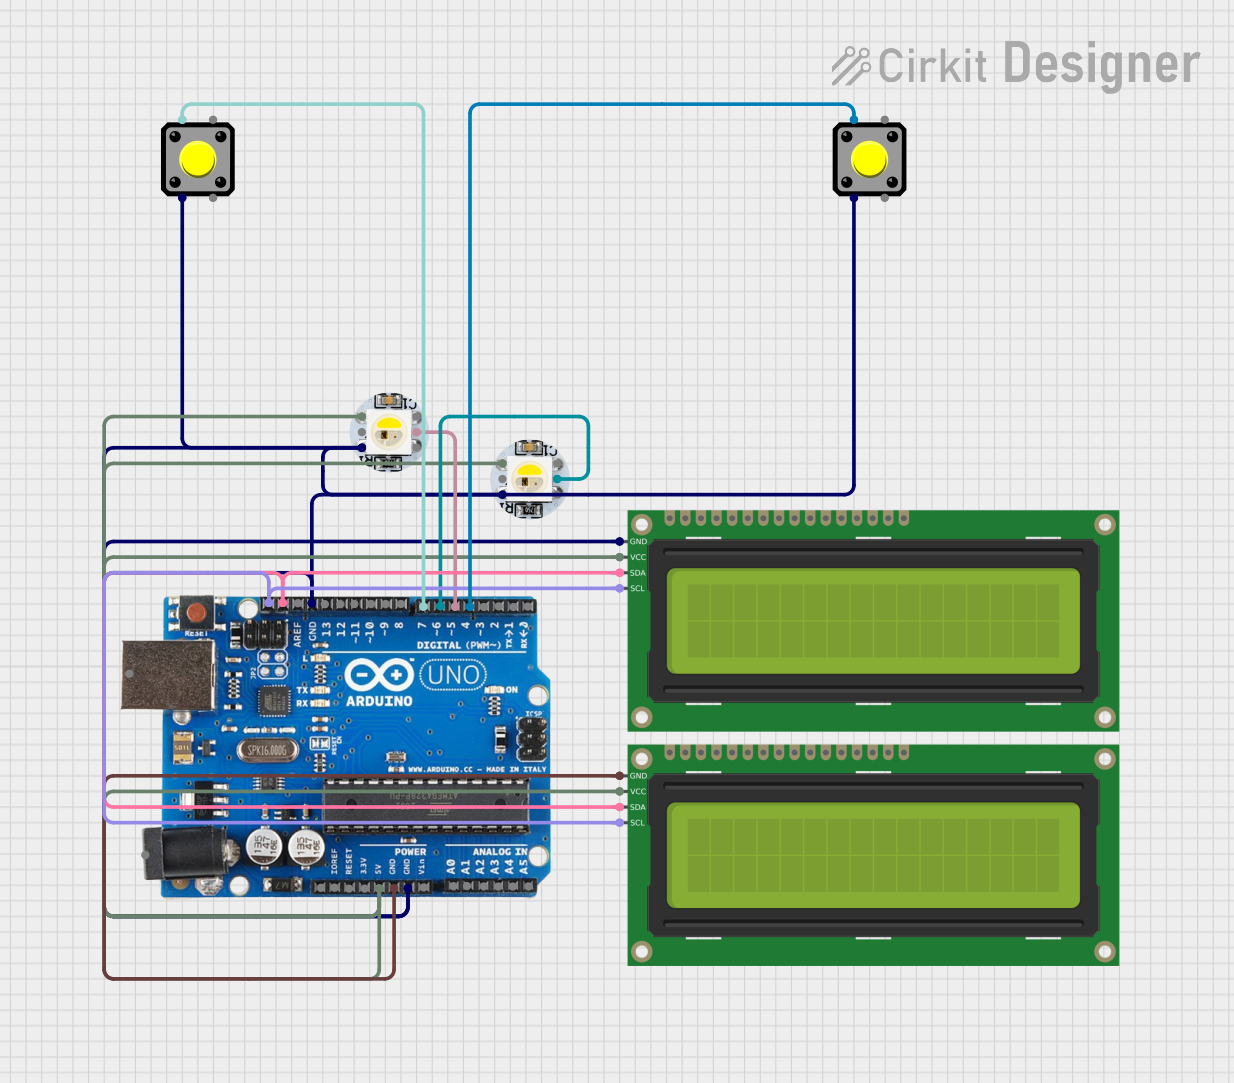
Arduino-Based Interactive LED Game with I2C LCD Display
Image of test2: A project utilizing Adafruit 0.56 inch 7-segment LED Backpack White in a practical application
This circuit is a simple interactive game system using an Arduino Uno, two WS2812B LEDs, two pushbuttons, and two 16x2 I2C LCDs. The Arduino controls the LEDs and displays game information on the LCDs, while the pushbuttons are used to interact with the game, which involves pressing the correct button based on the LED color displayed.
Cirkit Designer LogoOpen Project in Cirkit Designer
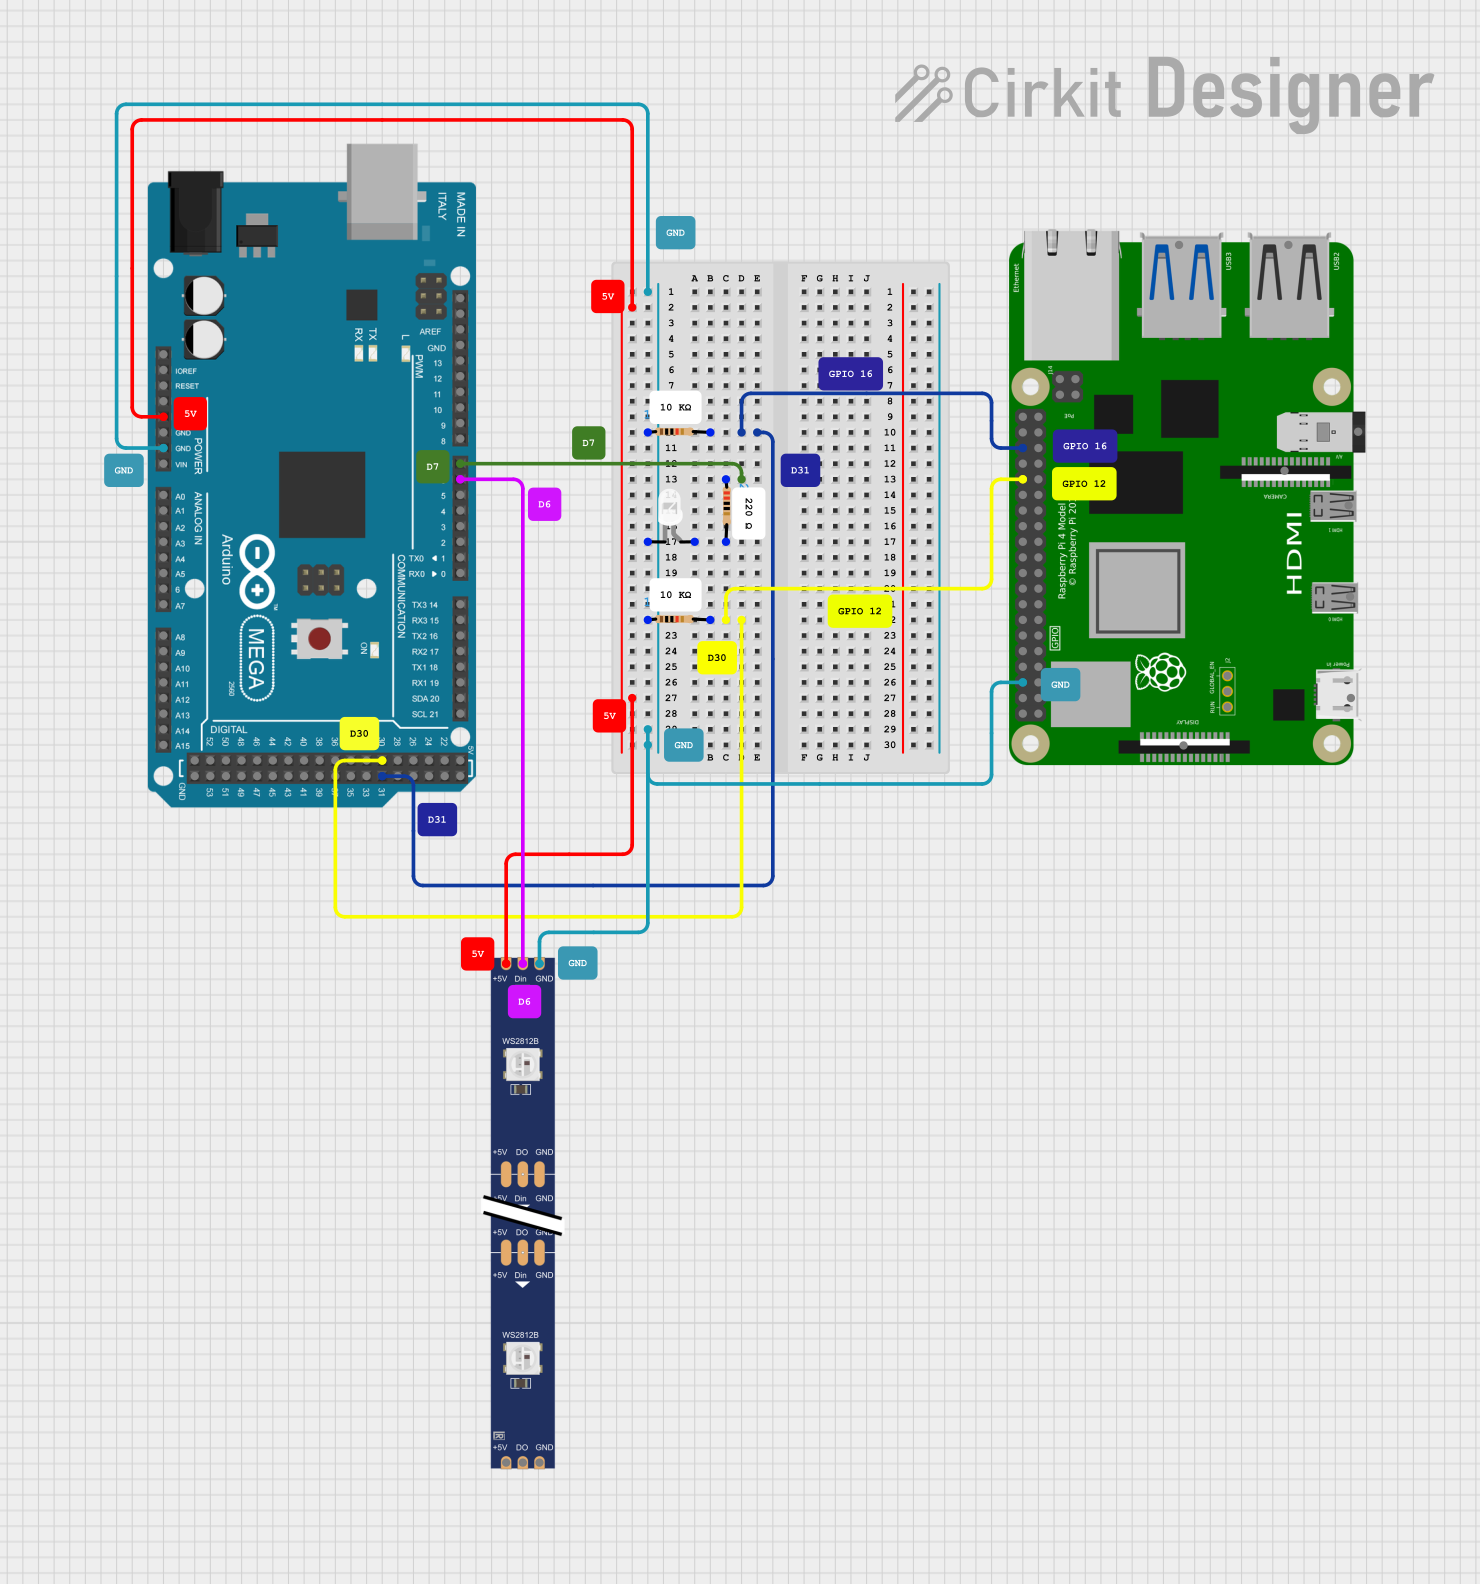
Arduino Mega 2560 and Raspberry Pi 4B Controlled WS2812 RGB LED Strip
Image of circuit_image: A project utilizing Adafruit 0.56 inch 7-segment LED Backpack White in a practical application
This circuit features an Arduino Mega 2560 microcontroller programmed to control a WS2812 RGB LED strip and a white LED, indicating status or providing user feedback. The Arduino and the LED strip are powered by a common 5V supply, and the circuit includes interfacing with a Raspberry Pi 4B for potential communication or coordination between the two boards.
Cirkit Designer LogoOpen Project in Cirkit Designer
Battery-Powered Smart Light with Proximity Sensor and OLED Display using Adafruit QT Py RP2040
Image of lab: A project utilizing Adafruit 0.56 inch 7-segment LED Backpack White in a practical application
This circuit is a portable, battery-powered system featuring an Adafruit QT Py RP2040 microcontroller that interfaces with an OLED display, a proximity sensor, an accelerometer, and an RGB LED strip. The system is powered by a lithium-ion battery with a step-up boost converter to provide 5V for the LED strip, and it includes a toggle switch for power control. The microcontroller communicates with the sensors and display via I2C.
Cirkit Designer LogoOpen Project in Cirkit Designer

Explore Projects Built with Adafruit 0.56 inch 7-segment LED Backpack White

Use Cirkit Designer to design, explore, and prototype these projects online. Some projects support real-time simulation. Click "Open Project" to start designing instantly!
Image of enel290: A project utilizing Adafruit 0.56 inch 7-segment LED Backpack White in a practical application
Arduino UNO Controlled Dual Seven Segment Display with Pushbutton Interaction and AHT10 Temperature Sensor
This circuit features an Arduino UNO microcontroller connected to two seven-segment displays, a pushbutton, a red LED with a 330-ohm resistor, and an AHT10 temperature and humidity sensor. The Arduino controls the segments of the displays via its digital pins and reads the pushbutton state. The LED is used as an indicator, and the AHT10 sensor interfaces with the Arduino over I2C to provide environmental data.
Cirkit Designer LogoOpen Project in Cirkit Designer
Image of test2: A project utilizing Adafruit 0.56 inch 7-segment LED Backpack White in a practical application
Arduino-Based Interactive LED Game with I2C LCD Display
This circuit is a simple interactive game system using an Arduino Uno, two WS2812B LEDs, two pushbuttons, and two 16x2 I2C LCDs. The Arduino controls the LEDs and displays game information on the LCDs, while the pushbuttons are used to interact with the game, which involves pressing the correct button based on the LED color displayed.
Cirkit Designer LogoOpen Project in Cirkit Designer
Image of circuit_image: A project utilizing Adafruit 0.56 inch 7-segment LED Backpack White in a practical application
Arduino Mega 2560 and Raspberry Pi 4B Controlled WS2812 RGB LED Strip
This circuit features an Arduino Mega 2560 microcontroller programmed to control a WS2812 RGB LED strip and a white LED, indicating status or providing user feedback. The Arduino and the LED strip are powered by a common 5V supply, and the circuit includes interfacing with a Raspberry Pi 4B for potential communication or coordination between the two boards.
Cirkit Designer LogoOpen Project in Cirkit Designer
Image of lab: A project utilizing Adafruit 0.56 inch 7-segment LED Backpack White in a practical application
Battery-Powered Smart Light with Proximity Sensor and OLED Display using Adafruit QT Py RP2040
This circuit is a portable, battery-powered system featuring an Adafruit QT Py RP2040 microcontroller that interfaces with an OLED display, a proximity sensor, an accelerometer, and an RGB LED strip. The system is powered by a lithium-ion battery with a step-up boost converter to provide 5V for the LED strip, and it includes a toggle switch for power control. The microcontroller communicates with the sensors and display via I2C.
Cirkit Designer LogoOpen Project in Cirkit Designer

Technical Specifications

Key Features

  • Display Type: 7-segment LED
  • Display Color: White
  • Digit Height: 0.56 inches
  • Number of Digits: 4
  • Interface: I2C
  • Operating Voltage: 5V
  • Forward Current: 80mA (max)

Pin Configuration and Descriptions

Pin Number Name Description
1 GND Ground connection
2 VCC Power supply (3.3V - 5V)
3 SDA I2C data line
4 SCL I2C clock line

Usage Instructions

Interfacing with Arduino

  1. Connecting the Display:

    • Connect the GND pin to the ground on the Arduino.
    • Connect the VCC pin to the 5V output on the Arduino.
    • Connect the SDA pin to the A4 (SDA) on the Arduino UNO.
    • Connect the SCL pin to the A5 (SCL) on the Arduino UNO.
  2. Library Installation:

    • Install the Adafruit LED Backpack library via the Arduino Library Manager.
    • Install the Adafruit GFX library as it is a dependency for the LED Backpack library.
  3. Initialization:

    • Include the necessary libraries in your sketch.
    • Create an object for the display, specifying the I2C address if needed.
  4. Displaying Numbers:

    • Use the print and writeDisplay functions to output numbers to the display.

Example Arduino Code

#include <Wire.h>
#include <Adafruit_GFX.h>
#include <Adafruit_LEDBackpack.h>

Adafruit_7segment matrix = Adafruit_7segment();

void setup() {
  matrix.begin(0x70); // Initialize the display with its I2C address
}

void loop() {
  matrix.print(1234); // Print a numeric value to the display buffer
  matrix.writeDisplay(); // Send the buffer to the display
  delay(500); // Wait for half a second
}

Important Considerations and Best Practices

  • Ensure that the power supply voltage does not exceed the maximum rating of 5V.
  • The I2C address can be changed by soldering the address jumpers on the back of the PCB.
  • Avoid exposing the display to moisture or extreme temperatures.

Troubleshooting and FAQs

Common Issues

  • Display Not Lighting Up:

    • Check the power connections and ensure the Arduino is supplying power.
    • Verify that the I2C address used in the code matches the address of the display.
  • Garbled or Incorrect Output:

    • Ensure that the library is correctly installed and included in your sketch.
    • Check for loose connections between the Arduino and the display module.

FAQs

Q: Can I use this display with a 3.3V system? A: Yes, the display can be powered with 3.3V, but the brightness may be reduced.

Q: How do I change the I2C address? A: Solder the address jumpers on the back of the PCB to configure the address.

Q: Can I display letters as well as numbers? A: The 7-segment display is primarily designed for numbers, but some letters can be approximated.

For further assistance, consult the Adafruit support forums or the detailed product guide available on the Adafruit website.