
How to Use LM386 audio amplifier module: Examples, Pinouts, and Specs
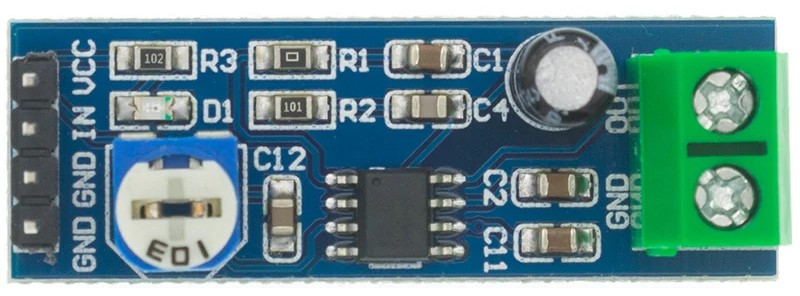
 Design with LM386 audio amplifier module in Cirkit Designer
Introduction
The LM386 is a popular low-voltage audio power amplifier integrated circuit (IC) designed for battery-powered devices. It is capable of delivering up to 325 mW of continuous average power to an 8-ohm load with a 5V power supply, making it an ideal choice for small audio amplification projects. Common applications include portable speakers, radio receivers, and as a driver for low-power headphones.
Explore Projects Built with LM386 audio amplifier module
 Open Project in Cirkit Designer
 Open Project in Cirkit Designer
 Open Project in Cirkit Designer
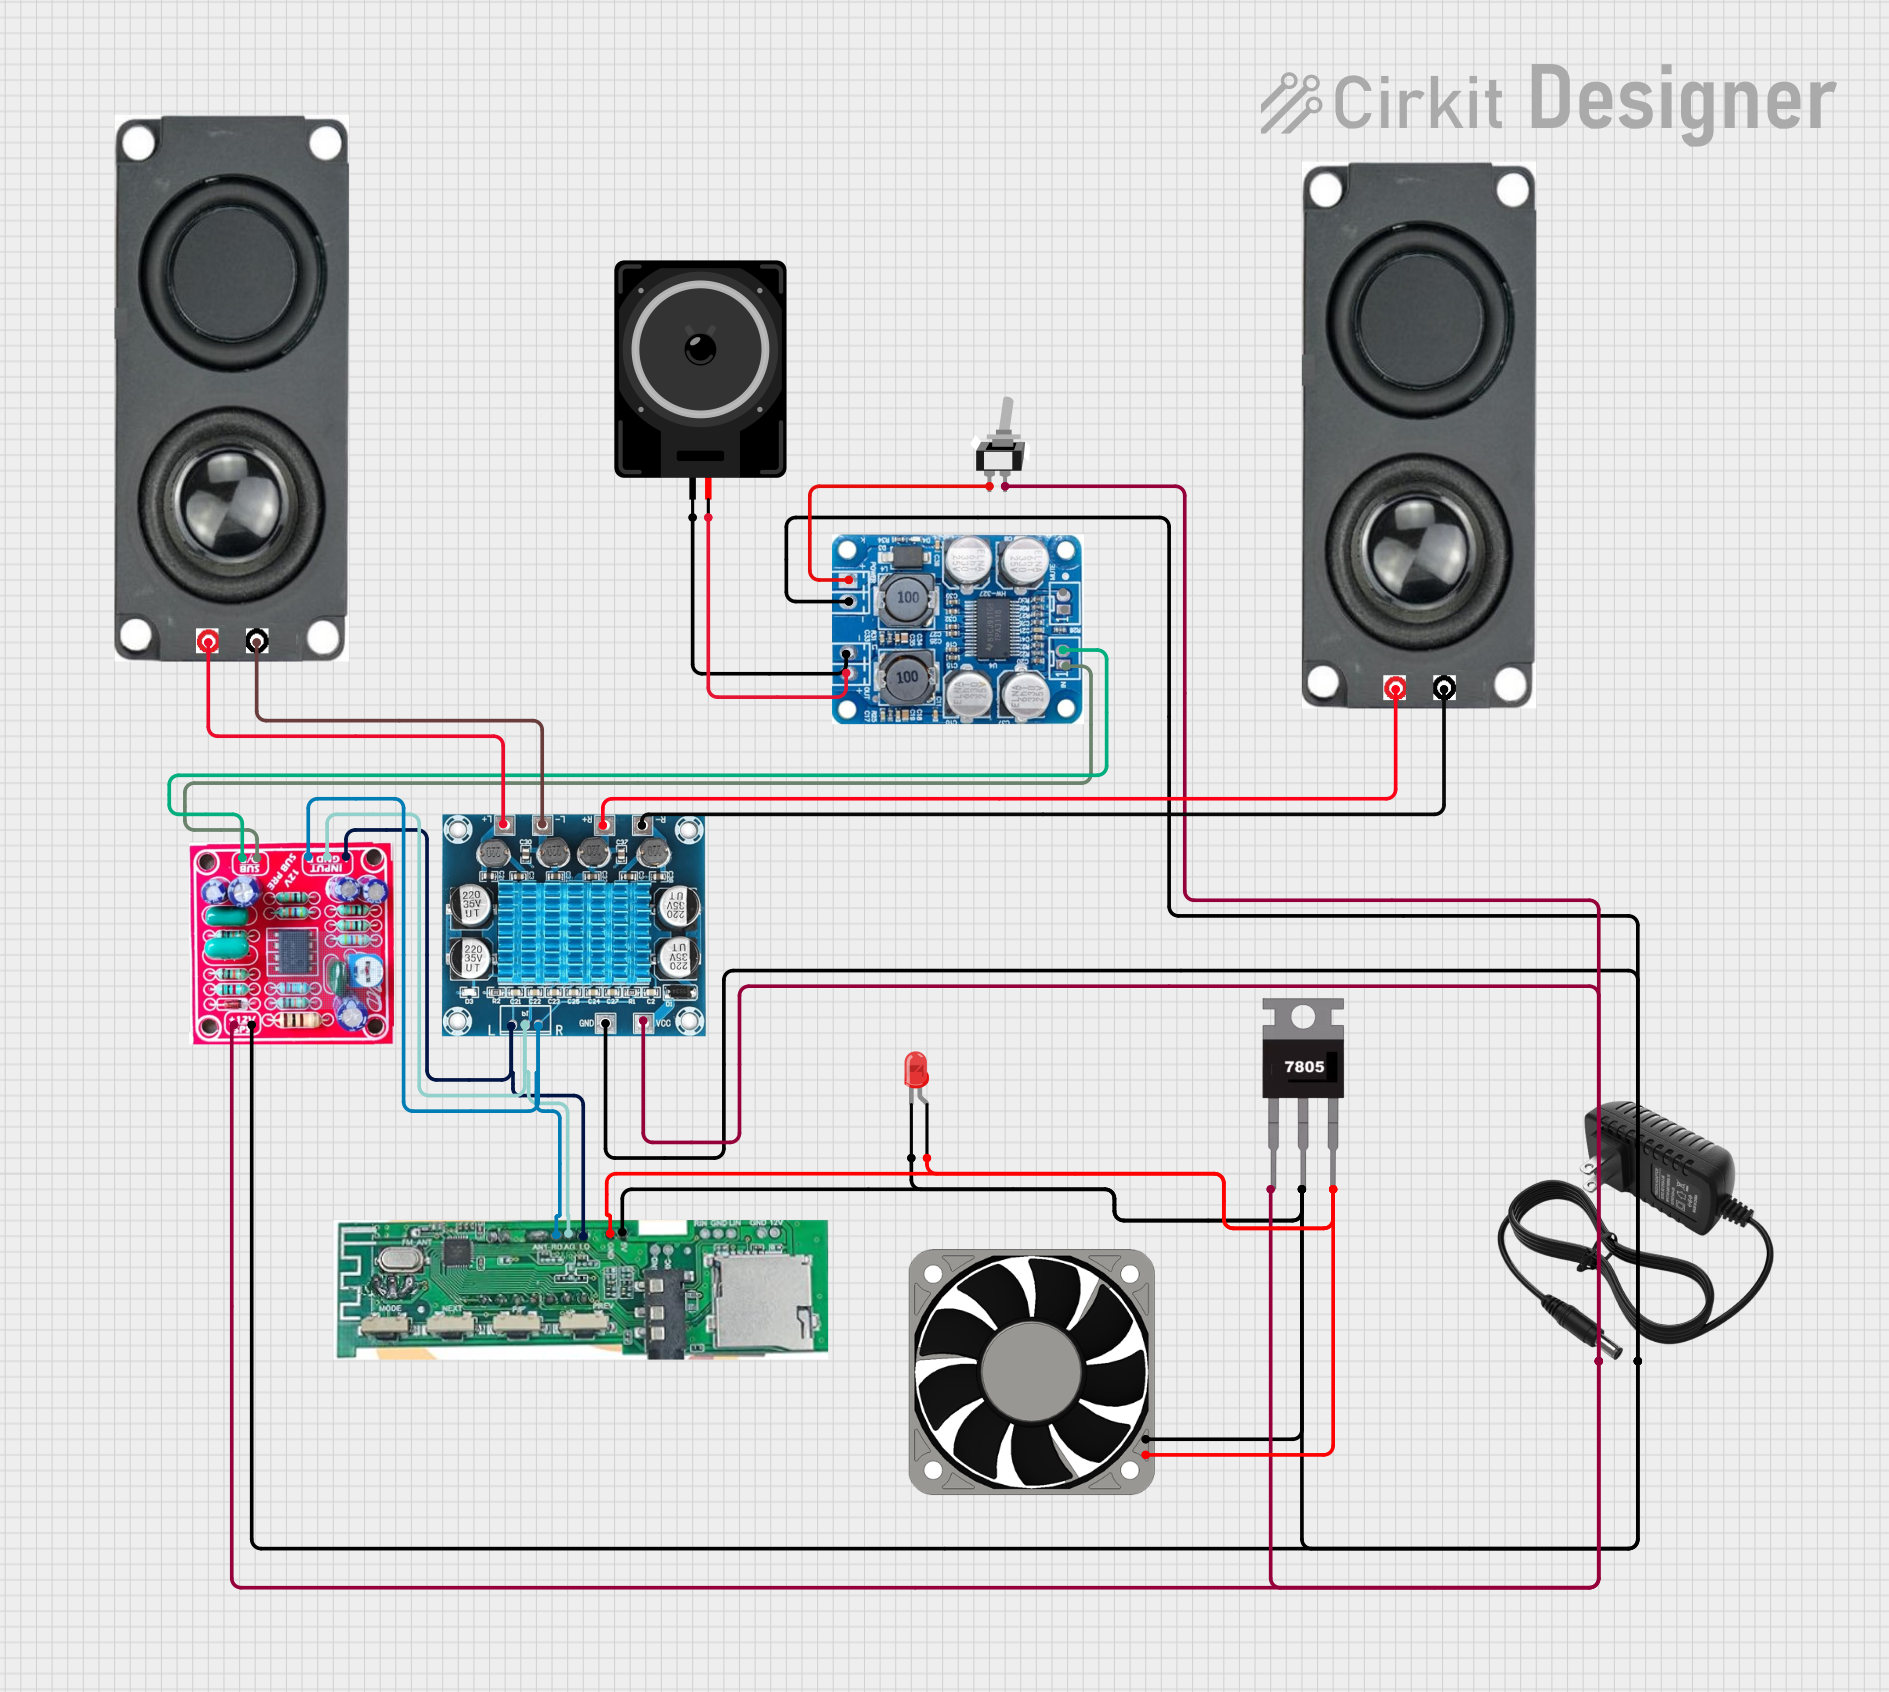
 Open Project in Cirkit Designer
Explore Projects Built with LM386 audio amplifier module

 Open Project in Cirkit Designer
 Open Project in Cirkit Designer
 Open Project in Cirkit Designer
 Open Project in Cirkit Designer
Technical Specifications
Key Technical Details
- Supply Voltage (Vcc): 4V to 12V
- Output Power: Up to 325 mW (when connected to an 8-ohm load and powered by a 5V supply)
- Load Impedance: 4Ω to 32Ω
- Quiescent Current: 4mA (typical)
- Total Harmonic Distortion (THD): 0.2% (typical at 1kHz)
- Gain: Adjustable from 20 to 200
Pin Configuration and Descriptions
| Pin Number | Name | Description |
|---|---|---|
| 1 | GND | Ground connection |
| 2 | IN+ | Non-inverting input |
| 3 | Vs | Supply voltage (4V to 12V) |
| 4 | OUT | Audio output to speaker |
| 5 | GND | Ground connection for the output |
| 6 | BYP | Bypass pin for decoupling |
| 7 | GAIN | Gain control input |
| 8 | GAIN | Gain control input |
Usage Instructions
Connecting the LM386 to a Circuit
- Power Supply: Connect pin 3 (Vs) to your power supply (4V to 12V) and pin 1 (GND) to the ground.
- Audio Input: Connect your audio source to pin 2 (IN+), with the source ground connected to the LM386 ground.
- Audio Output: Connect pin 4 (OUT) to the speaker, and ensure the speaker's other terminal is connected to ground.
- Gain Control: Pins 7 and 8 can be used to set the gain. For the default gain of 20, leave these pins open. To increase the gain, connect a capacitor between these pins.
Important Considerations and Best Practices
- Use a decoupling capacitor (typically 0.1µF) between Vs and GND close to the IC to filter out noise.
- For higher gain settings, a capacitor and resistor in series between pins 1 and 8 can be used.
- Keep audio input lines as short as possible to minimize noise pickup.
- Use a heat sink if operating near the maximum power output to prevent overheating.
Example Arduino UNO Connection and Code
// Connect LM386 pin 2 to Arduino pin 9 (PWM output)
// Connect LM386 pin 3 to 5V and pin 1 to GND
// Connect a speaker between LM386 pin 4 and pin 5

int speakerPin = 9; // PWM output for audio signal

void setup() {
  pinMode(speakerPin, OUTPUT);
}

void loop() {
  // Generate a 1kHz tone for 1 second
  tone(speakerPin, 1000, 1000);
  delay(1500); // Wait for 1.5 seconds
}
Troubleshooting and FAQs
Common Issues
- No Sound: Check power supply, ensure audio input is connected properly, and verify speaker connections.
- Low Volume: Increase the gain by adjusting the gain control pins or check if the input signal is too low.
- Distortion: Ensure the power supply is within the specified range and that the speaker impedance matches the IC's requirements.
Solutions and Tips
- Power Supply Issues: Use a regulated power supply to prevent voltage fluctuations that can cause noise or distortion.
- Input Signal: Use a preamplifier if the input signal level is too low.
- Heat Dissipation: Attach a heat sink to the LM386 if it gets too hot during operation.
FAQs
Q: Can I use a 16-ohm speaker with the LM386? A: Yes, the LM386 can drive speakers with impedances ranging from 4Ω to 32Ω.
Q: How can I increase the gain above the default value? A: Connect a 10µF capacitor between pins 1 and 8 for a gain of 200.
Q: What is the maximum supply voltage for the LM386? A: The maximum supply voltage is 12V. Exceeding this voltage can damage the IC.
Remember to always consult the LM386 datasheet for detailed specifications and application notes.