How to Use PM07 Power Module: Examples, Pinouts, and Specs
Introduction
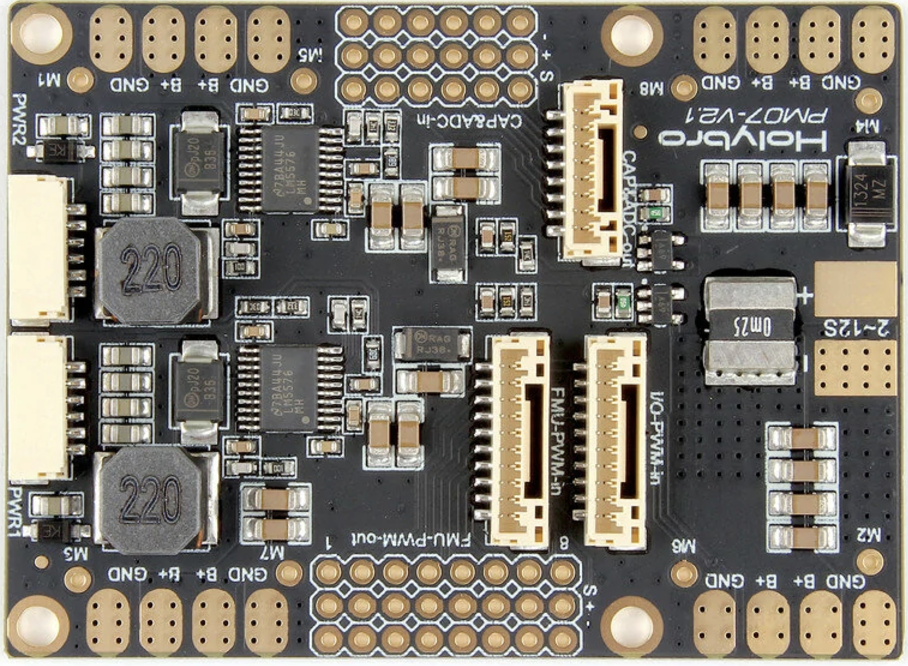
The PM07 Power Module, manufactured by HolyBro (Part ID: PM07), is a compact and reliable power supply unit designed to deliver stable voltage and current to electronic circuits. It is commonly used in drone systems, robotics, and other embedded applications requiring efficient power distribution. The module features multiple output options and built-in protection mechanisms, making it a versatile and safe choice for powering sensitive electronics.
Explore Projects Built with PM07 Power Module


Explore Projects Built with PM07 Power Module
Common Applications
- Powering flight controllers and electronic speed controllers (ESCs) in drones
- Supplying power to embedded systems and microcontrollers
- Robotics and automation projects
- General-purpose power distribution in electronic circuits
Technical Specifications
Key Specifications
| Parameter | Value |
|---|---|
| Input Voltage Range | 7V - 51V (2S to 12S LiPo) |
| Maximum Current | 120A |
| Output Voltage (BEC) | 5.0V |
| BEC Maximum Current | 3A |
| Dimensions | 68mm x 50mm x 9mm |
| Weight | 20g |
| Connector Type | XT60 for input/output |
| Protection Features | Overcurrent, overvoltage, and thermal protection |
Pin Configuration and Descriptions
| Pin Name | Description |
|---|---|
| XT60 Input | Connects to the battery input (7V - 51V). |
| XT60 Output | Provides power to the load (e.g., ESCs, motors). |
| 6-Pin JST GH | Outputs voltage and current sensing data to the flight controller. |
| BEC Output | Provides a regulated 5V output for powering low-power devices (e.g., FCs). |
Usage Instructions
How to Use the PM07 Power Module
Connect the Battery:
- Use the XT60 input connector to connect a compatible battery (2S to 12S LiPo).
- Ensure the battery voltage is within the specified range (7V - 51V).
Connect the Load:
- Use the XT60 output connector to power your load, such as ESCs or motors.
- Ensure the total current draw does not exceed 120A.
Connect to a Flight Controller (Optional):
- Use the 6-pin JST GH connector to interface with a flight controller for voltage and current sensing.
- Refer to your flight controller's documentation for proper pin mapping.
Power Low-Power Devices:
- Use the BEC output to power devices requiring 5V, such as microcontrollers or sensors.
- Ensure the connected devices do not exceed the 3A current limit.
Important Considerations
- Cooling: Ensure adequate airflow around the module to prevent overheating during operation.
- Wiring: Use appropriately rated wires for the input and output connections to handle high currents.
- Polarity: Double-check the polarity of all connections to avoid damage to the module or connected devices.
- Mounting: Secure the module in a vibration-free location, especially in drone applications.
Example: Connecting to an Arduino UNO
The PM07 Power Module can be used to power an Arduino UNO via its 5V BEC output. Below is an example of how to connect and use the module with an Arduino UNO:
Wiring
- Connect the PM07's BEC output to the Arduino UNO's 5V and GND pins.
- Use the XT60 input to connect a 2S-12S LiPo battery.
- Optionally, connect the 6-pin JST GH to a flight controller for voltage/current monitoring.
Sample Code
// Example code to read voltage and current data from the PM07 Power Module
// via an analog input on the Arduino UNO. Ensure proper scaling factors
// are applied based on the flight controller's output specifications.

const int voltagePin = A0; // Pin connected to voltage sensing output
const int currentPin = A1; // Pin connected to current sensing output

void setup() {
  Serial.begin(9600); // Initialize serial communication
  pinMode(voltagePin, INPUT);
  pinMode(currentPin, INPUT);
}

void loop() {
  // Read analog values from the PM07
  int voltageRaw = analogRead(voltagePin);
  int currentRaw = analogRead(currentPin);

  // Convert raw values to actual voltage and current
  // Adjust scaling factors based on your specific setup
  float voltage = voltageRaw * (5.0 / 1023.0) * 10.0; // Example scaling
  float current = currentRaw * (5.0 / 1023.0) * 20.0; // Example scaling

  // Print the results to the Serial Monitor
  Serial.print("Voltage: ");
  Serial.print(voltage);
  Serial.println(" V");

  Serial.print("Current: ");
  Serial.print(current);
  Serial.println(" A");

  delay(1000); // Wait 1 second before the next reading
}
Troubleshooting and FAQs
Common Issues and Solutions
No Power Output:
- Cause: Incorrect wiring or loose connections.
- Solution: Verify all connections, ensuring proper polarity and secure connections.
Overheating:
- Cause: Insufficient cooling or excessive current draw.
- Solution: Improve airflow around the module and ensure the load does not exceed 120A.
BEC Output Not Working:
- Cause: Overloading the BEC output.
- Solution: Ensure the connected devices do not exceed the 3A limit.
Voltage/Current Sensing Not Accurate:
- Cause: Incorrect scaling factors in the flight controller or Arduino code.
- Solution: Calibrate the scaling factors based on the module's specifications.
FAQs
Can the PM07 Power Module be used with non-LiPo batteries?
- Yes, as long as the input voltage is within the 7V - 51V range.
Is the PM07 waterproof?
- No, the module is not waterproof. Avoid exposing it to moisture or water.
Can I use the PM07 to power multiple devices simultaneously?
- Yes, but ensure the total current draw does not exceed the module's maximum ratings.
What happens if I exceed the current limit?
- The module's built-in protection mechanisms will activate to prevent damage, but it is recommended to stay within the specified limits for safe operation.