How to Use TCS34725: Examples, Pinouts, and Specs
Introduction
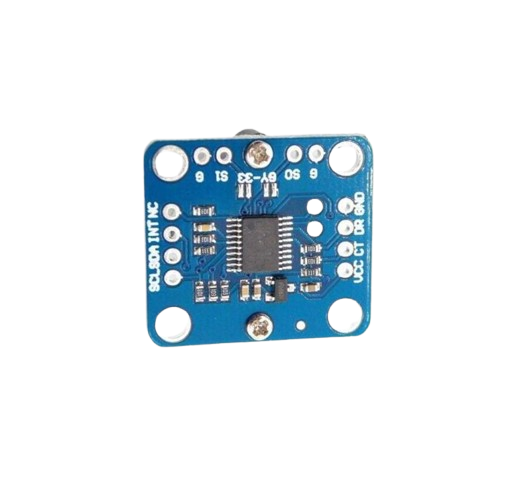
The TCS34725 is a high-performance color sensor manufactured by Sensor. It is capable of detecting and measuring the intensity of red, green, blue, and clear (non-filtered) light. The sensor features an integrated infrared (IR) filter to minimize IR interference, ensuring accurate color measurements. It communicates via the I2C protocol, making it easy to integrate into microcontroller-based systems.
Explore Projects Built with TCS34725
Explore Projects Built with TCS34725
Common Applications and Use Cases
- Color recognition in robotics and automation
- Ambient light sensing for display brightness adjustment
- Color matching in industrial and consumer applications
- Environmental monitoring and horticulture lighting systems
- DIY electronics and Arduino projects
Technical Specifications
The TCS34725 is designed for precision and ease of use. Below are its key technical details:
| Parameter | Value |
|---|---|
| Supply Voltage (VDD) | 2.7V to 3.6V |
| I/O Voltage Range | 1.8V to VDD |
| Communication Interface | I2C (7-bit address: 0x29) |
| Operating Current | 235 µA (typical) |
| Standby Current | 2.5 µA (typical) |
| Light Sensing Range | 0 to 65,535 counts per channel |
| IR Filter | Integrated |
| Integration Time | Programmable (2.4 ms to 700 ms) |
| Operating Temperature Range | -30°C to +85°C |
Pin Configuration and Descriptions
The TCS34725 is typically available in a 6-pin package. Below is the pinout description:
| Pin | Name | Description |
|---|---|---|
| 1 | VDD | Power supply input (2.7V to 3.6V) |
| 2 | GND | Ground connection |
| 3 | SDA | I2C data line |
| 4 | SCL | I2C clock line |
| 5 | INT | Interrupt output (active low, optional use) |
| 6 | LED | LED control pin (optional, for external illumination) |
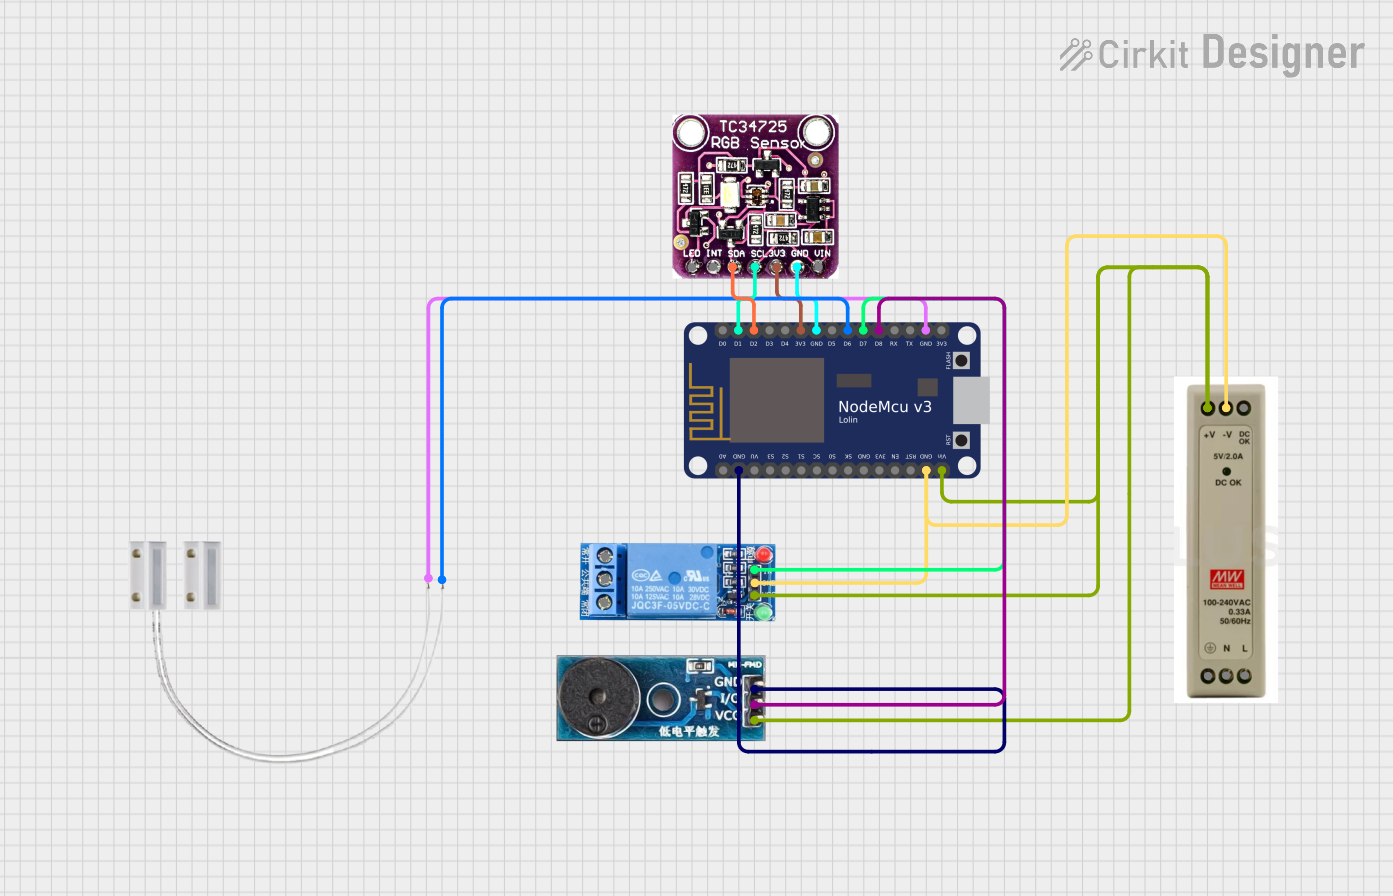
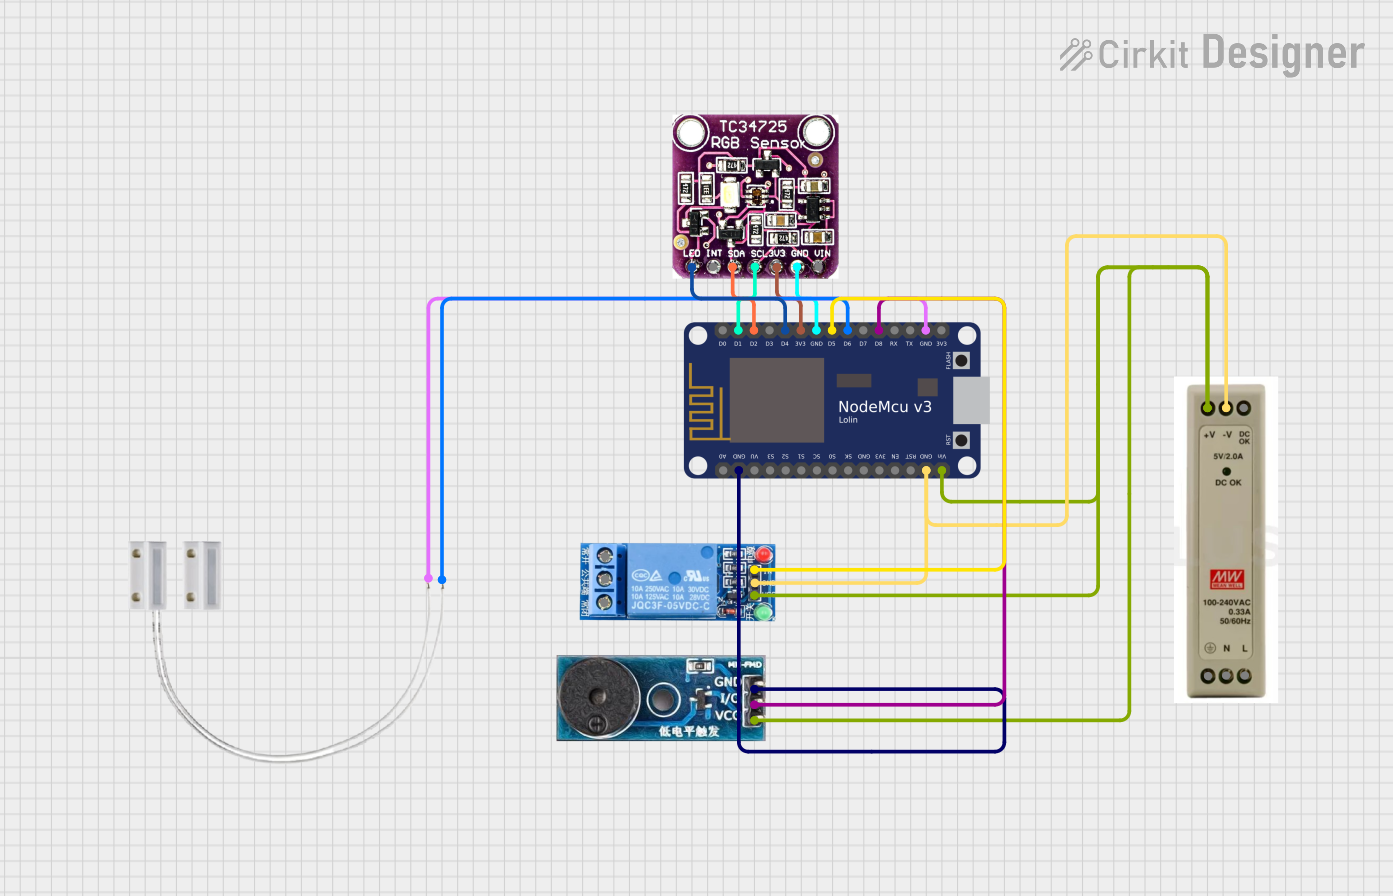
Usage Instructions
The TCS34725 is straightforward to use in a circuit, especially with microcontrollers like the Arduino UNO. Below are the steps to get started:
Connecting the TCS34725 to an Arduino UNO
- Power the Sensor: Connect the VDD pin to the 3.3V pin on the Arduino and the GND pin to the Arduino's GND.
- I2C Communication: Connect the SDA pin to the Arduino's A4 pin and the SCL pin to the A5 pin (for older Arduino boards) or to the dedicated SDA and SCL pins on newer boards.
- Optional Connections:
- Connect the INT pin to a digital input pin on the Arduino if you want to use the interrupt feature.
- Use the LED pin to control an external illumination source if needed.
Sample Arduino Code
Below is an example Arduino sketch to read RGB and clear light values from the TCS34725 using the Adafruit_TCS34725 library:
#include <Wire.h>
#include "Adafruit_TCS34725.h"

// Create an instance of the TCS34725 sensor with default integration time
// and gain settings.
Adafruit_TCS34725 tcs = Adafruit_TCS34725(TCS34725_INTEGRATIONTIME_700MS,
                                          TCS34725_GAIN_1X);

void setup() {
  Serial.begin(9600); // Initialize serial communication for debugging.

  if (tcs.begin()) {
    Serial.println("TCS34725 found and initialized.");
  } else {
    Serial.println("No TCS34725 found. Check your connections.");
    while (1); // Halt execution if the sensor is not detected.
  }
}

void loop() {
  uint16_t r, g, b, c; // Variables to store color data.

  // Read raw color data from the sensor.
  tcs.getRawData(&r, &g, &b, &c);

  // Print the RGB and clear light values to the Serial Monitor.
  Serial.print("Red: "); Serial.print(r);
  Serial.print(" Green: "); Serial.print(g);
  Serial.print(" Blue: "); Serial.print(b);
  Serial.print(" Clear: "); Serial.println(c);

  delay(500); // Wait 500ms before the next reading.
}
Important Considerations and Best Practices
- Power Supply: Ensure the sensor operates within its specified voltage range (2.7V to 3.6V). Using a voltage regulator may be necessary if your system operates at 5V.
- I2C Pull-Up Resistors: The I2C lines (SDA and SCL) require pull-up resistors. Many breakout boards for the TCS34725 include these resistors, but verify their presence if you're using a custom PCB.
- Ambient Light: Avoid exposing the sensor to direct sunlight or strong IR sources, as they may affect accuracy despite the integrated IR filter.
- Integration Time and Gain: Adjust the integration time and gain settings to optimize performance for your specific lighting conditions.
Troubleshooting and FAQs
Common Issues and Solutions
Sensor Not Detected:
- Ensure the I2C connections (SDA and SCL) are correct and secure.
- Verify the sensor's I2C address (default: 0x29) matches the address in your code.
- Check for proper power supply voltage (2.7V to 3.6V).
Incorrect or Inconsistent Readings:
- Ensure the sensor is not exposed to excessive IR light or direct sunlight.
- Adjust the integration time and gain settings to suit your environment.
- Verify that the LED pin is properly configured if using external illumination.
No Output in Serial Monitor:
- Confirm that the Serial Monitor baud rate matches the
Serial.begin()setting in your code. - Check for loose or incorrect wiring.
- Confirm that the Serial Monitor baud rate matches the
FAQs
Q: Can the TCS34725 measure light intensity in lux?
A: The TCS34725 provides raw RGB and clear light data. To calculate lux, you need to apply a conversion formula based on the sensor's spectral response and your specific application.
Q: Is the TCS34725 compatible with 5V systems?
A: The sensor operates at 3.3V, but many breakout boards include level shifters to make it compatible with 5V systems. Verify your specific board's documentation.
Q: How can I improve measurement accuracy?
A: Use a diffuser to evenly distribute light over the sensor and minimize reflections. Additionally, calibrate the sensor for your specific lighting conditions.
This concludes the documentation for the TCS34725 color sensor.