How to Use Solenoid Irrigation Valve: Examples, Pinouts, and Specs
Introduction
A solenoid irrigation valve is an electromechanical device used to control the flow of water in irrigation systems. It operates by using an electromagnetic solenoid to open or close the valve in response to electrical signals. This allows for precise and automated control of water distribution, making it an essential component in modern irrigation systems.
Explore Projects Built with Solenoid Irrigation Valve
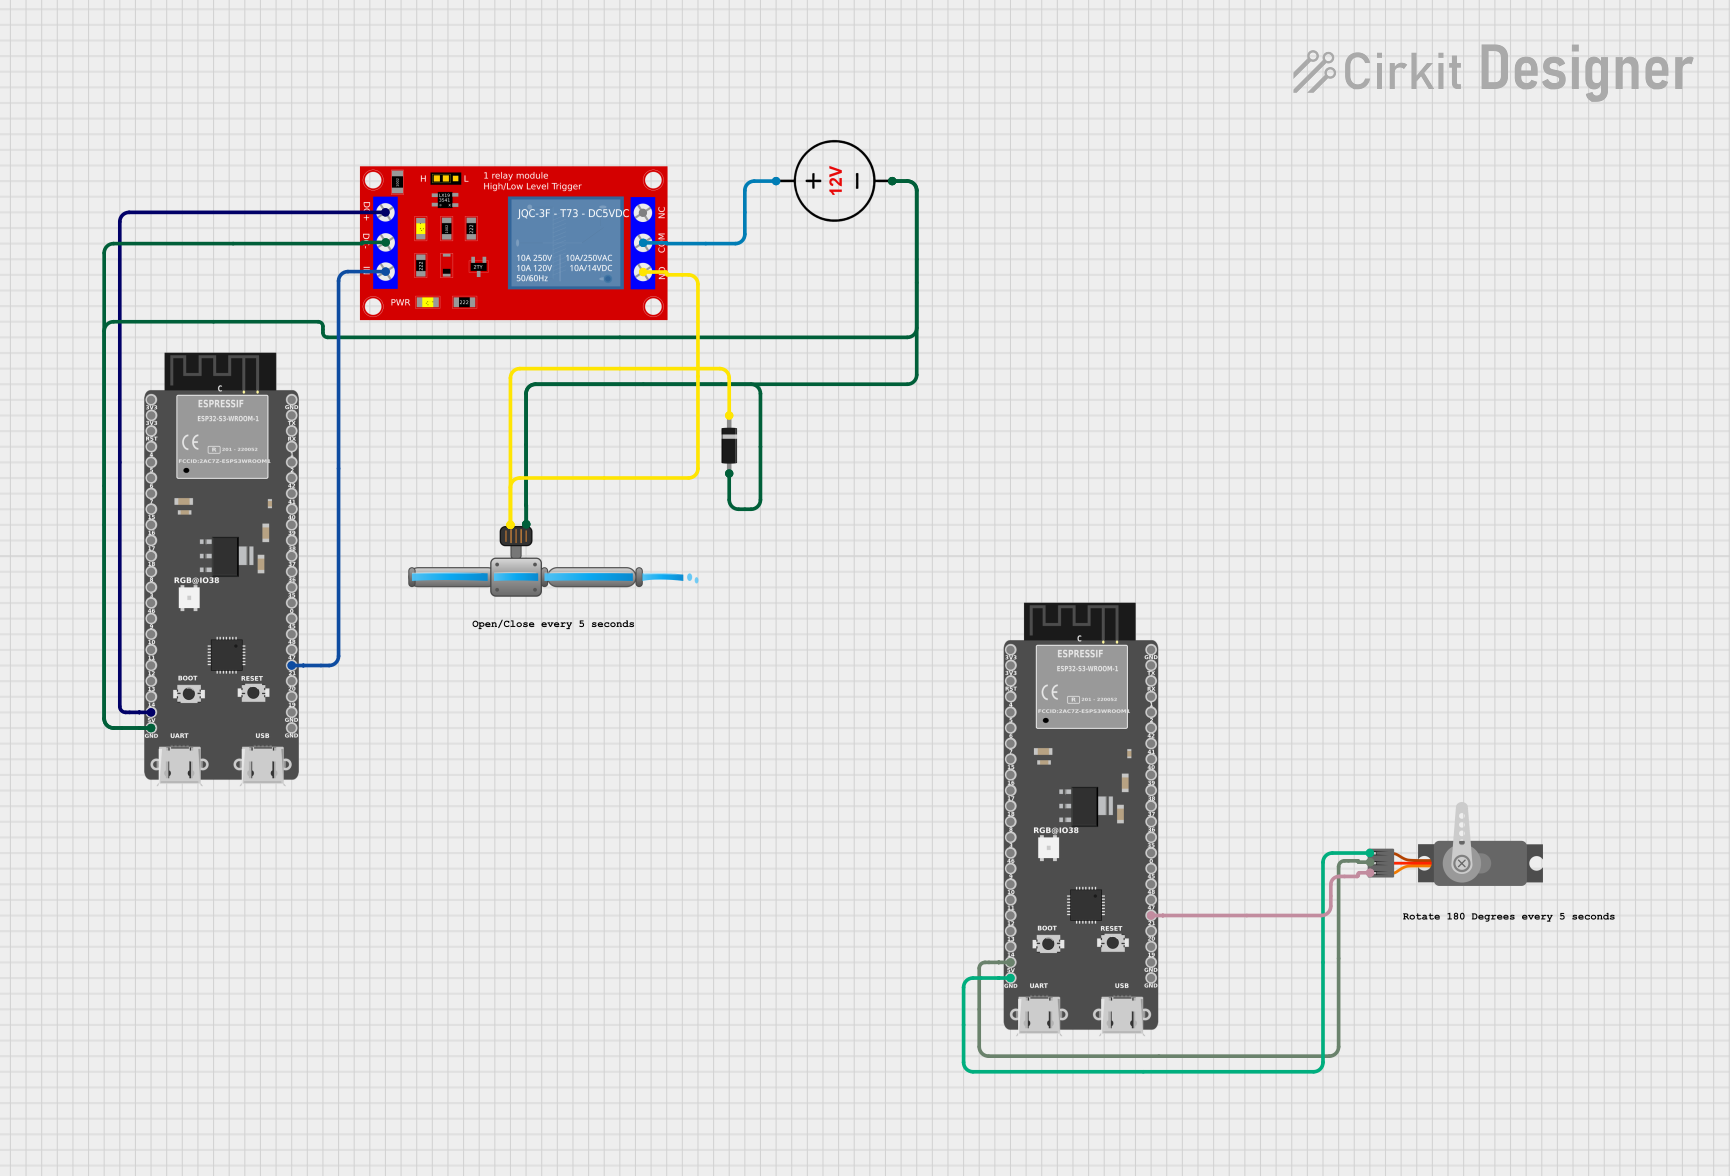

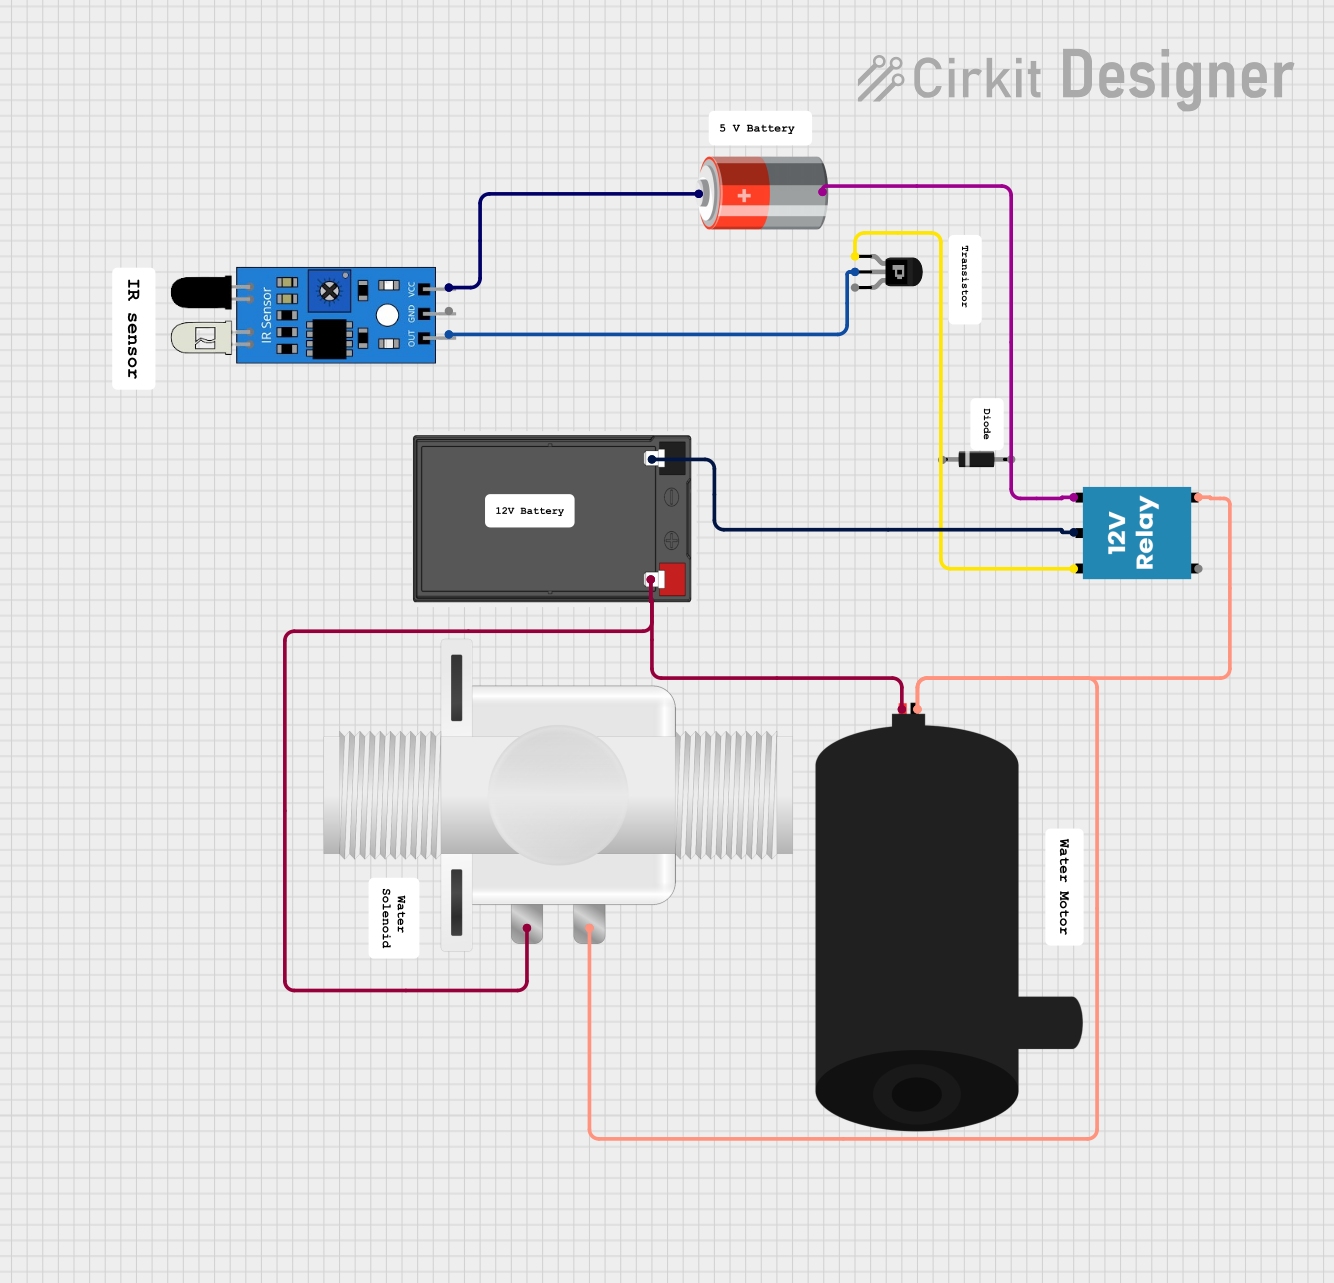
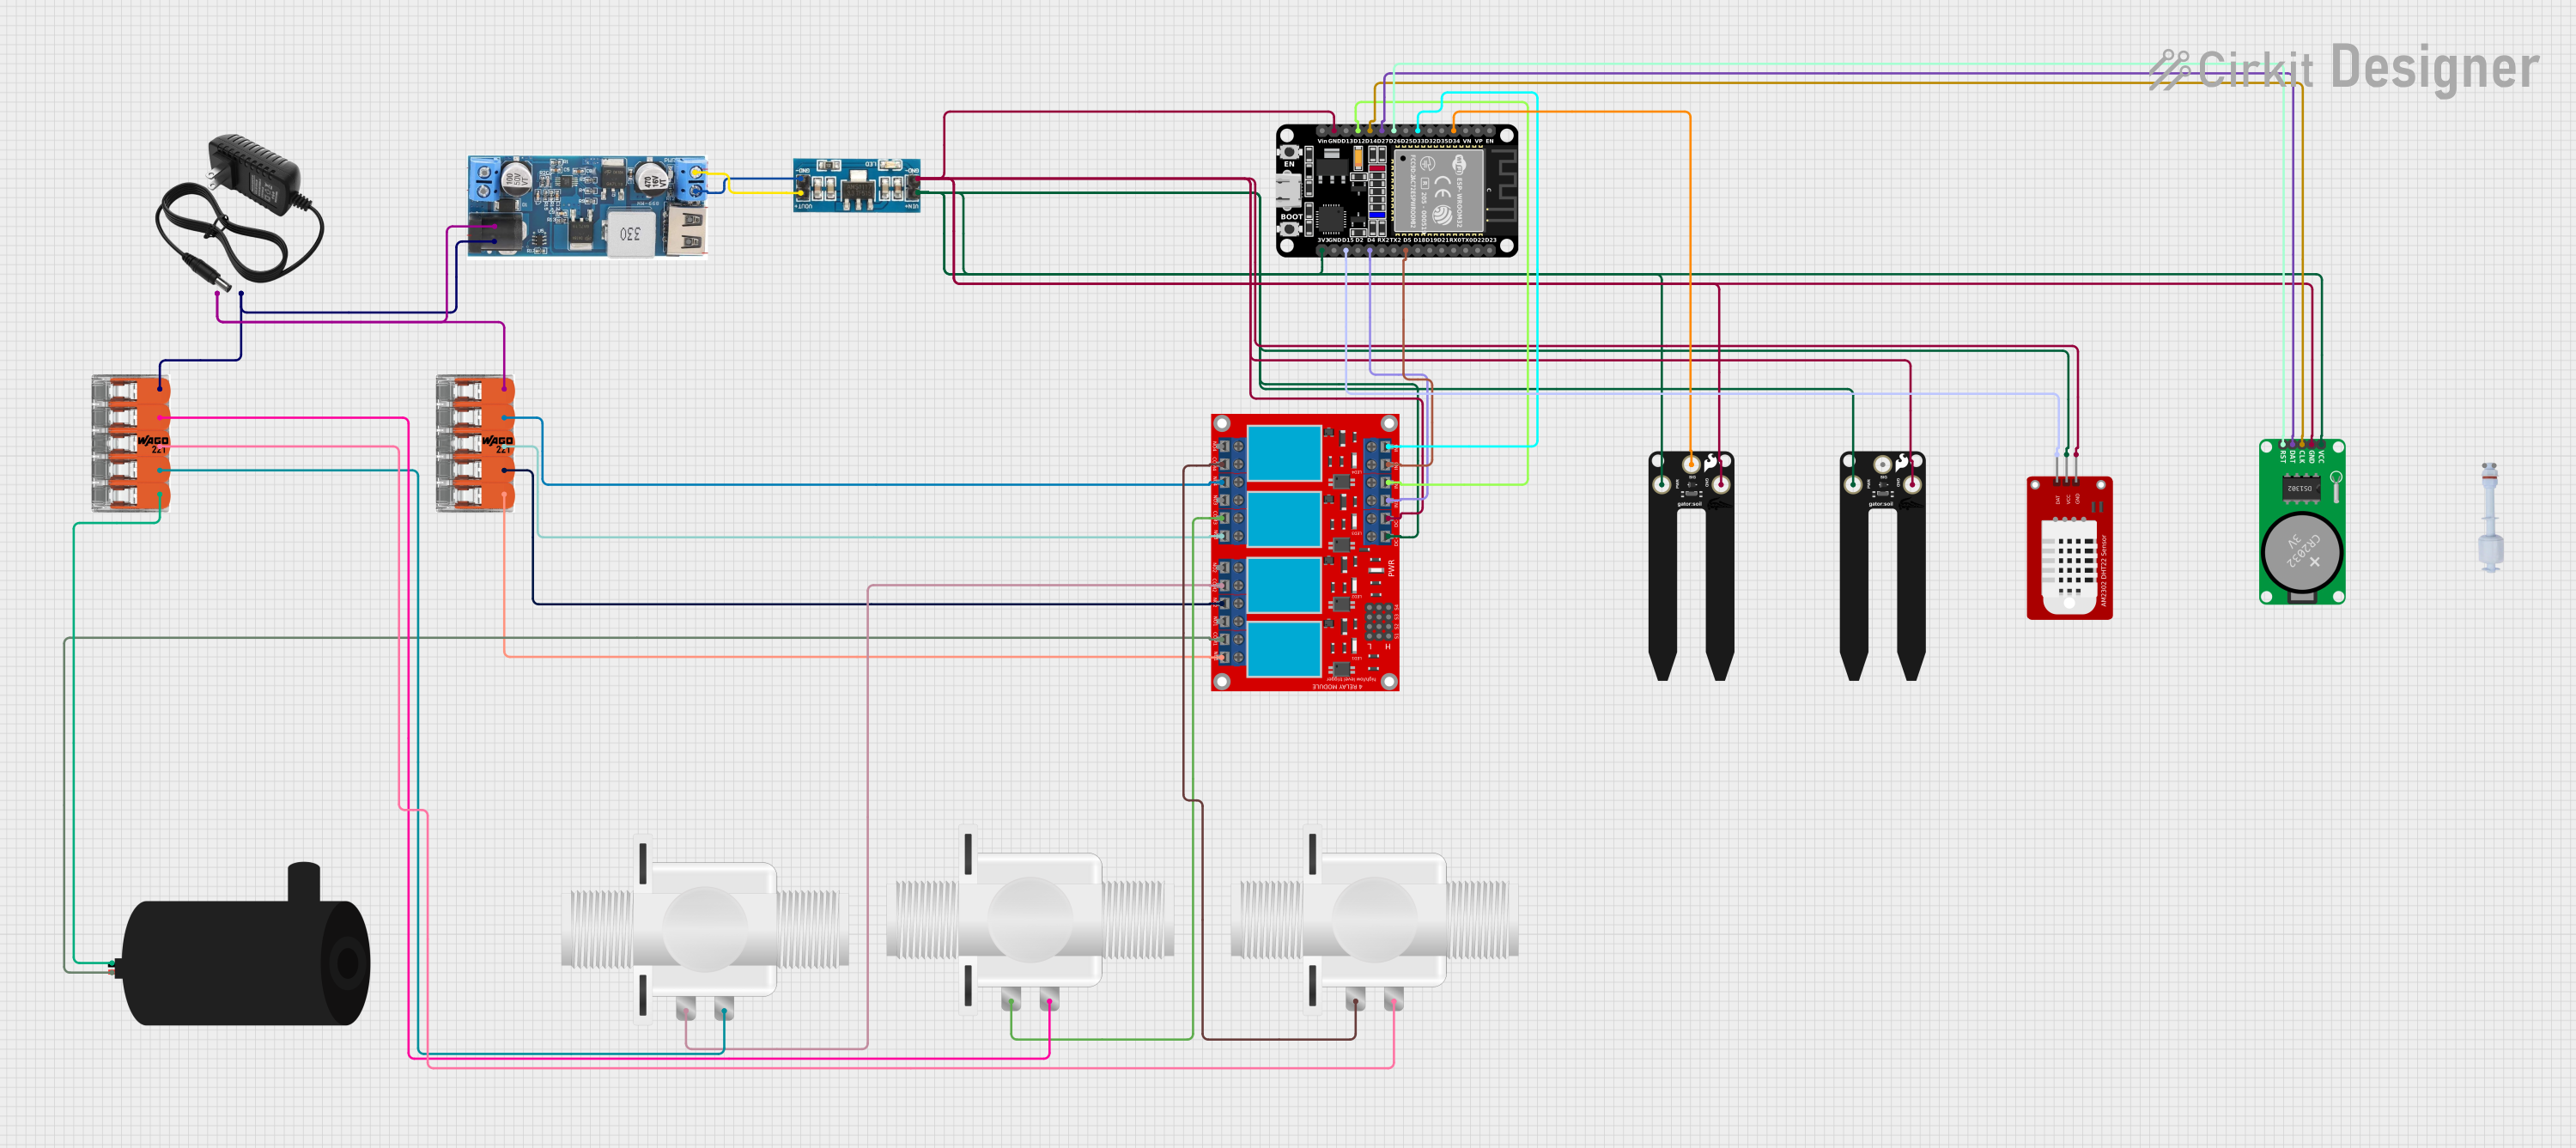
Explore Projects Built with Solenoid Irrigation Valve
Common Applications and Use Cases
- Automated garden and landscape irrigation systems
- Agricultural irrigation for crops
- Greenhouse watering systems
- Industrial water flow control
- Smart home water management systems
Technical Specifications
Below are the key technical details for a typical solenoid irrigation valve. Specifications may vary depending on the manufacturer and model.
General Specifications
| Parameter | Value |
|---|---|
| Operating Voltage | 12V DC or 24V AC |
| Current Consumption | 0.2A to 0.5A |
| Pressure Range | 0.5 to 8 bar (7 to 116 psi) |
| Flow Rate | 5 to 25 liters per minute (L/min) |
| Material | Plastic or brass |
| Inlet/Outlet Size | 1/2", 3/4", or 1" (NPT or BSP) |
| Control Signal | ON/OFF (binary signal) |
Pin Configuration and Descriptions
The solenoid irrigation valve typically has two wires for electrical connection. These wires are not polarized, meaning they can be connected in either orientation.
| Pin/Wire Name | Description |
|---|---|
| Wire 1 | Connects to the positive or negative terminal of the power supply. |
| Wire 2 | Connects to the opposite terminal of the power supply. |
Usage Instructions
How to Use the Component in a Circuit
- Power Supply: Ensure the solenoid valve is powered by a compatible voltage source (e.g., 12V DC or 24V AC). Use a regulated power supply to avoid voltage fluctuations.
- Control Signal: Use a relay module, transistor, or MOSFET to control the valve with a microcontroller (e.g., Arduino UNO). The control circuit should be capable of handling the valve's current requirements.
- Water Flow: Connect the valve's inlet and outlet to the water supply and irrigation system, ensuring proper sealing to prevent leaks.
- Testing: Apply the control signal to open and close the valve, verifying that water flow is properly controlled.
Important Considerations and Best Practices
- Voltage Compatibility: Always check the valve's operating voltage and ensure it matches your power supply.
- Current Handling: Use a driver circuit capable of handling the valve's current requirements to avoid damaging your microcontroller.
- Water Pressure: Ensure the water pressure is within the valve's specified range to prevent damage or malfunction.
- Orientation: Install the valve in the correct orientation as indicated by the flow direction arrow on the body.
- Maintenance: Periodically clean the valve to remove debris and prevent clogging.
Example: Connecting to an Arduino UNO
Below is an example of how to control a 12V DC solenoid irrigation valve using an Arduino UNO and a relay module.
Circuit Diagram
- Connect the solenoid valve to the relay module's Normally Open (NO) terminal and Common (COM) terminal.
- Connect the relay module's control pin to Arduino digital pin 7.
- Use an external 12V DC power supply for the solenoid valve.
Arduino Code
// Solenoid Irrigation Valve Control with Arduino UNO
// This code toggles the solenoid valve ON and OFF every 5 seconds.

const int relayPin = 7; // Pin connected to the relay module

void setup() {
  pinMode(relayPin, OUTPUT); // Set relay pin as output
  digitalWrite(relayPin, LOW); // Ensure the relay is initially OFF
}

void loop() {
  digitalWrite(relayPin, HIGH); // Turn ON the solenoid valve
  delay(5000); // Keep the valve open for 5 seconds
  digitalWrite(relayPin, LOW); // Turn OFF the solenoid valve
  delay(5000); // Keep the valve closed for 5 seconds
}
Troubleshooting and FAQs
Common Issues and Solutions
Valve Not Opening or Closing
- Cause: Insufficient voltage or current.
- Solution: Verify the power supply voltage and current match the valve's specifications.
Water Leaks
- Cause: Improper sealing or damaged O-rings.
- Solution: Check the connections and replace any damaged seals.
Valve Stuck in One Position
- Cause: Debris or sediment blocking the valve mechanism.
- Solution: Disassemble and clean the valve, removing any debris.
Microcontroller Not Controlling the Valve
- Cause: Incorrect wiring or insufficient current from the control circuit.
- Solution: Double-check the wiring and use a relay or transistor to handle the valve's current.
FAQs
Q: Can I use a solenoid irrigation valve with a 5V microcontroller?
A: Yes, but you will need a relay module or transistor circuit to step up the control signal to the valve's operating voltage (e.g., 12V or 24V).
Q: Is the valve waterproof?
A: The valve body is typically water-resistant, but the electrical connections should be protected from water exposure.
Q: Can the valve handle hot water?
A: Most solenoid irrigation valves are designed for cold water. Check the manufacturer's specifications for temperature limits.
Q: How do I know the flow direction?
A: The valve body usually has an arrow indicating the correct flow direction. Ensure the water flows in the direction of the arrow.