
How to Use Makey Makey Back View: Examples, Pinouts, and Specs
 Design with Makey Makey Back View in Cirkit Designer
Introduction
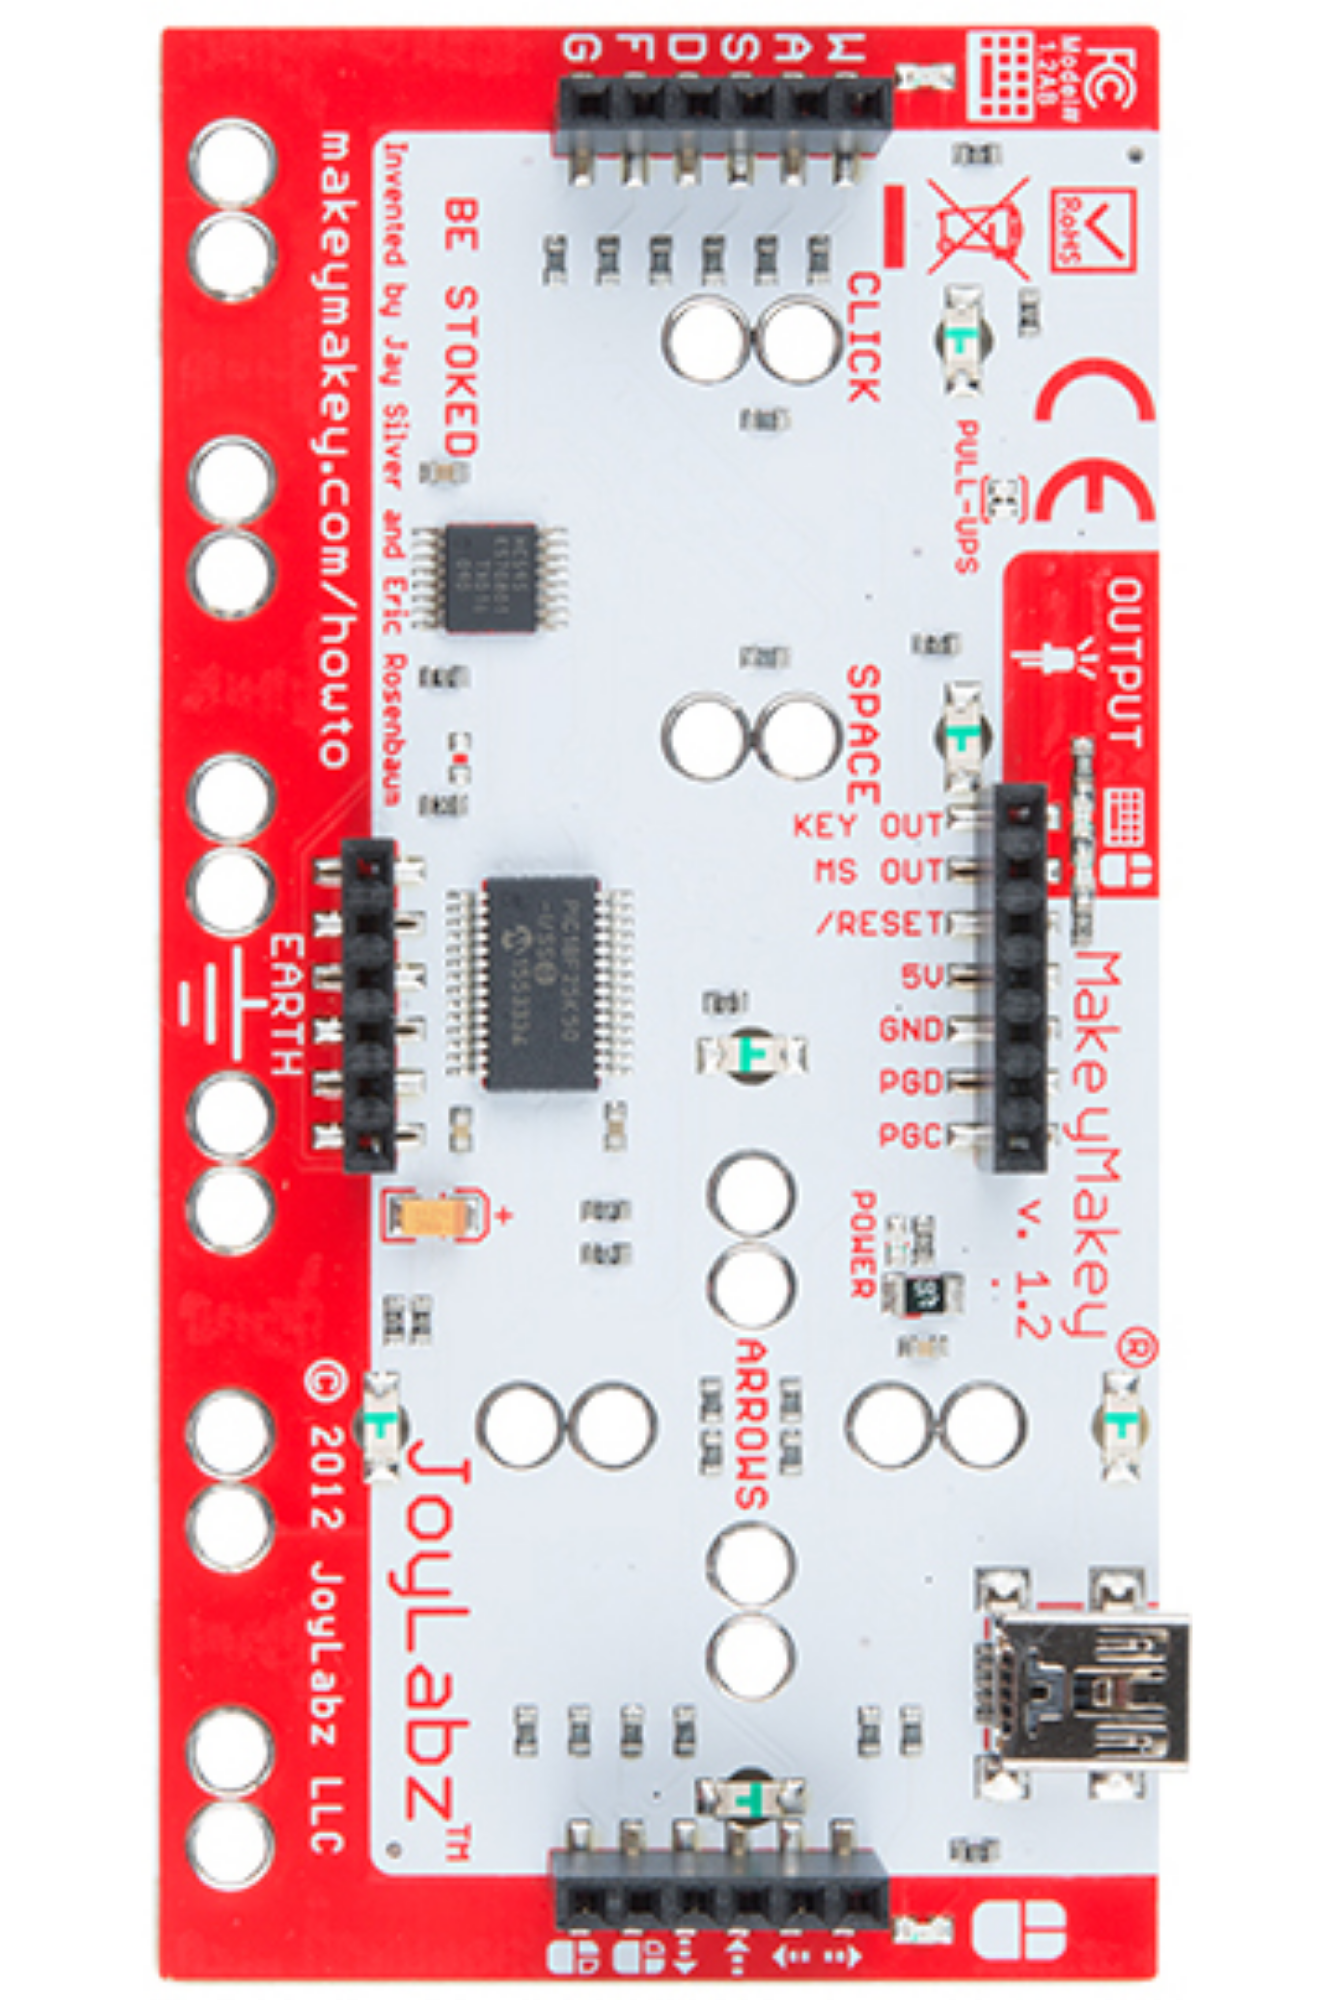
The Makey Makey Back View is a versatile circuit board designed to transform everyday objects into touchpads and controllers. Manufactured by Makey Makey Tool Kit, this innovative component connects to a computer via USB and enables users to create interactive projects with ease. It is widely used in educational settings, creative workshops, and prototyping environments due to its simplicity and flexibility.
Explore Projects Built with Makey Makey Back View
 Open Project in Cirkit Designer
 Open Project in Cirkit Designer
 Open Project in Cirkit Designer
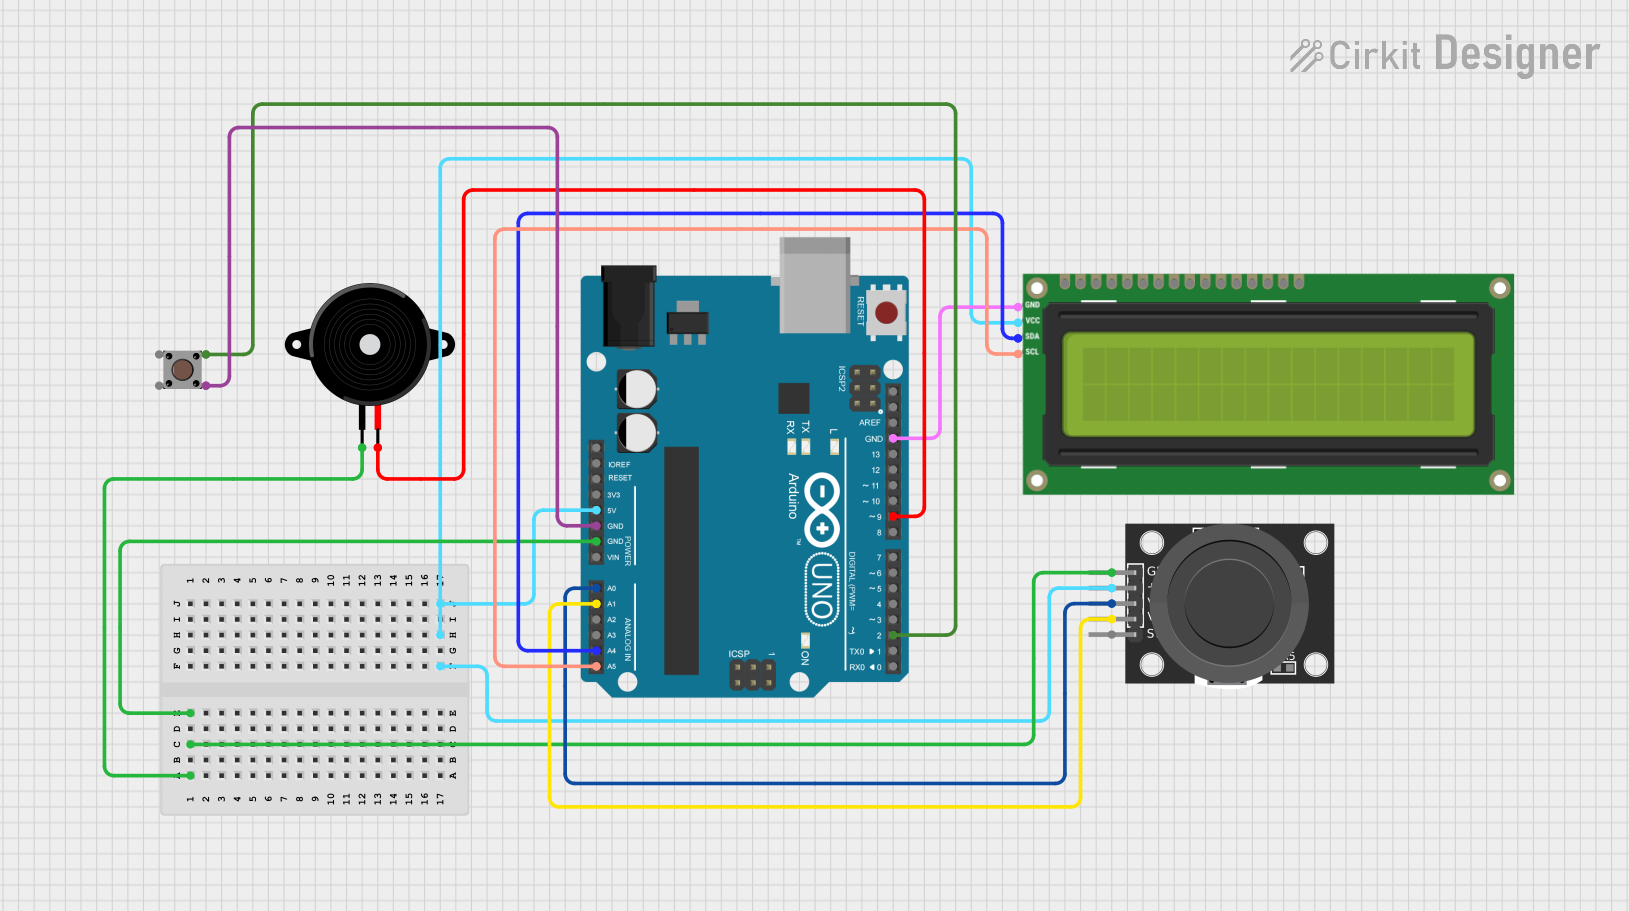 Open Project in Cirkit Designer
Explore Projects Built with Makey Makey Back View
Open Project in Cirkit DesignerOpen Project in Cirkit DesignerOpen Project in Cirkit DesignerOpen Project in Cirkit DesignerCommon Applications and Use Cases
- Interactive art installations
- Educational STEM projects
- DIY game controllers
- Assistive technology for accessibility
- Prototyping touch-sensitive interfaces
Technical Specifications
The Makey Makey Back View is designed to be user-friendly while offering robust functionality. Below are its key technical details and pin configurations.
Key Technical Details
| Parameter | Specification |
|---|---|
| Manufacturer | Makey Makey Tool Kit |
| Part ID | Makey Makey Tool Kit |
| Power Supply | USB-powered (5V) |
| Connectivity | USB Type-B |
| Input Channels | 18 touch-sensitive inputs |
| Output | Emulates keyboard and mouse inputs |
| Operating System Support | Windows, macOS, Linux |
Pin Configuration and Descriptions
The Makey Makey Back View features multiple input and output pins for connecting various objects and components. Below is a detailed description of the pin layout:
Front-Facing Inputs
| Pin Label | Description |
|---|---|
| SPACE | Touch input mapped to the "Space" key |
| CLICK | Touch input mapped to a mouse left-click |
| ARROW KEYS | Inputs mapped to Up, Down, Left, and Right keys |
Back-Facing Inputs
| Pin Label | Description |
|---|---|
| W, A, S, D | Inputs mapped to keyboard keys W, A, S, and D |
| F, G | Inputs mapped to keyboard keys F and G |
| Mouse Movements | Inputs for controlling mouse X and Y axes |
Ground Pins
| Pin Label | Description |
|---|---|
| GND | Ground connection for completing circuits |
Usage Instructions
The Makey Makey Back View is simple to use and requires no programming knowledge for basic functionality. Follow the steps below to integrate it into your project:
Step 1: Connect the Makey Makey
- Plug the Makey Makey into your computer using the included USB cable.
- Ensure the computer recognizes the device as a keyboard/mouse input.
Step 2: Attach Alligator Clips
- Connect one end of an alligator clip to a pin on the Makey Makey (e.g., SPACE or ARROW KEYS).
- Attach the other end to a conductive object (e.g., fruit, foil, or graphite).
Step 3: Complete the Circuit
- Connect another alligator clip to a GND pin on the Makey Makey.
- Hold or touch the conductive object while also touching the GND clip to complete the circuit.
Step 4: Test the Inputs
- Open a text editor or game on your computer.
- Touch the conductive object to trigger the corresponding key or mouse input.
Important Considerations and Best Practices
- Use conductive materials such as aluminum foil, fruits, or conductive paint for reliable connections.
- Avoid using wet or sticky materials that could damage the board.
- Ensure the USB connection is secure to prevent input lag or disconnection.
- For advanced projects, consider integrating the Makey Makey with Arduino IDE for custom programming.
Example Arduino Code (Optional Advanced Use)
The Makey Makey can be reprogrammed using the Arduino IDE. Below is an example code snippet to remap inputs:
// Example: Remap SPACE key to ENTER key
#include "Keyboard.h"

void setup() {
  Keyboard.begin(); // Initialize keyboard emulation
  pinMode(2, INPUT_PULLUP); // Set pin 2 as input with pull-up resistor
}

void loop() {
  if (digitalRead(2) == LOW) { // Check if pin 2 is triggered
    Keyboard.write(KEY_RETURN); // Send ENTER key press
    delay(100); // Debounce delay
  }
}
Note: Reprogramming the Makey Makey requires advanced knowledge and may void the warranty.
Troubleshooting and FAQs
Common Issues and Solutions
| Issue | Solution |
|---|---|
| Device not recognized by PC | Ensure the USB cable is securely connected. |
| Inputs not responding | Check alligator clip connections and materials. |
| Unintended key presses | Verify no conductive materials are bridging pins. |
| Lag or delay in inputs | Use a high-quality USB cable and avoid long cables. |
FAQs
Q: Can I use the Makey Makey with non-conductive materials?
A: No, the Makey Makey requires conductive materials to complete the circuit.
Q: Is the Makey Makey compatible with all operating systems?
A: Yes, it works with Windows, macOS, and Linux without additional drivers.
Q: Can I remap the keys without programming?
A: No, remapping requires reprogramming the board using the Arduino IDE.
Q: How many inputs can I use simultaneously?
A: The Makey Makey supports up to 18 inputs at the same time.
By following this documentation, you can effectively use the Makey Makey Back View for a wide range of creative and educational projects.