How to Use DC Motor Driven Conveyor Long: Examples, Pinouts, and Specs

Introduction
The DC Motor Driven Conveyor Long is a conveyor system powered by a direct current (DC) motor, designed for transporting materials over long distances efficiently. This component is widely used in industrial automation, manufacturing, and logistics for moving goods or materials in a streamlined and controlled manner. Its robust design and reliable operation make it suitable for applications requiring continuous material handling.
Explore Projects Built with DC Motor Driven Conveyor Long

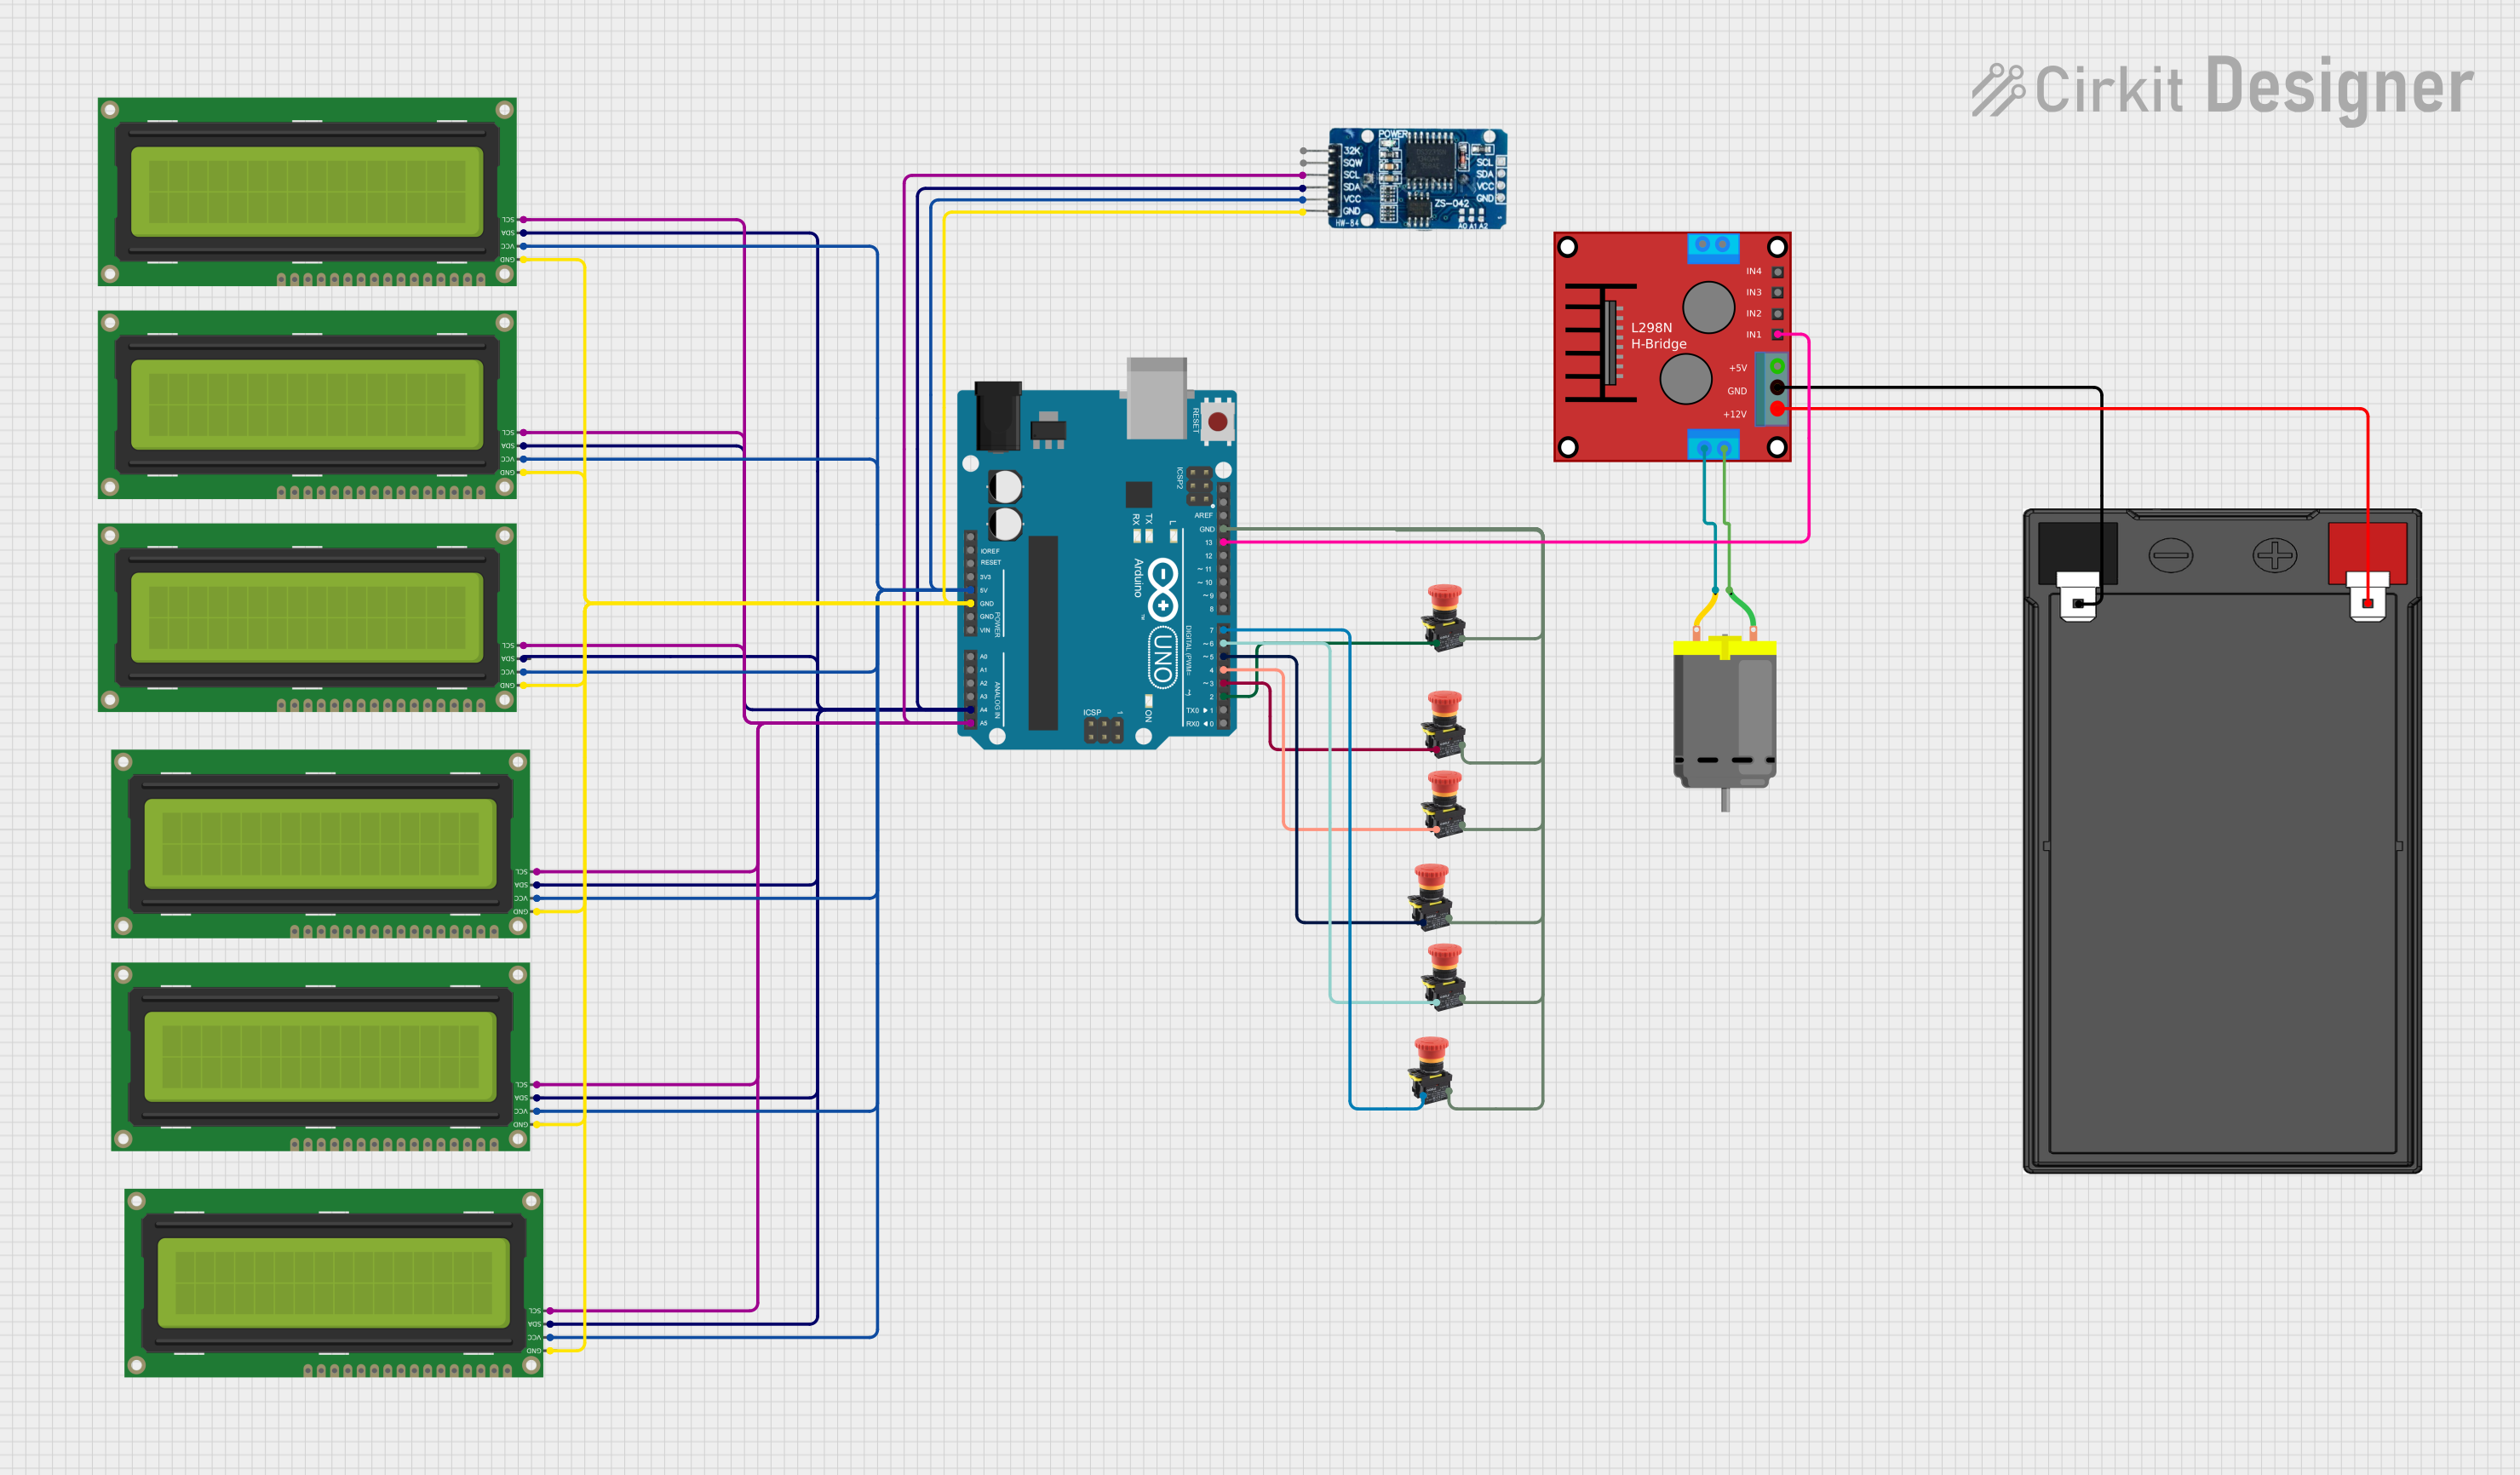
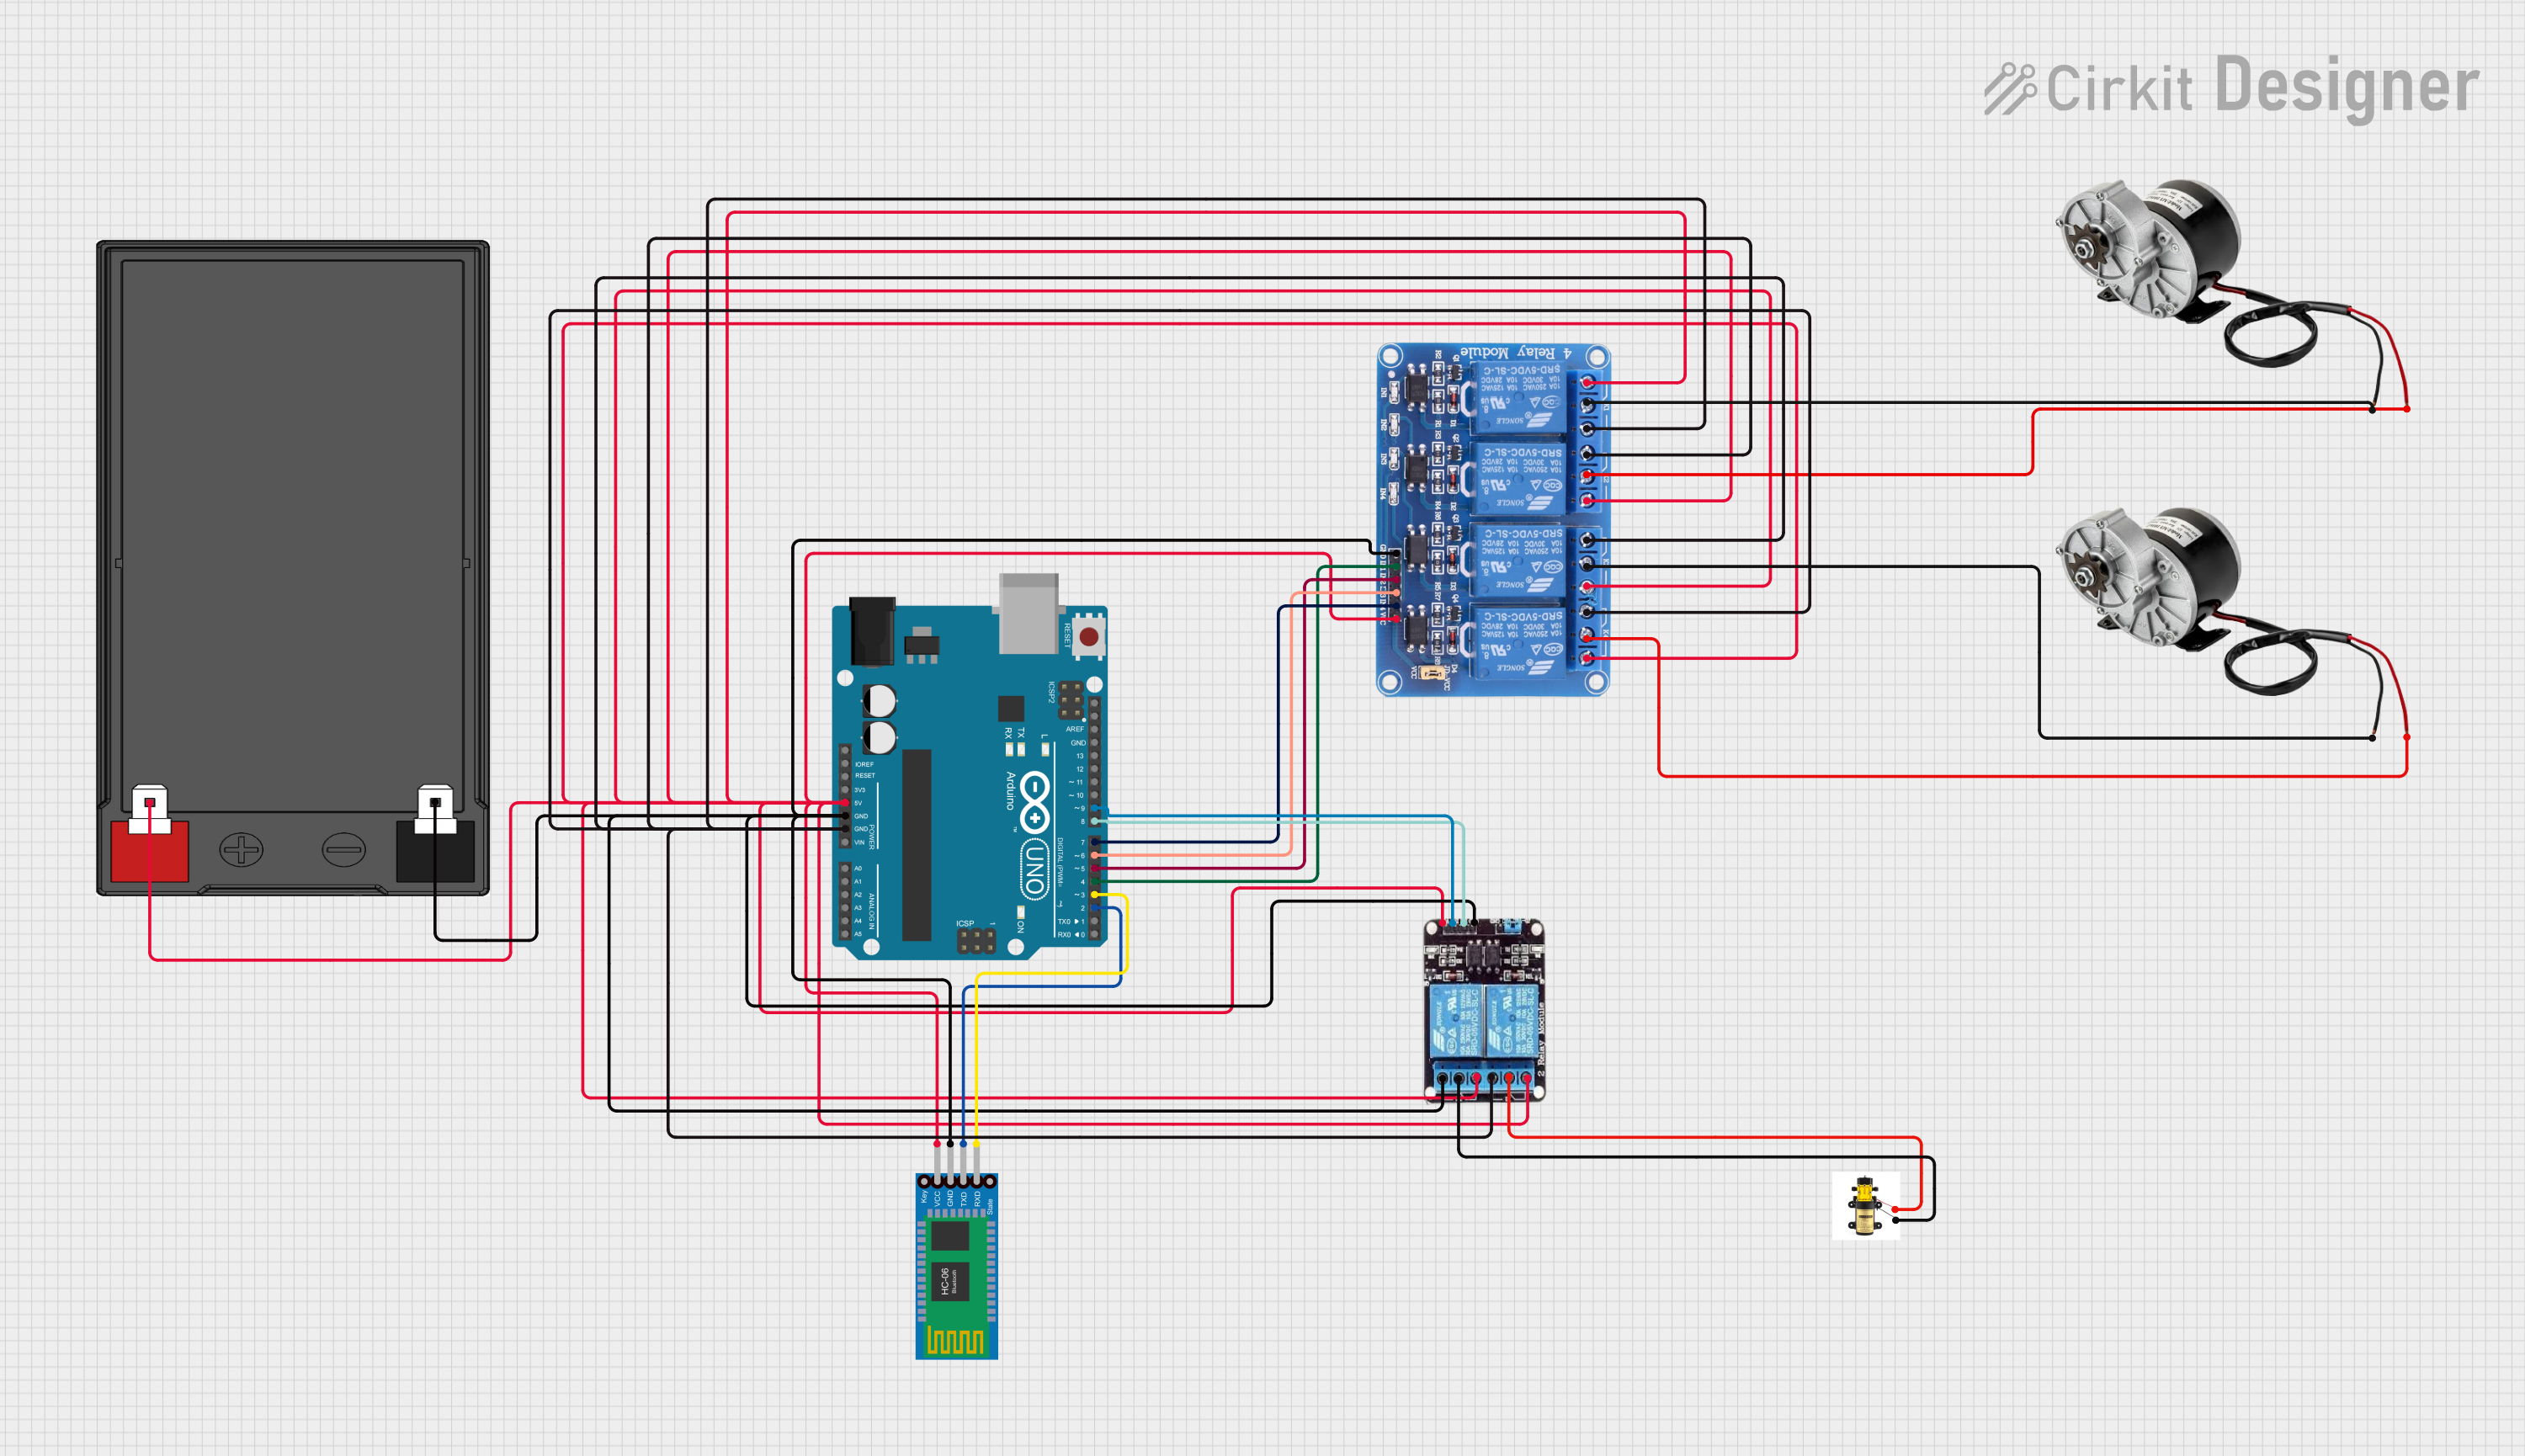
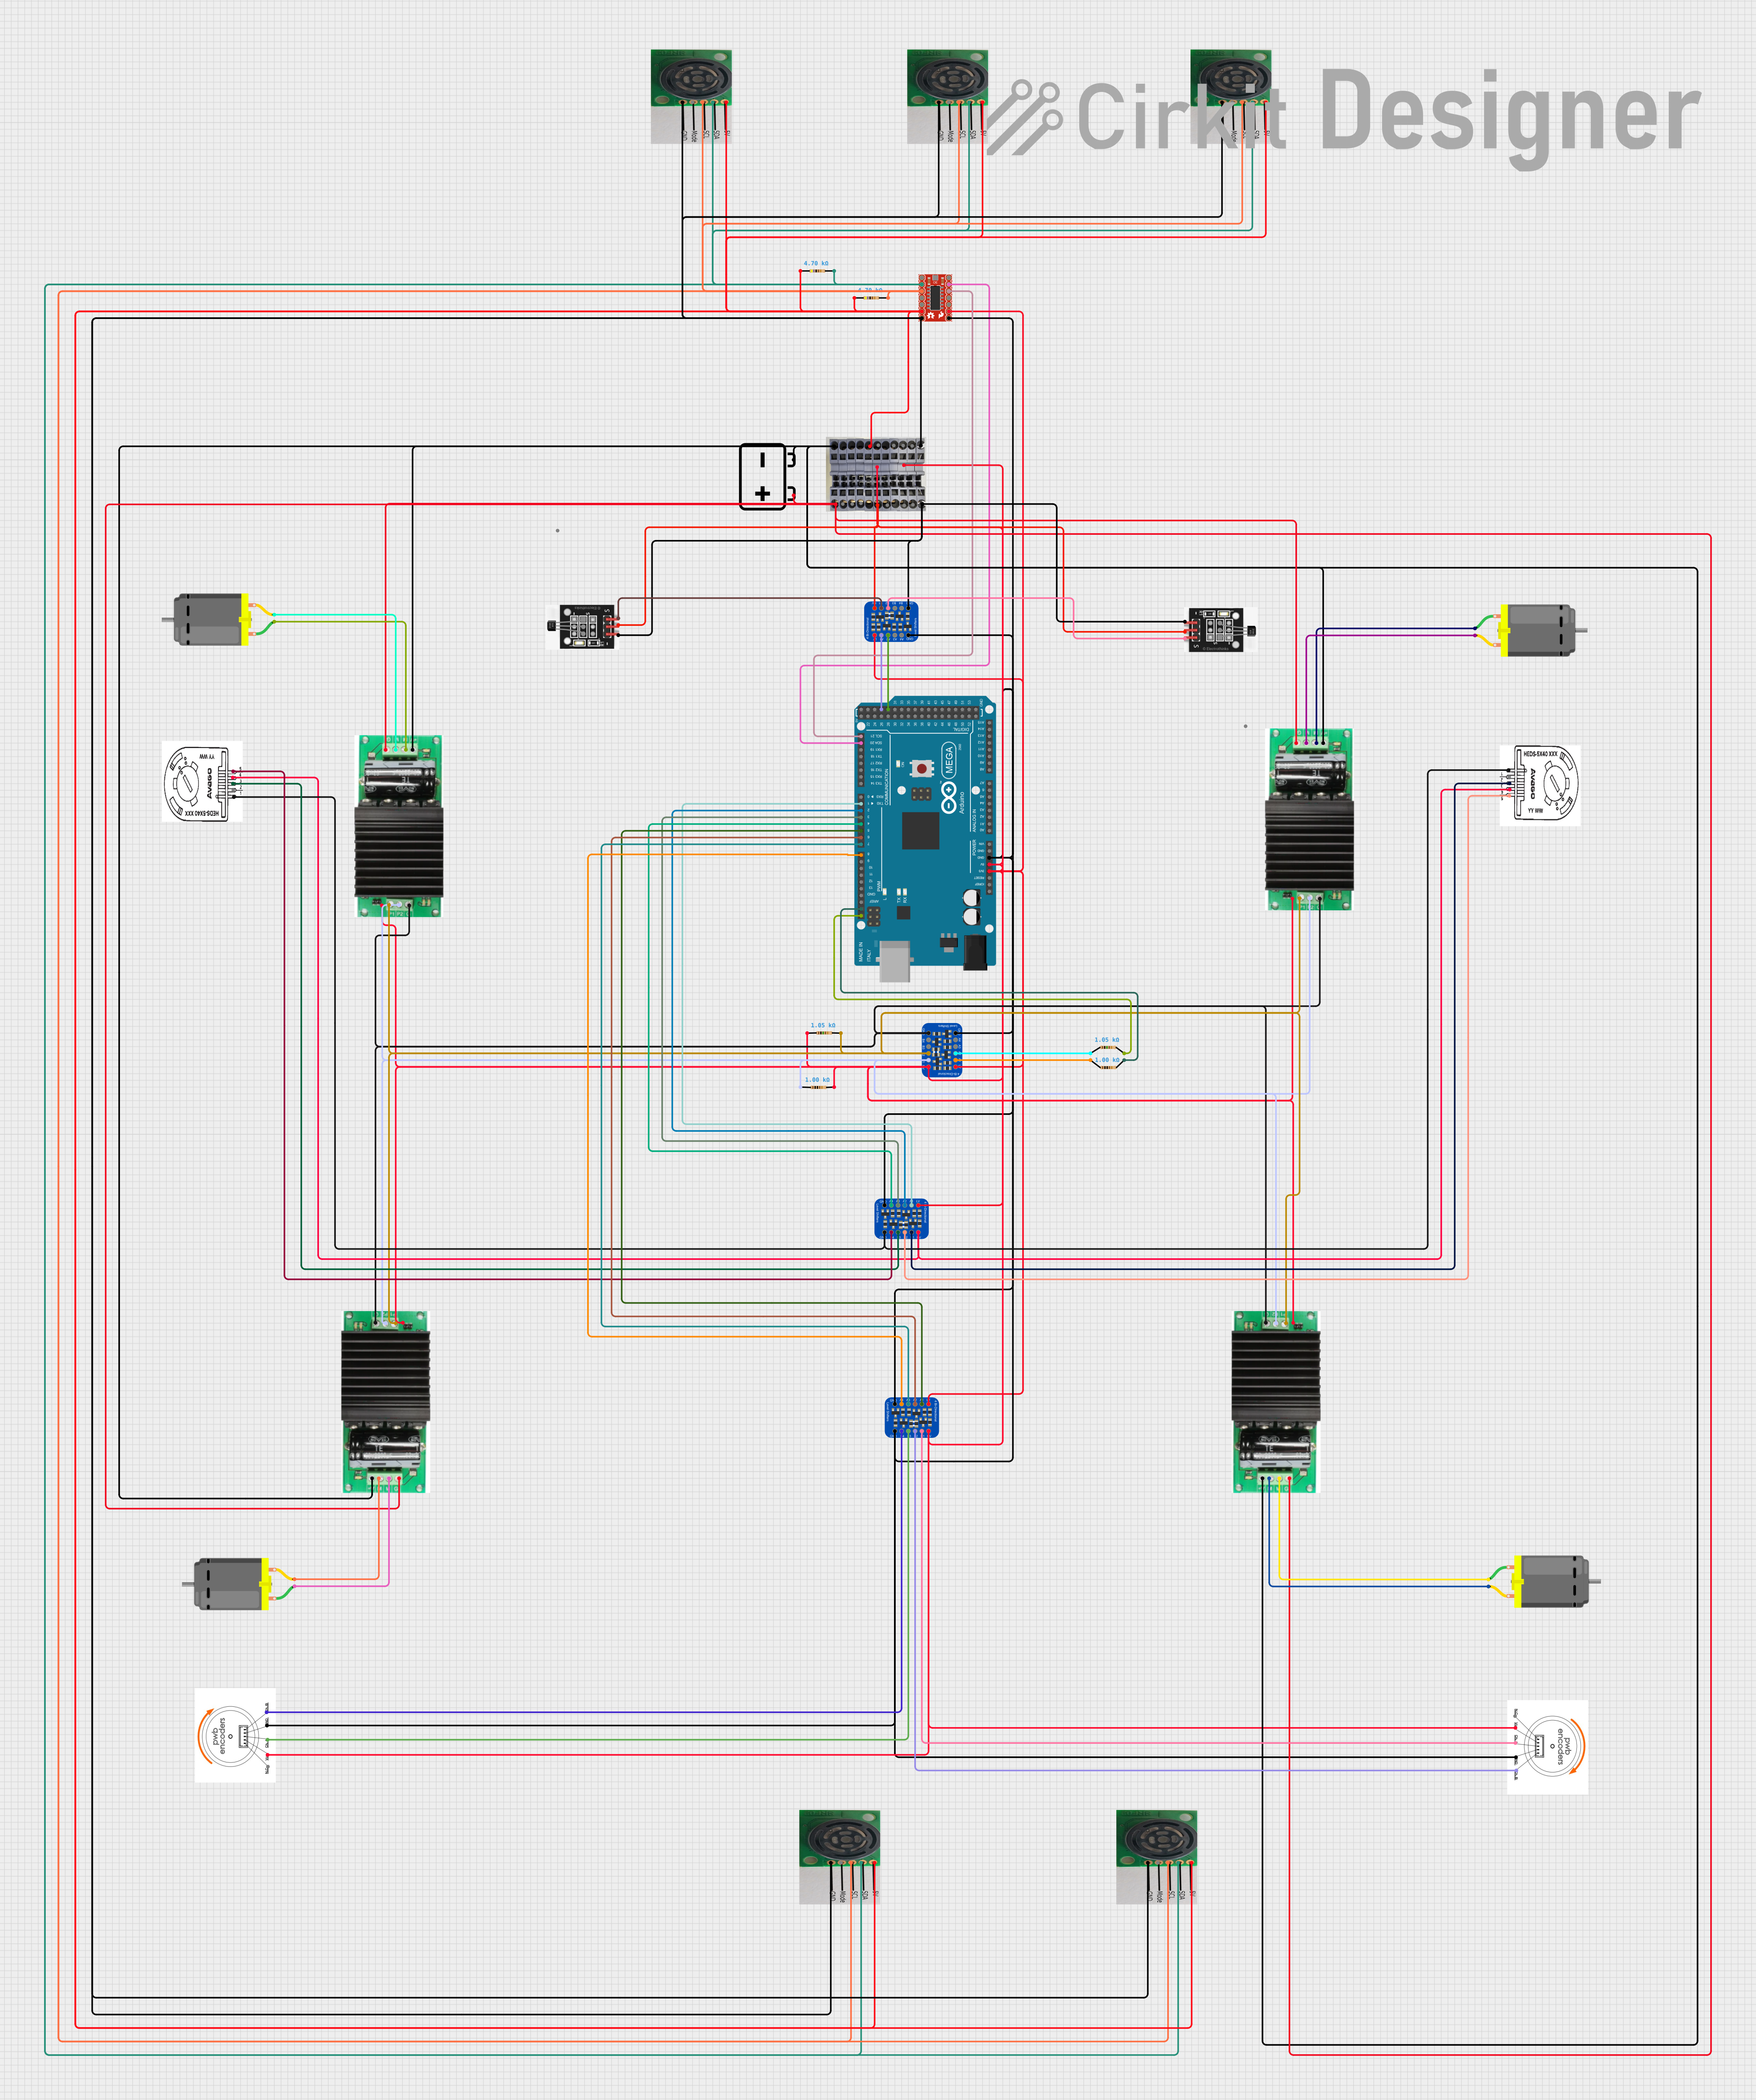
Explore Projects Built with DC Motor Driven Conveyor Long
Common Applications and Use Cases
- Industrial assembly lines
- Warehousing and logistics systems
- Packaging and sorting facilities
- Agricultural material transport
- Mining and bulk material handling
Technical Specifications
Key Technical Details
| Parameter | Value |
|---|---|
| Motor Type | DC Motor |
| Operating Voltage Range | 12V - 48V DC |
| Maximum Current | 10A |
| Conveyor Length | Customizable (up to 10 meters) |
| Conveyor Width | Customizable (up to 1 meter) |
| Load Capacity | Up to 100 kg |
| Speed Range | 0.1 m/s to 2 m/s (adjustable) |
| Material | Steel or Aluminum Frame |
| Control Interface | PWM (Pulse Width Modulation) |
| Operating Temperature | -10°C to 50°C |
Pin Configuration and Descriptions
The DC motor and control interface typically use the following pin configuration:
| Pin Number | Pin Name | Description |
|---|---|---|
| 1 | V+ | Positive power supply for the motor |
| 2 | GND | Ground connection |
| 3 | PWM | PWM signal input for speed control |
| 4 | DIR | Direction control input (High/Low for CW/CCW) |
| 5 | EN | Enable pin to activate the motor |
| 6 | FG (optional) | Feedback signal for speed monitoring (if available) |
Usage Instructions
How to Use the Component in a Circuit
- Power Supply: Connect a DC power supply (12V to 48V) to the V+ and GND pins of the motor. Ensure the power supply can handle the maximum current (10A) required by the motor.
- Control Signals: Use a microcontroller (e.g., Arduino UNO) or a motor driver to send PWM signals to the PWM pin for speed control. The DIR pin can be used to set the rotation direction.
- Enable the Motor: Set the EN pin to HIGH to activate the motor. If the EN pin is LOW, the motor will remain off.
- Feedback (Optional): If the motor provides a feedback signal (FG pin), connect it to an input pin on your microcontroller to monitor the motor's speed.
Important Considerations and Best Practices
- Power Supply: Ensure the power supply voltage matches the motor's operating range. Using a voltage outside this range may damage the motor.
- Heat Dissipation: The motor may generate heat during operation. Provide adequate ventilation or cooling to prevent overheating.
- Load Capacity: Do not exceed the specified load capacity (100 kg) to avoid damaging the conveyor system.
- Speed Adjustment: Use PWM signals to adjust the speed gradually. Sudden changes in speed may cause mechanical stress.
- Direction Control: Use the DIR pin to change the direction of rotation. Ensure the conveyor is stopped before reversing the direction to prevent mechanical wear.
Example Code for Arduino UNO
Below is an example code to control the DC Motor Driven Conveyor Long using an Arduino UNO:
// Define pin connections
const int pwmPin = 9;  // PWM signal pin
const int dirPin = 8;  // Direction control pin
const int enPin = 7;   // Enable pin

void setup() {
  // Set pin modes
  pinMode(pwmPin, OUTPUT);
  pinMode(dirPin, OUTPUT);
  pinMode(enPin, OUTPUT);

  // Initialize motor state
  digitalWrite(enPin, LOW);  // Motor disabled initially
  digitalWrite(dirPin, LOW); // Set initial direction to clockwise
}

void loop() {
  // Enable the motor
  digitalWrite(enPin, HIGH);

  // Set motor speed using PWM (50% duty cycle)
  analogWrite(pwmPin, 128); // Value range: 0 (off) to 255 (full speed)

  // Run motor clockwise for 5 seconds
  digitalWrite(dirPin, LOW); // Clockwise direction
  delay(5000);

  // Change direction to counterclockwise
  digitalWrite(dirPin, HIGH); // Counterclockwise direction
  delay(5000);

  // Disable the motor
  digitalWrite(enPin, LOW);
  delay(2000); // Wait for 2 seconds before restarting
}
Troubleshooting and FAQs
Common Issues and Solutions
Motor Does Not Start
- Cause: Power supply not connected or insufficient voltage.
- Solution: Verify the power supply connections and ensure the voltage is within the operating range (12V - 48V).
Motor Overheats
- Cause: Prolonged operation at high load or inadequate cooling.
- Solution: Reduce the load on the conveyor and ensure proper ventilation or cooling.
Conveyor Moves in the Wrong Direction
- Cause: Incorrect DIR pin signal.
- Solution: Check the DIR pin connection and logic. Set DIR to LOW for clockwise and HIGH for counterclockwise rotation.
Speed Control Not Working
- Cause: PWM signal not properly configured.
- Solution: Verify the PWM pin connection and ensure the microcontroller is generating the correct PWM signal.
No Feedback Signal
- Cause: FG pin not connected or feedback feature not available.
- Solution: Check the motor's datasheet to confirm if the feedback feature is supported and connect the FG pin properly.
FAQs
Can I use a battery to power the conveyor? Yes, as long as the battery provides a stable DC voltage within the operating range (12V - 48V) and can supply sufficient current.
What happens if I exceed the load capacity? Exceeding the load capacity may cause the motor to overheat, reduce its lifespan, or damage the conveyor system.
Can I control the conveyor speed without a microcontroller? Yes, you can use a standalone PWM generator or a motor driver with manual speed adjustment.
Is the conveyor system weatherproof? The standard model is not weatherproof. For outdoor use, ensure the system is protected from moisture and dust or use a weatherproof version if available.