
How to Use RFID USB Reader: Examples, Pinouts, and Specs
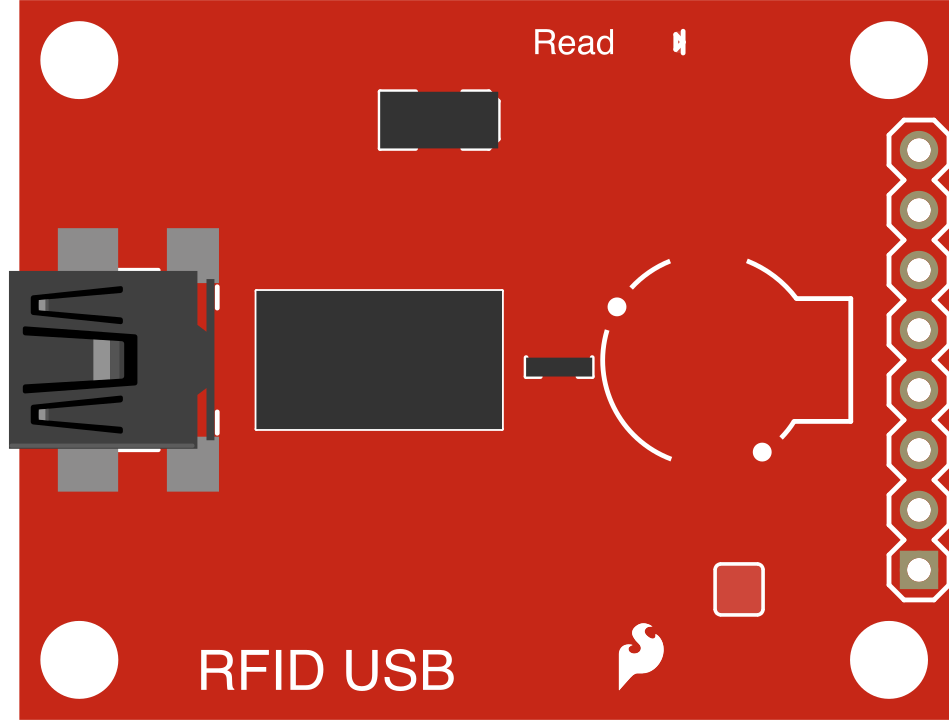
 Design with RFID USB Reader in Cirkit Designer
Introduction
The RFID USB Reader (Manufacturer Part ID: SEN-09963) by SparkFun Electronics is a compact and efficient device designed to read RFID tags and transmit the data to a computer via USB. This plug-and-play device simplifies the process of wireless identification and data transfer, making it ideal for a wide range of applications.
Explore Projects Built with RFID USB Reader
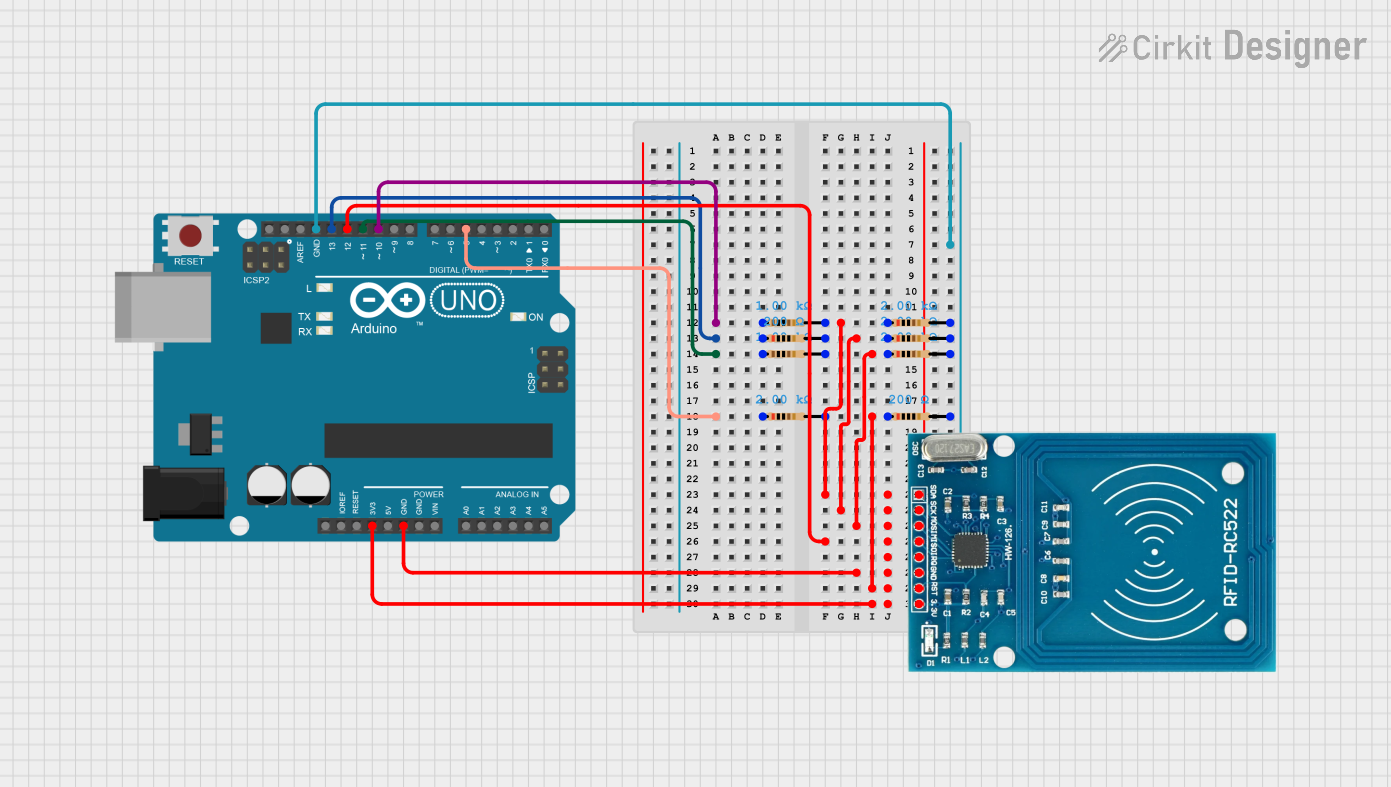 Open Project in Cirkit Designer
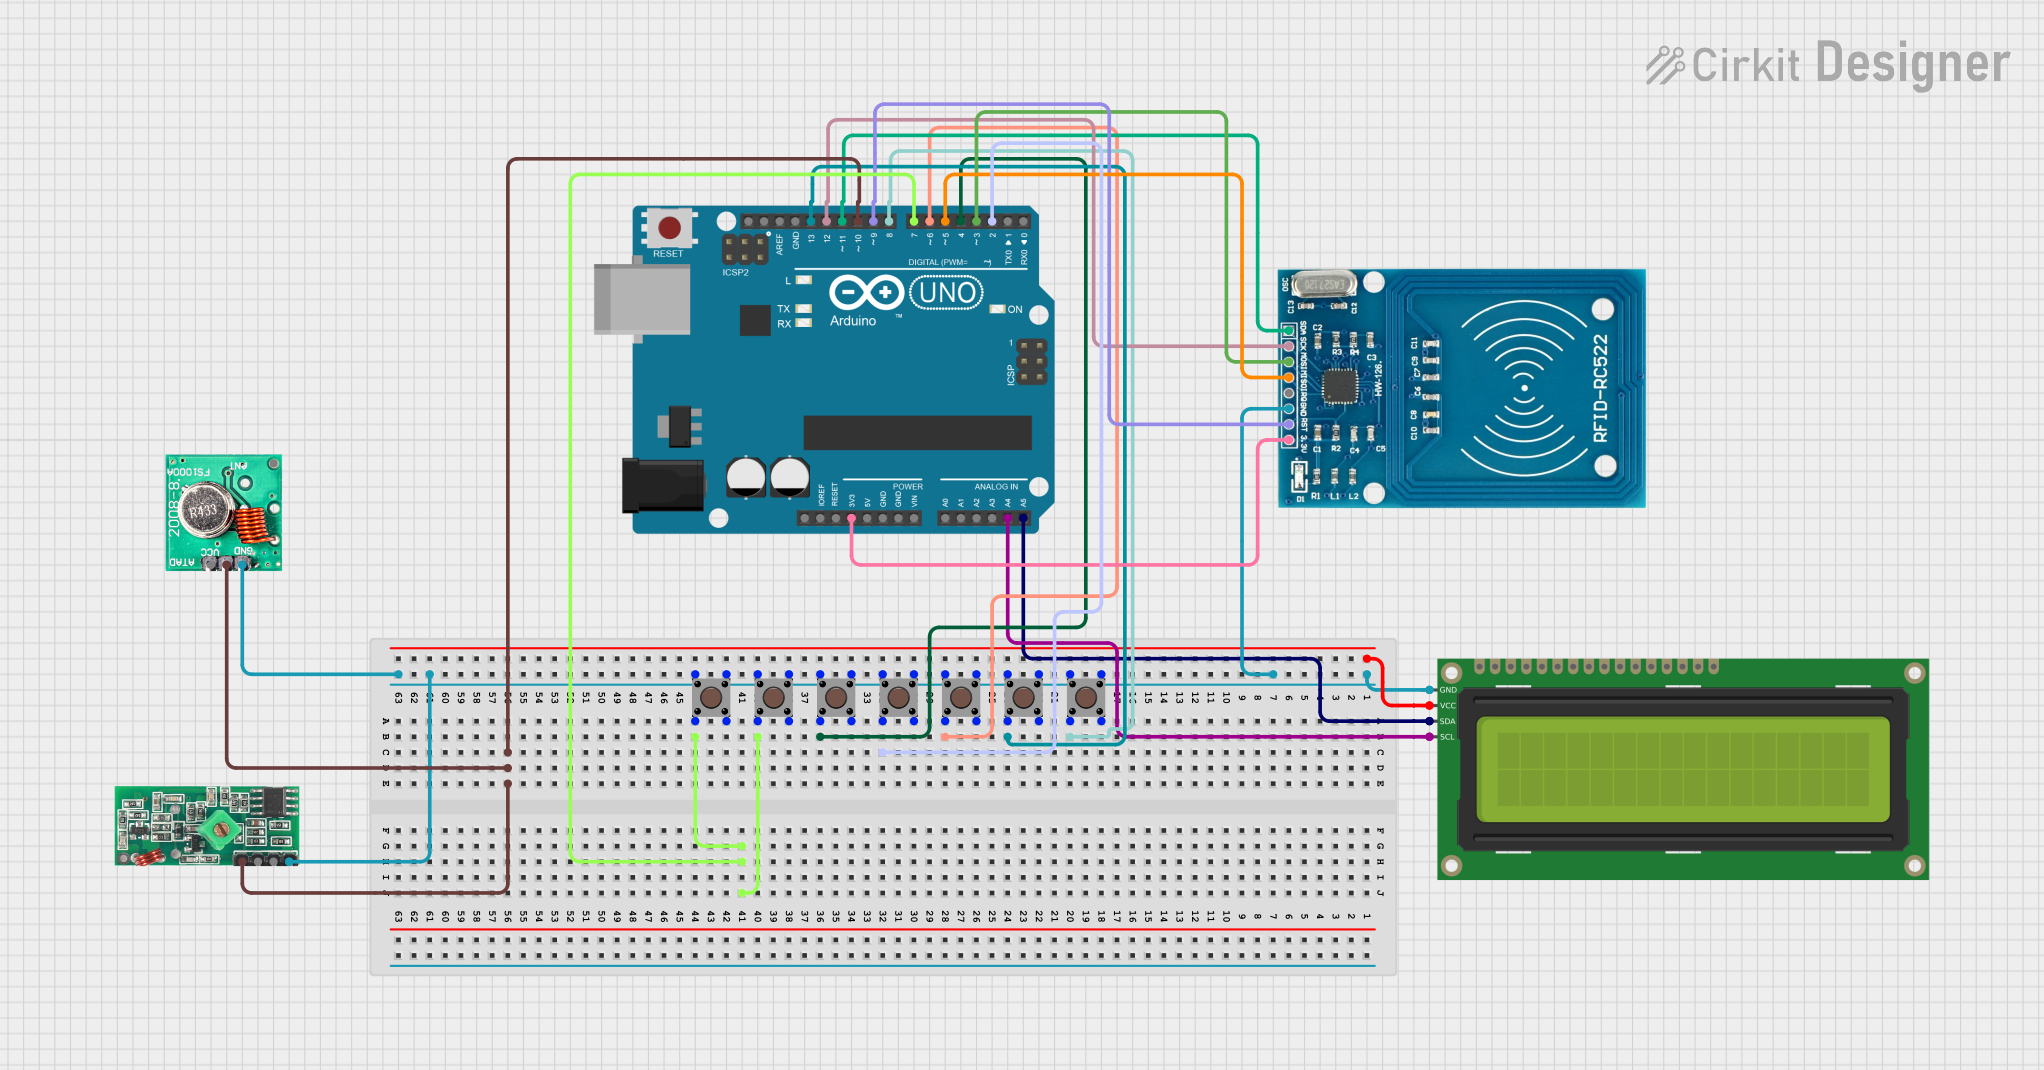 Open Project in Cirkit Designer
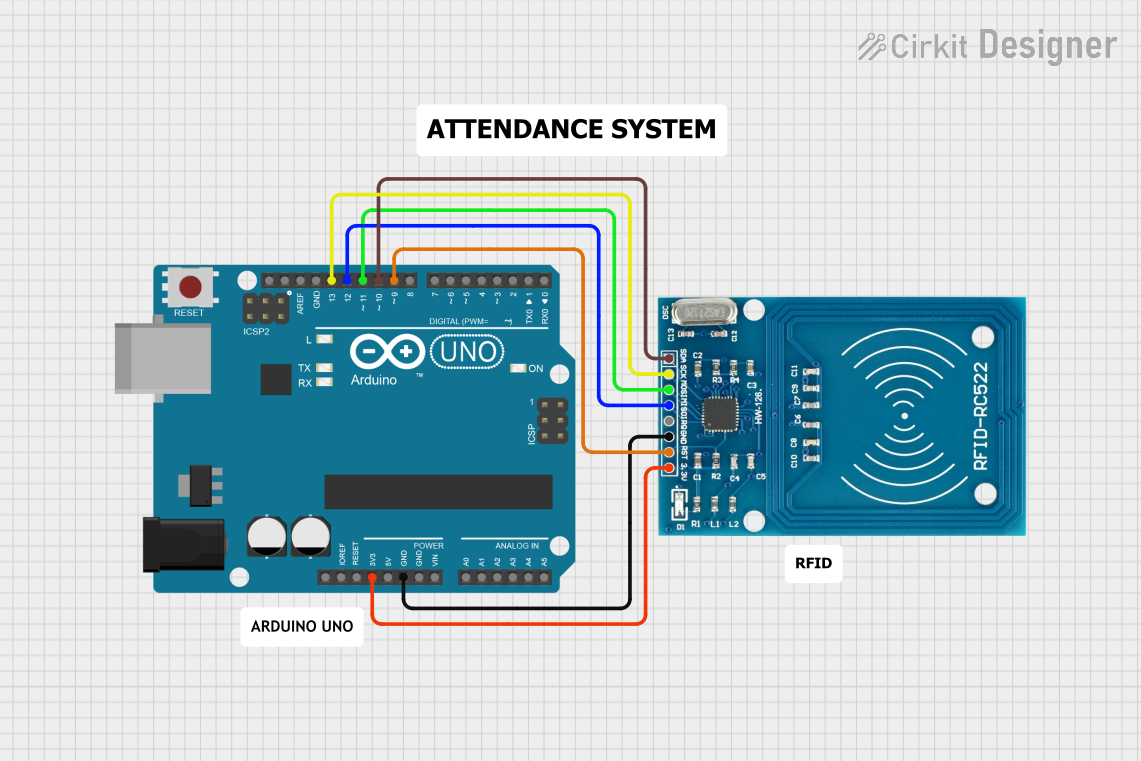 Open Project in Cirkit Designer
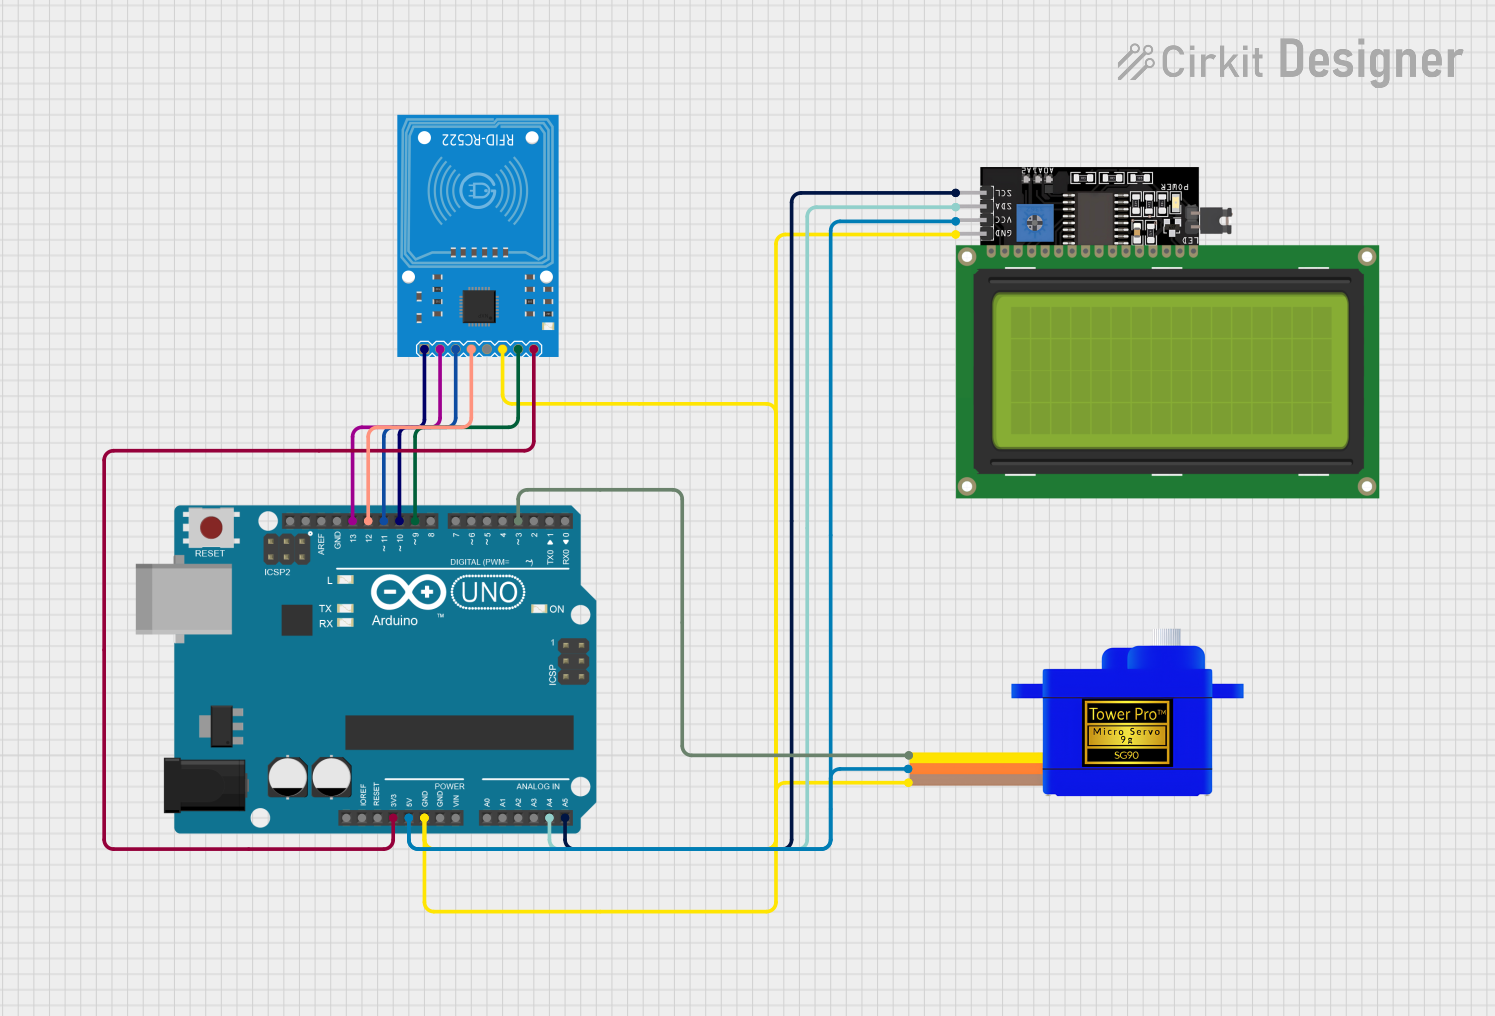 Open Project in Cirkit Designer
Explore Projects Built with RFID USB Reader
Open Project in Cirkit DesignerOpen Project in Cirkit DesignerOpen Project in Cirkit DesignerOpen Project in Cirkit DesignerCommon Applications and Use Cases
- Access control systems
- Inventory management
- Attendance tracking
- Asset tracking and monitoring
- Prototyping RFID-based projects
Technical Specifications
The RFID USB Reader is designed for ease of use and compatibility with most systems. Below are its key technical details:
General Specifications
| Parameter | Value |
|---|---|
| Manufacturer | SparkFun Electronics |
| Part ID | SEN-09963 |
| Communication Interface | USB 2.0 |
| Supported RFID Tags | 125 kHz (EM4100 standard) |
| Operating Voltage | 5V (via USB) |
| Current Consumption | ~70 mA |
| Operating Temperature | -20°C to 70°C |
| Dimensions | 80mm x 40mm x 12mm |
Pin Configuration and Descriptions
The RFID USB Reader does not have traditional pins for interfacing, as it connects directly to a computer via USB. However, the USB interface provides the following functionality:
| Pin/Signal Name | Description |
|---|---|
| VBUS | Supplies 5V power to the device |
| D+ | USB data line (positive) |
| D- | USB data line (negative) |
| GND | Ground connection |
Usage Instructions
The RFID USB Reader is designed for plug-and-play operation. Follow the steps below to use the device effectively:
Step 1: Connect the Device
- Plug the RFID USB Reader into an available USB port on your computer.
- The device will be powered via USB (no external power supply is required).
- Ensure that the operating system detects the device. It may appear as a virtual COM port.
Step 2: Install Drivers (if necessary)
- On most modern operating systems (Windows, macOS, Linux), the RFID USB Reader is automatically recognized, and no additional drivers are required.
- If the device is not recognized, download and install the appropriate drivers from the SparkFun Electronics website.
Step 3: Read RFID Tags
- Place an RFID tag (125 kHz, EM4100 standard) near the reader.
- The device will read the tag's unique ID and transmit it to the connected computer.
- Open a serial terminal (e.g., PuTTY, Arduino Serial Monitor) to view the tag data. Configure the terminal with the following settings:
- Baud Rate: 9600
- Data Bits: 8
- Parity: None
- Stop Bits: 1
- Flow Control: None
Step 4: Integrate with Arduino (Optional)
The RFID USB Reader can also be used with an Arduino UNO for prototyping. Below is an example Arduino sketch to read and display RFID tag data:
// Example Arduino code to read data from the RFID USB Reader
// Ensure the RFID USB Reader is connected to the computer and the Arduino
// Serial Monitor is open to view the output.

void setup() {
  Serial.begin(9600); // Initialize serial communication at 9600 baud
  Serial.println("RFID USB Reader Ready. Place a tag near the reader.");
}

void loop() {
  if (Serial.available() > 0) { // Check if data is available from the reader
    String tagData = "";        // Variable to store the tag data
    while (Serial.available() > 0) {
      char c = Serial.read();   // Read each character from the serial buffer
      tagData += c;             // Append the character to the tagData string
      delay(5);                 // Small delay to ensure all data is read
    }
    Serial.print("Tag ID: ");   // Print the tag ID to the Serial Monitor
    Serial.println(tagData);    // Display the tag data
  }
}
Best Practices
- Ensure the RFID tag is within the reader's range (typically 2-5 cm) for accurate reading.
- Avoid placing multiple tags near the reader simultaneously, as this may cause interference.
- Use a high-quality USB cable to ensure reliable communication.
Troubleshooting and FAQs
Common Issues and Solutions
| Issue | Possible Cause | Solution |
|---|---|---|
| Device not recognized by computer | Missing or outdated drivers | Install drivers from SparkFun's website. |
| No data received in serial terminal | Incorrect baud rate or settings | Verify terminal settings (9600 baud, 8N1). |
| RFID tag not detected | Tag not within range or unsupported tag | Use a 125 kHz EM4100-compatible tag. |
| Data appears garbled | Incorrect serial communication settings | Check and correct serial settings. |
FAQs
Q: Can the RFID USB Reader write data to RFID tags?
A: No, this device is designed for reading RFID tags only. It does not support writing.
Q: What is the maximum range of the RFID USB Reader?
A: The typical range is 2-5 cm, depending on the tag and environmental conditions.
Q: Is the RFID USB Reader compatible with macOS and Linux?
A: Yes, the device is compatible with Windows, macOS, and Linux. Most systems will recognize it without additional drivers.
Q: Can I use this device with a microcontroller other than Arduino?
A: Yes, as long as the microcontroller supports USB communication or can interface with a virtual COM port.
By following this documentation, you can effectively use the RFID USB Reader (SEN-09963) for your RFID-based projects. For further assistance, refer to the SparkFun Electronics website or community forums.