How to Use MPR 121 Breakout Board: Examples, Pinouts, and Specs
Introduction
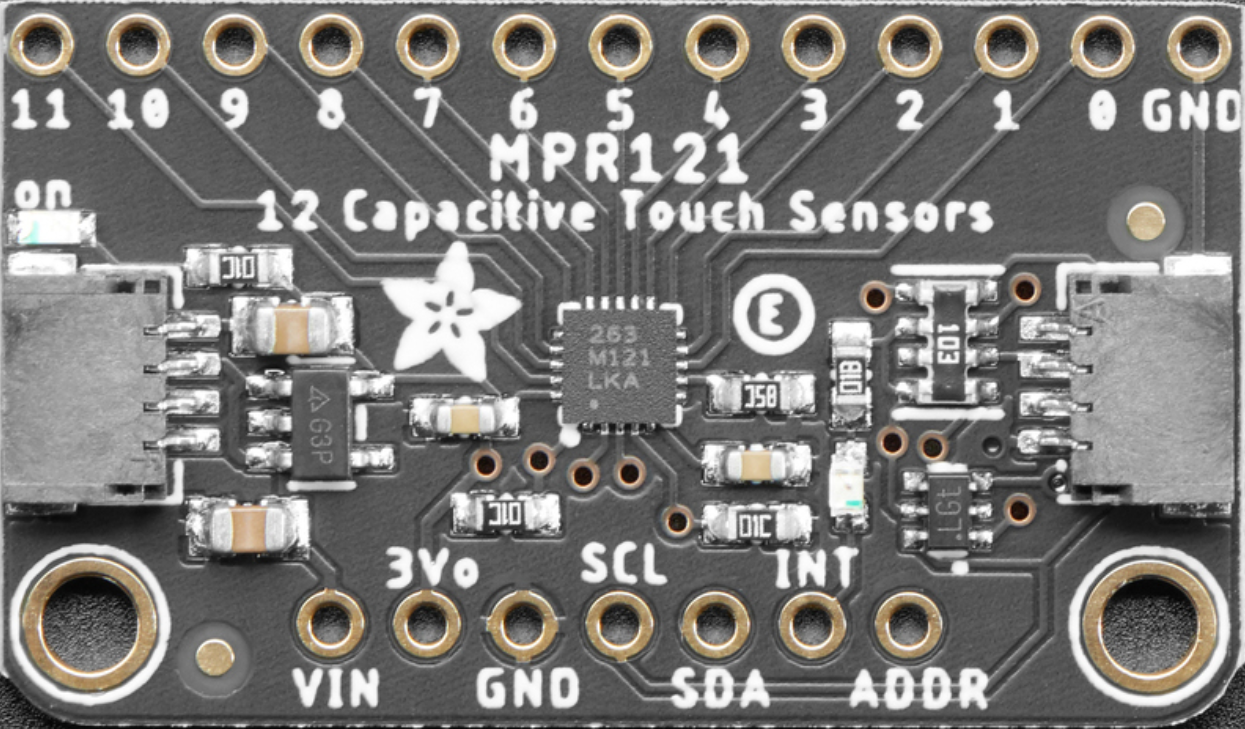
The MPR121 Breakout Board by Adafruit is a compact and versatile module designed to simplify the integration of capacitive touch sensing into your projects. It is based on the MPR121 capacitive touch sensor IC, which supports up to 12 touch-sensitive electrodes. This breakout board provides easy access to the MPR121's pins and features, making it ideal for prototyping and development.
Explore Projects Built with MPR 121 Breakout Board


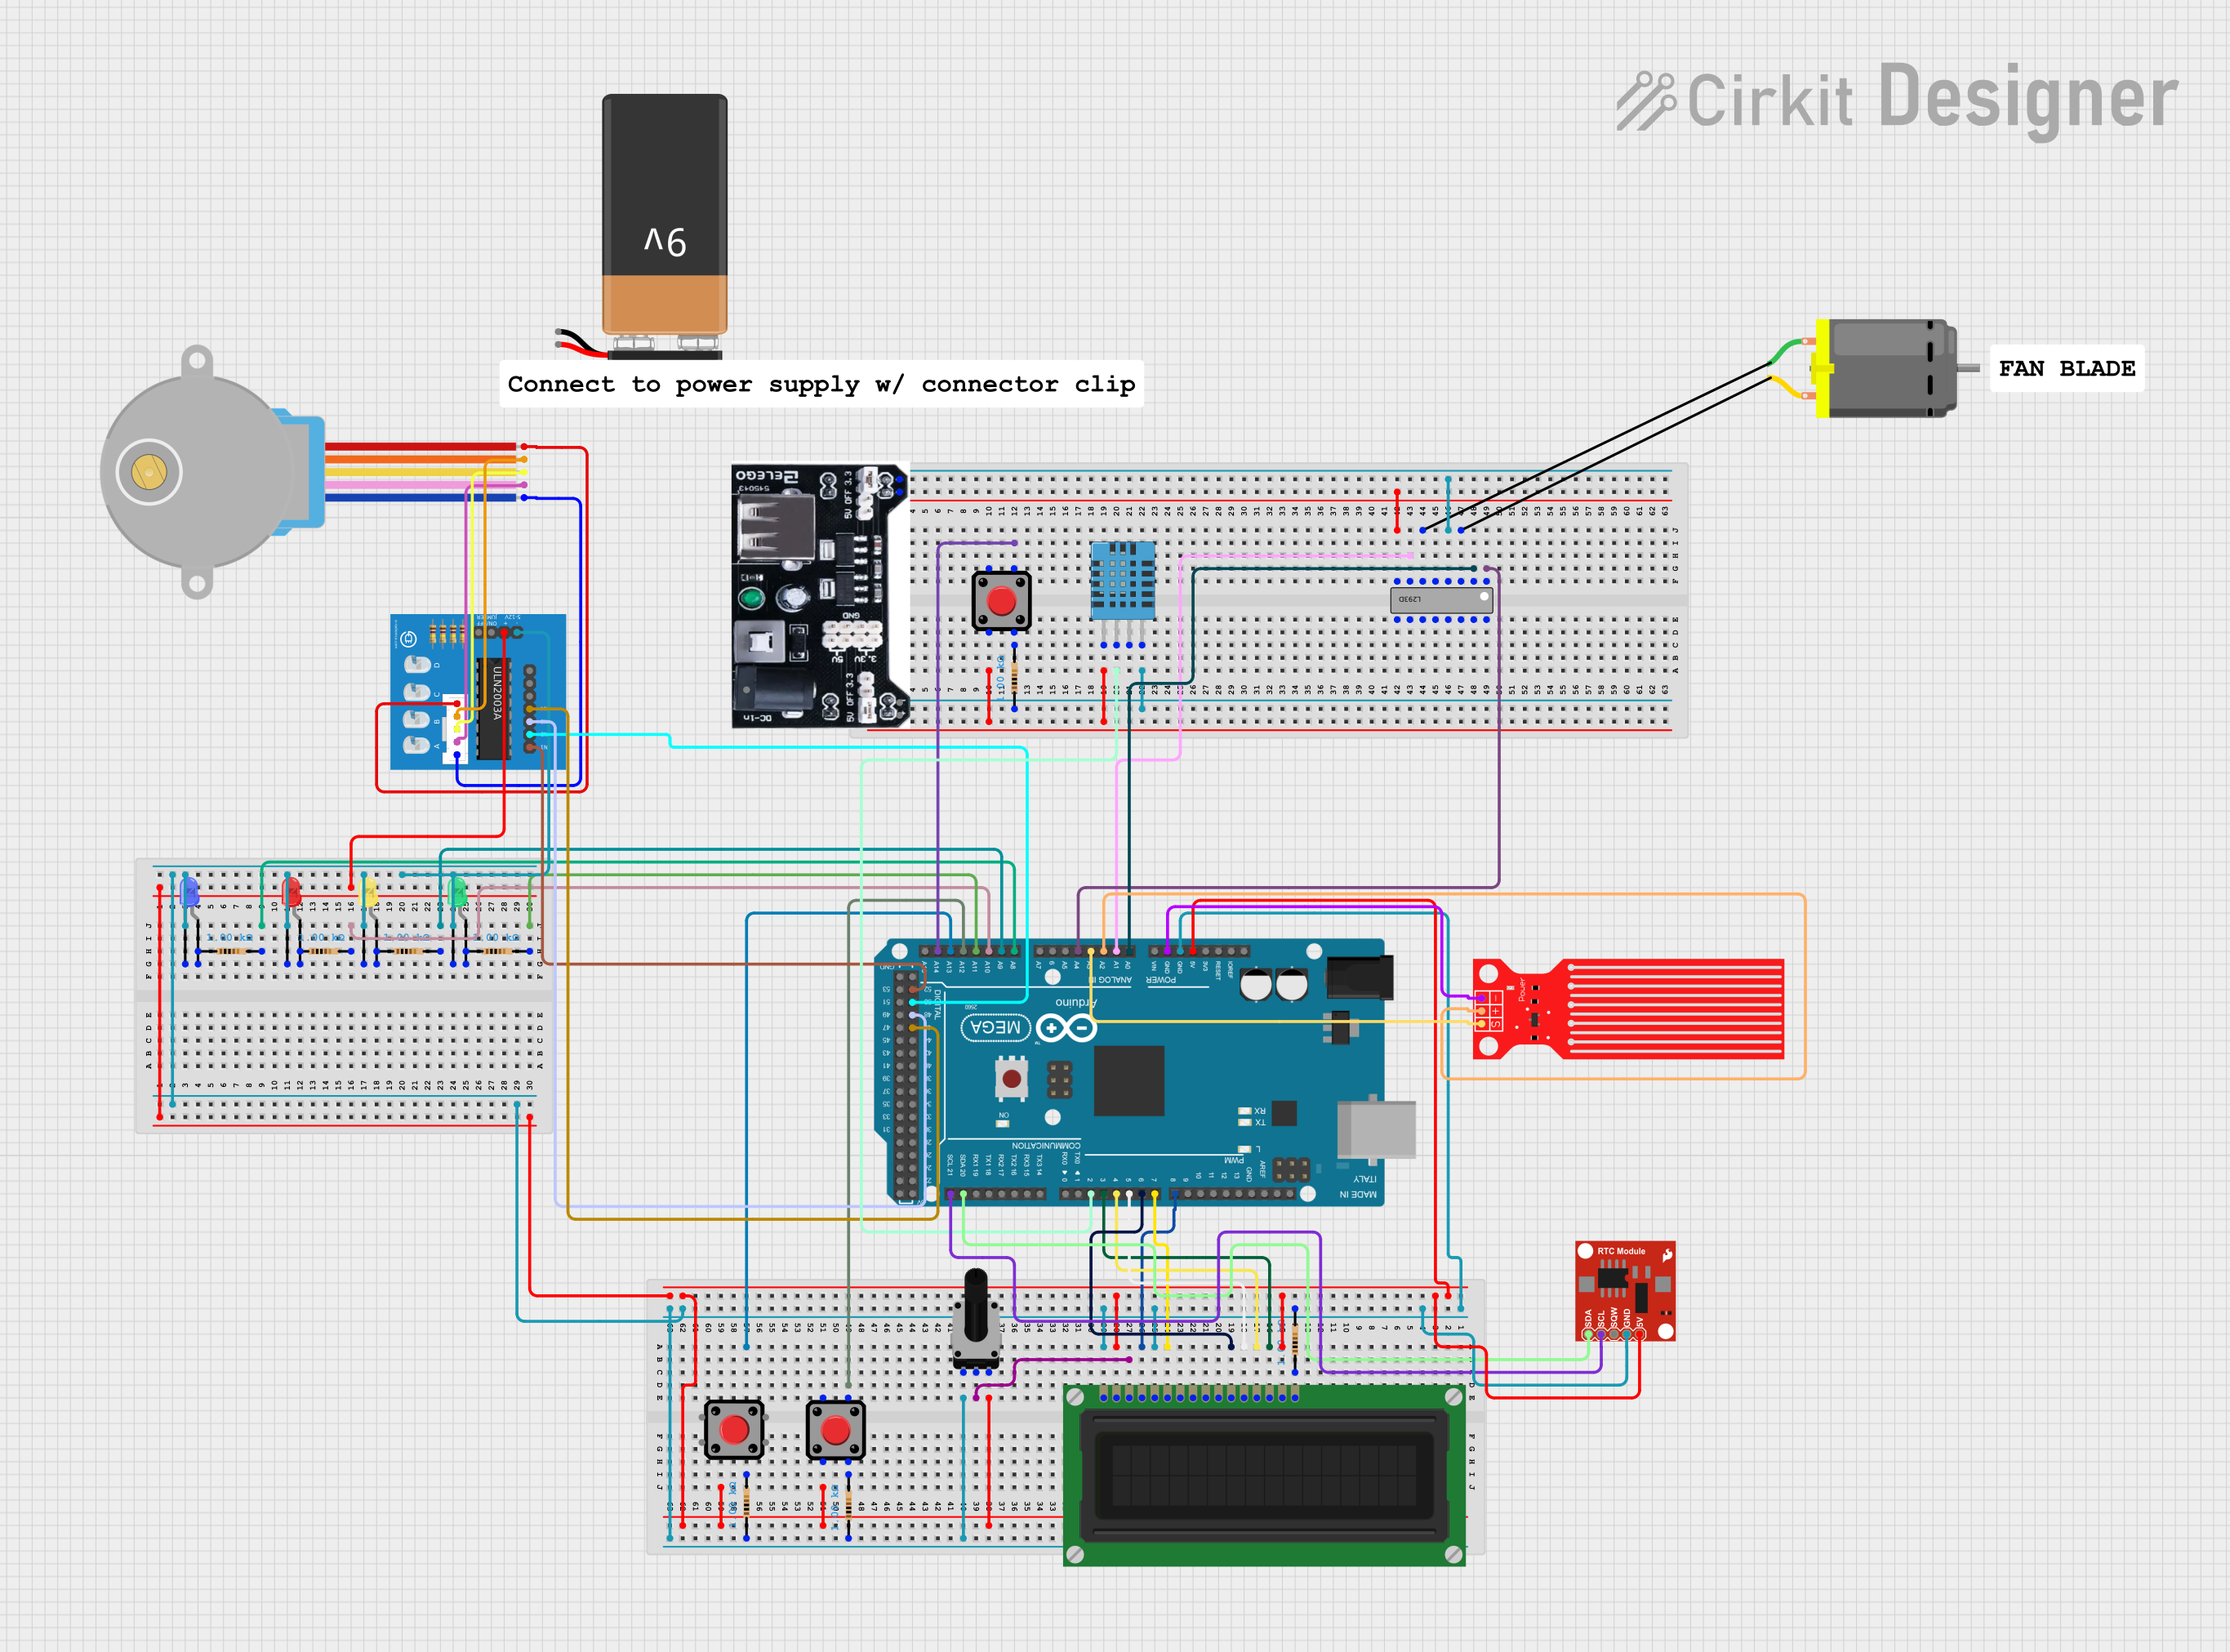
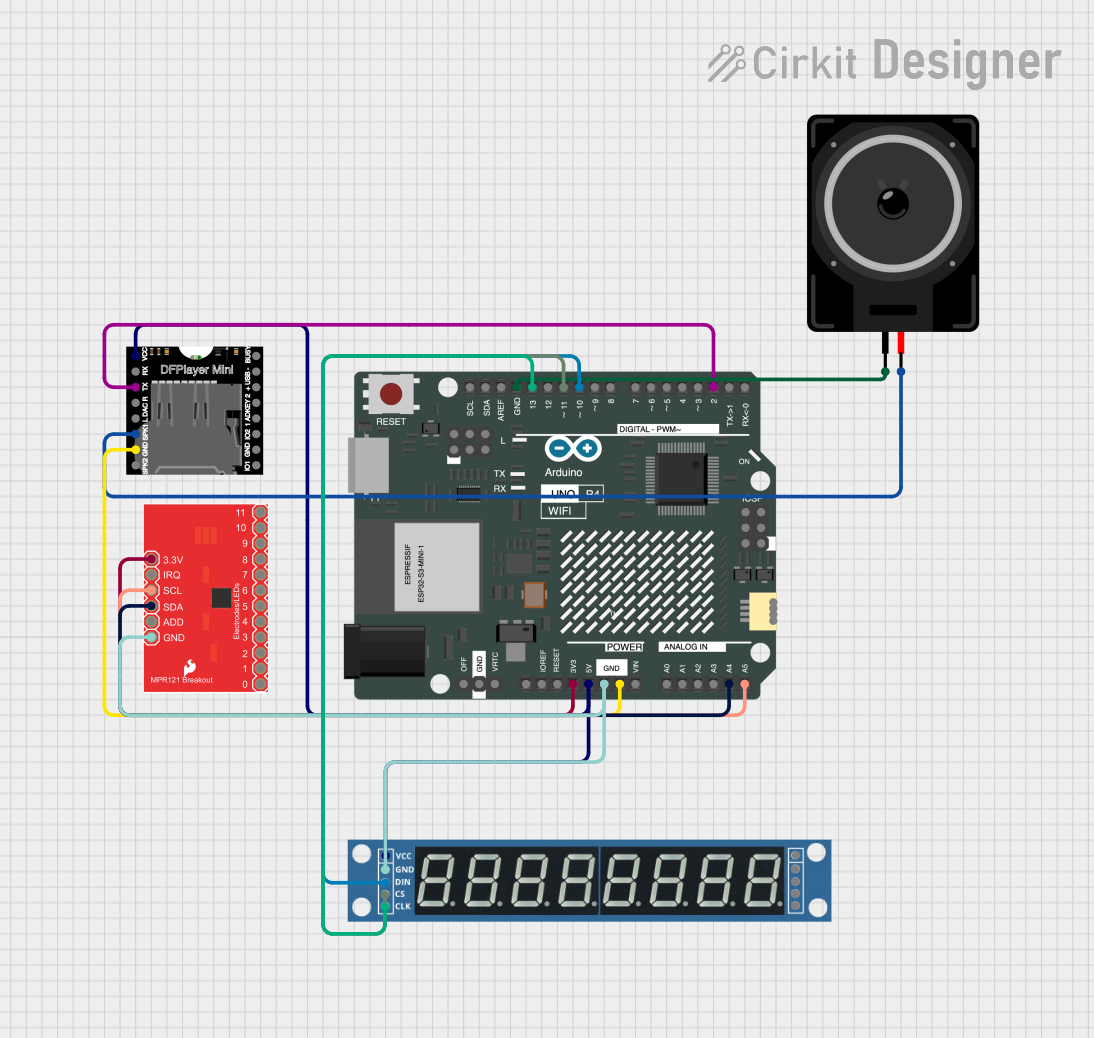
Explore Projects Built with MPR 121 Breakout Board
Common Applications and Use Cases
- Touch-sensitive user interfaces
- Interactive art installations
- Capacitive touch keyboards
- Proximity sensing
- DIY electronics projects requiring touch input
Technical Specifications
Below are the key technical details and pin configuration for the MPR121 Breakout Board:
Key Technical Details
| Parameter | Value |
|---|---|
| Operating Voltage | 1.8V to 3.6V (logic level) |
| Input Voltage (VCC pin) | 3.3V to 5V |
| Communication Interface | I2C |
| Number of Touch Electrodes | 12 |
| I2C Address (Default) | 0x5A (configurable to 0x5B, 0x5C, or 0x5D) |
| Maximum Current Consumption | ~29 µA (in normal operation) |
| Dimensions | 25mm x 18mm |
Pin Configuration and Descriptions
The MPR121 Breakout Board has the following pin layout:
| Pin Name | Description |
|---|---|
| GND | Ground connection |
| VCC | Power supply input (3.3V to 5V) |
| SDA | I2C data line |
| SCL | I2C clock line |
| IRQ | Interrupt pin (active low, signals touch events) |
| ADDR | Address selection pin (used to configure I2C address) |
| ELE0-ELE11 | Touch electrode pins (connect to conductive materials for touch detection) |
Usage Instructions
How to Use the MPR121 Breakout Board in a Circuit
- Power the Board: Connect the
VCCpin to a 3.3V or 5V power source and theGNDpin to ground. - Connect to I2C: Connect the
SDAandSCLpins to the corresponding I2C pins on your microcontroller (e.g., Arduino UNO). - Configure the I2C Address: If using multiple MPR121 boards, configure the I2C address by connecting the
ADDRpin toGND,VCC, SDA, or SCL to set the address to 0x5A, 0x5B, 0x5C, or 0x5D, respectively. - Attach Electrodes: Connect conductive materials (e.g., copper tape, wires) to the
ELE0toELE11pins for touch sensing. - Interrupt Pin (Optional): Use the
IRQpin to detect touch events without continuously polling the sensor.
Important Considerations and Best Practices
- Use pull-up resistors (typically 4.7kΩ to 10kΩ) on the
SDAandSCLlines if your microcontroller does not have internal pull-ups. - Keep electrode connections as short as possible to minimize noise and interference.
- Avoid placing the board near high-frequency noise sources to ensure reliable touch detection.
- If using fewer than 12 electrodes, leave unused electrode pins unconnected.
Example Code for Arduino UNO
Below is an example of how to use the MPR121 Breakout Board with an Arduino UNO:
#include <Wire.h>
#include "Adafruit_MPR121.h"

// Create an MPR121 object
Adafruit_MPR121 cap = Adafruit_MPR121();

// Check if the MPR121 is connected
void setup() {
  Serial.begin(9600);
  while (!Serial); // Wait for Serial Monitor to open

  Serial.println("MPR121 Capacitive Touch Sensor Test");

  if (!cap.begin(0x5A)) { // Default I2C address is 0x5A
    Serial.println("MPR121 not found. Check wiring!");
    while (1);
  }
  Serial.println("MPR121 found!");
}

void loop() {
  // Read touch status
  uint16_t touched = cap.touched();

  for (uint8_t i = 0; i < 12; i++) {
    // Check if electrode i is touched
    if (touched & (1 << i)) {
      Serial.print("Electrode ");
      Serial.print(i);
      Serial.println(" is touched.");
    }
  }
  delay(100); // Small delay for stability
}
Troubleshooting and FAQs
Common Issues and Solutions
MPR121 Not Detected
- Cause: Incorrect wiring or I2C address mismatch.
- Solution: Double-check the connections for
SDA,SCL,VCC, andGND. Ensure the I2C address in the code matches the hardware configuration.
Touch Events Not Detected
- Cause: Poor electrode connections or excessive noise.
- Solution: Ensure electrodes are securely connected to the
ELEpins. Minimize the length of electrode wires and avoid noisy environments.
Unstable or False Touch Events
- Cause: Environmental interference or improper grounding.
- Solution: Use a proper ground plane and shield the electrodes if necessary. Adjust the sensitivity settings in the MPR121 library.
FAQs
Can I use this board with a 5V microcontroller? Yes, the breakout board includes level-shifting circuitry, allowing it to work with both 3.3V and 5V logic levels.
How do I increase touch sensitivity? You can adjust the touch threshold settings in the MPR121 library. Refer to the library documentation for details.
Can I use fewer than 12 electrodes? Yes, simply leave the unused electrode pins unconnected.
What is the maximum length for electrode wires? For best performance, keep electrode wires as short as possible (preferably under 12 inches). Longer wires may require additional shielding or filtering.
This concludes the documentation for the MPR121 Breakout Board.