How to Use SparkFun Triple Axis Accelerometer Breakout - ADXL362: Examples, Pinouts, and Specs
Introduction
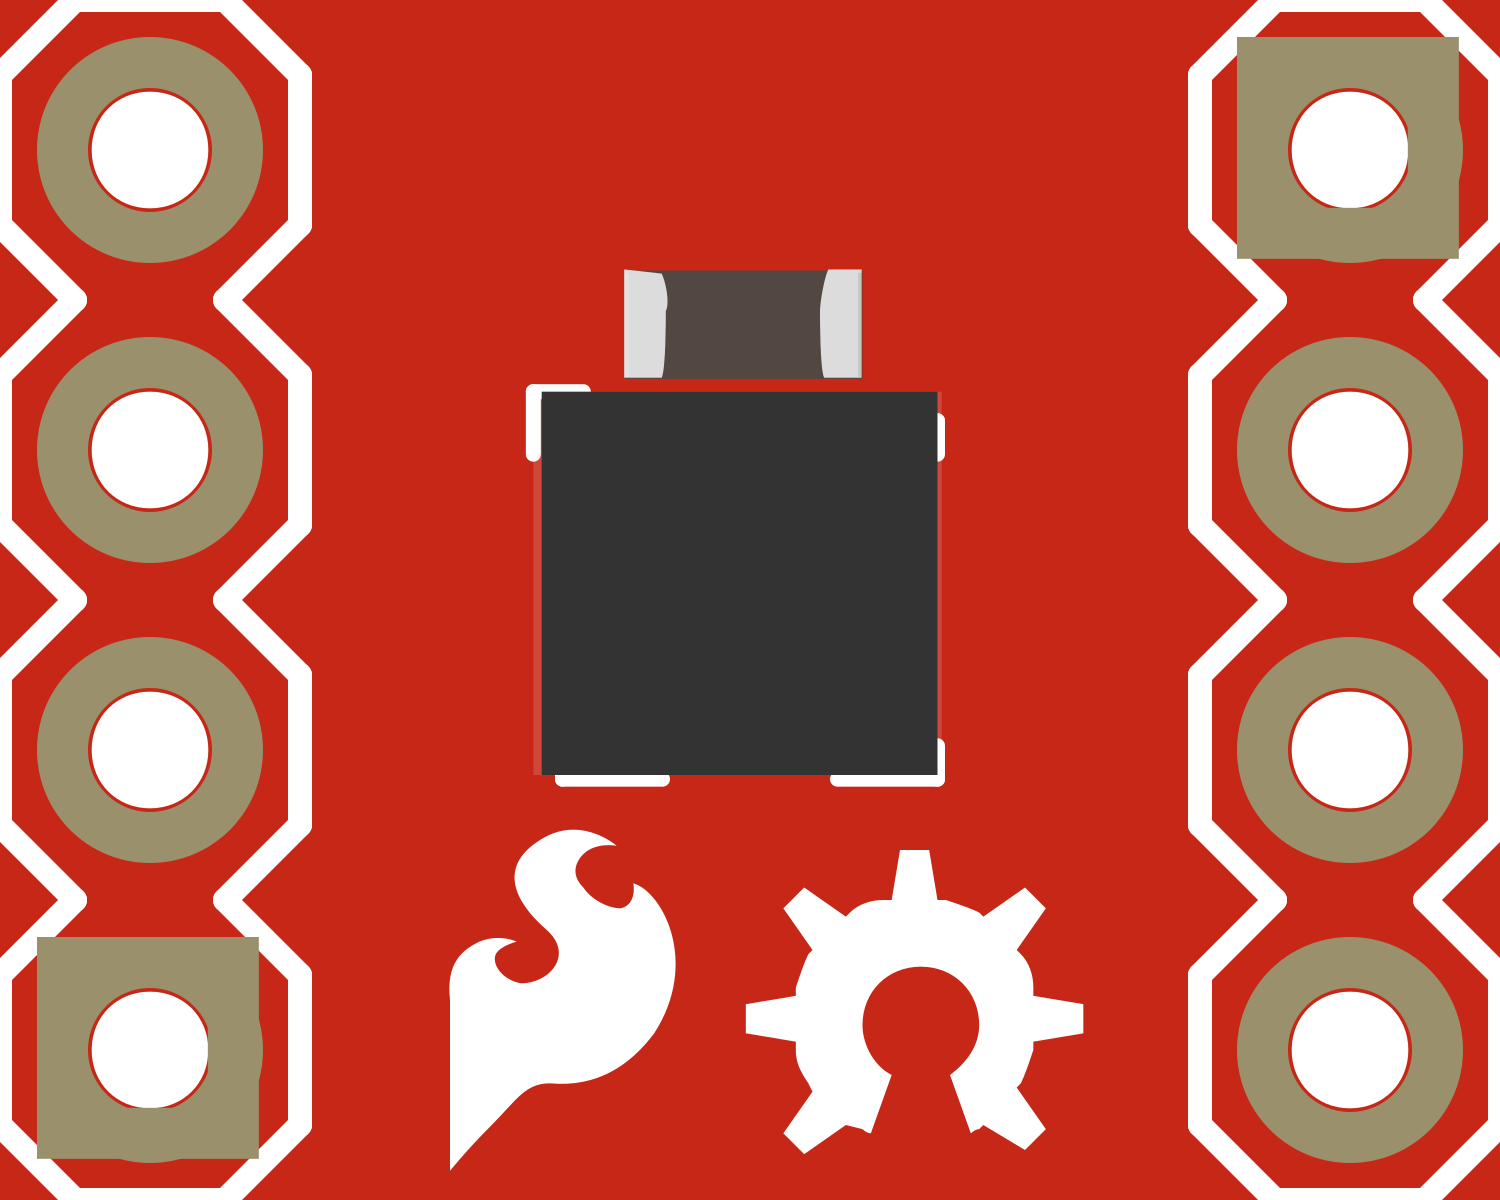
The SparkFun Triple Axis Accelerometer Breakout - ADXL362 is an ultra-low-power, 3-axis MEMS accelerometer that offers high resolution (12-bit) measurement at up to ±8g. Digital output data is formatted as 16-bit twos complement and is accessible through either a SPI (3- or 4-wire) or I2C digital interface.
Common Applications:
- Motion-activated functions
- Impact and vibration monitoring
- Fitness and health tracking devices
- Gaming and pointing devices
- Industrial monitoring
Explore Projects Built with SparkFun Triple Axis Accelerometer Breakout - ADXL362
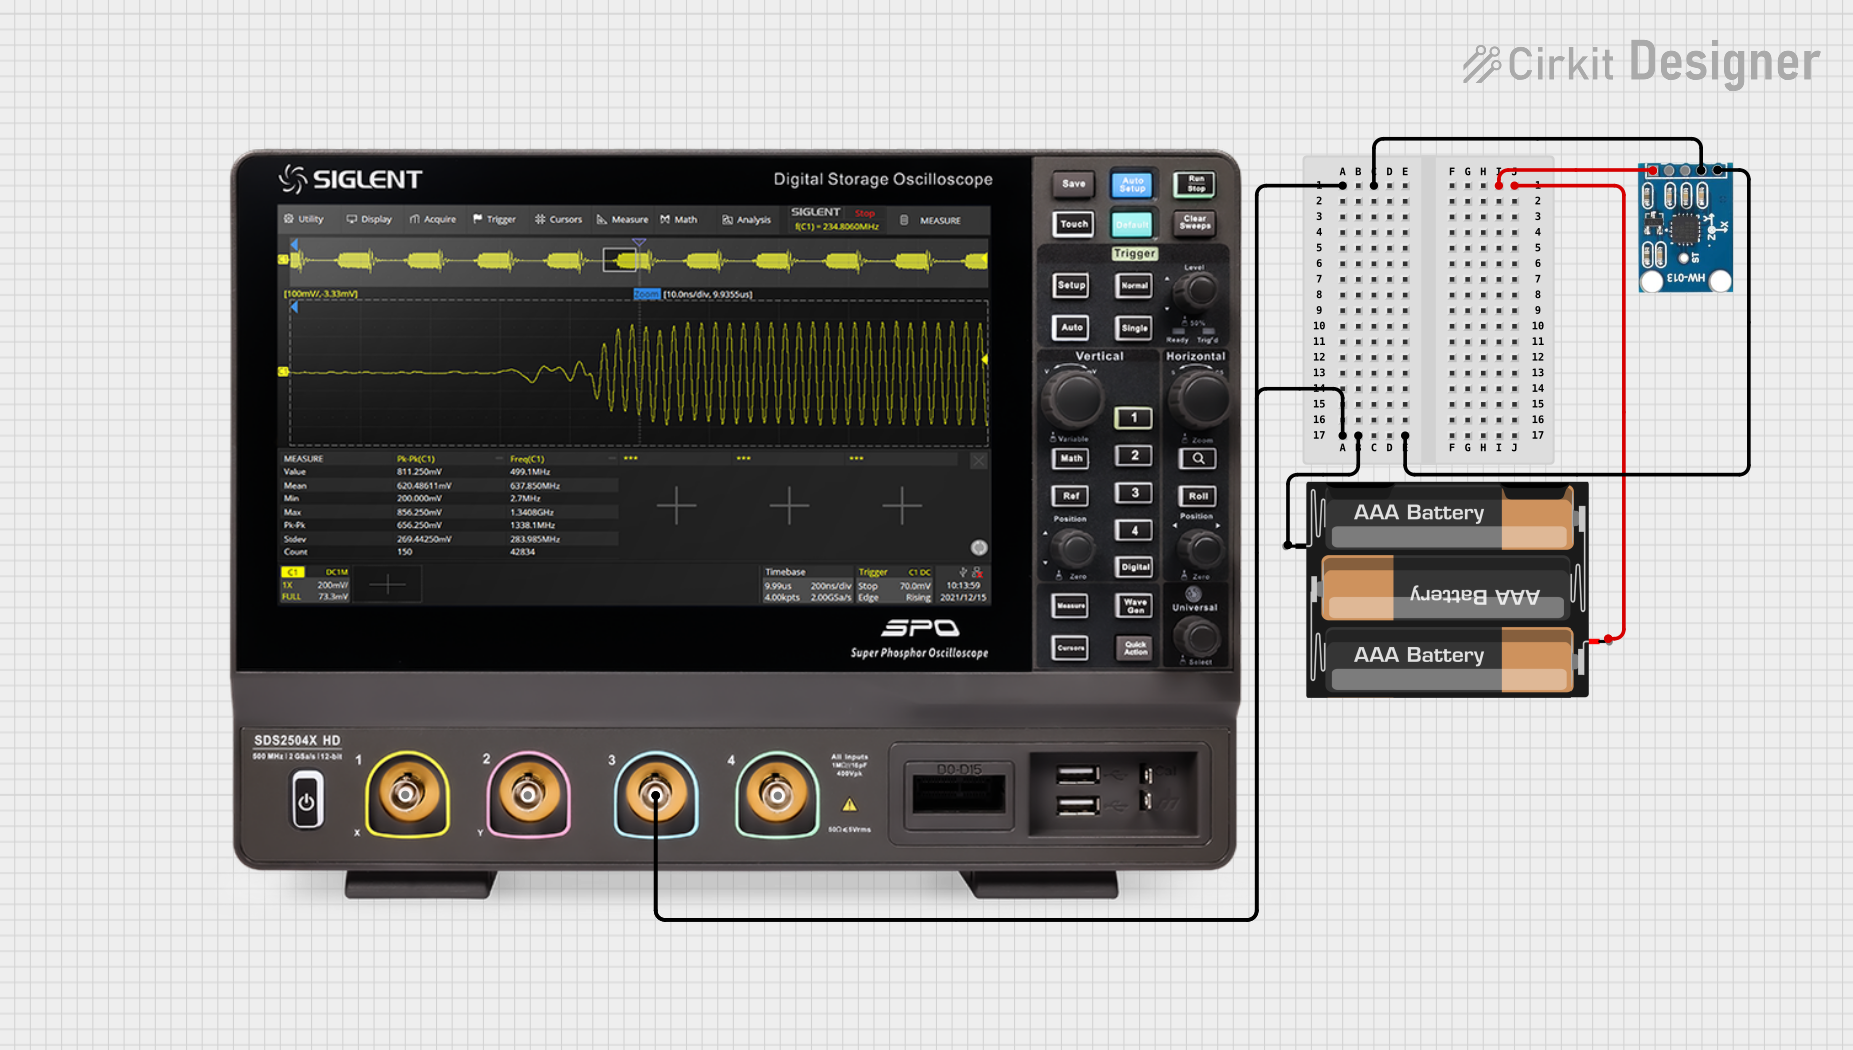

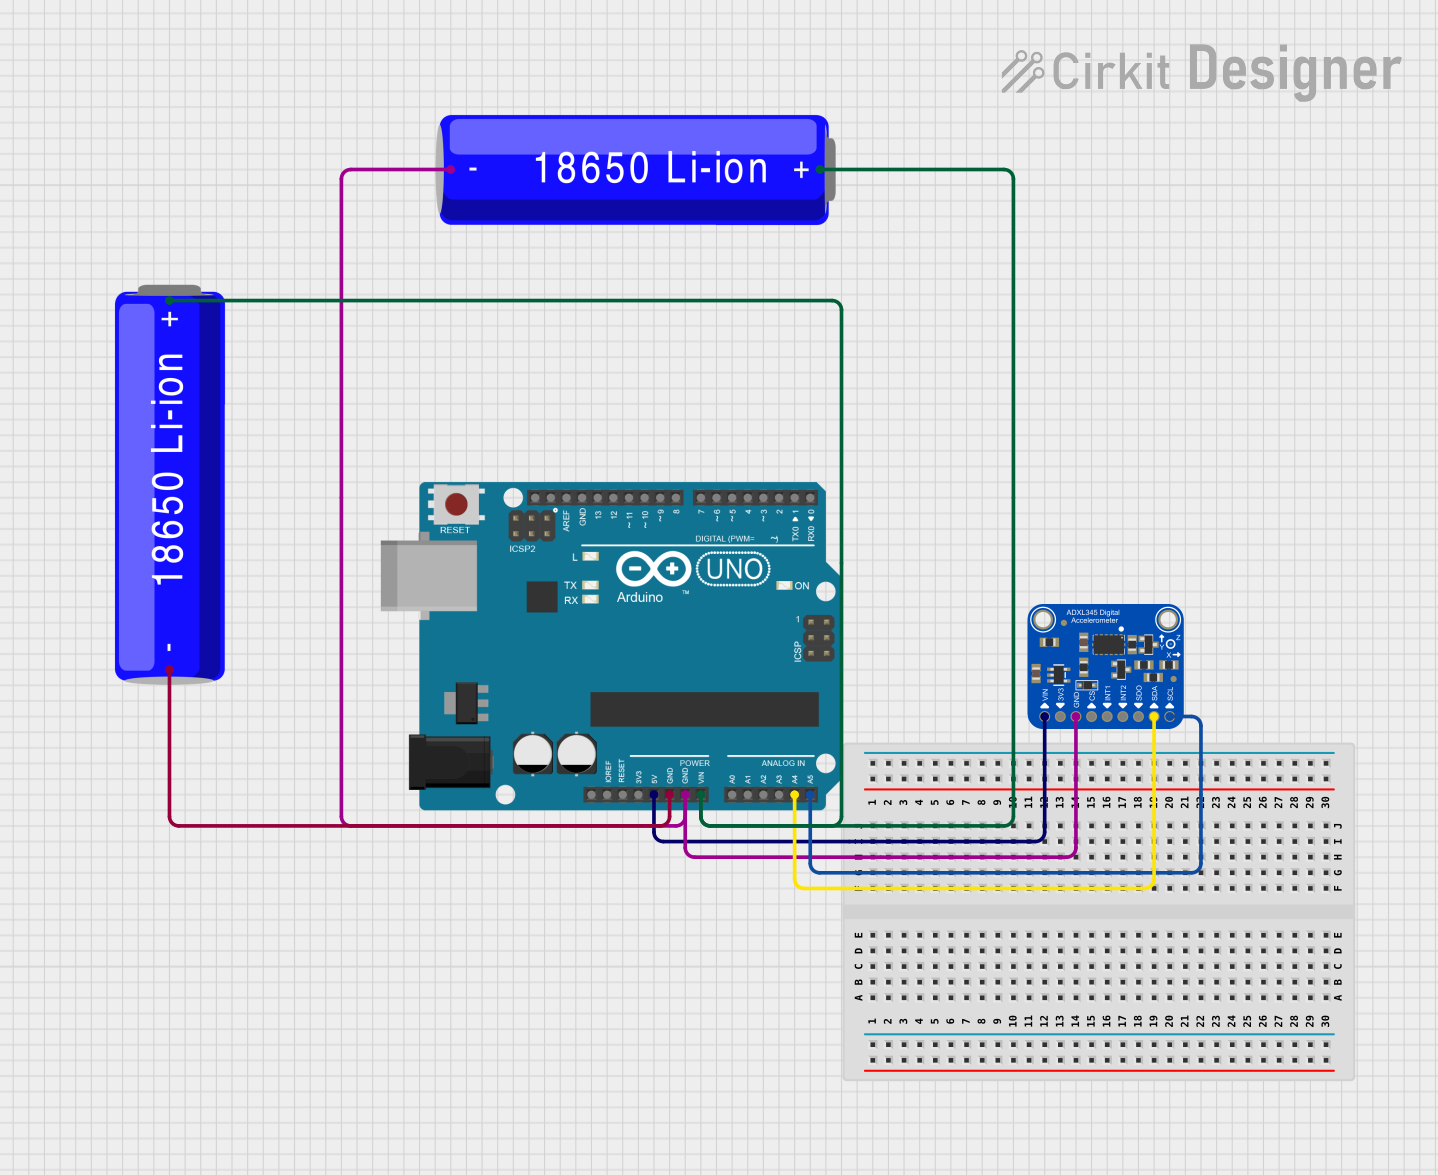

Explore Projects Built with SparkFun Triple Axis Accelerometer Breakout - ADXL362
Technical Specifications
Key Technical Details:
- Voltage Supply: 1.6V to 3.5V
- Current Consumption: 2 µA at 100 Hz output data rate
- Measurement Range: ±2g, ±4g, ±8g (selectable)
- Output Data Rate: 12.5 Hz to 400 Hz
- Communication: SPI (3- or 4-wire) and I2C
- Sensitivity: 1 mg/LSB
- Operating Temperature Range: -40°C to +85°C
Pin Configuration and Descriptions:
| Pin Number | Name | Description |
|---|---|---|
| 1 | GND | Ground connection |
| 2 | VCC | Power supply (1.6V to 3.5V) |
| 3 | SCL/CS | I2C clock/SPI chip select |
| 4 | SDA/SDI | I2C data/SPI data input |
| 5 | SDO | SPI data output |
| 6 | INT1 | Interrupt 1 output |
| 7 | INT2 | Interrupt 2 output |
| 8 | n/c | No connection |
Usage Instructions
Integrating with a Circuit:
- Powering the Device: Connect VCC to a power supply between 1.6V and 3.5V and GND to the ground.
- Communication: Choose between SPI or I2C for communication. For SPI, use SCL/CS, SDA/SDI, and SDO pins. For I2C, use SCL/CS and SDA/SDI pins.
- Interrupts: INT1 and INT2 can be configured to trigger on various events such as motion detection or free-fall.
Best Practices:
- Use decoupling capacitors close to the power pins to minimize power supply noise.
- Ensure that the SPI or I2C bus lines have pull-up resistors if required.
- Avoid physical shock and vibration during operation as it may affect the readings.
Example Code for Arduino UNO
#include <SPI.h>
#include <ADXL362.h>

ADXL362 xl;

void setup() {
  Serial.begin(9600);
  SPI.begin();

  xl.begin(10); // SPI Chip Select Pin
  xl.beginMeasure();
}

void loop() {
  int x, y, z;

  xl.readXYZTData(x, y, z, temperature); // Read acceleration data
  Serial.print("X: "); Serial.print(x);
  Serial.print(" Y: "); Serial.print(y);
  Serial.print(" Z: "); Serial.println(z);

  delay(100); // Adjust the delay as per the required output data rate
}
Note: Before using the code, ensure that the ADXL362 library is installed in your Arduino IDE.
Troubleshooting and FAQs
Common Issues:
- No Data Output: Check connections and ensure that the correct communication protocol (SPI or I2C) is selected.
- Inaccurate Readings: Verify that the accelerometer is properly calibrated and that there are no vibrations affecting the sensor.
- High Power Consumption: Ensure that the device is not in measurement mode when not in use.
Solutions and Tips:
- Double-check wiring, especially the power supply and ground connections.
- Use the
xl.beginMeasure();function to start measurement mode. - Implement proper error handling in your code to detect and respond to communication failures.
FAQs:
Q: Can the ADXL362 operate at 5V? A: No, the ADXL362 is designed to operate between 1.6V and 3.5V.
Q: How can I change the measurement range? A: Use the library functions to set the measurement range to ±2g, ±4g, or ±8g as needed.
Q: What is the purpose of the INT1 and INT2 pins? A: These pins can be configured to output interrupt signals for events like activity, inactivity, or free-fall detection.
For further assistance, consult the ADXL362 datasheet and the SparkFun ADXL362 library documentation.