
How to Use Rain Gauge Tipping Bucket: Examples, Pinouts, and Specs
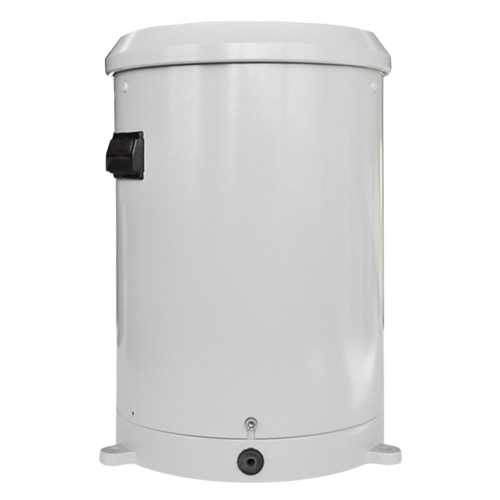
 Design with Rain Gauge Tipping Bucket in Cirkit Designer
Introduction
The Rain Gauge Tipping Bucket by Vincenzo is a precision instrument designed to measure rainfall. It operates by collecting rainwater in a small bucket that tips when a predefined volume is reached. Each tip triggers a counter, allowing for accurate measurement of precipitation over time. This device is widely used in meteorology, agriculture, and environmental monitoring to track rainfall patterns and analyze weather conditions.
Explore Projects Built with Rain Gauge Tipping Bucket
 Open Project in Cirkit Designer
 Open Project in Cirkit Designer
 Open Project in Cirkit Designer
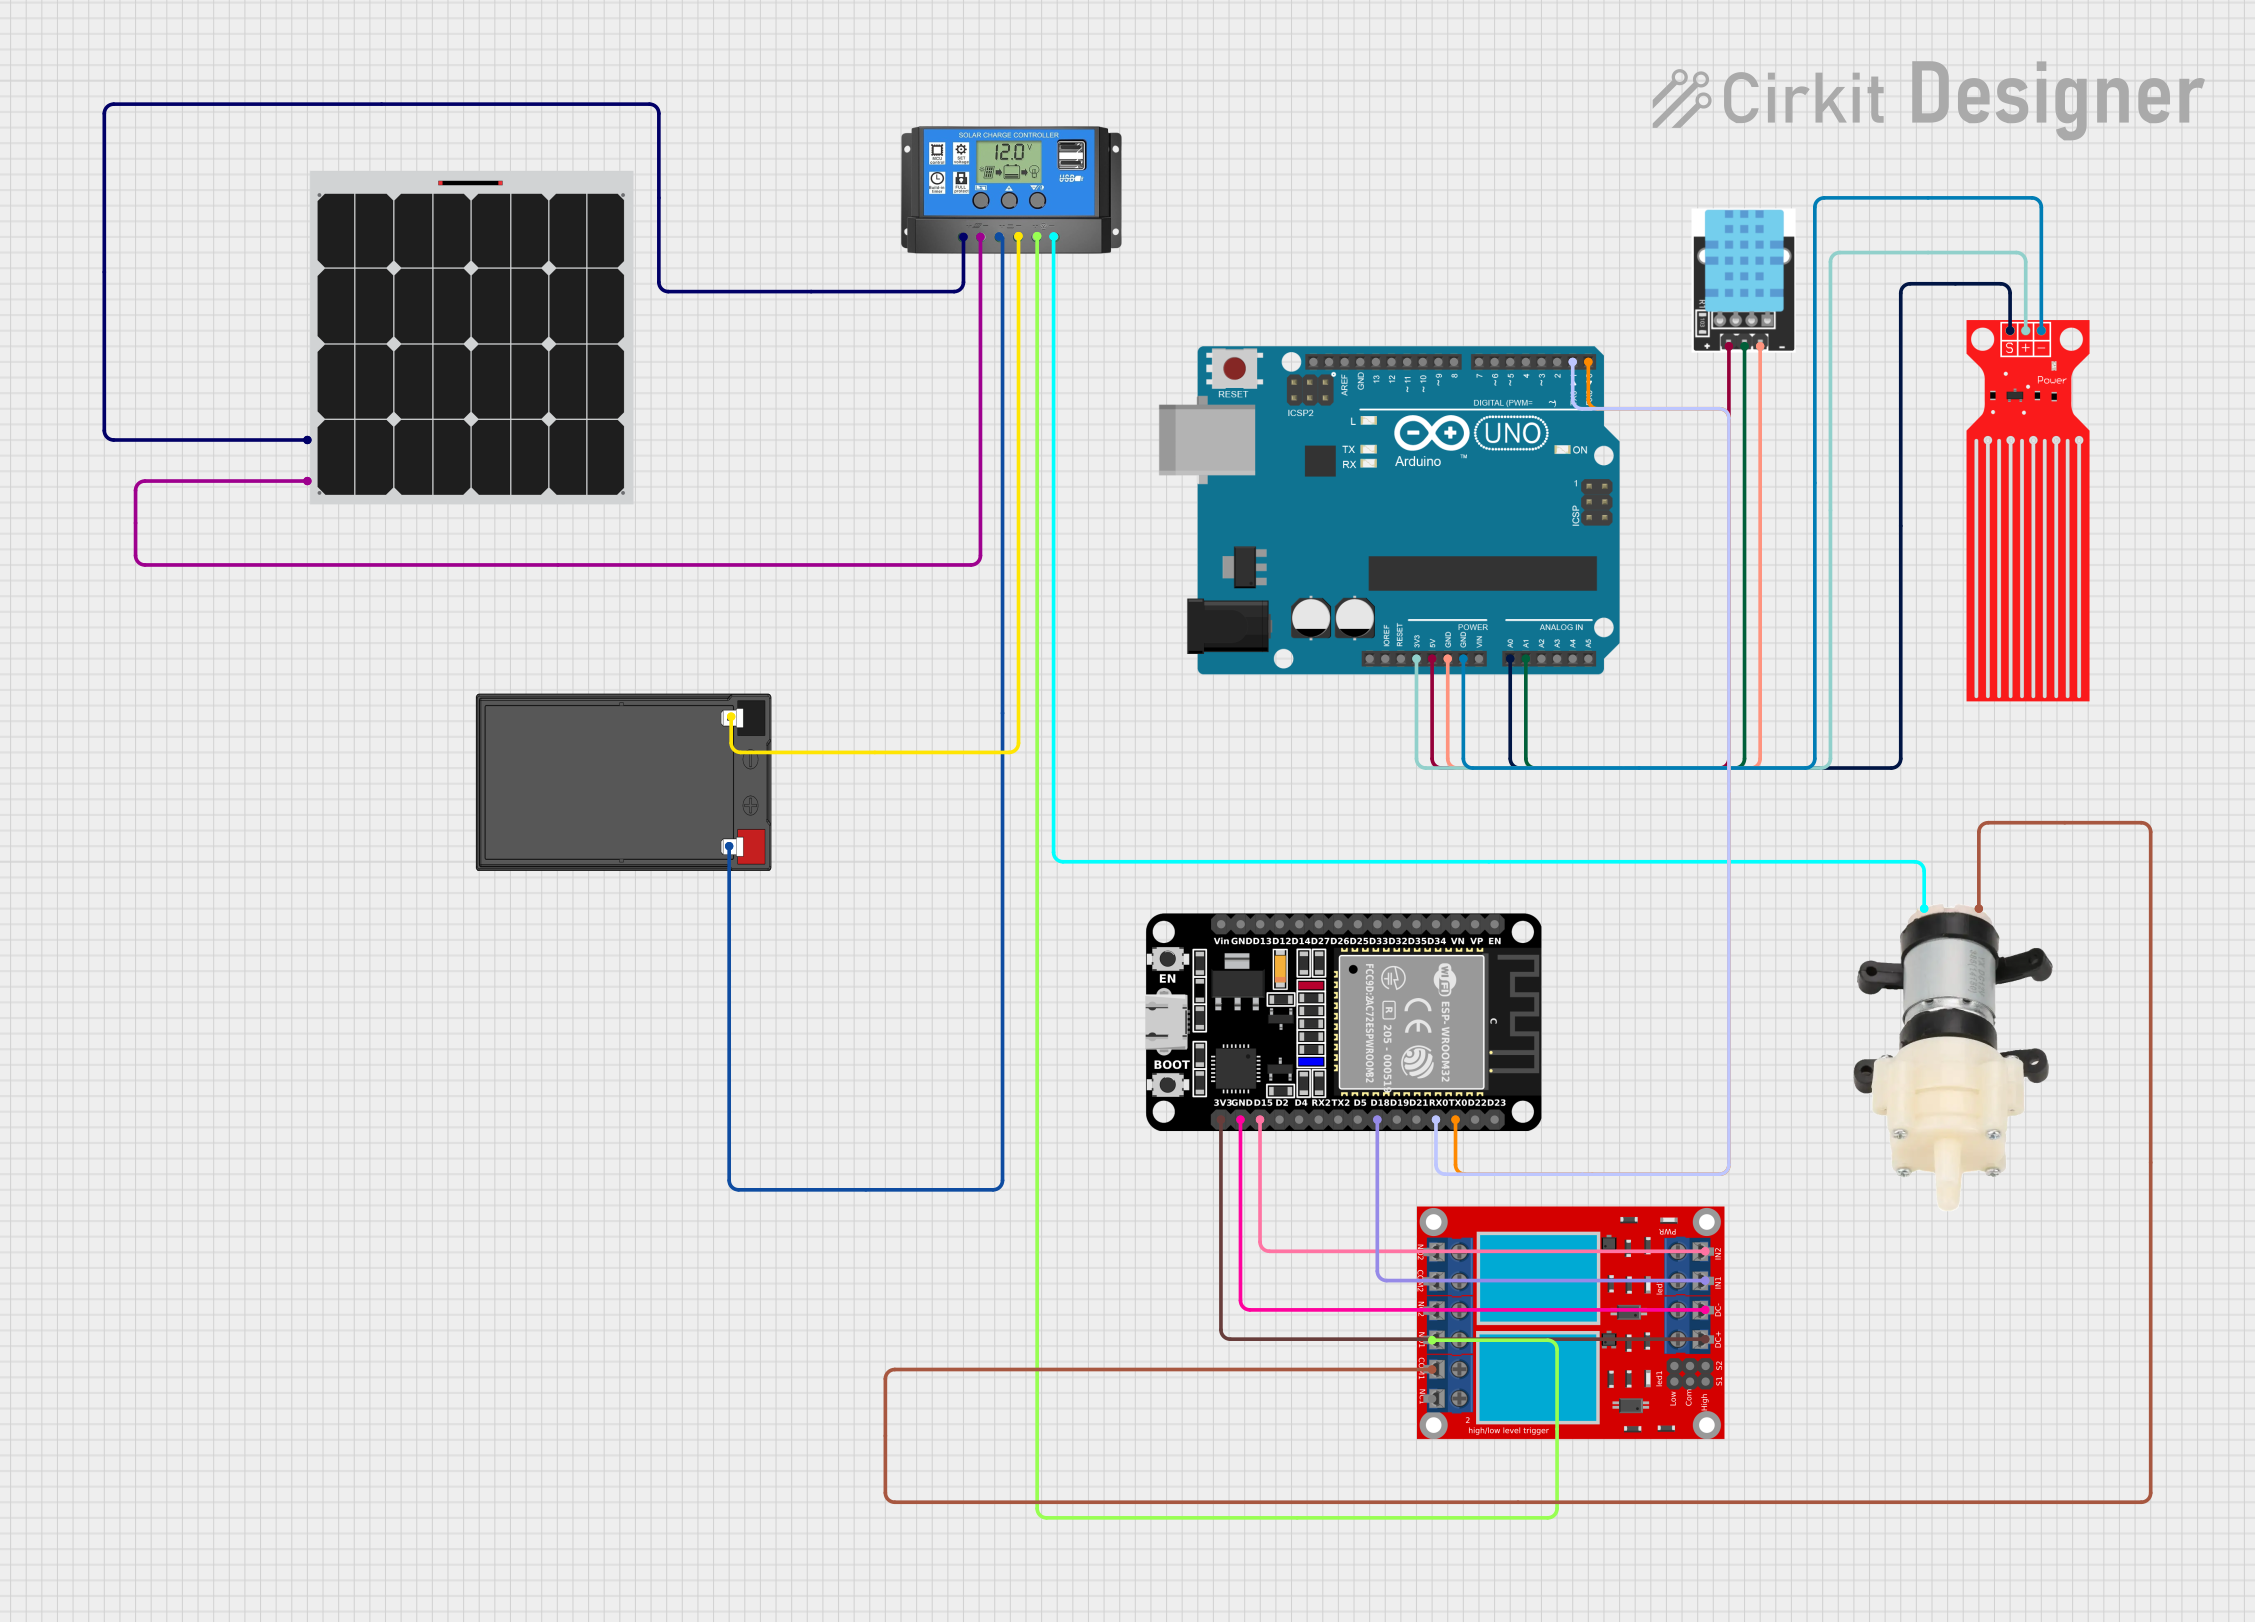 Open Project in Cirkit Designer
Explore Projects Built with Rain Gauge Tipping Bucket
Open Project in Cirkit DesignerOpen Project in Cirkit DesignerOpen Project in Cirkit DesignerOpen Project in Cirkit DesignerCommon Applications:
- Weather stations for meteorological data collection
- Agricultural irrigation planning
- Hydrological studies and flood monitoring
- Environmental research and climate analysis
Technical Specifications
Key Technical Details:
| Parameter | Specification |
|---|---|
| Manufacturer | Vincenzo |
| Measurement Principle | Tipping bucket mechanism |
| Rainfall Resolution | 0.2 mm per tip (typical) |
| Output Signal | Pulse (reed switch or Hall effect) |
| Operating Voltage | 3.3V to 5V (for signal output) |
| Maximum Rainfall Rate | 300 mm/hour |
| Operating Temperature | -40°C to 70°C |
| Material | UV-resistant plastic and metal |
| Dimensions | 200 mm (H) x 120 mm (D) |
| Weight | 1.2 kg |
Pin Configuration and Descriptions:
The Rain Gauge Tipping Bucket typically has a two-wire output for signal transmission. Below is the pin configuration:
| Pin Name | Description |
|---|---|
| Signal | Outputs a pulse for each bucket tip (digital) |
| GND | Ground connection for the signal circuit |
Usage Instructions
How to Use the Component in a Circuit:
Connect the Signal Output:
- Connect the Signal pin to a digital input pin on your microcontroller (e.g., Arduino UNO).
- Connect the GND pin to the ground of your circuit.
Power Requirements:
- The tipping bucket itself does not require power, but the signal output (reed switch or Hall effect sensor) needs a pull-up resistor (typically 10kΩ) to function correctly.
Mounting the Device:
- Install the rain gauge on a flat, level surface to ensure accurate measurements.
- Place it in an open area, away from obstructions like trees or buildings that could block rainfall.
Calibration:
- Verify the rainfall resolution (e.g., 0.2 mm per tip) by manually tipping the bucket and counting the pulses.
Important Considerations and Best Practices:
- Ensure the rain gauge is cleaned regularly to prevent debris from clogging the bucket.
- Avoid placing the device in areas prone to splashing or artificial water sources.
- Use weatherproof connectors for outdoor installations to protect the wiring.
Example Code for Arduino UNO:
Below is an example of how to interface the Rain Gauge Tipping Bucket with an Arduino UNO to measure rainfall:
// Rain Gauge Tipping Bucket Example Code
// This code counts the number of bucket tips and calculates rainfall in mm.

const int rainGaugePin = 2; // Digital pin connected to the Signal pin
volatile int tipCount = 0;  // Counter for bucket tips
float rainfall = 0.0;       // Rainfall in mm
const float resolution = 0.2; // Rainfall resolution per tip (in mm)

void setup() {
  pinMode(rainGaugePin, INPUT_PULLUP); // Set pin as input with pull-up resistor
  attachInterrupt(digitalPinToInterrupt(rainGaugePin), countTips, FALLING);
  Serial.begin(9600); // Initialize serial communication
}

void loop() {
  // Calculate rainfall based on tip count
  rainfall = tipCount * resolution;

  // Print rainfall to the Serial Monitor
  Serial.print("Rainfall: ");
  Serial.print(rainfall);
  Serial.println(" mm");

  delay(1000); // Update every second
}

// Interrupt Service Routine (ISR) to count bucket tips
void countTips() {
  tipCount++; // Increment tip count on each pulse
}
Notes:
- The
INPUT_PULLUPmode ensures the signal pin is not left floating. - The interrupt is triggered on the falling edge of the pulse, which corresponds to a bucket tip.
Troubleshooting and FAQs
Common Issues:
No Signal Output:
- Cause: Loose or incorrect wiring.
- Solution: Verify connections to the Signal and GND pins. Ensure the pull-up resistor is correctly installed.
Inaccurate Rainfall Measurements:
- Cause: Device not level or debris in the bucket.
- Solution: Reinstall the rain gauge on a flat surface and clean the bucket.
Intermittent Signal:
- Cause: Faulty reed switch or Hall effect sensor.
- Solution: Inspect the sensor and replace it if necessary.
High Noise in Signal:
- Cause: Long signal wires or electromagnetic interference.
- Solution: Use shielded cables and keep wires as short as possible.
FAQs:
Q: How do I test if the rain gauge is working?
A: Manually tip the bucket and observe the pulse output on a multimeter or microcontroller.
Q: Can I use this rain gauge with other microcontrollers?
A: Yes, the rain gauge can be used with any microcontroller that supports digital input, such as Raspberry Pi, ESP32, or STM32.
Q: How often should I clean the rain gauge?
A: Cleaning frequency depends on the environment. In dusty or debris-prone areas, clean it monthly. Otherwise, inspect it seasonally.
Q: What is the lifespan of the rain gauge?
A: With proper maintenance, the rain gauge can last 5–10 years or more.
By following this documentation, you can effectively integrate and maintain the Vincenzo Rain Gauge Tipping Bucket in your projects.