Introduction
An Infrared (IR) Sensor is an electronic device that detects infrared radiation from its surroundings. It is commonly used in various applications such as proximity sensing, object detection, motion detection, and in security systems. IR sensors are popular in robotics for obstacle avoidance and in consumer electronics for remote control functionality.
Technical Specifications
Key Technical Details
- Operating Voltage: Typically 3.3V to 5V
- Current Consumption: 10-15 mA (active)
- Detection Range: 2cm to 30cm (adjustable)
- Output Type: Digital (0V or 5V) or Analog (proportional to the detected IR)
- Ambient Light Resistance: Good (varies by model)
- Operating Temperature: -20°C to 85°C
Pin Configuration and Descriptions
Usage Instructions
Connecting to a Circuit
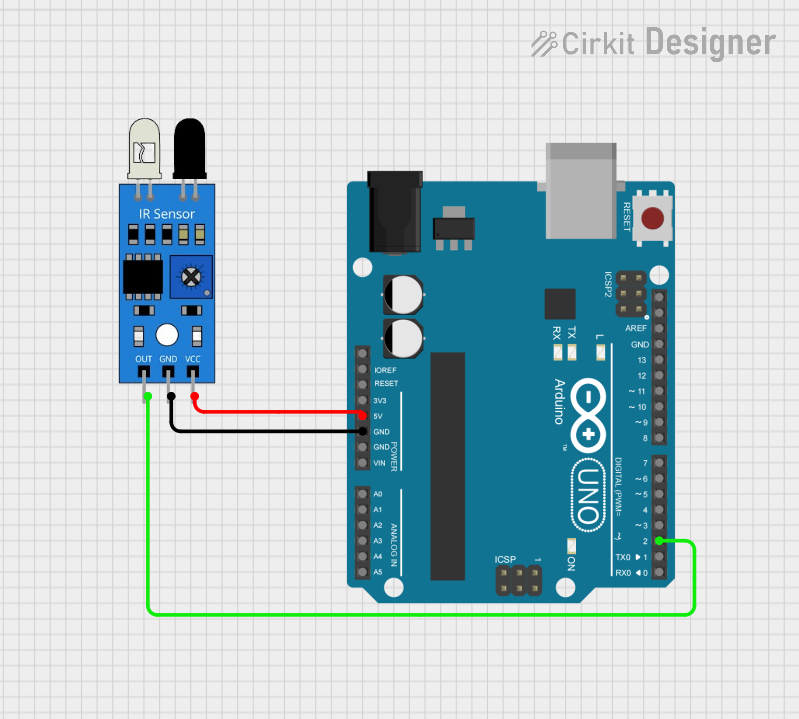
- Connect the VCC pin to the 5V output on the Arduino UNO.
- Connect the GND pin to one of the GND pins on the Arduino UNO.
- Connect the OUT pin to a digital input pin on the Arduino UNO if you wish to use the digital output.
- Optionally, connect the AO pin to an analog input pin on the Arduino UNO for analog output.
Important Considerations and Best Practices
- Ensure that the sensor is not exposed to direct sunlight or other strong IR sources, as this may interfere with its operation.
- Adjust the potentiometer on the sensor module to set the desired detection range.
- Use pull-up or pull-down resistors on the digital output if necessary to avoid floating inputs.
- When using the analog output, calibrate the sensor by mapping the analog values to the actual distance using a known reference.
Example Code for Arduino UNO
// Define the IR sensor pin
const int IRSensorPin = 2; // Digital pin connected to the IR sensor's OUT pin

void setup() {
  pinMode(IRSensorPin, INPUT); // Initialize the IR sensor pin as an input
  Serial.begin(9600);          // Start serial communication at 9600 baud rate
}

void loop() {
  int sensorValue = digitalRead(IRSensorPin); // Read the sensor value
  if (sensorValue == LOW) {                   // Check if the sensor is detecting an obstacle
    // IR sensor has detected an obstacle
    Serial.println("Obstacle detected!");
  } else {
    // No obstacle detected
    Serial.println("Path is clear.");
  }
  delay(200); // Wait for 200 milliseconds before reading again
}
Troubleshooting and FAQs
Common Issues
- Sensor not responding: Ensure that the sensor is properly powered and that the pins are correctly connected.
- False triggers: Adjust the potentiometer to fine-tune the detection range and avoid false positives.
- Inconsistent readings: Check for any sources of IR interference and shield the sensor if necessary.
Solutions and Tips
- If the digital output is erratic, consider debouncing the signal in your code or using a capacitor to filter noise.
- For analog output, use the
analogRead() function and calibrate the sensor using known distances to improve accuracy.
- Keep the sensor clean and free of dust, as this can affect its sensitivity.
FAQs
Q: Can the IR sensor detect color?
A: No, IR sensors are not sensitive to color. They detect IR radiation, which is beyond the visible spectrum.
Q: How can I increase the detection range of the sensor?
A: You can adjust the potentiometer on the sensor module to increase or decrease the detection range. However, the maximum range is limited by the sensor's design.
Q: Is it possible to use multiple IR sensors together?
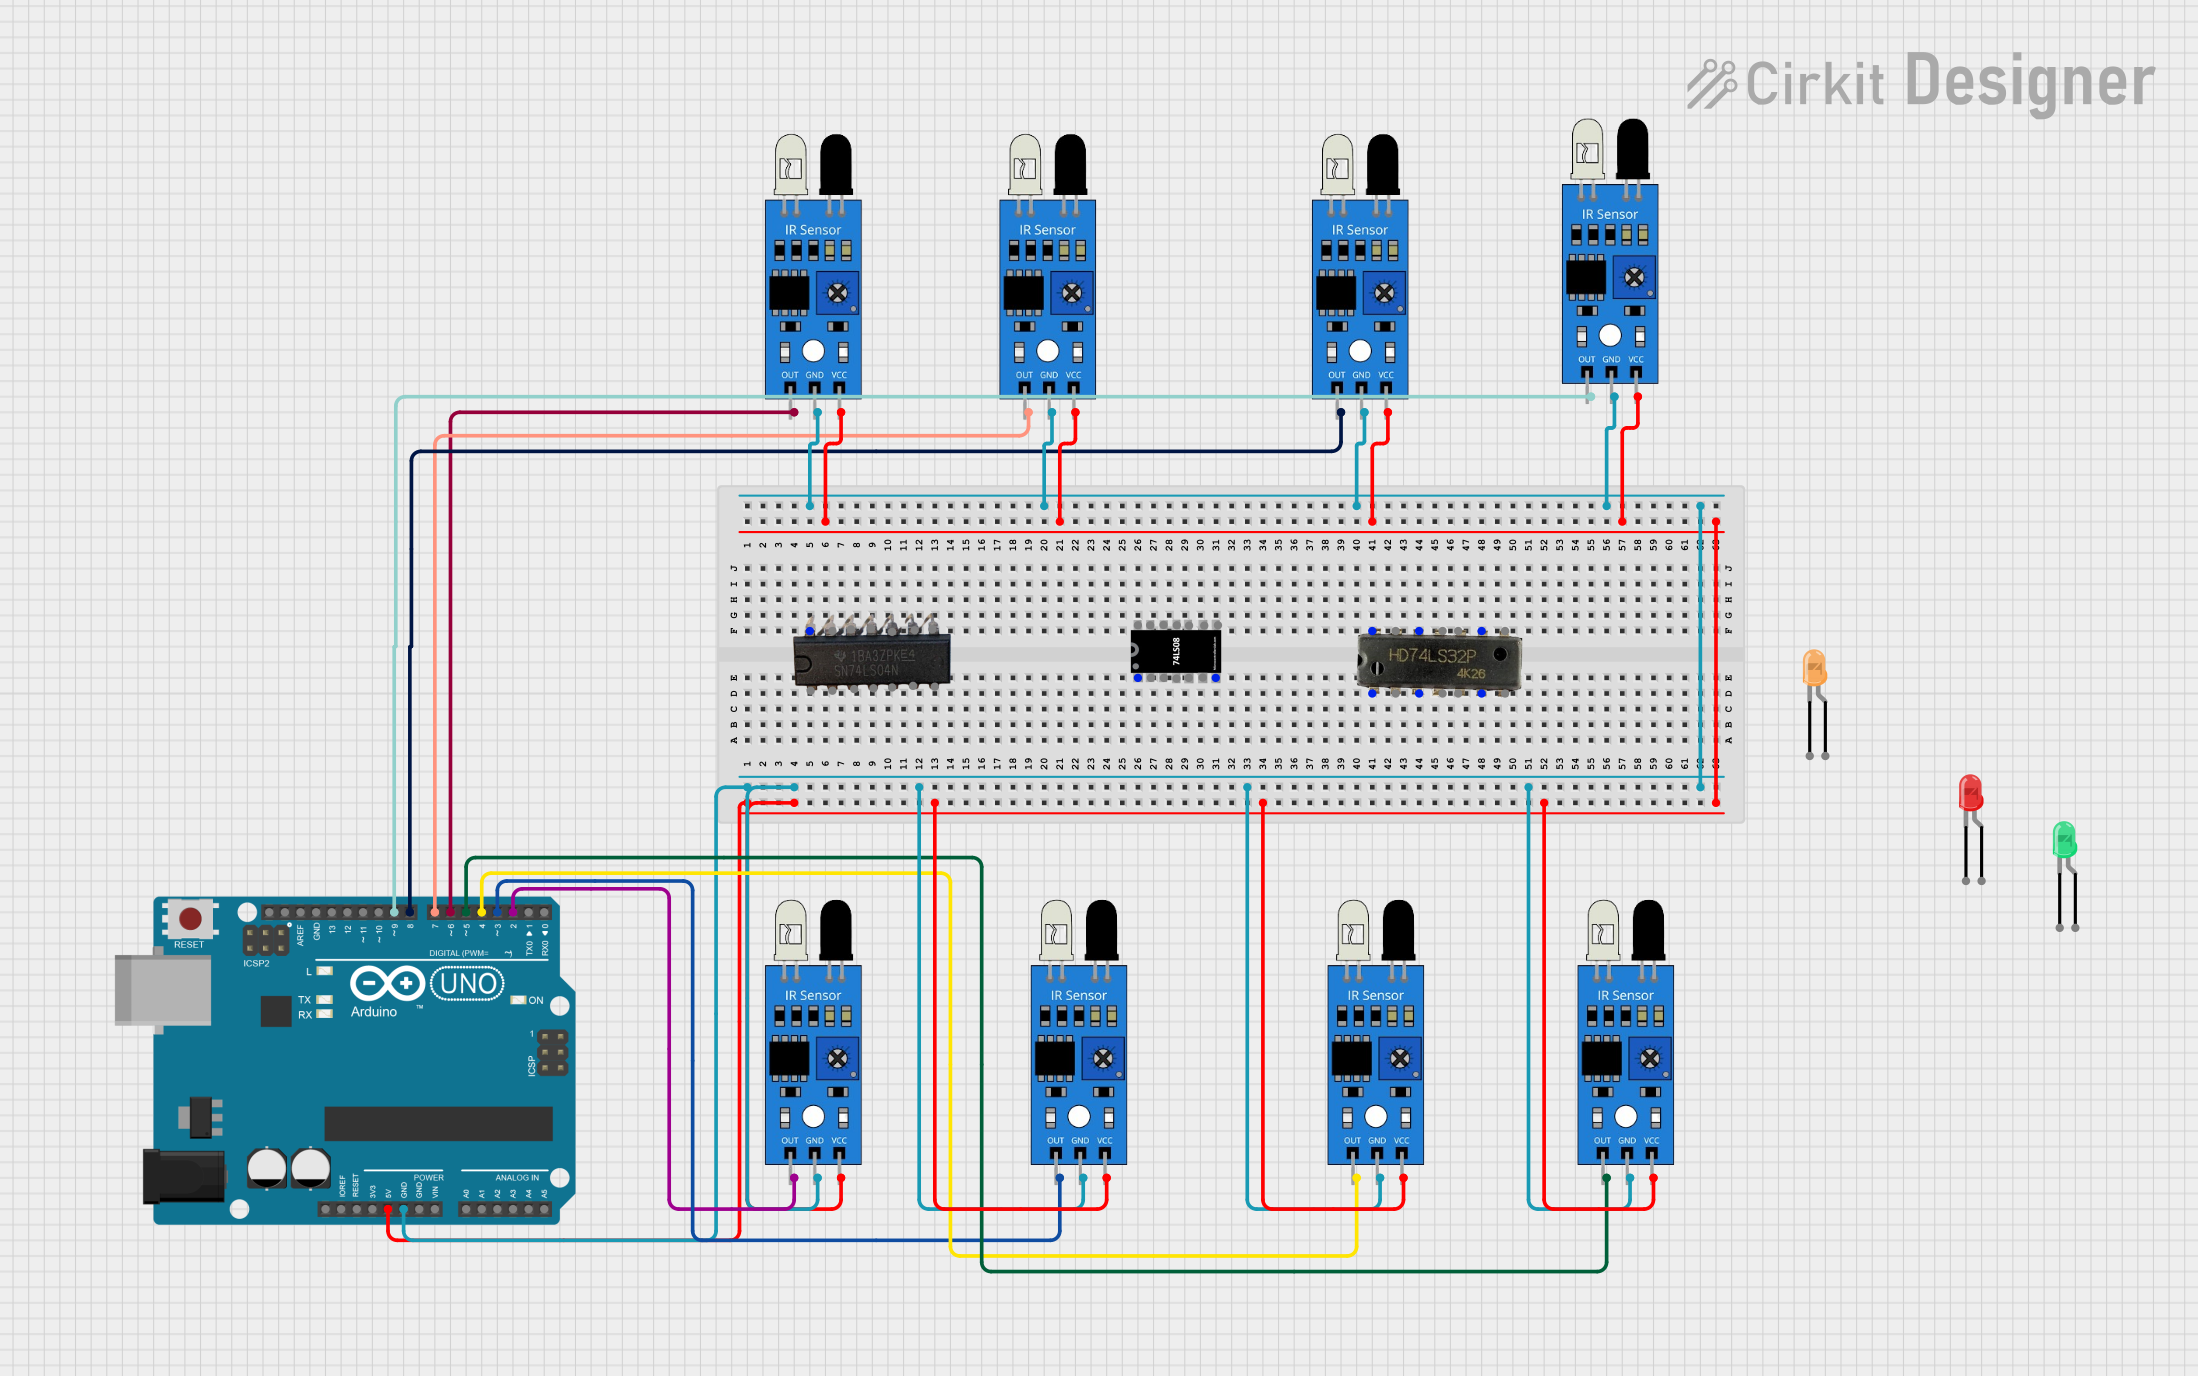
A: Yes, you can use multiple IR sensors in a project. Ensure that each sensor has its own dedicated input pin on the Arduino UNO and that they are spaced apart to avoid cross-talk.


 Open Project in Cirkit Designer