How to Use Varistor: Examples, Pinouts, and Specs

Introduction
A varistor, also known as a voltage-dependent resistor (VDR), is a passive electronic component that changes its resistance based on the applied voltage. It is primarily used to protect circuits from voltage spikes and surges by clamping excess voltage to a safe level. Varistors are commonly found in power supplies, surge protectors, and electronic devices to safeguard sensitive components from transient overvoltages.
Explore Projects Built with Varistor
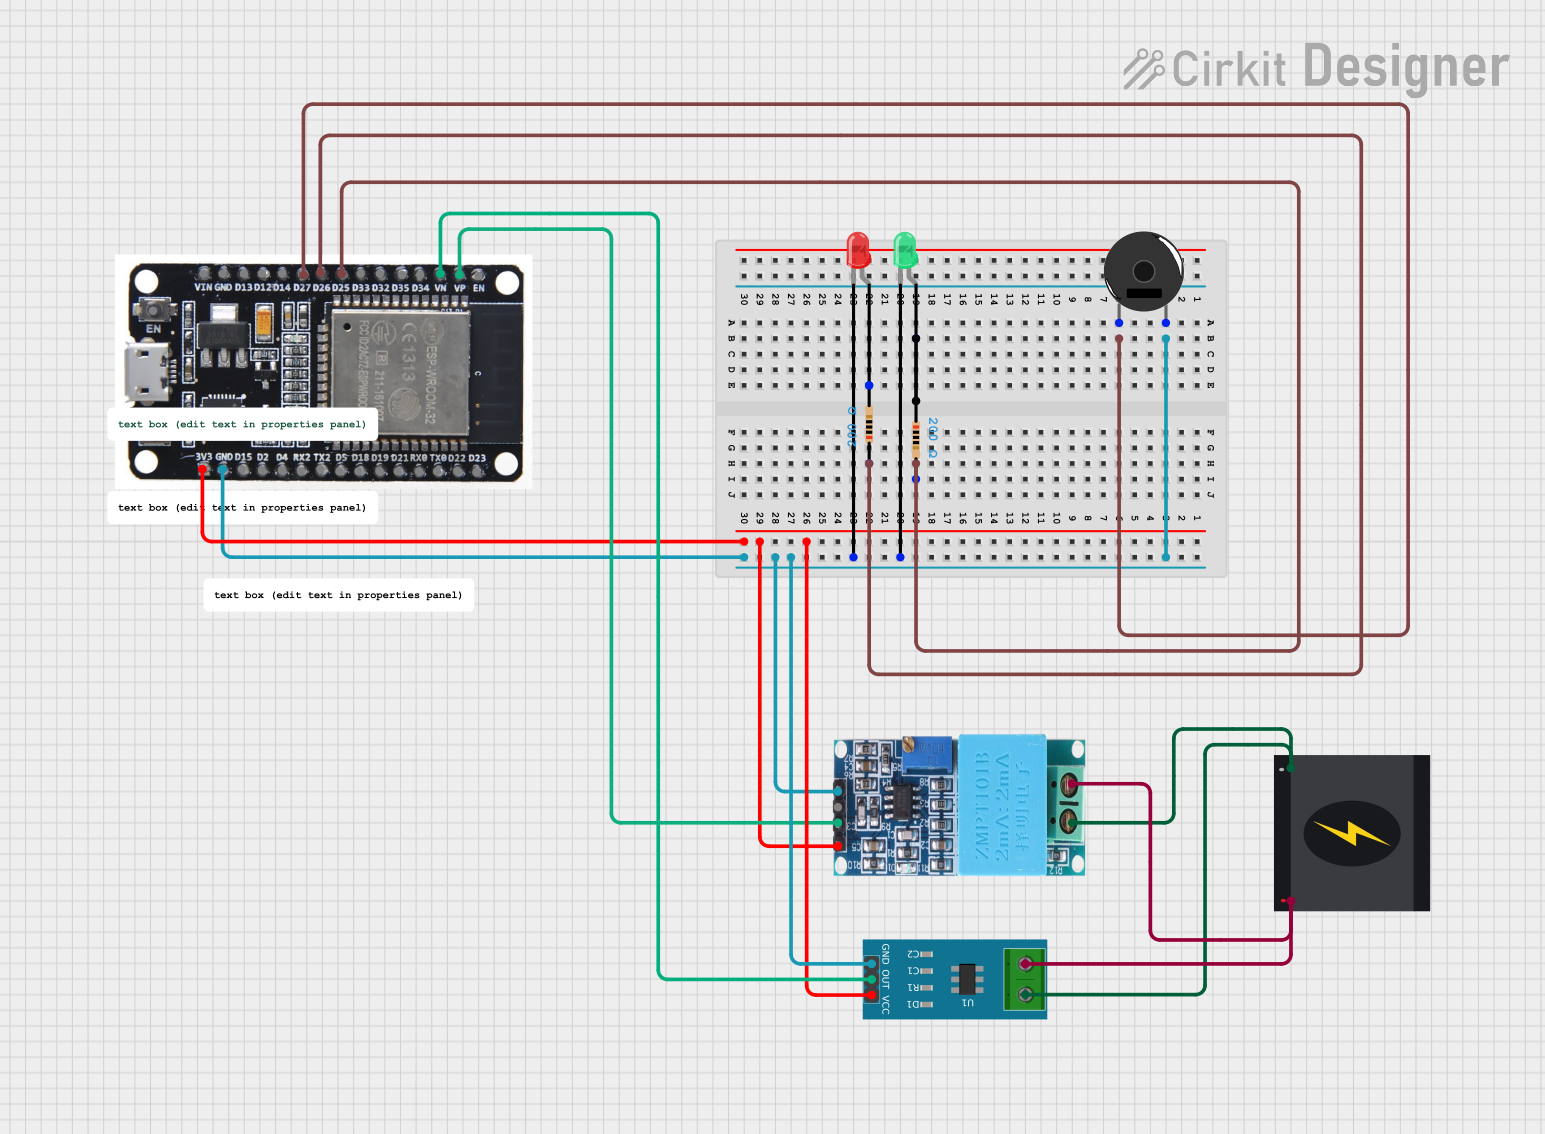
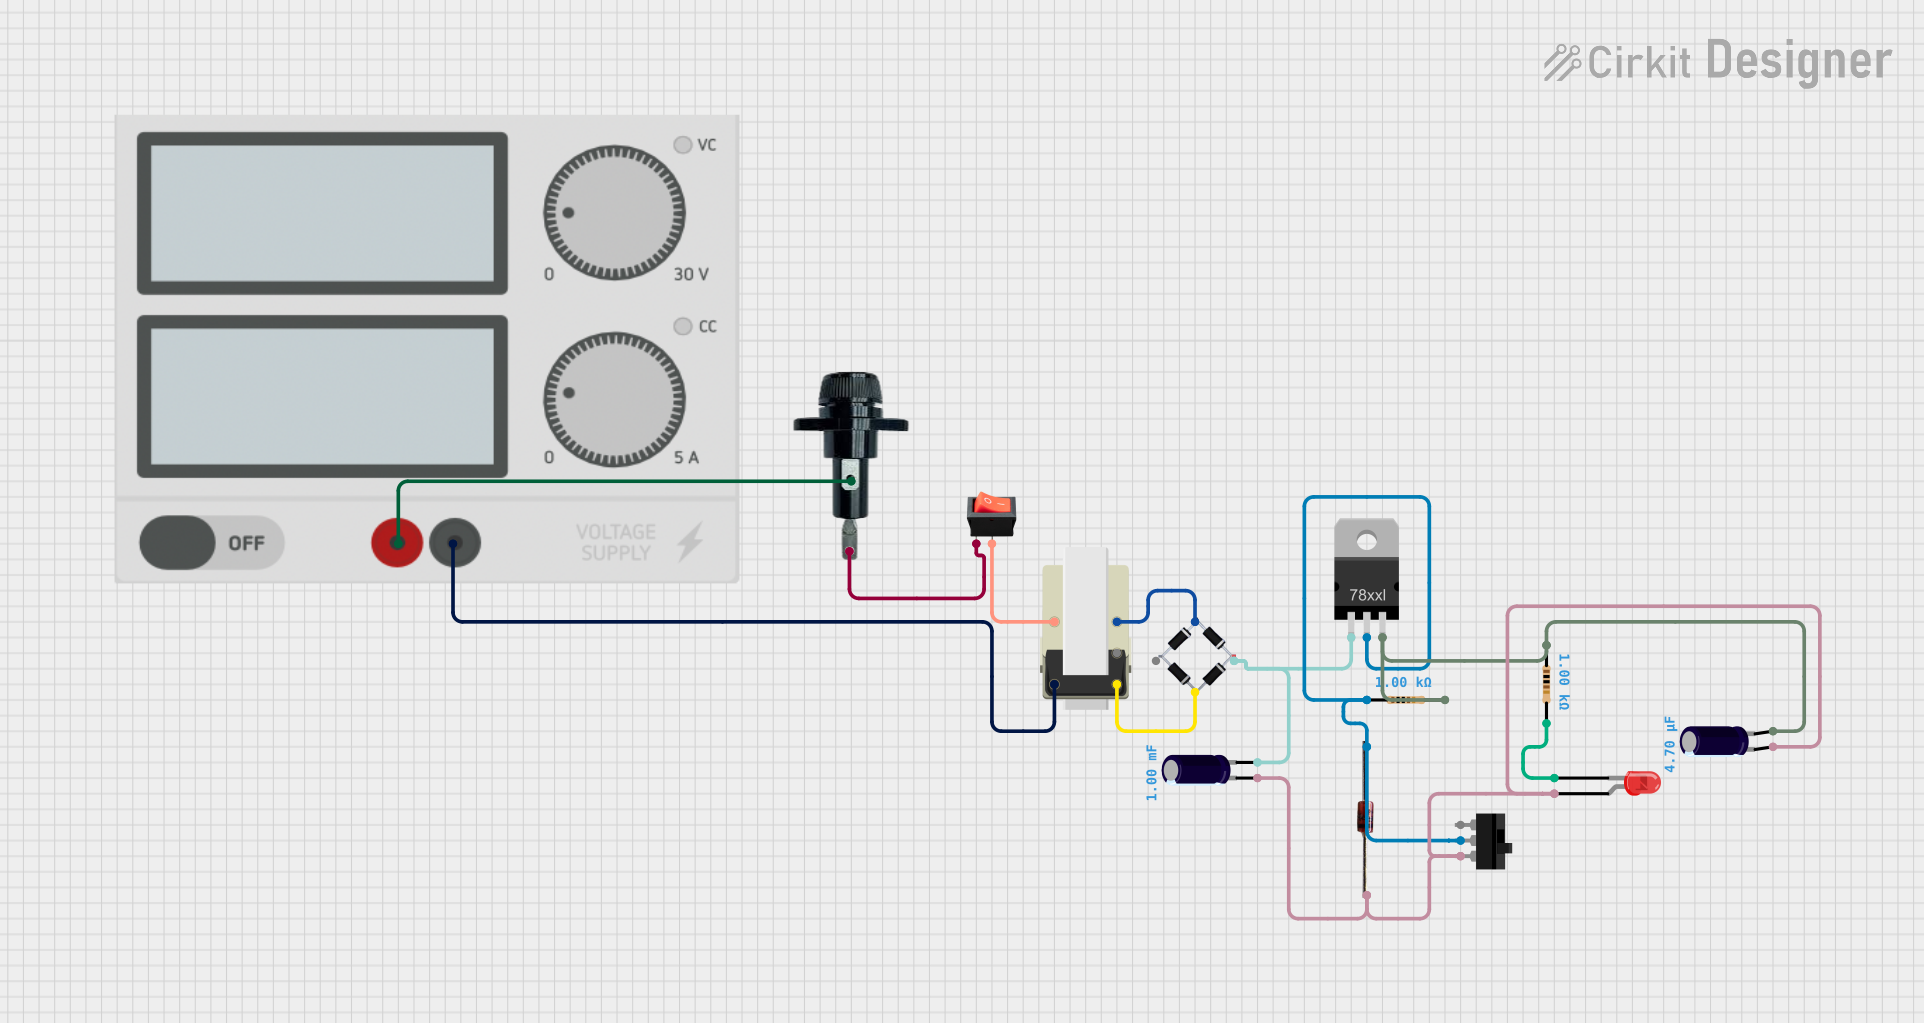
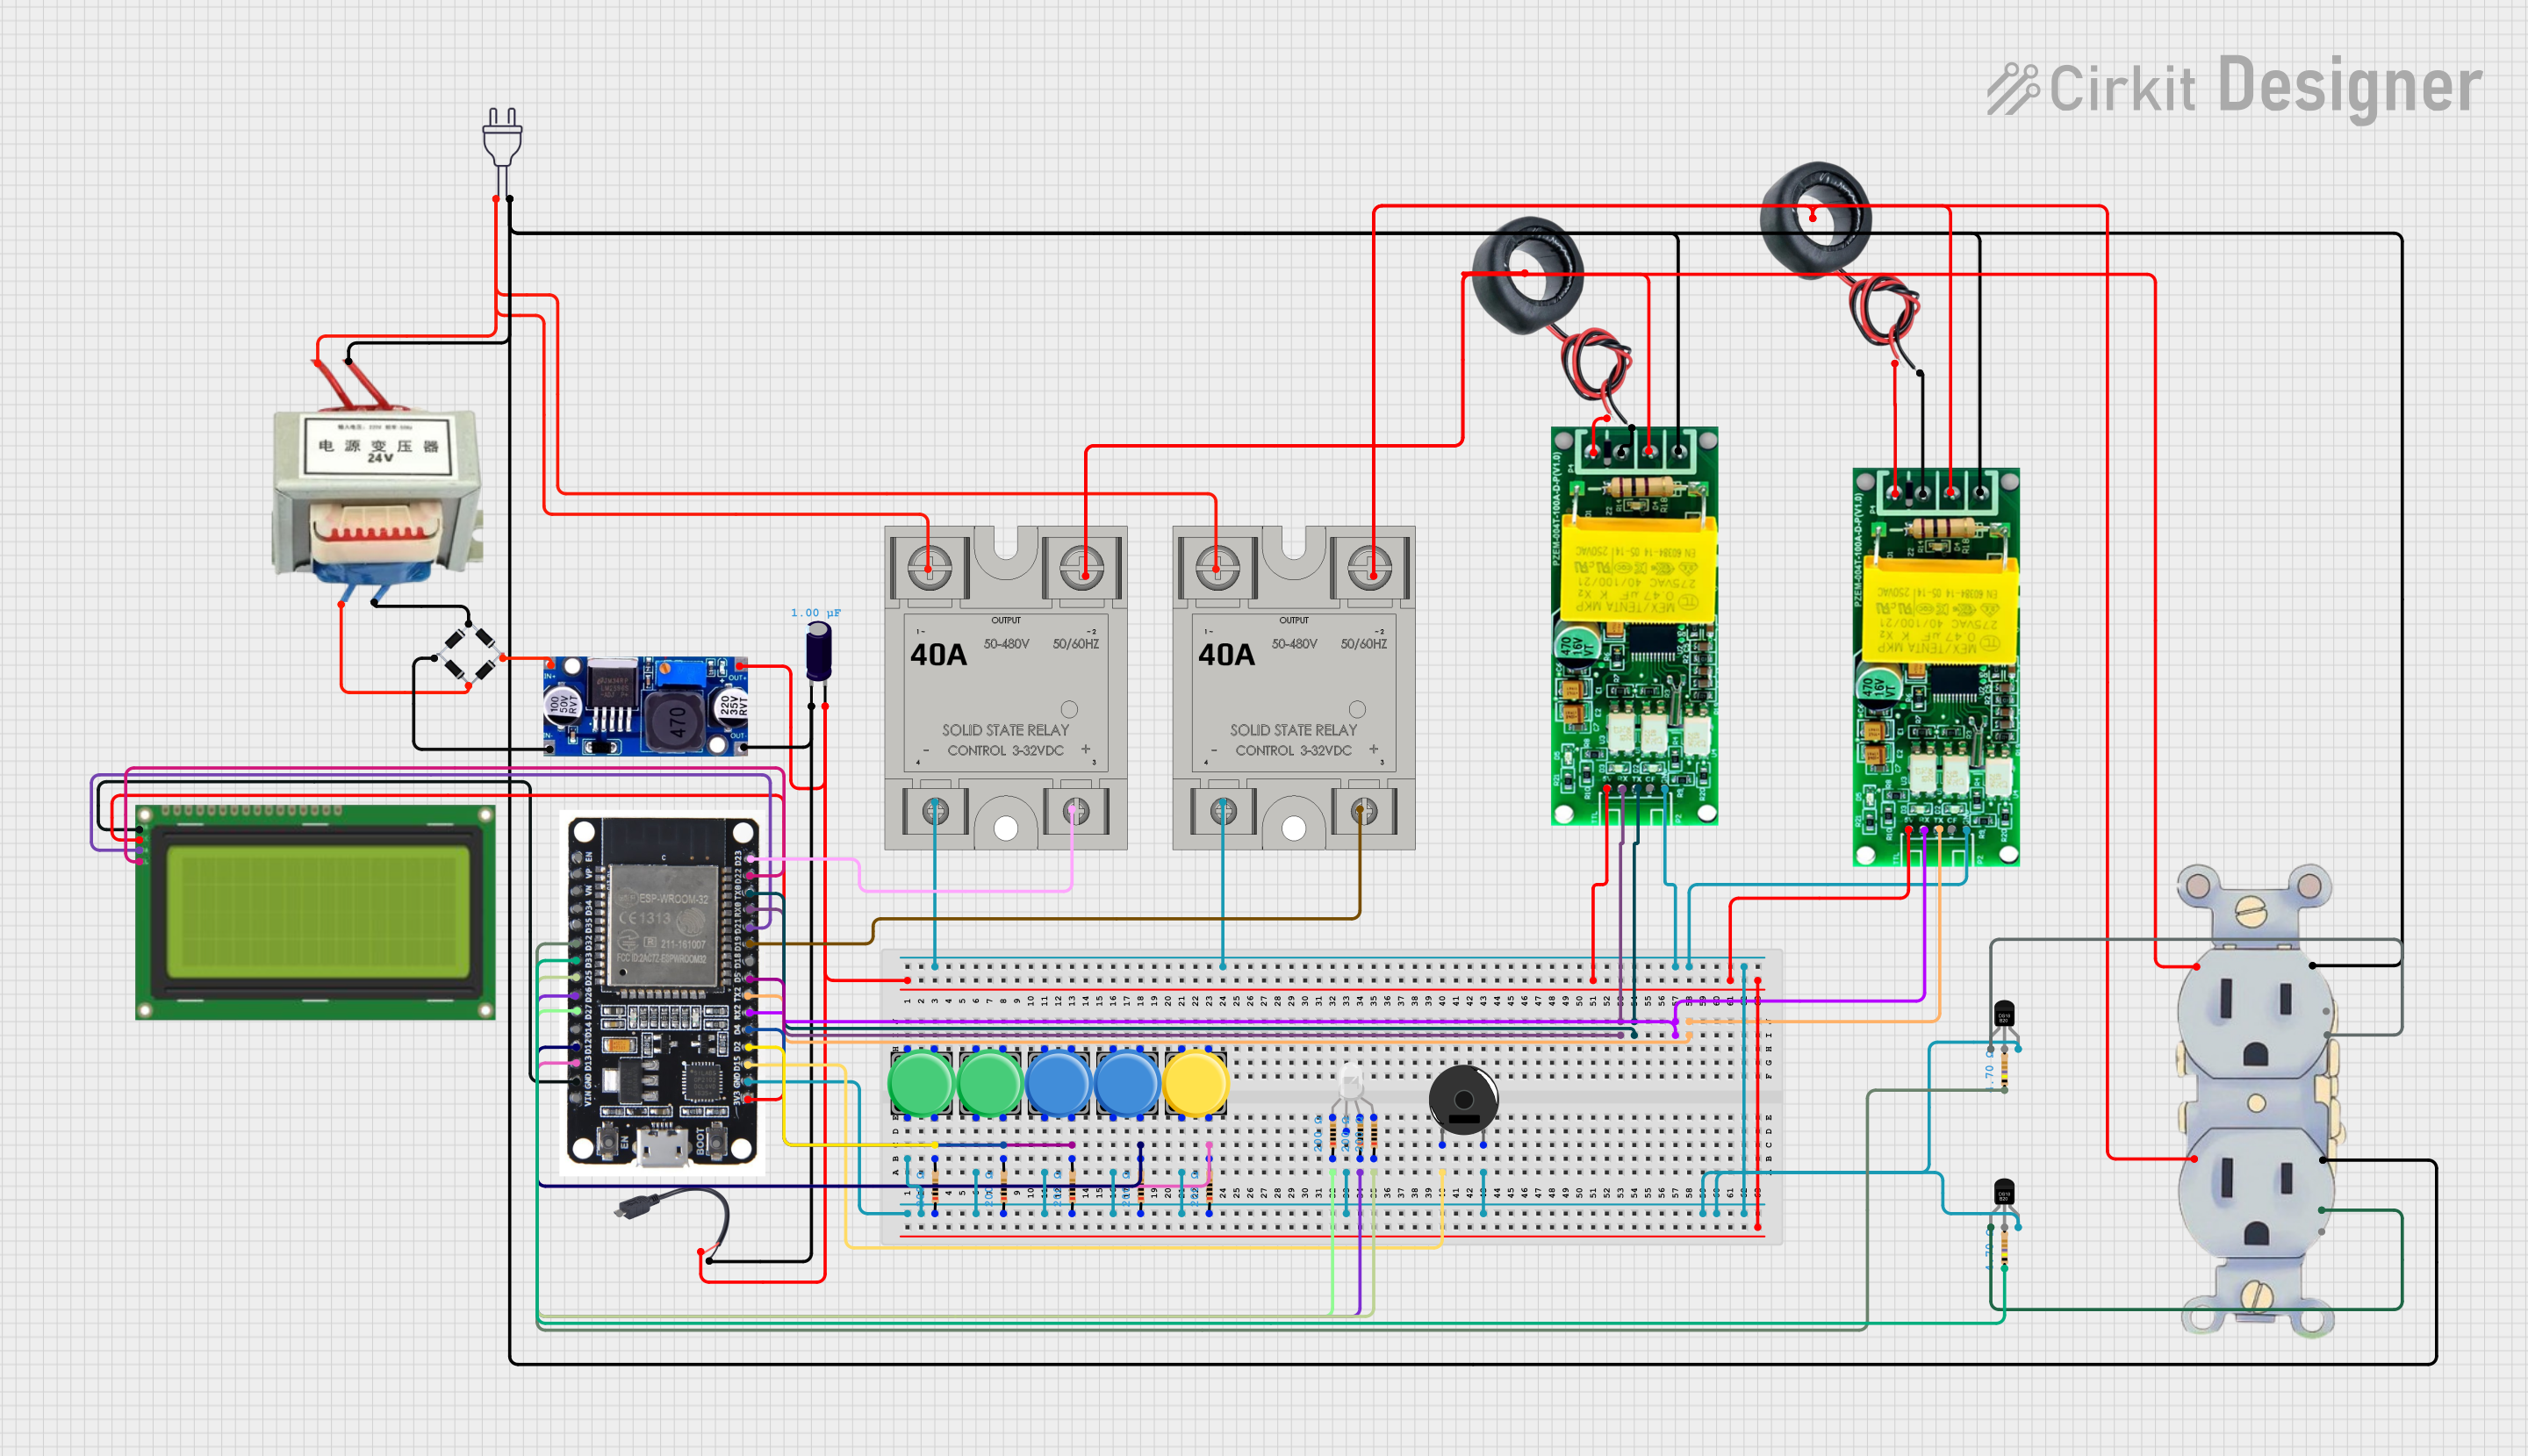

Explore Projects Built with Varistor
Common Applications and Use Cases
- Surge protection in power lines and electronic devices
- Protection of microcontrollers and sensitive ICs
- Noise suppression in electrical circuits
- Lightning protection in telecommunications and industrial systems
Technical Specifications
Below are the key technical details of a typical varistor. Note that specific values may vary depending on the model and manufacturer.
General Specifications
- Voltage Rating (V): 18V to 1000V (varies by model)
- Clamping Voltage: Typically 1.5 to 2 times the rated voltage
- Energy Absorption Capacity: 0.1J to 1000J
- Response Time: < 25 nanoseconds
- Operating Temperature Range: -40°C to +85°C
- Capacitance: 10pF to several nanofarads (depends on size and voltage rating)
Pin Configuration and Descriptions
Varistors are typically two-terminal devices with no polarity. Below is a table describing the pins:
| Pin Number | Name | Description |
|---|---|---|
| 1 | Terminal 1 | Connects to one side of the circuit to be protected |
| 2 | Terminal 2 | Connects to the other side of the circuit to be protected |
Usage Instructions
How to Use the Varistor in a Circuit
- Determine the Voltage Rating: Select a varistor with a voltage rating slightly higher than the normal operating voltage of your circuit. For example, if your circuit operates at 230V AC, choose a varistor with a rating of around 250V AC.
- Connect Across the Load: Place the varistor in parallel with the load or component you want to protect. This ensures that any voltage spike is clamped before it reaches the load.
- Observe Polarity (if applicable): While most varistors are non-polarized, ensure correct orientation if using a polarized variant.
- Add a Fuse (Optional): For additional protection, include a fuse in series with the varistor to prevent damage in case of prolonged overvoltage.
Important Considerations and Best Practices
- Voltage Selection: Always choose a varistor with a clamping voltage higher than the circuit's normal operating voltage to avoid unnecessary activation.
- Energy Rating: Ensure the varistor's energy absorption capacity is sufficient to handle expected surges.
- Temperature: Avoid using the varistor in environments exceeding its specified temperature range.
- Aging: Replace varistors periodically in high-stress environments, as their performance degrades over time.
Example: Using a Varistor with an Arduino UNO
To protect an Arduino UNO from voltage spikes on its power supply, you can connect a varistor across the input voltage terminals. Below is an example circuit and code:
Circuit Setup
- Connect a 14D471K varistor (rated for 470V) across the Arduino's VIN and GND pins.
- Optionally, add a 1A fuse in series with the VIN pin for added protection.
Code Example
No specific code is required for the varistor itself, as it operates passively. However, here is an example of monitoring the Arduino's input voltage:
// This code monitors the input voltage on the Arduino's analog pin A0
// and prints the value to the Serial Monitor for debugging purposes.

const int voltagePin = A0; // Analog pin connected to the voltage divider
float referenceVoltage = 5.0; // Reference voltage of the Arduino (5V for UNO)
int adcResolution = 1024; // ADC resolution (10-bit for Arduino UNO)

void setup() {
  Serial.begin(9600); // Initialize serial communication at 9600 baud
}

void loop() {
  int sensorValue = analogRead(voltagePin); // Read the analog input
  float voltage = (sensorValue * referenceVoltage) / adcResolution;

  // Print the voltage to the Serial Monitor
  Serial.print("Input Voltage: ");
  Serial.print(voltage);
  Serial.println(" V");

  delay(1000); // Wait for 1 second before the next reading
}
Troubleshooting and FAQs
Common Issues and Solutions
Varistor Overheating:
- Cause: Prolonged exposure to overvoltage or excessive current.
- Solution: Check the circuit's operating voltage and ensure the varistor's rating is appropriate. Add a fuse for additional protection.
Frequent Varistor Failures:
- Cause: Repeated high-energy surges or aging of the varistor.
- Solution: Use a varistor with a higher energy rating or replace the varistor periodically in high-stress environments.
Circuit Not Protected from Surges:
- Cause: Incorrect placement of the varistor in the circuit.
- Solution: Ensure the varistor is connected in parallel with the load or component to be protected.
FAQs
Q: Can I use a varistor in a DC circuit?
A: Yes, varistors can be used in both AC and DC circuits. Ensure the voltage rating is appropriate for the DC operating voltage.
Q: How do I know if a varistor is damaged?
A: A damaged varistor may show physical signs like discoloration, cracks, or bulging. It may also fail to clamp voltage spikes effectively, leading to unprotected circuits.
Q: Can I use multiple varistors in parallel?
A: Yes, multiple varistors can be used in parallel to increase energy absorption capacity. However, ensure they have identical ratings for balanced operation.
Q: Do varistors have a polarity?
A: Most varistors are non-polarized and can be connected in either direction. Always check the datasheet for specific models.