How to Use Adafruit Perma Pi - Small: Examples, Pinouts, and Specs
Introduction
The Adafruit Perma Pi - Small is a compact prototyping board specifically designed to complement the Raspberry Pi series of single-board computers. It offers a convenient platform for hobbyists, developers, and engineers to solder circuits and components, creating permanent installations and projects that can be integrated with the Raspberry Pi's GPIO (General Purpose Input/Output) pins.
Explore Projects Built with Adafruit Perma Pi - Small


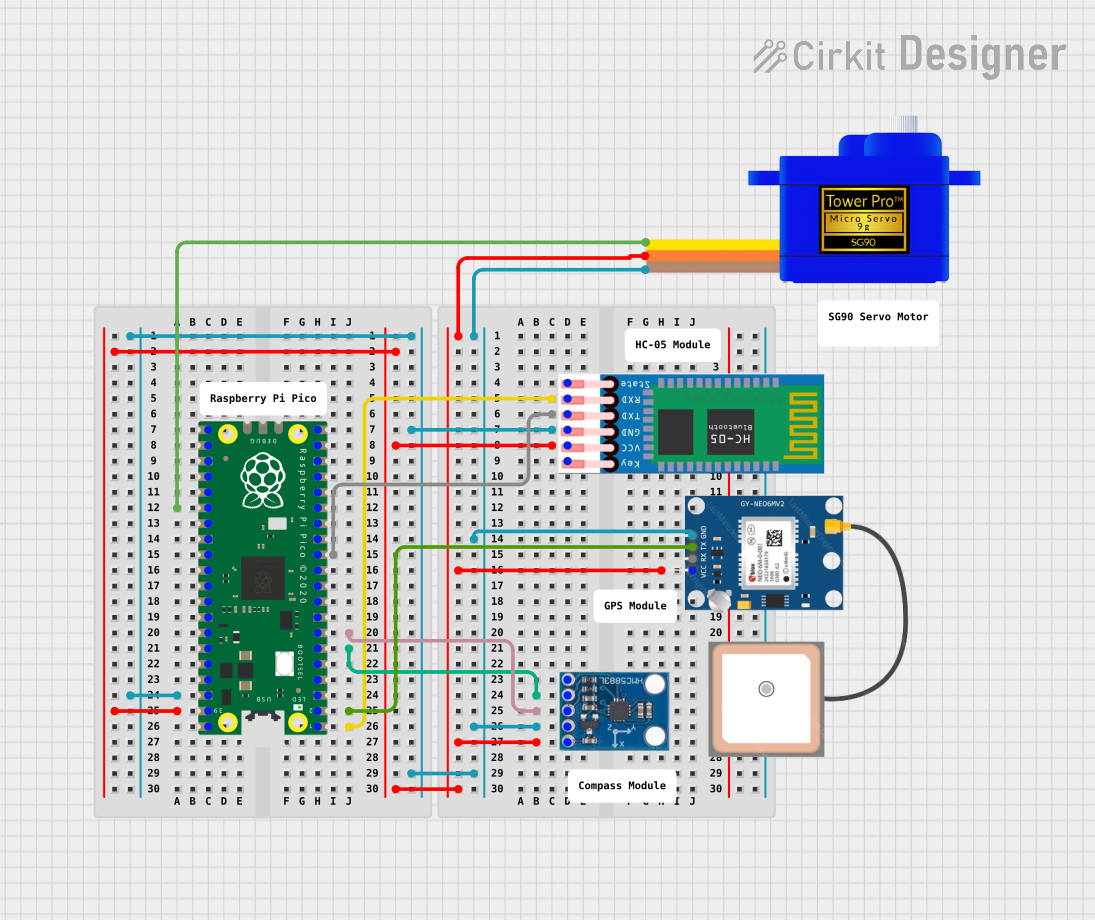

Explore Projects Built with Adafruit Perma Pi - Small
Common Applications and Use Cases
- Prototyping Raspberry Pi projects
- Creating permanent circuit installations
- Educational purposes for learning electronics and computer interfacing
- IoT (Internet of Things) device development
- Robotics and automation projects
Technical Specifications
The Adafruit Perma Pi - Small is not an electronic component with active functionality, but rather a passive prototyping board. Therefore, it does not have electrical specifications like voltage or current ratings. Instead, its specifications pertain to its physical attributes and compatibility with Raspberry Pi GPIO pins.
Key Features
- Compatibility with Raspberry Pi GPIO pins
- Small form factor for compact installations
- Holes for easy mounting
- Durable construction for long-term projects
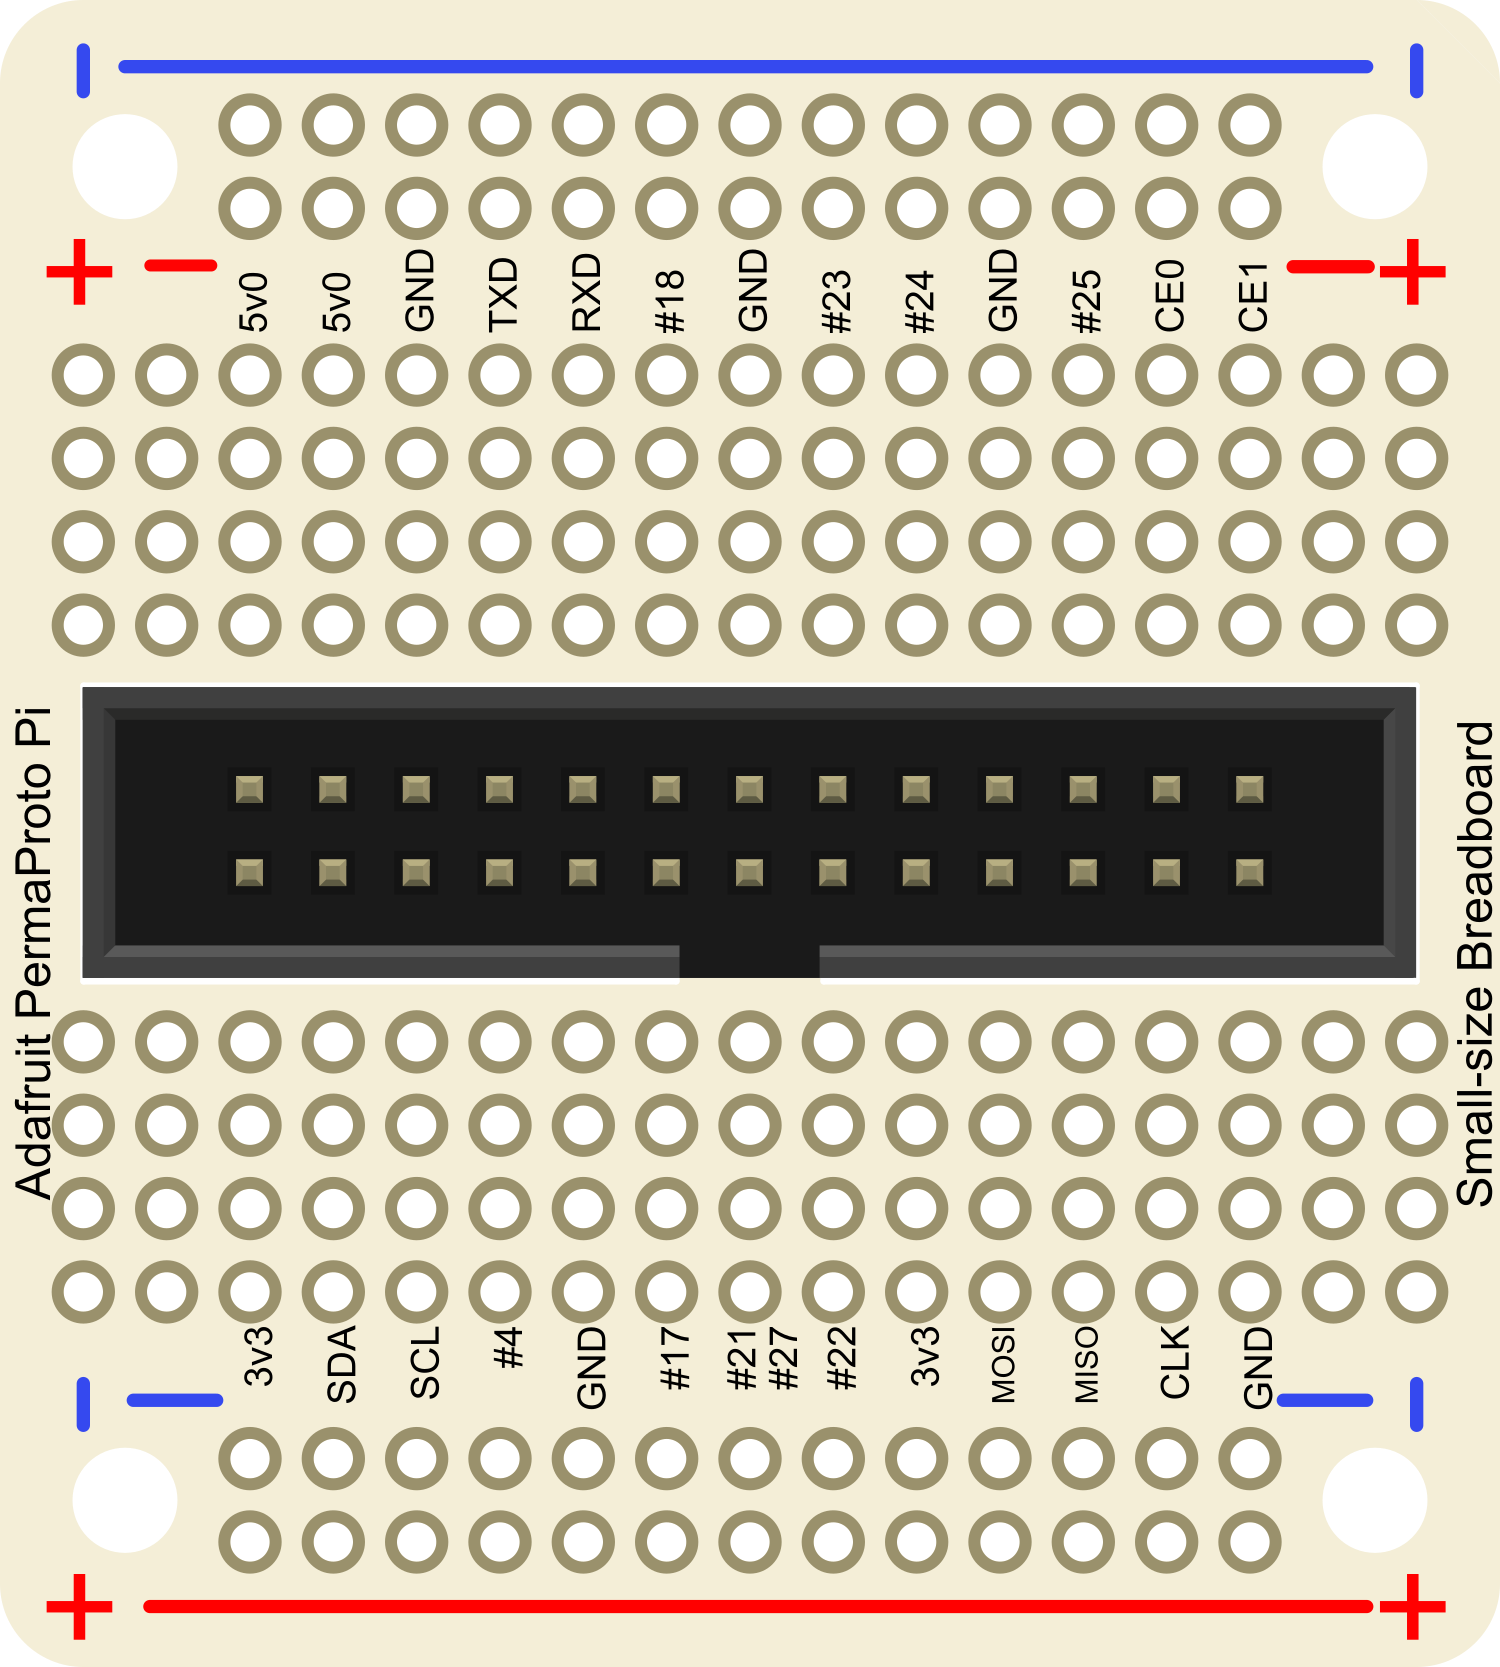
Pin Configuration and Descriptions
The Adafruit Perma Pi - Small does not have a pin configuration in the traditional sense, as it is a prototyping board. However, it is designed to align with the GPIO pinout of a Raspberry Pi. Below is a table that outlines the general layout:
| Feature | Description |
|---|---|
| GPIO Passthrough | Holes aligned with Raspberry Pi GPIO for headers |
| Mounting Holes | Pre-drilled holes for mounting the board |
| Solder Pads | Pads for soldering components |
Usage Instructions
How to Use the Component in a Circuit
- Plan Your Circuit: Before soldering, plan out your circuit. Use a breadboard to prototype if necessary.
- Attach to Raspberry Pi: Align the Adafruit Perma Pi - Small with the Raspberry Pi GPIO pins and, if desired, solder a GPIO header to the board.
- Solder Components: Solder your electronic components onto the Perma Pi board according to your circuit design.
- Connect to Raspberry Pi: Once your components are soldered and your circuit is complete, connect the Perma Pi board to the Raspberry Pi GPIO header.
Important Considerations and Best Practices
- Avoid Overheating: When soldering, be careful not to overheat the board or components.
- Check Connections: Ensure all soldered connections are secure and free from shorts.
- GPIO Compatibility: Double-check the GPIO pinout and ensure compatibility with your Raspberry Pi model.
- Static Discharge: Use proper ESD (Electrostatic Discharge) precautions when handling the board and components.
Troubleshooting and FAQs
Common Issues
- Loose Connections: If your circuit is not functioning as expected, check for loose or cold solder joints.
- Short Circuits: Inspect the board for accidental solder bridges between pads that may cause shorts.
- Misaligned Headers: Ensure that the GPIO headers are properly aligned and soldered to the correct pins.
Solutions and Tips for Troubleshooting
- Reflow Solder Joints: If a connection is loose, reheat the solder joint and add a small amount of fresh solder if necessary.
- Use Flux: Applying flux can help prevent solder bridges and cold joints.
- Visual Inspection: Use a magnifying glass to inspect your solder work for any potential issues.
FAQs
Q: Can I use the Adafruit Perma Pi - Small with any model of Raspberry Pi? A: The Perma Pi - Small is designed to be compatible with the GPIO layout of most Raspberry Pi models. However, always check the pinout for your specific model.
Q: Do I need to use a GPIO header with the Perma Pi - Small? A: While it's not mandatory, using a GPIO header can provide a more stable and reusable connection to the Raspberry Pi.
Q: Is it possible to remove components once they are soldered onto the Perma Pi - Small? A: Yes, but desoldering requires care and the right tools to avoid damaging the board or components.
Q: Can I stack multiple Perma Pi - Small boards? A: Stacking is not the intended use for this board, and doing so may require custom solutions for connectivity and spacing.
For further assistance or questions, please refer to the Adafruit support forums or contact Adafruit customer service.