
How to Use relay_5V: Examples, Pinouts, and Specs
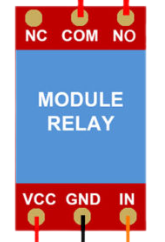
 Design with relay_5V in Cirkit Designer
Introduction
A 5V relay is an electromechanical switch that uses an electromagnetic coil to open or close contacts. It allows a low voltage signal (5V) to control high voltage or high current circuits, making it an essential component in automation, home appliances, and industrial control systems. Relays are widely used for isolating control circuits from the load circuits, ensuring safety and reliability.
Explore Projects Built with relay_5V
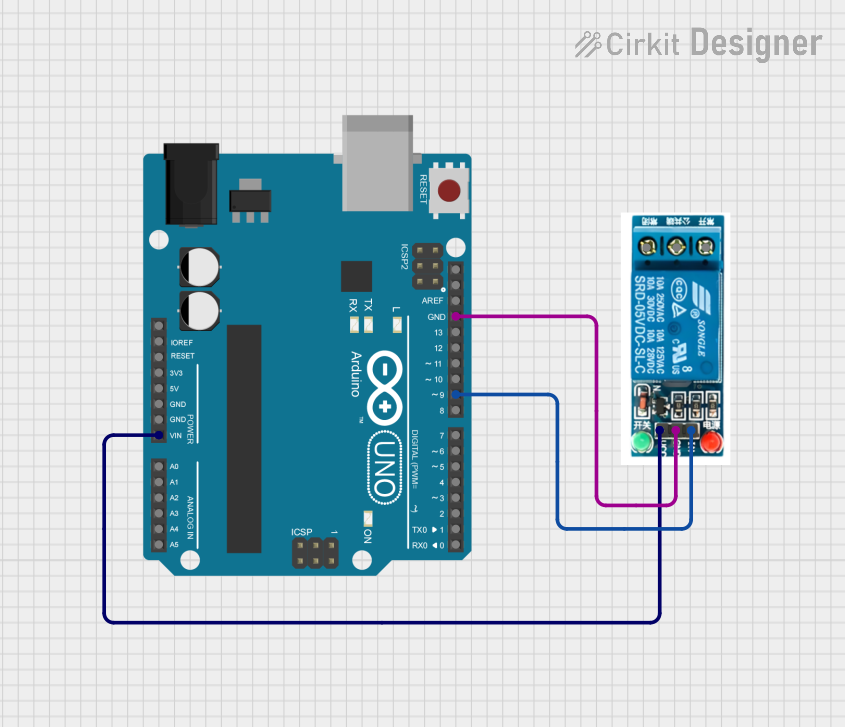 Open Project in Cirkit Designer
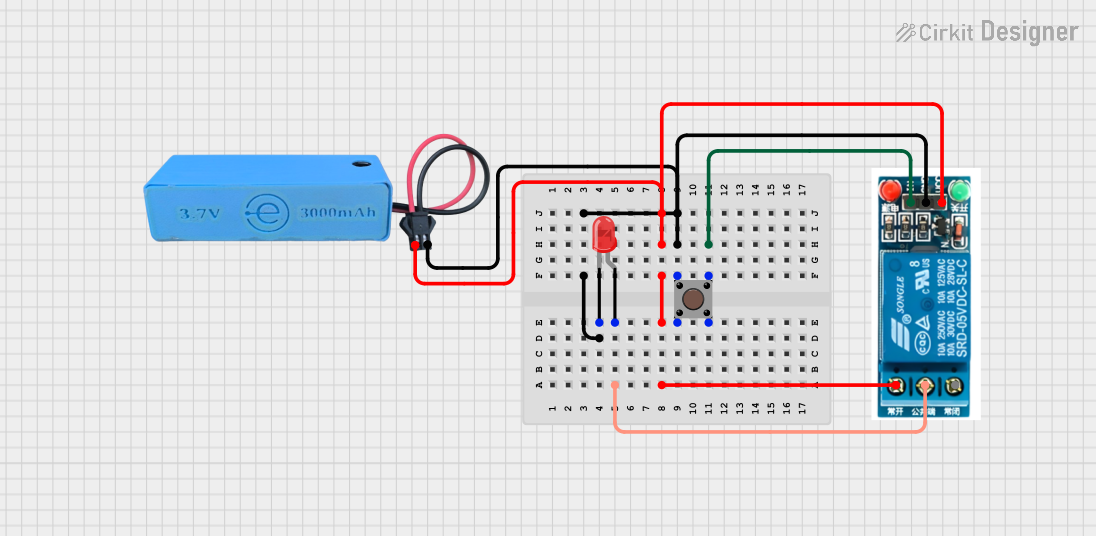 Open Project in Cirkit Designer
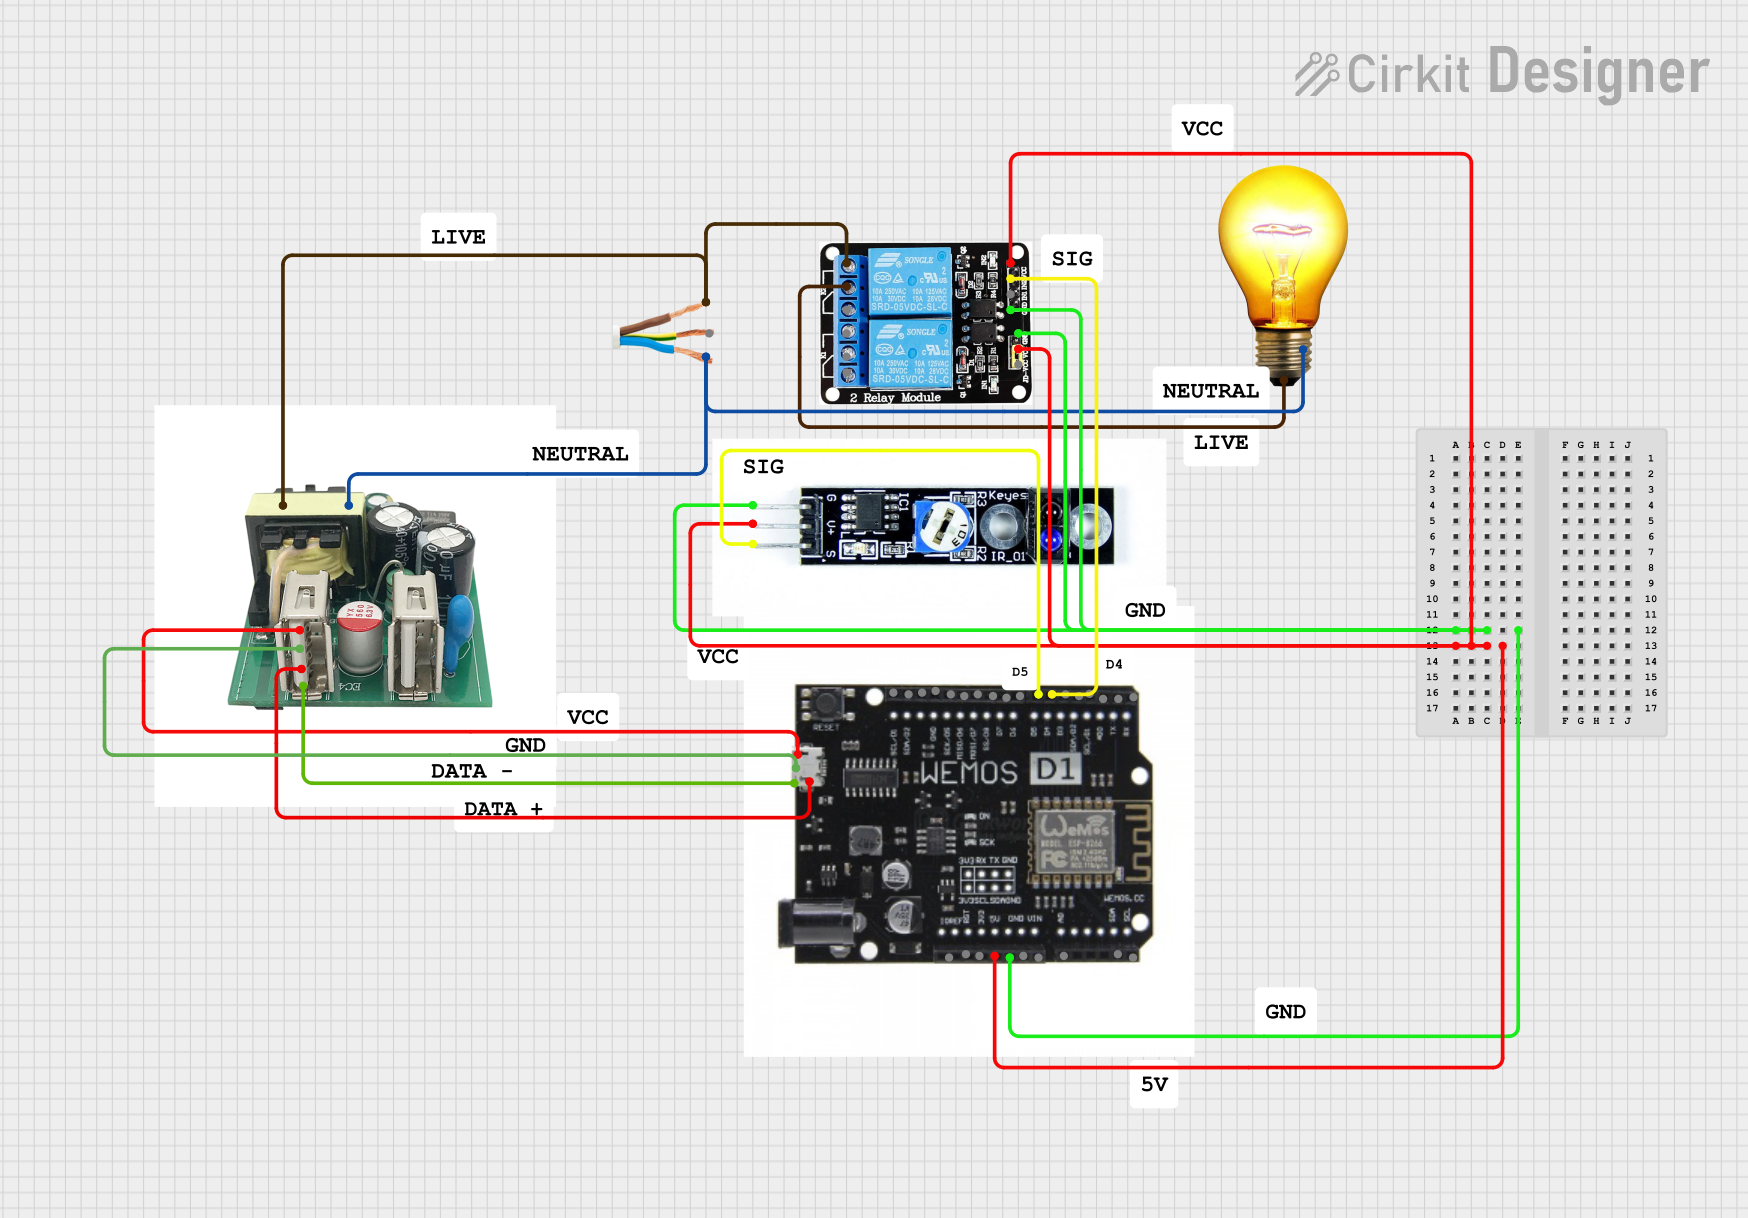 Open Project in Cirkit Designer
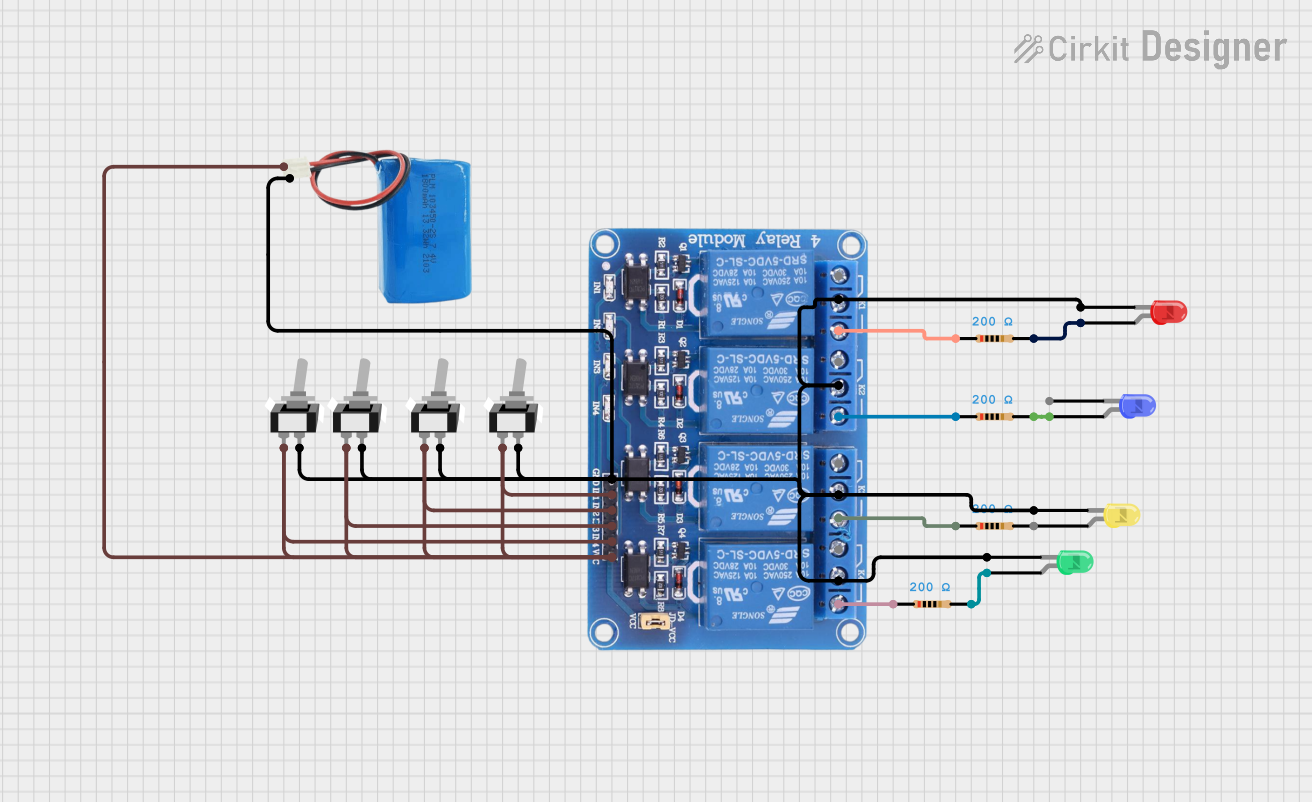 Open Project in Cirkit Designer
Explore Projects Built with relay_5V
Open Project in Cirkit DesignerOpen Project in Cirkit DesignerOpen Project in Cirkit DesignerOpen Project in Cirkit DesignerCommon Applications
- Home automation (e.g., controlling lights or fans)
- Industrial machinery control
- Motor control circuits
- Microcontroller-based projects (e.g., Arduino, Raspberry Pi)
- Power supply switching
Technical Specifications
Key Technical Details
| Parameter | Value |
|---|---|
| Operating Voltage | 5V DC |
| Trigger Voltage | 3.75V to 5V DC |
| Coil Resistance | ~70Ω |
| Switching Voltage | Up to 250V AC / 30V DC |
| Switching Current | Up to 10A |
| Contact Type | SPDT (Single Pole Double Throw) |
| Isolation | Electrical isolation between control and load circuits |
| Dimensions | Typically 19mm x 15mm x 15mm |
Pin Configuration
| Pin Number | Name | Description |
|---|---|---|
| 1 | Coil (+) | Positive terminal of the relay coil. Connect to the control signal (5V). |
| 2 | Coil (-) | Negative terminal of the relay coil. Connect to ground (GND). |
| 3 | Common (COM) | Common terminal for the load circuit. |
| 4 | Normally Open (NO) | Open when the relay is inactive; closes when the relay is activated. |
| 5 | Normally Closed (NC) | Closed when the relay is inactive; opens when the relay is activated. |
Usage Instructions
How to Use the Relay in a Circuit
- Power the Relay Coil: Connect the coil pins (1 and 2) to a 5V DC power source. Use a transistor or a microcontroller (e.g., Arduino) to control the coil.
- Connect the Load Circuit:
- Connect the load's power source to the Common (COM) pin.
- Connect the load to either the Normally Open (NO) or Normally Closed (NC) pin, depending on the desired behavior:
- Use NO if the load should be off by default and turn on when the relay is activated.
- Use NC if the load should be on by default and turn off when the relay is activated.
- Add a Flyback Diode: Place a diode (e.g., 1N4007) across the coil terminals to protect the circuit from voltage spikes when the relay is deactivated.
- Control the Relay: Use a microcontroller or a switch to provide the 5V signal to the relay coil.
Example: Connecting a Relay to an Arduino UNO
Below is an example of how to control a 5V relay using an Arduino UNO to turn an LED on and off.
Circuit Connections
- Connect the relay's Coil (+) pin to Arduino digital pin 7 through a 1kΩ resistor.
- Connect the relay's Coil (-) pin to Arduino GND.
- Connect the LED to the relay's NO pin, and the other side of the LED to a 5V power source through a 220Ω resistor.
- Connect the relay's COM pin to GND.
Arduino Code
// Define the relay pin
const int relayPin = 7;

void setup() {
  pinMode(relayPin, OUTPUT); // Set the relay pin as an output
}

void loop() {
  digitalWrite(relayPin, HIGH); // Activate the relay
  delay(1000); // Wait for 1 second
  digitalWrite(relayPin, LOW);  // Deactivate the relay
  delay(1000); // Wait for 1 second
}
Important Considerations
- Power Supply: Ensure the relay's coil voltage matches the control voltage (5V DC).
- Isolation: Use optocouplers or transistors for additional isolation when controlling high-power loads.
- Current Rating: Do not exceed the relay's maximum current rating (10A) to avoid damage.
- Flyback Diode: Always use a flyback diode to protect the control circuit from voltage spikes.
Troubleshooting and FAQs
Common Issues
Relay Not Activating:
- Check if the control voltage is sufficient (3.75V to 5V DC).
- Verify the connections to the coil pins.
- Ensure the microcontroller pin is set as an output and providing the correct signal.
Load Not Switching:
- Confirm the load is connected to the correct relay pins (COM and NO/NC).
- Check the load's power source and connections.
- Ensure the relay is rated for the load's voltage and current.
Relay Buzzing or Clicking Rapidly:
- This may occur if the control signal is unstable. Use a capacitor to stabilize the power supply.
- Verify the microcontroller's output logic and timing.
Overheating:
- Ensure the relay is not switching a load that exceeds its current rating.
- Check for proper ventilation around the relay.
FAQs
Q: Can I use a 5V relay with a 3.3V microcontroller?
A: Yes, but you may need a transistor or MOSFET to amplify the 3.3V signal to 5V for the relay coil.
Q: What is the purpose of the flyback diode?
A: The flyback diode protects the control circuit from voltage spikes generated when the relay coil is de-energized.
Q: Can I use the relay to switch AC appliances?
A: Yes, as long as the appliance's voltage and current are within the relay's rated limits (e.g., 250V AC, 10A).
Q: How do I know if the relay is working?
A: You should hear a clicking sound when the relay activates or deactivates. You can also measure continuity between the COM and NO/NC pins.