How to Use Fan: Examples, Pinouts, and Specs

Introduction
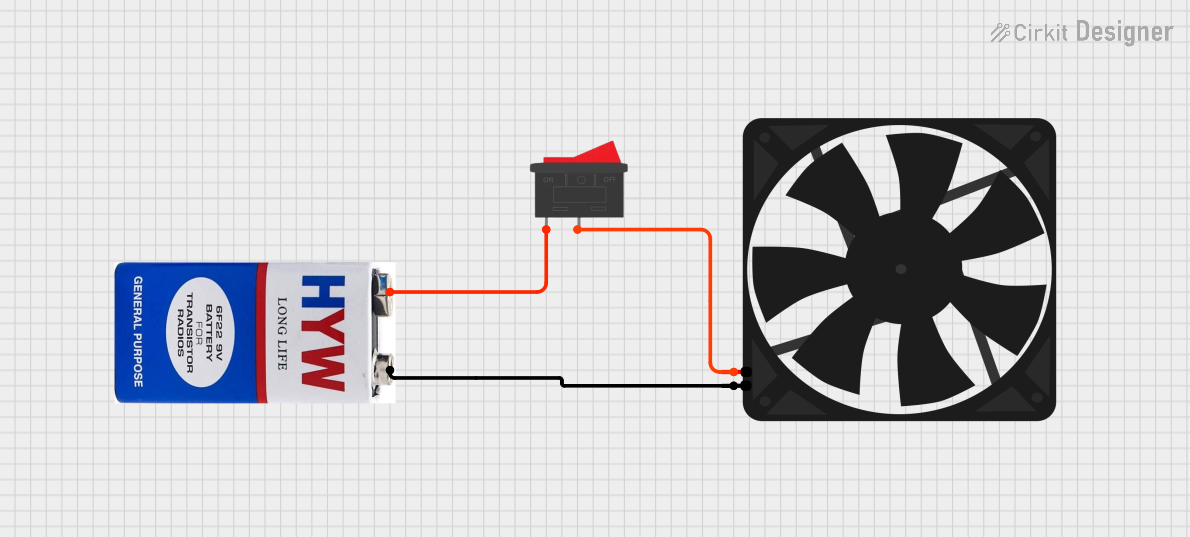
The Be Quiet! 360mm High Power Fan is a high-performance cooling solution designed to provide efficient airflow for heat dissipation in electronic systems. This fan is ideal for use in computer cases, power supplies, and other electronic enclosures where thermal management is critical. Its robust design ensures quiet operation while delivering powerful airflow, making it suitable for both consumer and industrial applications.
Explore Projects Built with Fan


Explore Projects Built with Fan
Common Applications and Use Cases
- Cooling computer cases, CPUs, and GPUs
- Ventilation in power supplies and server racks
- Heat dissipation in industrial electronic enclosures
- General-purpose cooling for small appliances and devices
Technical Specifications
Below are the key technical details for the Be Quiet! 360mm High Power Fan:
| Parameter | Specification |
|---|---|
| Manufacturer | Be Quiet! |
| Part ID | Be Quiet! 360mm High Power Fan |
| Dimensions | 360mm x 120mm x 25mm |
| Rated Voltage | 12V DC |
| Operating Voltage Range | 6V - 13.2V DC |
| Current Consumption | 0.3A |
| Power Consumption | 3.6W |
| Airflow | 120 CFM (Cubic Feet per Minute) |
| Noise Level | 22 dBA |
| Bearing Type | Fluid Dynamic Bearing (FDB) |
| Connector Type | 4-pin PWM |
| Lifespan | 50,000 hours |
Pin Configuration and Descriptions
The fan uses a standard 4-pin PWM connector. Below is the pinout:
| Pin Number | Name | Description |
|---|---|---|
| 1 | GND | Ground connection |
| 2 | +12V | Power supply (12V DC) |
| 3 | Tachometer | Outputs a signal for RPM monitoring |
| 4 | PWM Control | Pulse Width Modulation input for speed control |
Usage Instructions
How to Use the Fan in a Circuit
- Power Connection: Connect the fan's 4-pin connector to a compatible 4-pin header on your motherboard, power supply, or fan controller. Ensure the voltage supplied is within the operating range (6V - 13.2V DC).
- PWM Speed Control: Use the PWM control pin to adjust the fan speed. This can be done via a motherboard BIOS, fan controller software, or an external microcontroller like an Arduino.
- Tachometer Monitoring: The tachometer pin outputs a signal that can be used to monitor the fan's RPM. This is useful for ensuring the fan is operating correctly.
Important Considerations and Best Practices
- Mounting: Secure the fan using the provided screws or mounting brackets to minimize vibration and noise.
- Airflow Direction: Ensure the fan is oriented correctly. The airflow direction is typically indicated by arrows on the fan housing.
- Voltage Limits: Do not exceed the rated voltage of 12V DC to avoid damaging the fan.
- Dust Management: Periodically clean the fan blades and housing to maintain optimal performance and reduce noise.
Example: Controlling the Fan with an Arduino UNO
Below is an example of how to control the fan speed using an Arduino UNO:
// Arduino UNO Fan Speed Control Example
// This code uses PWM to control the speed of the Be Quiet! 360mm High Power Fan.
// Connect the fan's PWM pin to Arduino pin 9.

const int fanPWM = 9; // PWM pin connected to the fan's PWM control pin

void setup() {
  pinMode(fanPWM, OUTPUT); // Set the PWM pin as an output
}

void loop() {
  // Set fan speed to 50% (128 out of 255)
  analogWrite(fanPWM, 128);
  delay(5000); // Run at 50% speed for 5 seconds

  // Set fan speed to 100% (255 out of 255)
  analogWrite(fanPWM, 255);
  delay(5000); // Run at full speed for 5 seconds

  // Set fan speed to 0% (fan off)
  analogWrite(fanPWM, 0);
  delay(5000); // Turn off the fan for 5 seconds
}
Troubleshooting and FAQs
Common Issues and Solutions
Fan Not Spinning
- Cause: No power or incorrect connection.
- Solution: Verify the 4-pin connector is securely attached to the power source or motherboard header. Ensure the voltage is within the operating range.
Excessive Noise
- Cause: Dust buildup or improper mounting.
- Solution: Clean the fan blades and housing. Check that the fan is securely mounted to reduce vibration.
Fan Speed Not Adjustable
- Cause: PWM signal not provided or incorrect wiring.
- Solution: Ensure the PWM control pin is connected to a compatible PWM source. Verify the Arduino or fan controller code.
Fan Stops Intermittently
- Cause: Insufficient power supply or overheating.
- Solution: Check the power supply for stability. Ensure the fan is not obstructed and has proper ventilation.
FAQs
Q: Can I use this fan with a 3-pin header?
A: Yes, but you will lose PWM speed control functionality. The fan will run at full speed when connected to a 3-pin header.
Q: How do I clean the fan?
A: Use compressed air to remove dust from the blades and housing. For deeper cleaning, gently wipe the blades with a soft cloth dampened with isopropyl alcohol.
Q: What happens if I exceed the rated voltage?
A: Exceeding the rated voltage can damage the fan's motor and reduce its lifespan. Always operate within the specified voltage range.
Q: Can I daisy-chain multiple fans?
A: Yes, but ensure the power supply can handle the combined current draw of all fans. Use a fan hub or splitter for proper connections.