
How to Use flame sensor: Examples, Pinouts, and Specs
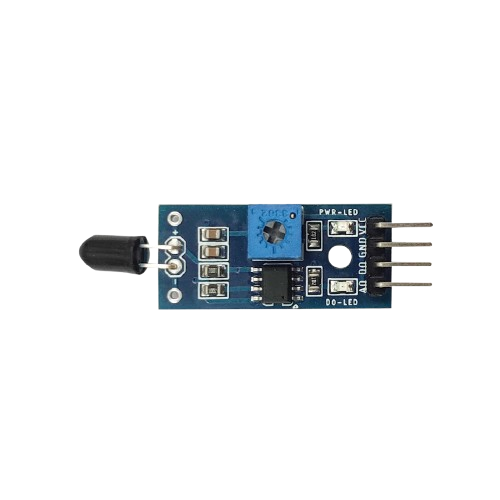
 Design with flame sensor in Cirkit Designer
Introduction
The Flame Sensor (Manufacturer: Zadetector, Part ID: 220v) is a device designed to detect the presence of flame or fire by sensing the infrared (IR) radiation emitted by the flame. This sensor is widely used in safety systems to prevent fires and ensure the safe operation of equipment. It is particularly useful in industrial applications, home safety systems, and robotics projects where flame detection is critical.
Explore Projects Built with flame sensor
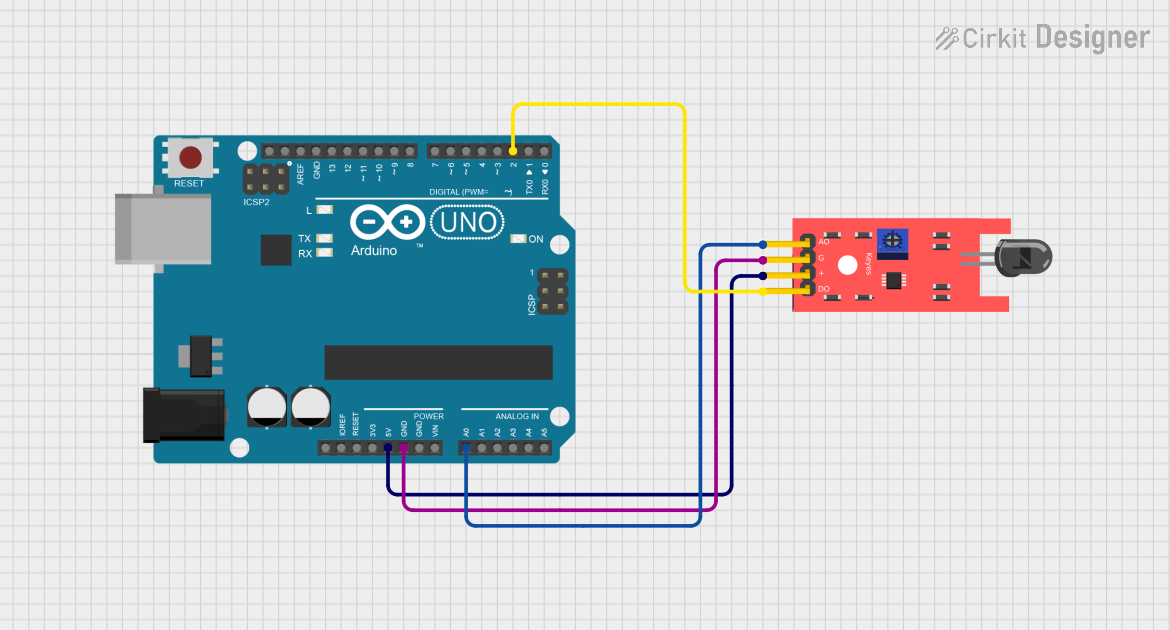 Open Project in Cirkit Designer
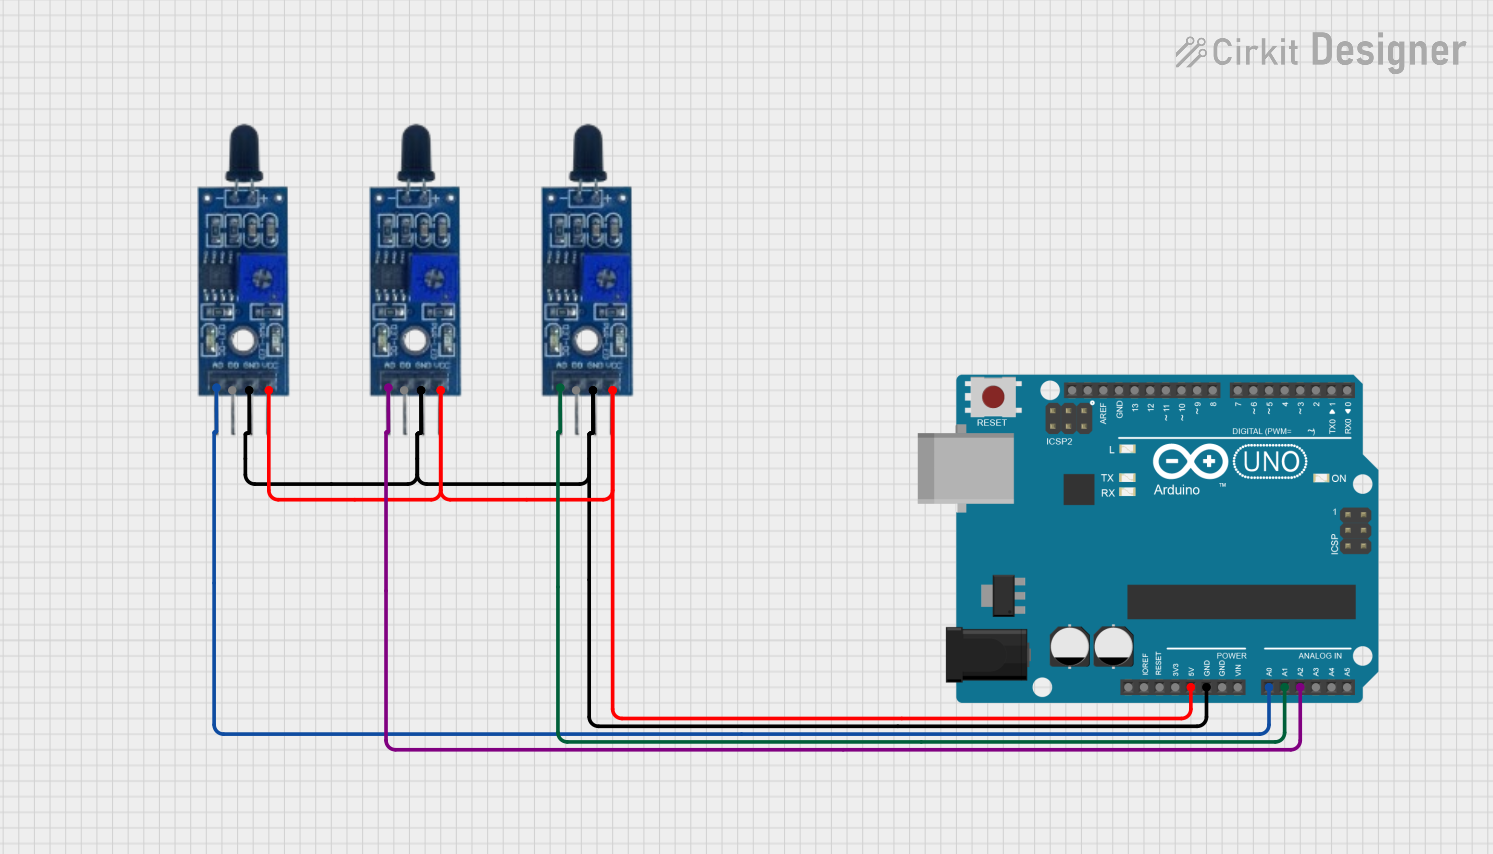 Open Project in Cirkit Designer
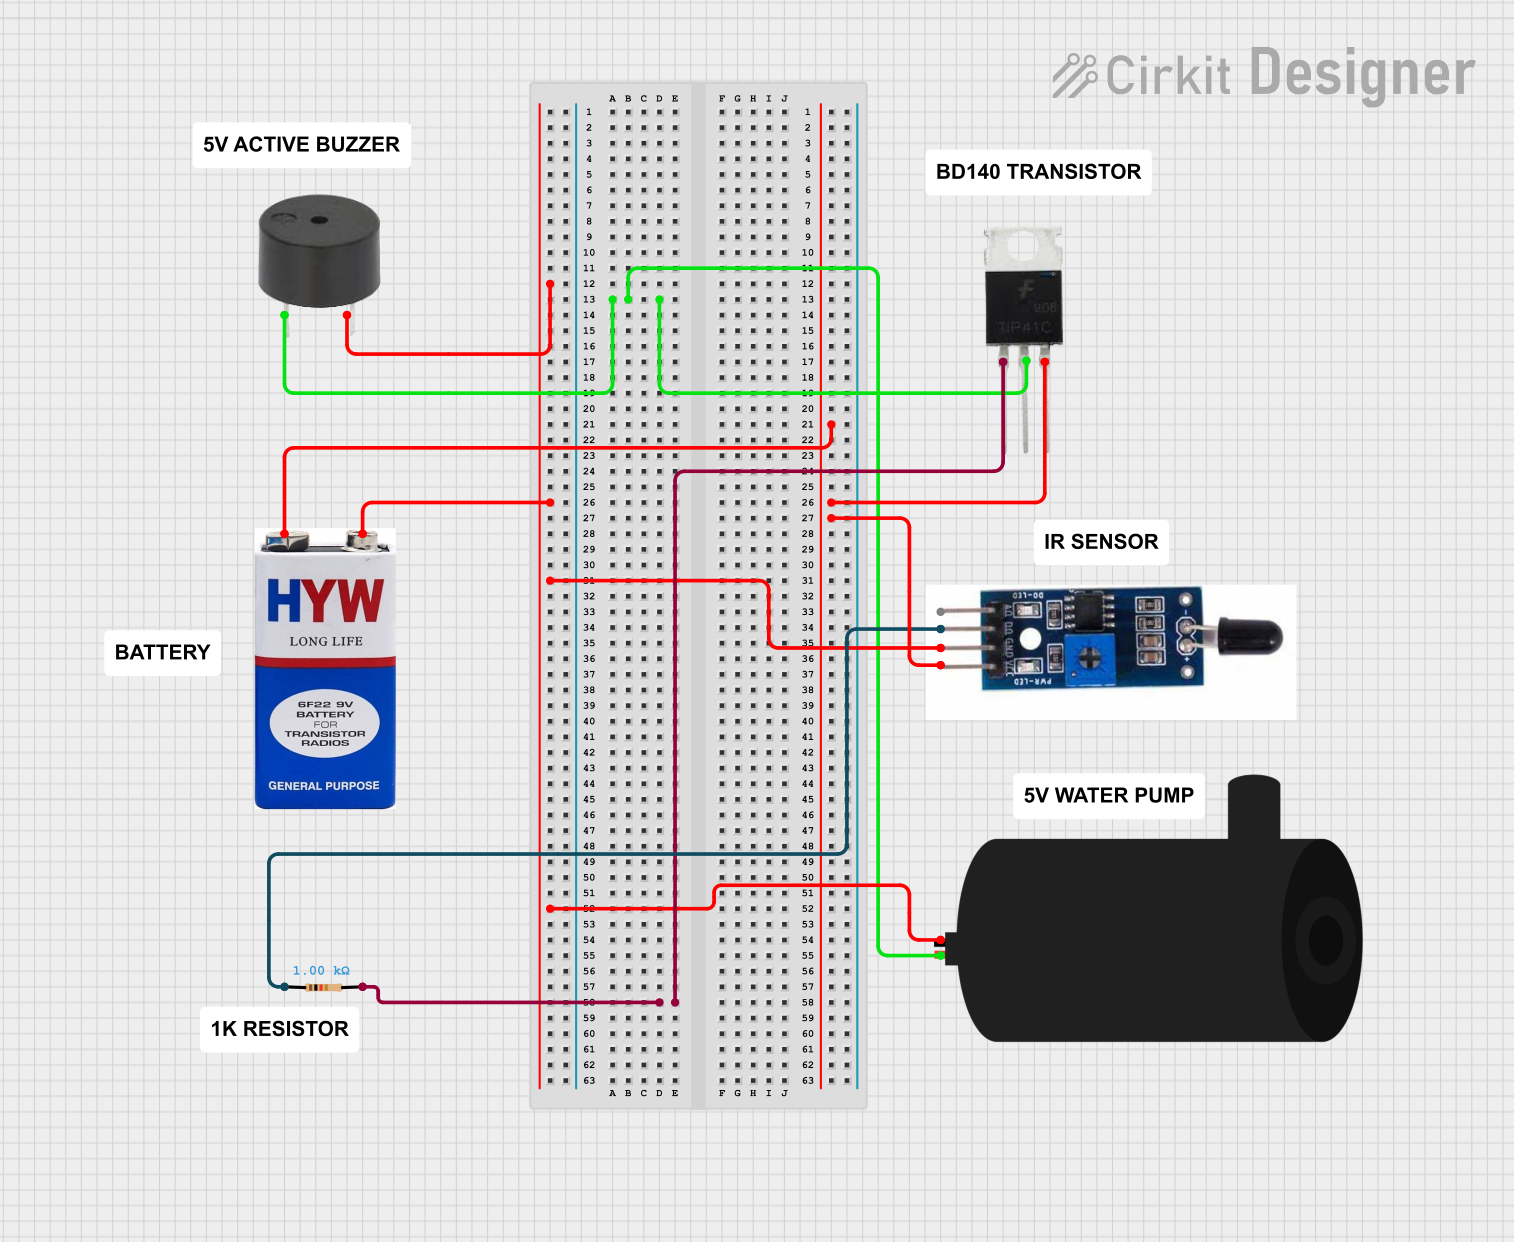 Open Project in Cirkit Designer
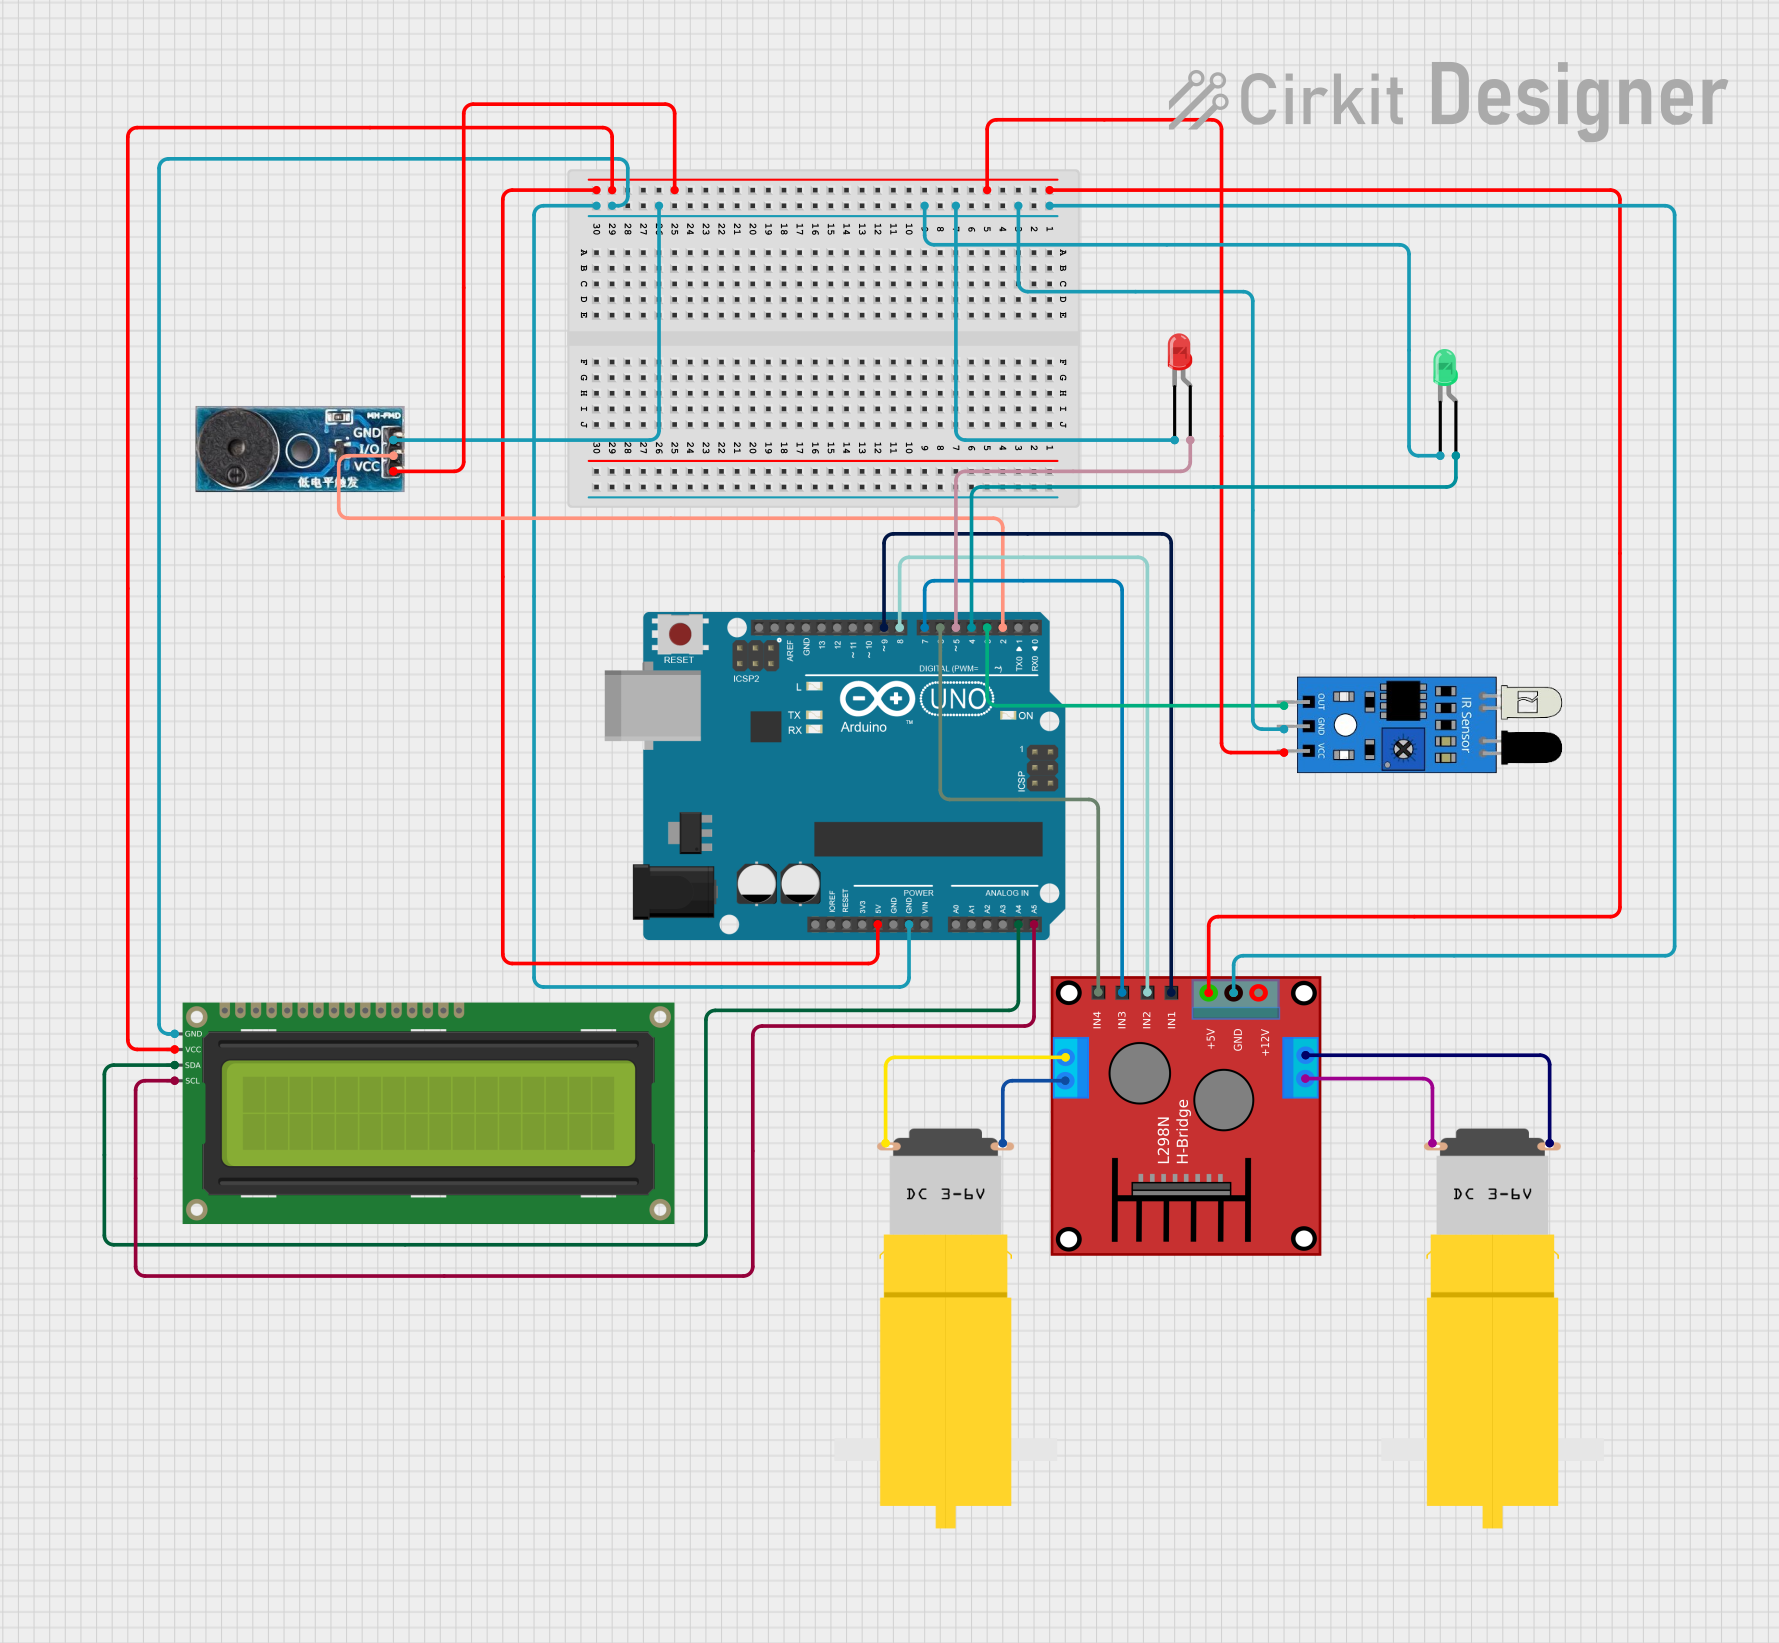 Open Project in Cirkit Designer
Explore Projects Built with flame sensor
Open Project in Cirkit DesignerOpen Project in Cirkit DesignerOpen Project in Cirkit DesignerOpen Project in Cirkit DesignerCommon Applications
- Fire detection and alarm systems
- Gas-powered appliances (e.g., stoves, heaters) for flame monitoring
- Industrial safety systems
- Robotics projects for flame tracking
- Automatic fire suppression systems
Technical Specifications
The following table outlines the key technical details of the Zadetector Flame Sensor (220v):
| Parameter | Value |
|---|---|
| Operating Voltage | 3.3V to 5V DC |
| Detection Range | 760 nm to 1100 nm (IR wavelength) |
| Detection Angle | 60° |
| Output Type | Digital and Analog |
| Digital Output Voltage | High (1) or Low (0) |
| Analog Output Voltage | Proportional to flame intensity |
| Operating Temperature | -25°C to 85°C |
| Dimensions | 32mm x 14mm x 8mm |
Pin Configuration
The Zadetector Flame Sensor has a 3-pin interface. The pin configuration is as follows:
| Pin | Name | Description |
|---|---|---|
| 1 | VCC | Power supply pin (3.3V to 5V DC) |
| 2 | GND | Ground pin |
| 3 | OUT | Output pin (Digital or Analog, depending on usage) |
Usage Instructions
How to Use the Flame Sensor in a Circuit
- Power the Sensor: Connect the VCC pin to a 3.3V or 5V DC power source and the GND pin to the ground of your circuit.
- Connect the Output:
- For digital output, connect the OUT pin to a digital input pin of your microcontroller.
- For analog output, connect the OUT pin to an analog input pin of your microcontroller.
- Position the Sensor: Place the sensor in a location where it has a clear line of sight to the flame. Ensure the detection angle (60°) covers the area of interest.
- Read the Output:
- Digital Output: The sensor outputs HIGH (1) when a flame is detected and LOW (0) otherwise.
- Analog Output: The sensor outputs a voltage proportional to the intensity of the flame.
Important Considerations
- Avoid exposing the sensor to direct sunlight or other strong IR sources, as this may cause false detections.
- Ensure the sensor is not obstructed by objects that block IR radiation.
- Use appropriate pull-up or pull-down resistors if required by your microcontroller.
Example: Connecting to an Arduino UNO
Below is an example of how to connect and use the flame sensor with an Arduino UNO:
Circuit Connections
- VCC: Connect to the 5V pin on the Arduino.
- GND: Connect to the GND pin on the Arduino.
- OUT: Connect to digital pin 2 on the Arduino.
Arduino Code
// Flame Sensor Example Code
// Manufacturer: Zadetector, Part ID: 220v
// This code reads the digital output of the flame sensor and turns on an LED
// when a flame is detected.

const int flameSensorPin = 2; // Digital pin connected to the sensor's OUT pin
const int ledPin = 13;        // Built-in LED pin on Arduino

void setup() {
  pinMode(flameSensorPin, INPUT); // Set flame sensor pin as input
  pinMode(ledPin, OUTPUT);        // Set LED pin as output
  Serial.begin(9600);             // Initialize serial communication
}

void loop() {
  int flameDetected = digitalRead(flameSensorPin); // Read sensor output

  if (flameDetected == HIGH) {
    // Flame detected
    digitalWrite(ledPin, HIGH); // Turn on LED
    Serial.println("Flame detected!");
  } else {
    // No flame detected
    digitalWrite(ledPin, LOW);  // Turn off LED
    Serial.println("No flame detected.");
  }

  delay(500); // Wait for 500ms before next reading
}
Troubleshooting and FAQs
Common Issues and Solutions
False Detections:
- Cause: Strong IR sources (e.g., sunlight, incandescent bulbs) interfering with the sensor.
- Solution: Shield the sensor from external IR sources or use it in controlled lighting conditions.
No Detection of Flame:
- Cause: Incorrect positioning of the sensor or insufficient flame intensity.
- Solution: Ensure the flame is within the sensor's detection range and angle.
Unstable Output:
- Cause: Electrical noise or unstable power supply.
- Solution: Use decoupling capacitors near the sensor's power pins to stabilize the voltage.
FAQs
Q1: Can the flame sensor detect flames through glass?
A1: No, the sensor cannot detect flames through glass, as glass blocks most IR radiation.
Q2: Can I use the flame sensor outdoors?
A2: Yes, but ensure it is protected from direct sunlight and weather conditions to avoid false detections or damage.
Q3: What is the maximum distance for flame detection?
A3: The detection range depends on the intensity of the flame. Typically, it can detect flames up to 1 meter away under normal conditions.
Q4: Can I use multiple flame sensors in a single system?
A4: Yes, you can use multiple sensors to cover a larger area. Ensure each sensor is connected to a separate input pin on your microcontroller.
By following this documentation, you can effectively integrate the Zadetector Flame Sensor (220v) into your projects for reliable flame detection.