Introduction
A Passive Infrared (PIR) or Motion Sensor is an electronic device that detects the presence of humans or animals by sensing the infrared (IR) light emitted from their bodies. These sensors are widely used in security systems, lighting controls, and home automation systems due to their ability to detect motion through changes in heat radiation.
Common Applications and Use Cases
- Automatic lighting control
- Security alarm systems
- Occupancy sensing for energy management
- Motion-activated cameras and recording devices
- Interactive installations and exhibits
Technical Specifications
Key Technical Details
- Voltage: Typically 5V to 12V DC
- Current: 15mA (average)
- Detection Range: Up to 7 meters (23 feet)
- Detection Angle: Up to 120 degrees
- Output Type: Digital (High/Low signal)
- Warm-Up Time: Approximately 10 to 60 seconds
Pin Configuration and Descriptions
Usage Instructions
How to Use the Component in a Circuit
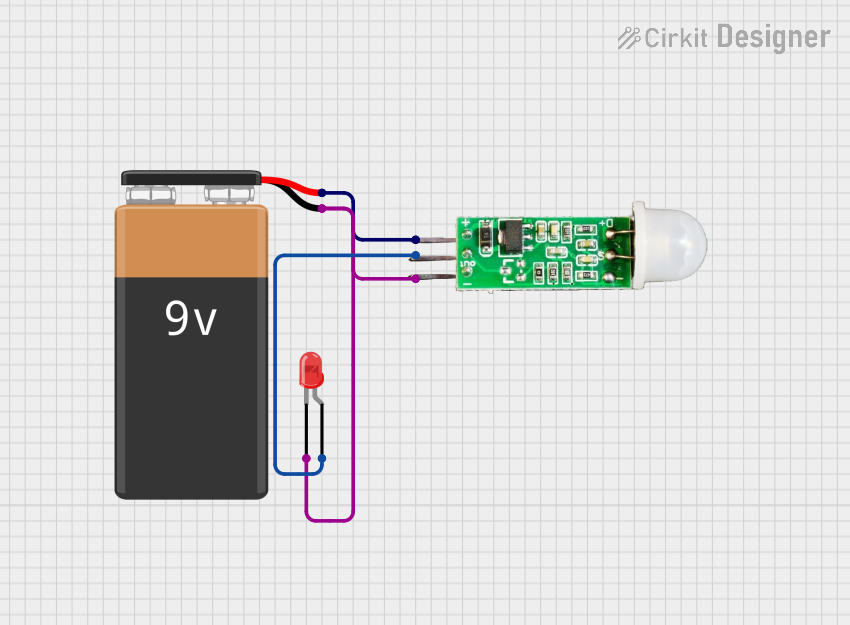
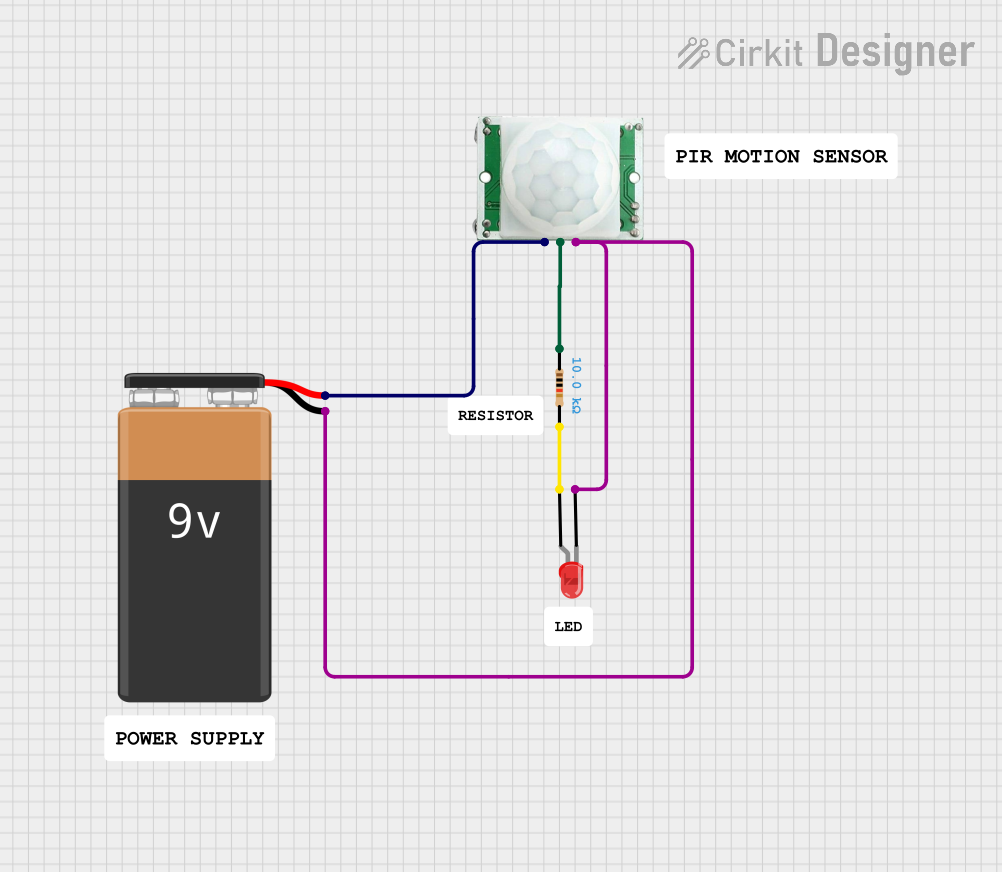
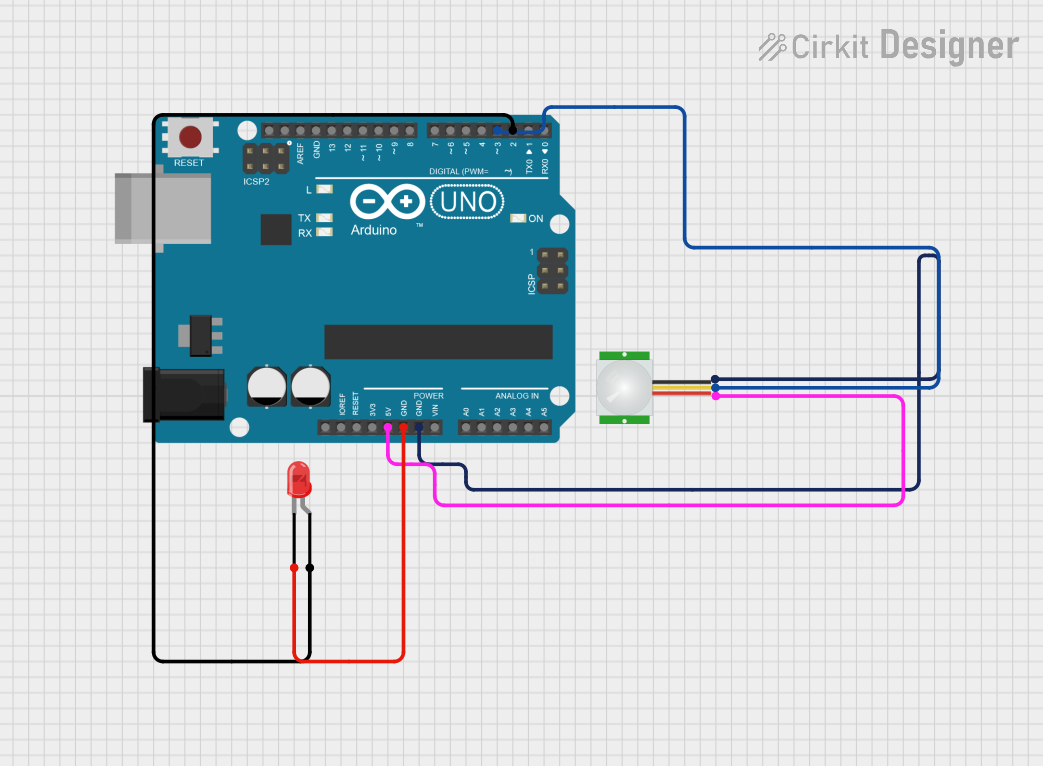
- Connect the VCC pin to a 5V to 12V power supply.
- Connect the GND pin to the ground of the power supply.
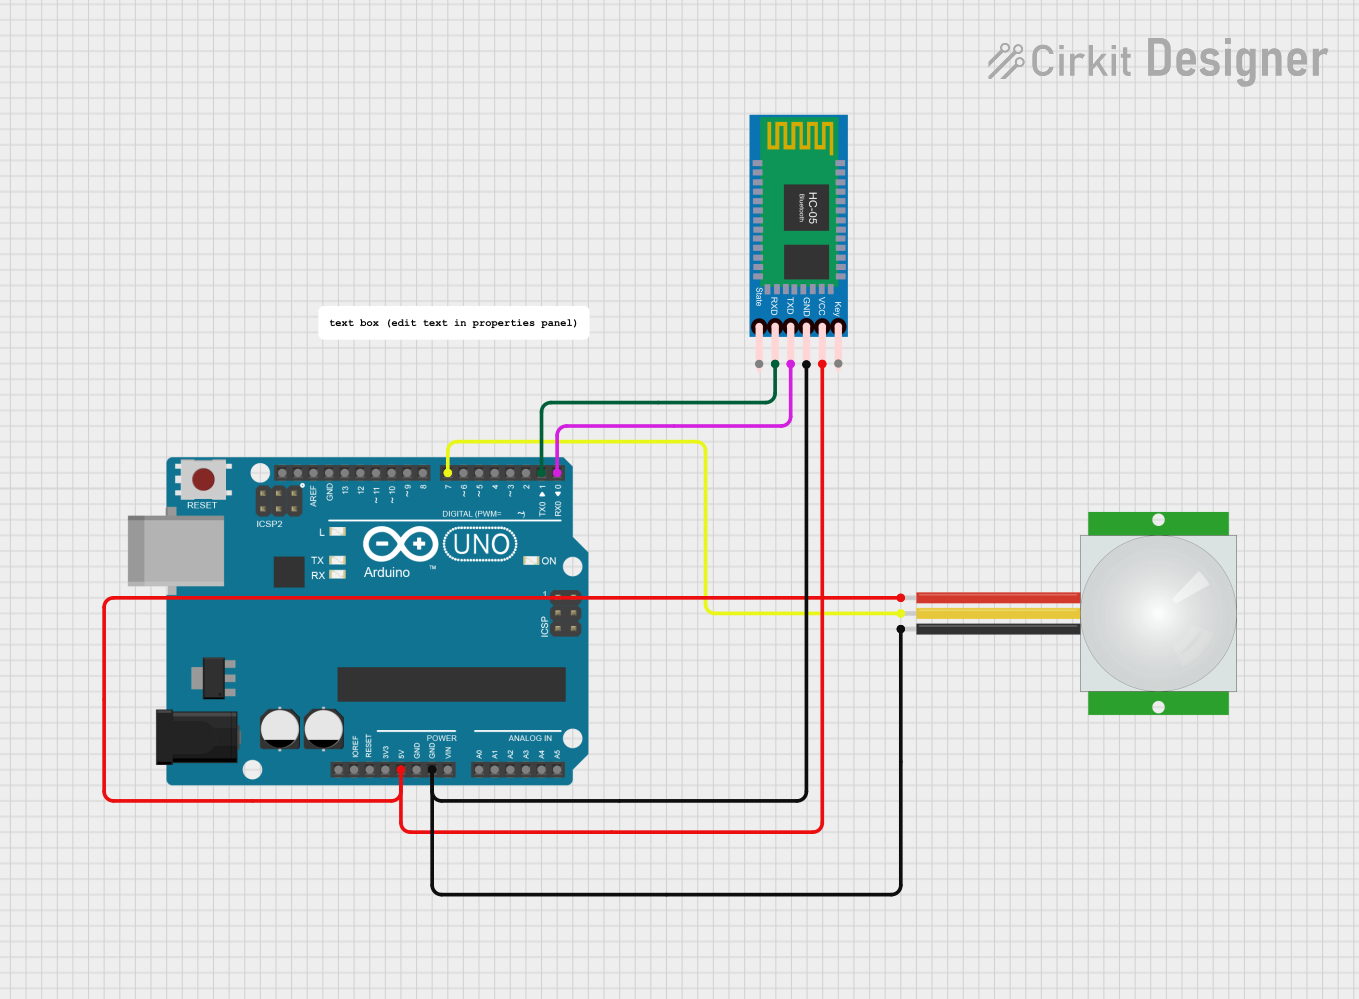
- Connect the OUT pin to a digital input pin on a microcontroller, such as an Arduino UNO.
Important Considerations and Best Practices
- Ensure that the sensor is not exposed to direct sunlight or any other strong IR source, as this may cause false detections.
- Avoid placing the sensor near heating devices or areas with rapid temperature changes.
- The sensor may require a warm-up period after power-up to function correctly.
- Adjust the sensitivity and time delay settings if available on your PIR sensor module.
Example Code for Arduino UNO
// PIR Motion Sensor with Arduino UNO
int PIRPin = 2;    // Connect PIR sensor's OUT pin to digital pin 2
int LEDPin = 13;   // Onboard LED connected to digital pin 13
int motionState = LOW; // Variable for reading PIR status

void setup() {
  pinMode(PIRPin, INPUT);     // Initialize PIR sensor pin as input
  pinMode(LEDPin, OUTPUT);    // Initialize LED pin as output
  Serial.begin(9600);         // Start serial communication at 9600 baud
}

void loop() {
  motionState = digitalRead(PIRPin); // Read PIR sensor's output
  if (motionState == HIGH) {         // Check if motion is detected
    digitalWrite(LEDPin, HIGH);      // Turn on LED
    Serial.println("Motion detected!");
    delay(1000);                     // Wait for 1 second
  } else {
    digitalWrite(LEDPin, LOW);       // Turn off LED
    Serial.println("No motion.");
  }
}
Troubleshooting and FAQs
Common Issues Users Might Face
- False Positives: The sensor may trigger without the presence of a person or animal. This can be due to environmental factors or incorrect sensitivity settings.
- No Response: If the sensor does not detect motion, it may not be powered correctly, or the time delay may be set too high.
Solutions and Tips for Troubleshooting
- Double-check wiring connections to ensure proper power supply and signal connections.
- Adjust the sensitivity and delay settings on the PIR sensor module.
- Make sure the sensor is placed in an environment with a stable temperature.
- Test the sensor with different power supply voltages within the specified range.
FAQs
Q: Can the PIR sensor detect motion through walls or glass?
A: No, PIR sensors cannot detect motion through walls or glass as they rely on detecting changes in IR radiation from objects in their line of sight.
Q: How long does it take for the PIR sensor to stabilize after being powered on?
A: It typically takes between 10 to 60 seconds for the PIR sensor to stabilize and calibrate to the ambient IR levels in the environment.
Q: Is it possible to adjust the range and sensitivity of the PIR sensor?
A: Many PIR sensor modules come with potentiometers that allow you to adjust the sensitivity and time delay. Refer to the specific module's datasheet for guidance.

 Open Project in Cirkit Designer