How to Use Pico Audio Pack (Line-Out and Headphone Amp): Examples, Pinouts, and Specs
Introduction
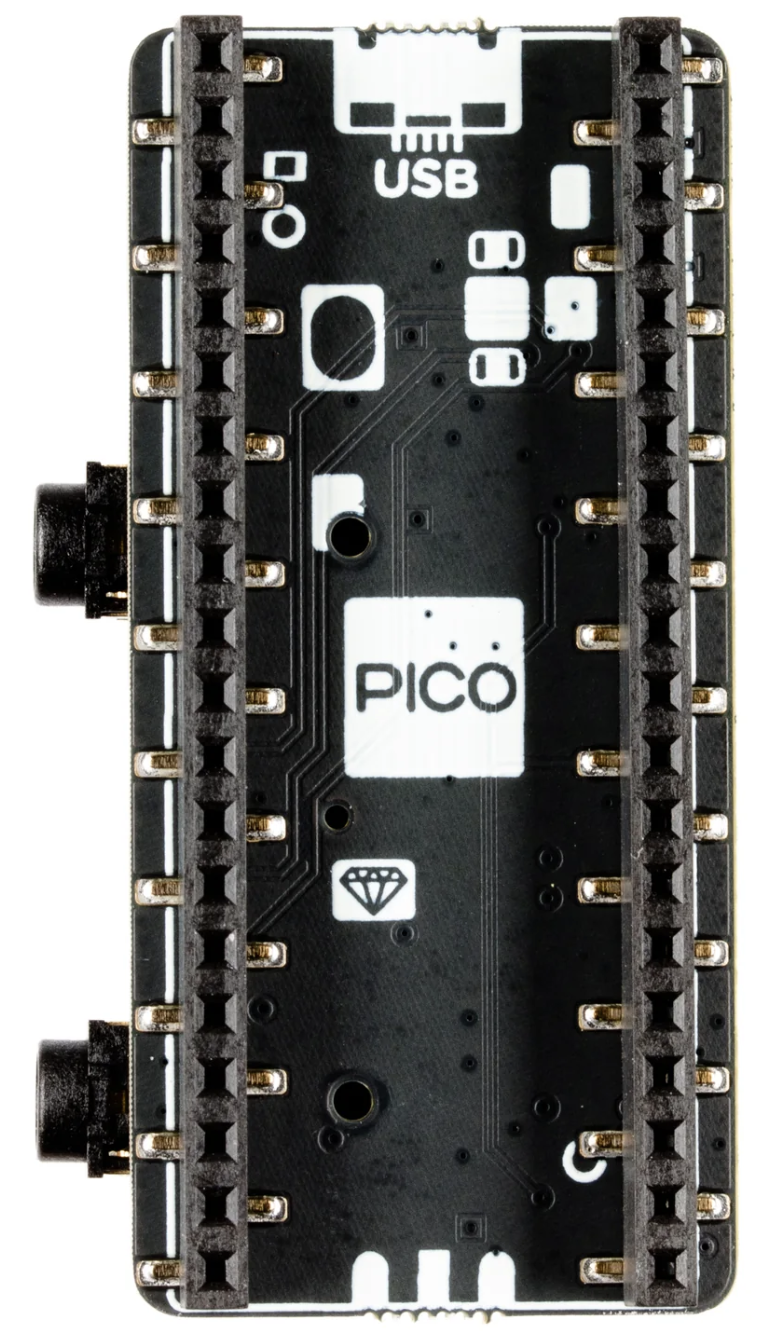
The Pico Audio Pack (Line-Out and Headphone Amp) by Pimoroni is a compact audio interface designed to deliver high-quality audio output. It features a line-out and headphone amplifier, making it ideal for portable audio applications. This component ensures clear sound reproduction and enhanced audio performance, making it a perfect choice for projects requiring reliable audio output.
Explore Projects Built with Pico Audio Pack (Line-Out and Headphone Amp)


Explore Projects Built with Pico Audio Pack (Line-Out and Headphone Amp)
Common Applications and Use Cases
- Portable audio devices
- Raspberry Pi Pico-based audio projects
- DIY music players
- Audio signal processing
- Educational projects involving sound generation or playback
Technical Specifications
The following table outlines the key technical details of the Pico Audio Pack:
| Specification | Details |
|---|---|
| Power Supply Voltage | 3.3V (powered via Raspberry Pi Pico) |
| Audio Output | Line-out and headphone output |
| Amplifier Type | Stereo headphone amplifier |
| Output Impedance | Compatible with headphones (16-32Ω) |
| Connector Type | 3.5mm stereo jack |
| Dimensions | 65mm x 25mm x 8mm |
| Compatibility | Raspberry Pi Pico (with male headers) |
Pin Configuration and Descriptions
The Pico Audio Pack connects directly to the GPIO pins of the Raspberry Pi Pico. Below is the pin configuration:
| Pin | Function | Description |
|---|---|---|
| 3V3 | Power Supply | Provides 3.3V power to the audio pack. |
| GND | Ground | Common ground connection. |
| GPIO26 | Left Audio Channel (DAC) | Outputs the left audio signal from the Pico. |
| GPIO27 | Right Audio Channel (DAC) | Outputs the right audio signal from the Pico. |
| GPIO28 | Shutdown Control | Used to enable/disable the amplifier (optional). |
Usage Instructions
How to Use the Component in a Circuit
- Attach the Pico Audio Pack:
- Solder male headers to your Raspberry Pi Pico if not already done.
- Align the Pico Audio Pack with the GPIO pins of the Pico and press it firmly into place.
- Connect Audio Output:
- Use a 3.5mm stereo cable to connect the line-out or headphones to the audio jack.
- Program the Pico:
- Use the Raspberry Pi Pico's DAC pins (GPIO26 and GPIO27) to generate audio signals.
- Optionally, use GPIO28 to control the amplifier's shutdown feature.
Important Considerations and Best Practices
- Power Supply: Ensure the Raspberry Pi Pico is powered via USB or another reliable 5V source.
- Audio Signal Quality: Use high-quality audio files and proper DAC programming to achieve the best sound output.
- Headphone Compatibility: The amplifier is optimized for headphones with an impedance of 16-32Ω.
- Shutdown Control: If GPIO28 is not used, the amplifier will remain enabled by default.
Example Code for Raspberry Pi Pico
Below is an example of how to generate a simple sine wave audio signal using MicroPython:
from machine import Pin, PWM
import math
import time
Define DAC pins for left and right audio channels
left_channel = PWM(Pin(26)) # GPIO26 for left audio right_channel = PWM(Pin(27)) # GPIO27 for right audio
Set PWM frequency (e.g., 44.1 kHz for audio)
frequency = 44100 left_channel.freq(frequency) right_channel.freq(frequency)
Generate a sine wave
sample_rate = 100 # Number of samples per cycle amplitude = 32767 # Max amplitude for 16-bit audio
Precompute sine wave samples
sine_wave = [ int(amplitude * math.sin(2 * math.pi * i / sample_rate)) for i in range(sample_rate) ]
try: while True: for sample in sine_wave: # Write the same sample to both channels for stereo output left_channel.duty_u16(sample + 32768) # Offset for unsigned 16-bit right_channel.duty_u16(sample + 32768) time.sleep(1 / frequency) # Delay for the sample rate except KeyboardInterrupt: # Stop PWM on interrupt left_channel.deinit() right_channel.deinit()
Notes on the Code
- The example generates a sine wave using PWM on GPIO26 and GPIO27.
- Adjust the
frequencyandsample_rateto modify the audio output. - Ensure headphones or speakers are connected to the 3.5mm jack for playback.
Troubleshooting and FAQs
Common Issues and Solutions
No Audio Output:
- Ensure the Pico Audio Pack is securely connected to the Raspberry Pi Pico.
- Verify that the Pico is powered and the correct GPIO pins are used for audio output.
- Check the volume level on your connected headphones or speakers.
Distorted Sound:
- Ensure the audio signal is within the supported range of the DAC.
- Use headphones with an impedance of 16-32Ω for optimal performance.
- Verify that the PWM frequency is set correctly (e.g., 44.1 kHz for audio).
Amplifier Not Working:
- If using GPIO28 for shutdown control, ensure it is set to the correct logic level.
- If GPIO28 is not connected, the amplifier should remain enabled by default.
FAQs
Q: Can I use the Pico Audio Pack with other microcontrollers?
A: The Pico Audio Pack is specifically designed for the Raspberry Pi Pico. However, it may work with other microcontrollers that provide compatible DAC outputs and a 3.3V power supply.
Q: What is the maximum output power of the headphone amplifier?
A: The amplifier is optimized for headphones with an impedance of 16-32Ω, providing sufficient power for clear and distortion-free audio.
Q: Can I use the line-out and headphone output simultaneously?
A: Yes, both outputs can be used simultaneously, but ensure the connected devices are compatible with the output levels.
Q: Is external power required for the Pico Audio Pack?
A: No, the Pico Audio Pack is powered directly from the Raspberry Pi Pico's 3.3V supply.
This concludes the documentation for the Pico Audio Pack. For further assistance, refer to Pimoroni's official resources or community forums.