How to Use Adafruit SGP40: Examples, Pinouts, and Specs
Introduction
The Adafruit SGP40 is an advanced sensor module designed to detect volatile organic compounds (VOCs) in the air. Utilizing Sensirion's SGP40 sensor, it offers a reliable and accurate way to measure the air quality index (AQI), making it an essential component for environmental monitoring, air purifiers, smart home devices, and HVAC systems.
Explore Projects Built with Adafruit SGP40
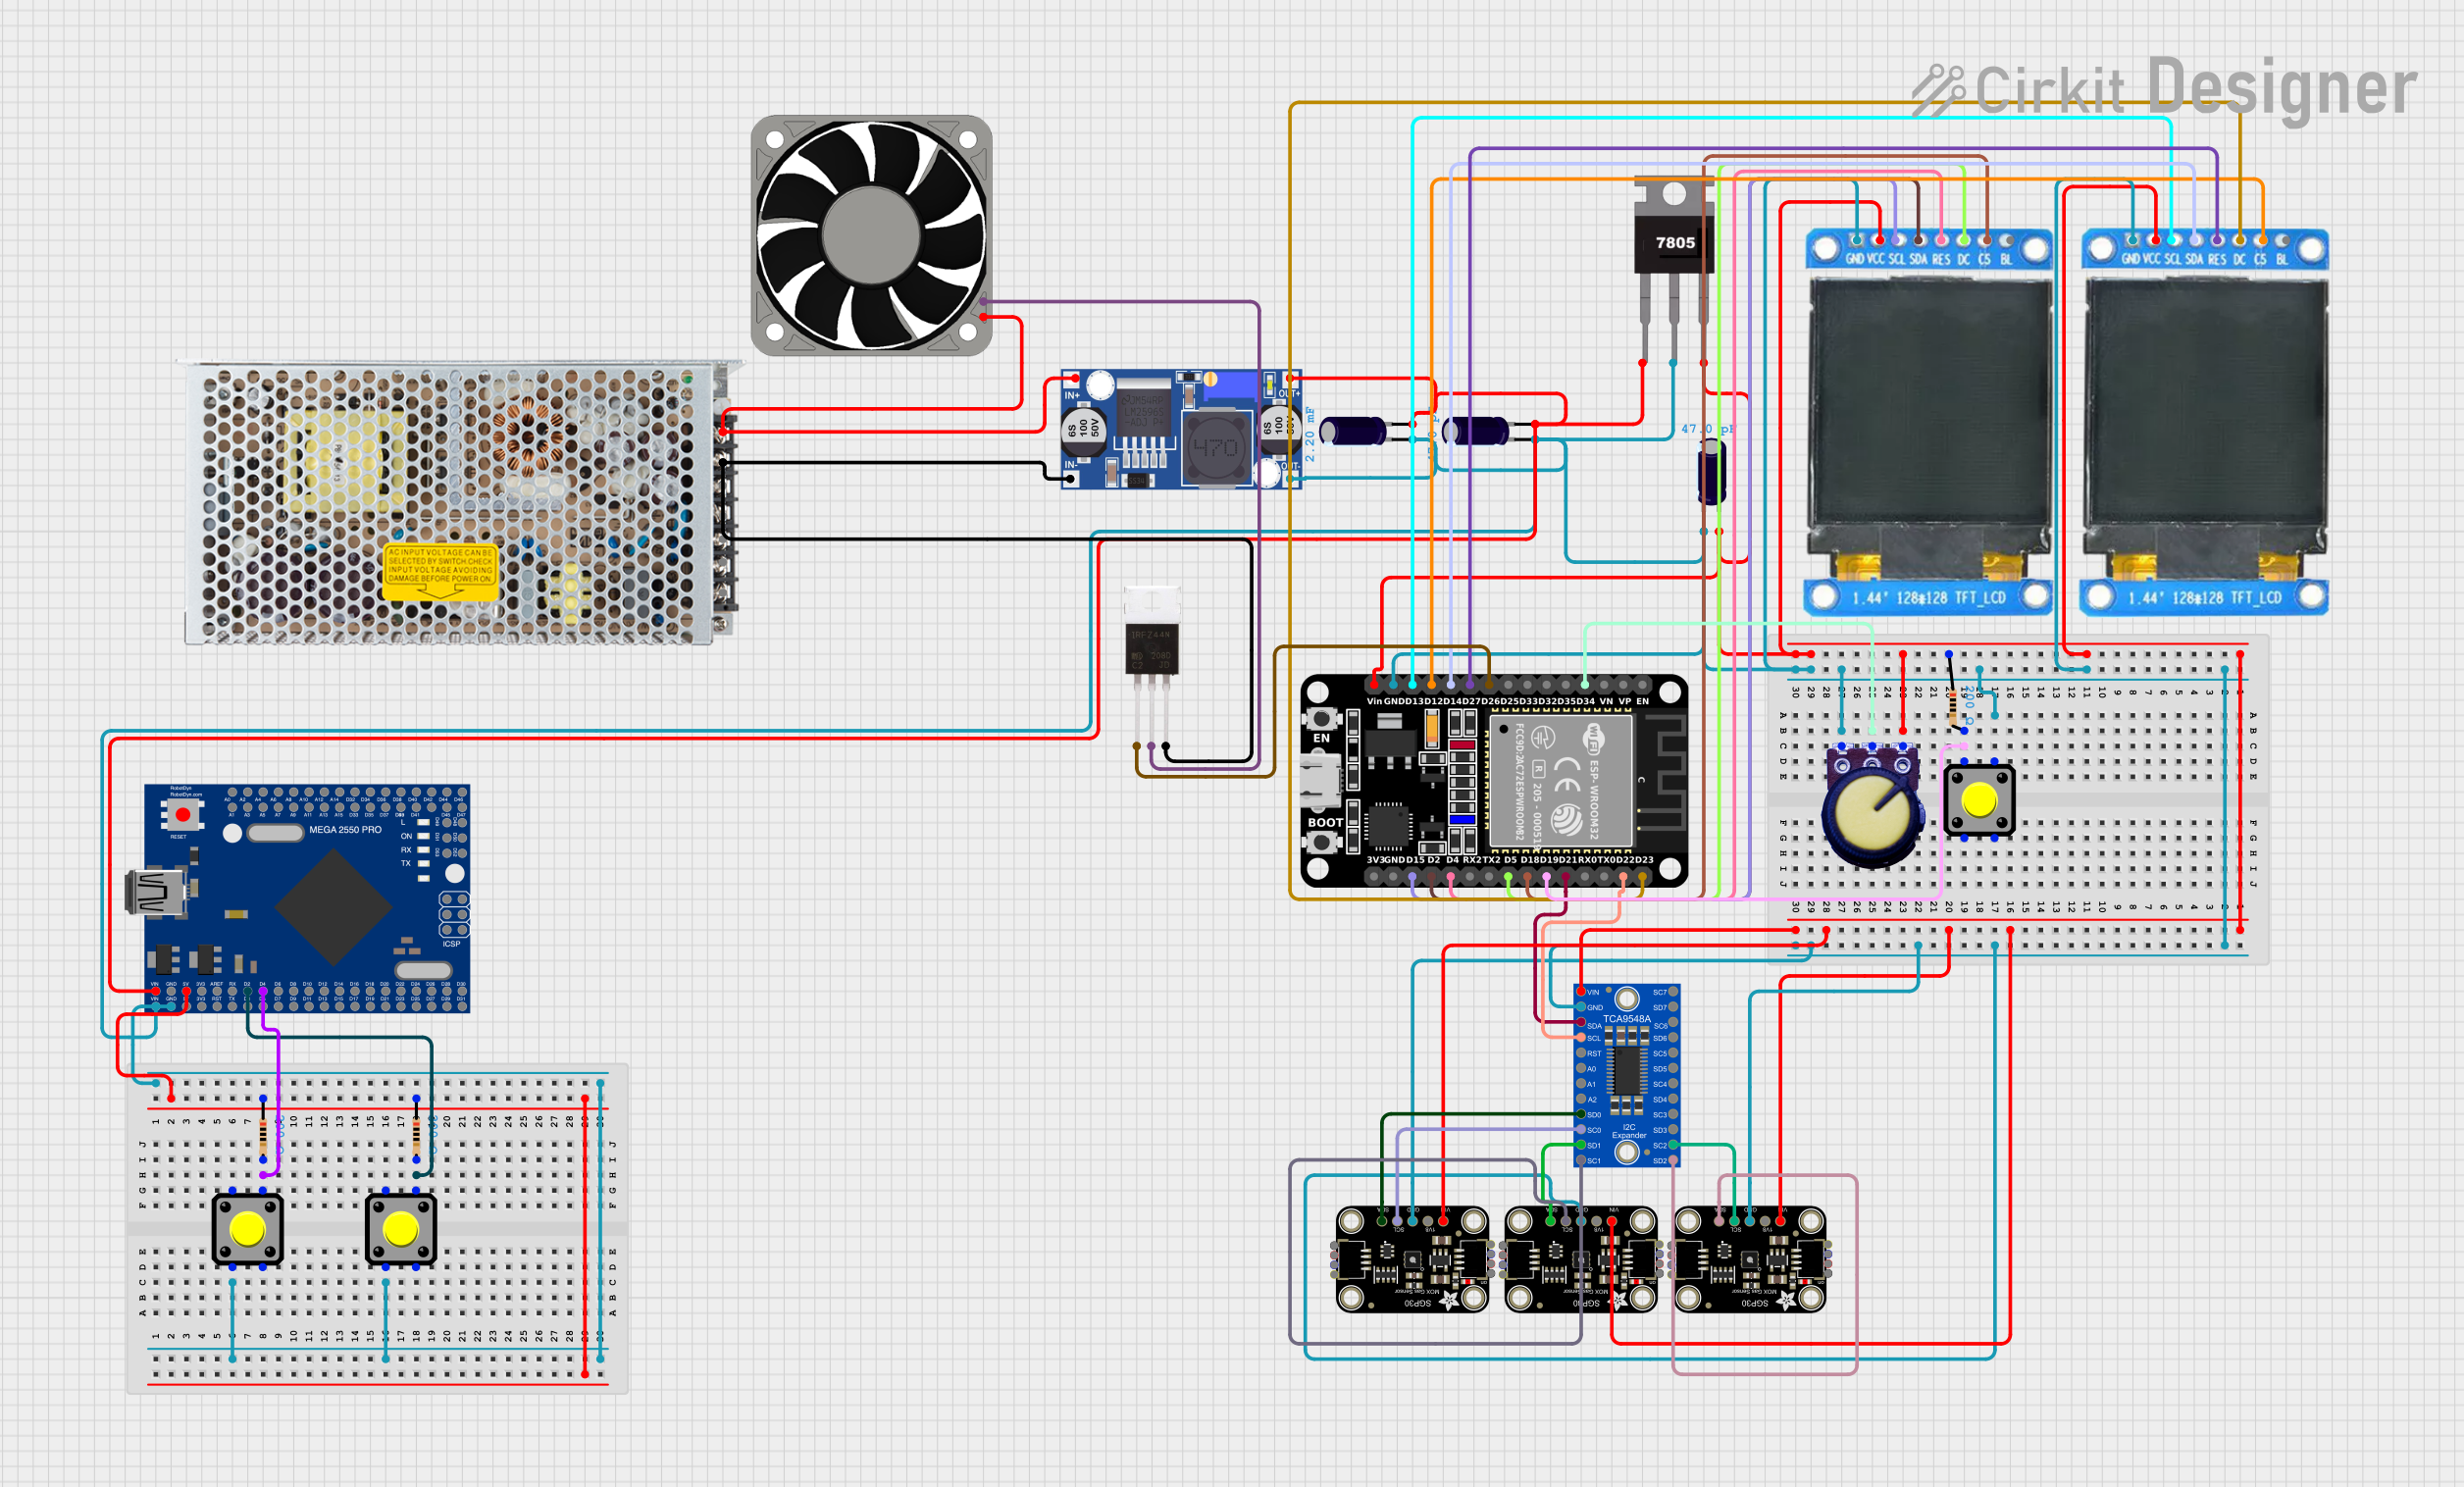
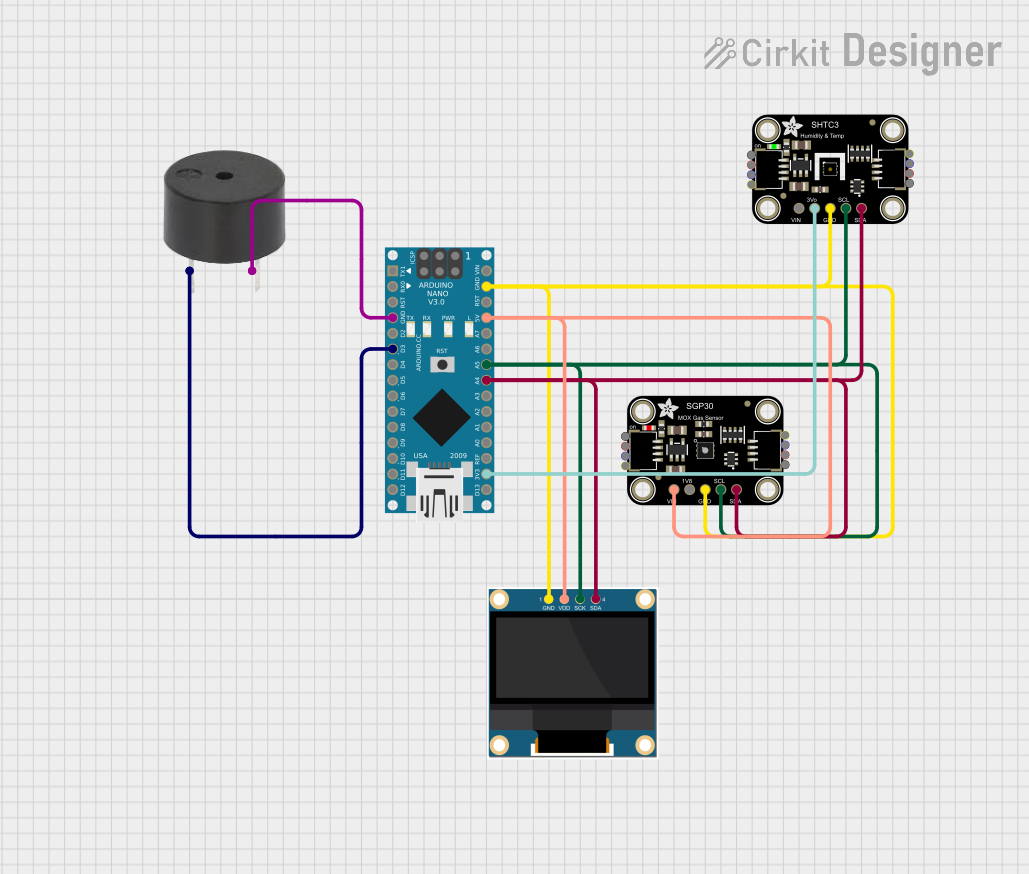


Explore Projects Built with Adafruit SGP40
Common Applications and Use Cases
- Indoor air quality monitoring
- Smart home automation systems
- HVAC control
- Air purifiers and filters
- Wearable devices for health monitoring
Technical Specifications
Key Technical Details
- Supply Voltage: 3.3V to 5V
- Interface: I2C
- Measurement Range: 0 to 1000 ppb (parts per billion)
- Response Time: < 15 seconds
- Operating Temperature: -10°C to 50°C
- Long-term Stability: < 0.5% signal loss per year
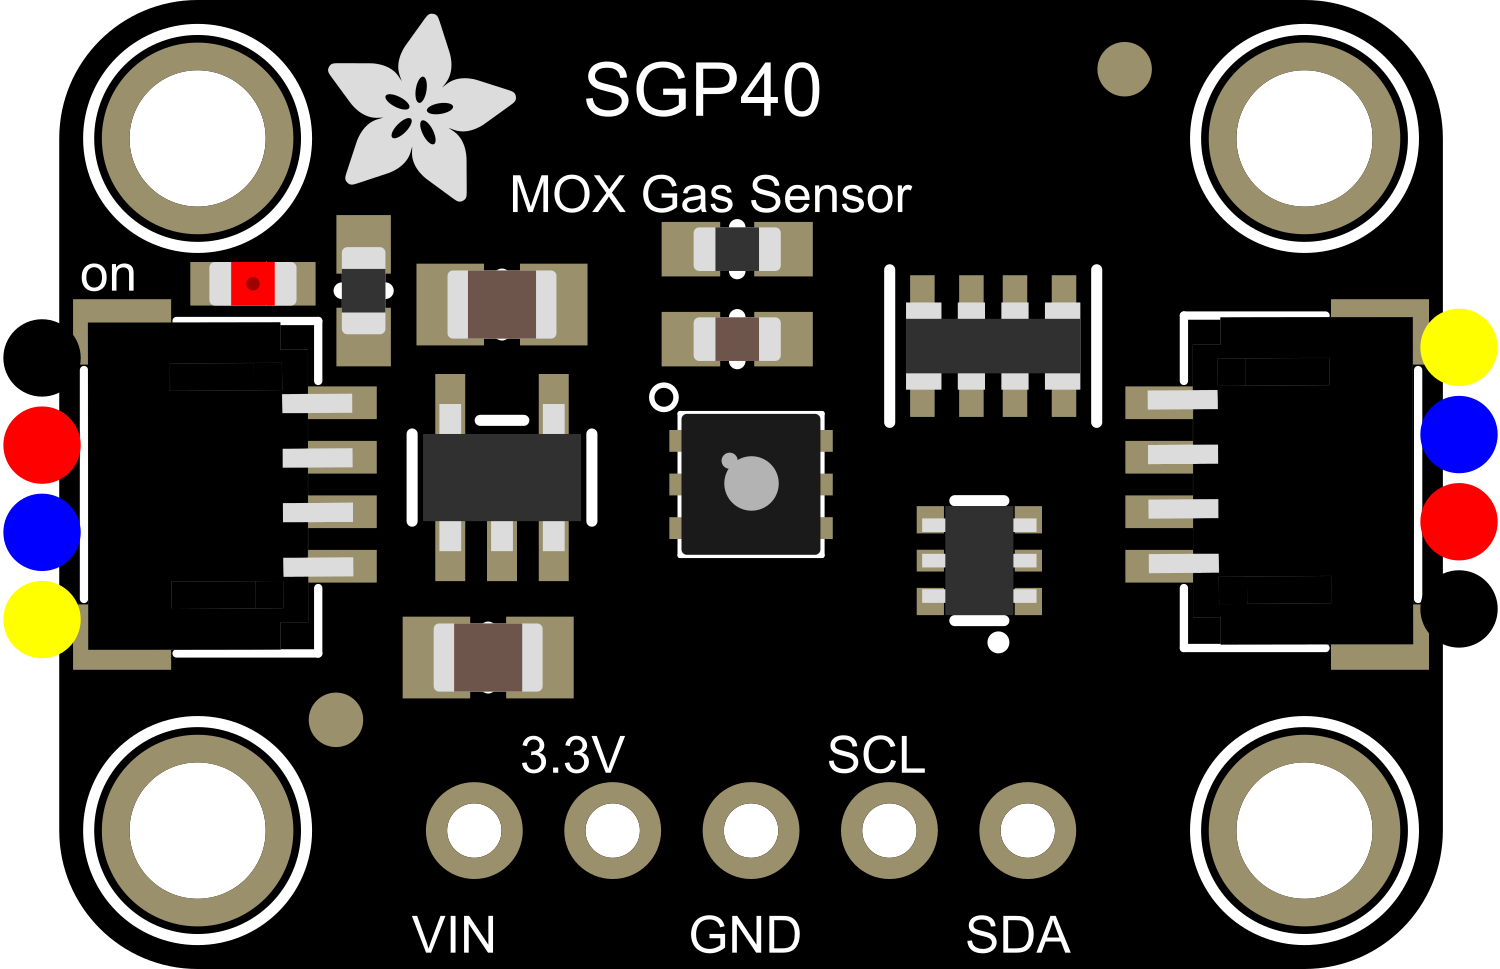
Pin Configuration and Descriptions
| Pin Number | Name | Description |
|---|---|---|
| 1 | VDD | Power supply (3.3V to 5V) |
| 2 | GND | Ground connection |
| 3 | SDA | I2C data line |
| 4 | SCL | I2C clock line |
Usage Instructions
How to Use the Component in a Circuit
- Connect the VDD pin to a 3.3V or 5V power supply.
- Connect the GND pin to the ground of the power supply.
- Connect the SDA and SCL pins to the I2C data and clock lines, respectively.
- Ensure that pull-up resistors are connected to the SDA and SCL lines if they are not already present on the microcontroller board.
Important Considerations and Best Practices
- Avoid exposure to high concentrations of alcohol, CO2, or halogenated hydrocarbons to prevent sensor poisoning.
- Ensure good airflow around the sensor for accurate readings.
- Calibrate the sensor if necessary, following the manufacturer's guidelines.
- Use the sensor within the specified temperature and humidity ranges.
Example Code for Arduino UNO
#include <Wire.h>
#include "Adafruit_SGP40.h"

Adafruit_SGP40 sgp;

void setup() {
  Serial.begin(9600);
  // Initialize I2C communication
  Wire.begin();
  // Initialize the SGP40 sensor
  if (!sgp.begin()) {
    Serial.println("Sensor not found, check wiring!");
    while (1);
  }
  Serial.println("SGP40 sensor initialized.");
}

void loop() {
  // Read the VOC index from the sensor
  int vocIndex = sgp.measureVocIndex();

  if (vocIndex == -1) {
    Serial.println("Sensor reading failed!");
  } else {
    Serial.print("VOC Index: ");
    Serial.println(vocIndex);
  }
  // Wait for 1 second before the next reading
  delay(1000);
}
Troubleshooting and FAQs
Common Issues Users Might Face
- Sensor not responding: Ensure that the wiring is correct and that the sensor is properly powered.
- Inaccurate readings: Verify that the sensor is not placed near any VOC sources and that it has been calibrated.
- I2C communication errors: Check the pull-up resistors on the SDA and SCL lines and ensure there are no short circuits.
Solutions and Tips for Troubleshooting
- Double-check the connections and solder joints.
- Reset the power to the sensor and microcontroller to clear any temporary errors.
- Use the I2C scanner sketch to confirm the sensor's address and connectivity.
- Ensure the sensor is operating within the recommended environmental conditions.
FAQs
Q: How long does the sensor need to warm up? A: The SGP40 typically requires a warm-up time of less than 15 seconds after power-up.
Q: Can the sensor detect specific VOCs? A: The SGP40 provides a total VOC reading and is not designed to detect specific compounds.
Q: Is the sensor waterproof? A: No, the SGP40 is not waterproof and should be protected from moisture and water exposure.
Q: How do I calibrate the sensor? A: Calibration procedures can vary; refer to the manufacturer's documentation for specific calibration instructions.