How to Use 4.0 Inches 480x320 TFT Touch Screen LCD: Examples, Pinouts, and Specs
Introduction
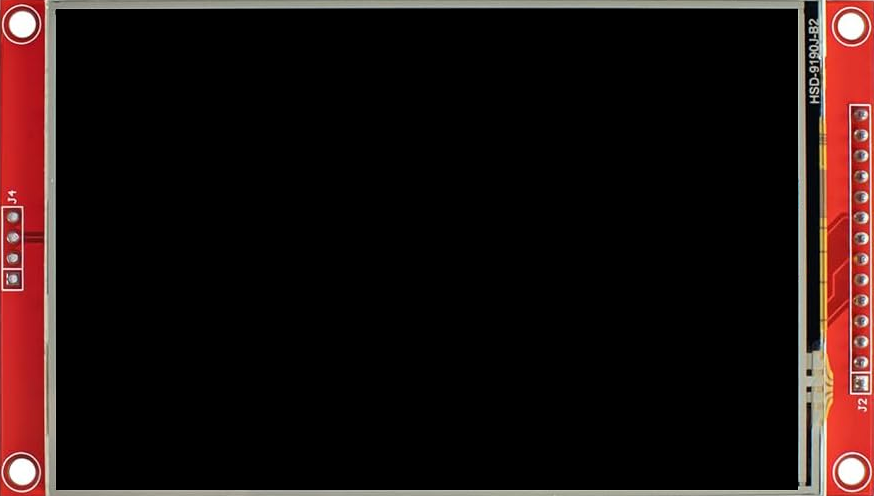
The 4.0 Inches 480x320 TFT Touch Screen LCD (Manufacturer: Hosyond, Part ID: ST7796S) is a high-quality display module designed for a wide range of applications. It features a 4.0-inch Thin Film Transistor (TFT) screen with a resolution of 480x320 pixels, offering vibrant colors and sharp visuals. Additionally, the integrated touch screen functionality allows for intuitive user interaction, making it ideal for projects requiring graphical interfaces and touch-based controls.
Explore Projects Built with 4.0 Inches 480x320 TFT Touch Screen LCD


Explore Projects Built with 4.0 Inches 480x320 TFT Touch Screen LCD
Common Applications and Use Cases
- Embedded systems with graphical user interfaces (GUIs)
- DIY electronics projects and prototyping
- Industrial control panels
- Home automation systems
- Educational tools and interactive displays
- Arduino and Raspberry Pi projects
Technical Specifications
Below are the key technical details and pin configuration for the ST7796S TFT Touch Screen LCD:
Key Technical Details
| Parameter | Value |
|---|---|
| Display Type | TFT LCD |
| Screen Size | 4.0 inches |
| Resolution | 480x320 pixels |
| Controller IC | ST7796S |
| Touch Screen Type | Resistive |
| Interface | SPI (Serial Peripheral Interface) |
| Operating Voltage | 3.3V / 5V |
| Backlight | LED |
| Viewing Angle | Wide |
| Operating Temperature | -20°C to 70°C |
Pin Configuration and Descriptions
The module typically uses a 40-pin interface. Below is a table of the most commonly used pins:
| Pin Number | Pin Name | Description |
|---|---|---|
| 1 | GND | Ground |
| 2 | VCC | Power supply (3.3V or 5V) |
| 3 | CS | Chip Select (active low) |
| 4 | RESET | Reset signal (active low) |
| 5 | DC | Data/Command control pin |
| 6 | SDI (MOSI) | Serial Data Input (Master Out Slave In) |
| 7 | SCK | Serial Clock |
| 8 | LED | Backlight control (connect to 3.3V or 5V) |
| 9 | T_IRQ | Touch interrupt signal |
| 10 | T_CS | Touch screen chip select (active low) |
| 11 | T_CLK | Touch screen clock |
| 12 | T_DIN | Touch screen data input |
| 13 | T_DO | Touch screen data output |
Note: The exact pin configuration may vary depending on the breakout board or shield used. Always refer to the specific datasheet or documentation provided with your module.
Usage Instructions
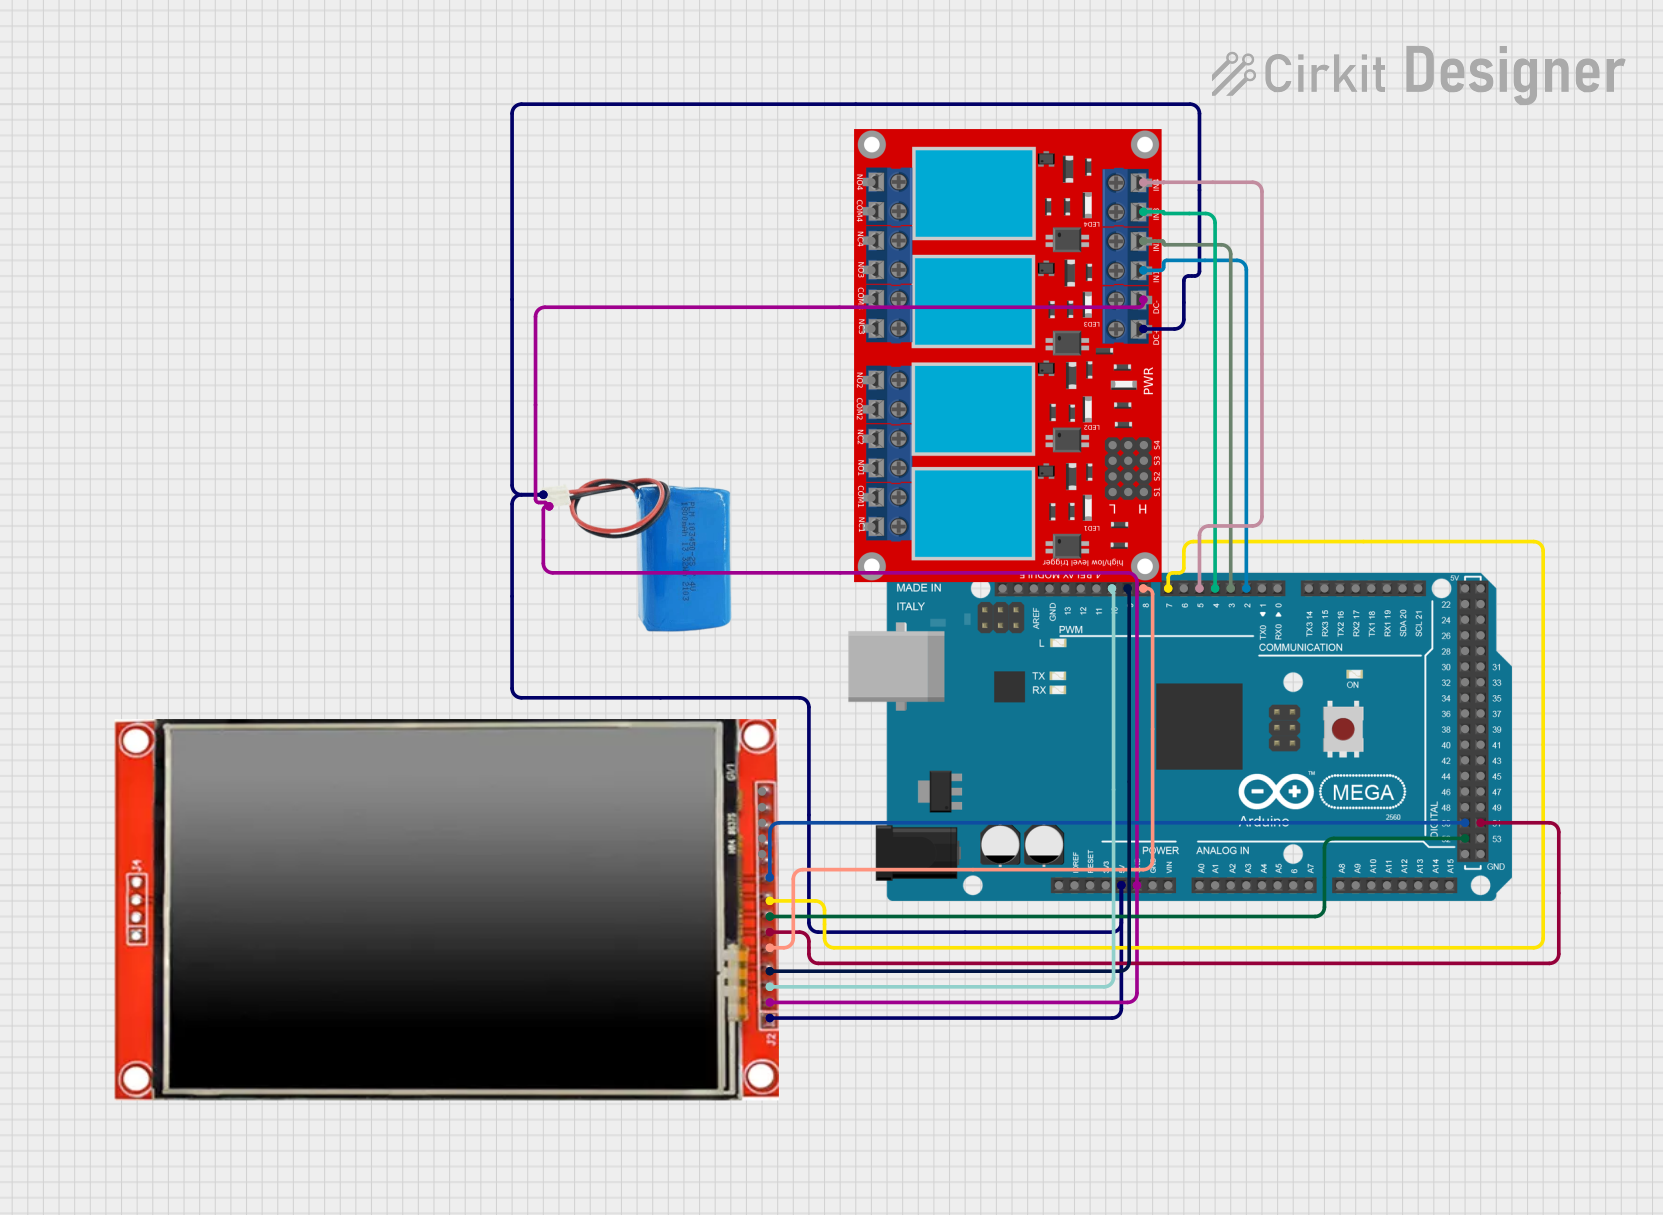
How to Use the Component in a Circuit
- Power Supply: Connect the
VCCpin to a 3.3V or 5V power source and theGNDpin to ground. - SPI Communication: Connect the
CS,RESET,DC,SDI (MOSI), andSCKpins to the corresponding SPI pins on your microcontroller. - Touch Screen: If using the touch functionality, connect the
T_CS,T_CLK,T_DIN,T_DO, andT_IRQpins to your microcontroller. - Backlight: Connect the
LEDpin to 3.3V or 5V to enable the backlight. - Install Libraries: For Arduino, install the
Adafruit_GFXandAdafruit_TFTLCDlibraries for display control. For touch functionality, use theAdafruit_TouchScreenlibrary.
Important Considerations and Best Practices
- Voltage Compatibility: Ensure your microcontroller operates at a compatible voltage level (3.3V or 5V).
- SPI Speed: Use an appropriate SPI clock speed to avoid communication errors.
- Touch Calibration: Calibrate the touch screen for accurate input detection.
- Backlight Control: Use a resistor or PWM signal to adjust the backlight brightness if needed.
- Avoid Static Damage: Handle the module carefully to prevent electrostatic discharge (ESD) damage.
Example Code for Arduino UNO
Below is an example code snippet to initialize and display a simple graphic on the screen:
#include <Adafruit_GFX.h>       // Graphics library
#include <Adafruit_TFTLCD.h>    // TFT LCD library
#include <TouchScreen.h>        // Touch screen library

#define LCD_CS A3               // Chip Select pin
#define LCD_CD A2               // Command/Data pin
#define LCD_WR A1               // Write pin
#define LCD_RD A0               // Read pin
#define LCD_RESET A4            // Reset pin

// Initialize the TFT display
Adafruit_TFTLCD tft(LCD_CS, LCD_CD, LCD_WR, LCD_RD, LCD_RESET);

void setup() {
  tft.reset();                  // Reset the display
  tft.begin(0x7796);            // Initialize with ST7796S controller
  tft.fillScreen(0x0000);       // Clear the screen (black)
  tft.setTextColor(0xFFFF);     // Set text color (white)
  tft.setTextSize(2);           // Set text size
  tft.setCursor(10, 10);        // Set cursor position
  tft.print("Hello, World!");   // Display text
}

void loop() {
  // Add your code here for dynamic updates
}
Note: Replace the pin definitions and initialization parameters as needed for your specific setup.
Troubleshooting and FAQs
Common Issues and Solutions
No Display Output:
- Verify the power supply connections (
VCCandGND). - Ensure the SPI connections are correct and secure.
- Check the initialization code for the correct controller ID (
0x7796).
- Verify the power supply connections (
Touch Screen Not Responding:
- Ensure the touch screen pins (
T_CS,T_CLK,T_DIN,T_DO,T_IRQ) are properly connected. - Calibrate the touch screen using the appropriate library functions.
- Ensure the touch screen pins (
Flickering or Dim Display:
- Check the backlight connection (
LEDpin). - Ensure the power supply provides sufficient current.
- Check the backlight connection (
Incorrect Colors or Graphics:
- Verify the SPI communication speed and settings.
- Ensure the correct driver library is installed and used.
FAQs
Q: Can this module be used with a Raspberry Pi?
A: Yes, the module can be used with a Raspberry Pi. You will need to configure the SPI interface and use compatible libraries such as fbtft or Pillow.
Q: Is the touch screen resistive or capacitive?
A: The touch screen is resistive, which means it requires physical pressure to detect input.
Q: Can I adjust the brightness of the backlight?
A: Yes, you can use a PWM signal or a resistor to control the brightness of the backlight.
Q: What is the maximum SPI clock speed supported?
A: The maximum SPI clock speed depends on your microcontroller and the specific breakout board. Typically, speeds up to 40 MHz are supported.
Q: Do I need external resistors or capacitors?
A: No additional components are required for basic operation, but you may use resistors for current limiting or capacitors for noise filtering if needed.
This concludes the documentation for the 4.0 Inches 480x320 TFT Touch Screen LCD.