How to Use Nextion Basic 3.2 inch: Examples, Pinouts, and Specs
Introduction
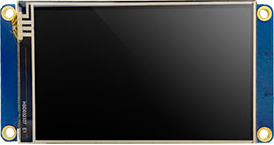
The Nextion Basic 3.2 inch (NX4024T032_011) is a human-machine interface (HMI) display module designed to simplify the development of interactive user interfaces for embedded systems. Featuring a 3.2-inch resistive touchscreen, this module allows users to create visually appealing and functional interfaces without the need for extensive programming. It includes a built-in graphics engine and supports serial communication, making it compatible with a wide range of microcontrollers, including Arduino, Raspberry Pi, and other platforms.
Explore Projects Built with Nextion Basic 3.2 inch

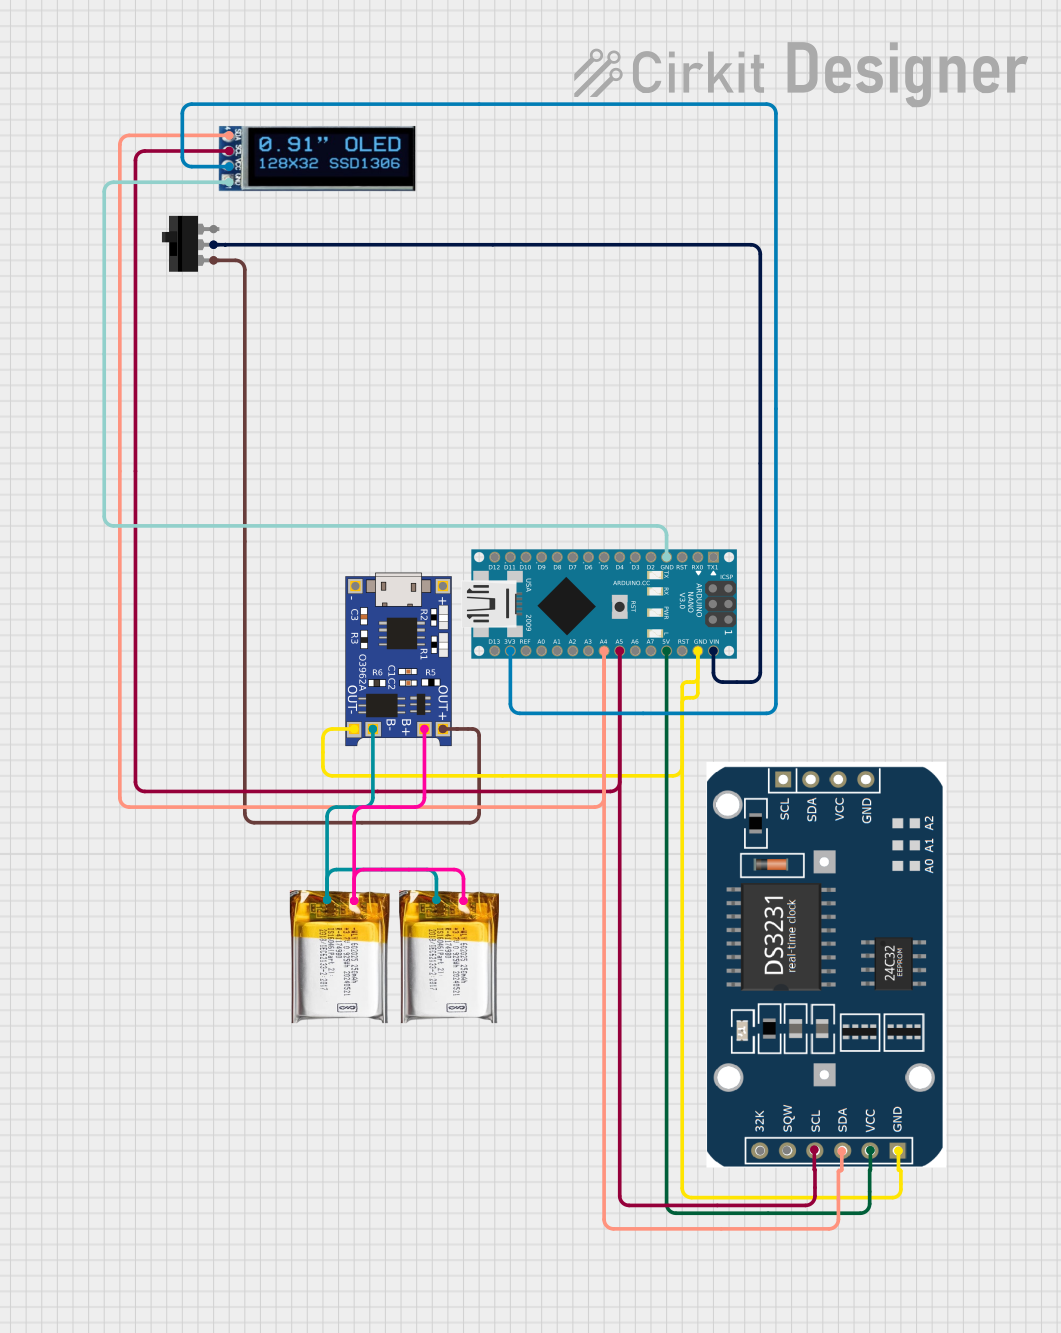


Explore Projects Built with Nextion Basic 3.2 inch
Common Applications and Use Cases
- Home automation control panels
- Industrial equipment interfaces
- IoT device dashboards
- Medical device displays
- Educational and hobbyist projects
Technical Specifications
Below are the key technical details of the Nextion Basic 3.2 inch module:
| Specification | Details |
|---|---|
| Display Size | 3.2 inches |
| Resolution | 400 x 240 pixels |
| Touchscreen Type | Resistive |
| Communication Interface | UART (Serial) |
| Operating Voltage | 5V DC |
| Power Consumption | 90mA (typical) |
| Flash Memory | 4MB |
| RAM | 3584 bytes |
| Processor | 48 MHz Cortex-M0 |
| Operating Temperature | -20°C to 70°C |
| Dimensions | 95mm x 47.6mm x 5.55mm |
Pin Configuration and Descriptions
The Nextion Basic 3.2 inch module has a 4-pin interface for communication and power:
| Pin | Name | Description |
|---|---|---|
| 1 | GND | Ground connection |
| 2 | VCC | Power supply input (5V DC) |
| 3 | TX | Transmit data (UART output to microcontroller RX) |
| 4 | RX | Receive data (UART input from microcontroller TX) |
Usage Instructions
How to Use the Component in a Circuit
- Power the Module: Connect the
VCCpin to a 5V power source and theGNDpin to ground. - Establish Serial Communication: Connect the
TXpin of the Nextion module to theRXpin of your microcontroller, and theRXpin of the module to theTXpin of the microcontroller. - Design the Interface: Use the Nextion Editor software to design your user interface. Export the
.tftfile and upload it to the module via a microSD card. - Write Microcontroller Code: Use serial commands to interact with the module. For example, you can send commands to update text, change pages, or read touch events.
Important Considerations and Best Practices
- Power Supply: Ensure a stable 5V power supply to avoid damage or erratic behavior.
- Baud Rate: Configure the UART baud rate in the Nextion Editor to match your microcontroller's settings.
- Level Shifting: If using a 3.3V microcontroller, use a level shifter for the
TXandRXlines to avoid damaging the module. - Touch Calibration: The module comes pre-calibrated, but you can recalibrate it if necessary using the Nextion Editor.
Example Code for Arduino UNO
Below is an example of how to interface the Nextion Basic 3.2 inch module with an Arduino UNO:
#include <SoftwareSerial.h>

// Define RX and TX pins for SoftwareSerial
SoftwareSerial nextion(10, 11); // RX = Pin 10, TX = Pin 11

void setup() {
  // Initialize serial communication with Nextion
  nextion.begin(9600); // Set baud rate to match Nextion settings
  Serial.begin(9600);  // For debugging via Serial Monitor

  // Send a command to change the text of a component (e.g., t0)
  nextion.print("t0.txt=\"Hello, World!\""); // Update text on the display
  nextion.write(0xFF); // End of command
  nextion.write(0xFF); // Required by Nextion protocol
  nextion.write(0xFF); // Required by Nextion protocol
}

void loop() {
  // Example: Read touch events from the Nextion display
  if (nextion.available()) {
    String response = "";
    while (nextion.available()) {
      response += (char)nextion.read(); // Read incoming data
    }
    Serial.println("Nextion Response: " + response); // Print response
  }
}
Troubleshooting and FAQs
Common Issues and Solutions
No Display Output:
- Ensure the module is powered with a stable 5V supply.
- Verify that the
.tftfile is correctly uploaded to the module.
Serial Communication Not Working:
- Check the baud rate settings in both the Nextion Editor and your microcontroller code.
- Ensure the
TXandRXpins are correctly connected.
Touchscreen Not Responding:
- Verify that the touchscreen is not physically damaged.
- Recalibrate the touchscreen using the Nextion Editor if necessary.
Corrupted Display:
- Re-upload the
.tftfile to the module using a properly formatted microSD card.
- Re-upload the
FAQs
Q: Can I use the Nextion Basic 3.2 inch module with a 3.3V microcontroller?
A: Yes, but you must use a level shifter for the TX and RX lines to avoid damaging the module.
Q: How do I update the firmware or interface design?
A: Use the Nextion Editor to create or modify your design, export the .tft file, and upload it to the module via a microSD card.
Q: What is the maximum cable length for UART communication?
A: For reliable communication, keep the cable length under 1 meter. Use shielded cables for longer distances.
Q: Can I use multiple Nextion displays with one microcontroller?
A: Yes, but each display must be connected to a separate UART port or controlled via a multiplexer.