
How to Use Arduino BT Rev3: Examples, Pinouts, and Specs
 Design with Arduino BT Rev3 in Cirkit Designer
Introduction
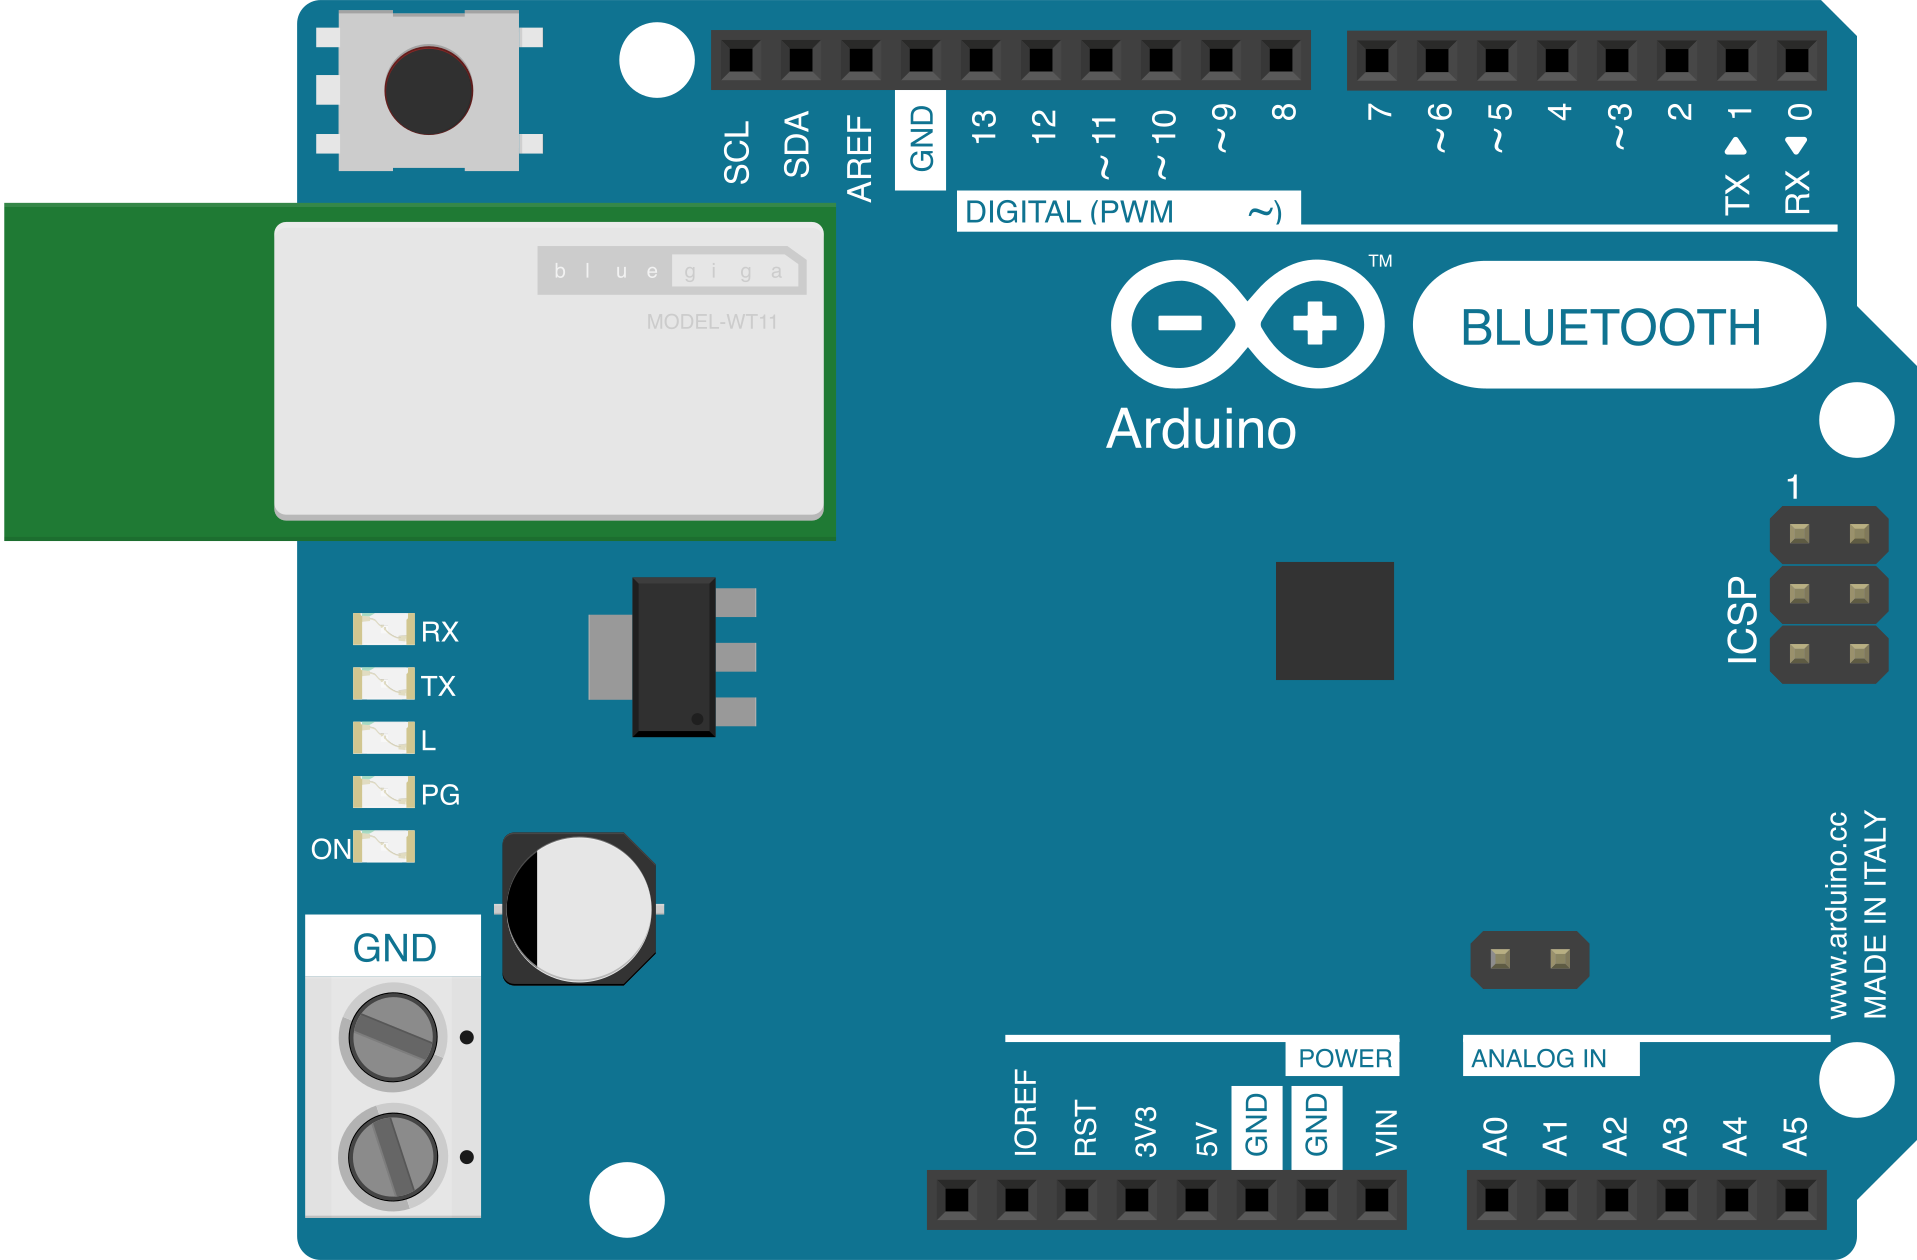
The Arduino BT Rev3 (Manufacturer Part ID: A000002) is a microcontroller board developed by Arduino, based on the ATmega328 microcontroller. It features built-in Bluetooth connectivity, enabling wireless communication for a wide range of applications. This board is particularly well-suited for Internet of Things (IoT) projects, remote control systems, and wireless data transmission tasks. Its compact design and versatile functionality make it a popular choice for both hobbyists and professionals.
Explore Projects Built with Arduino BT Rev3
 Open Project in Cirkit Designer
 Open Project in Cirkit Designer
 Open Project in Cirkit Designer
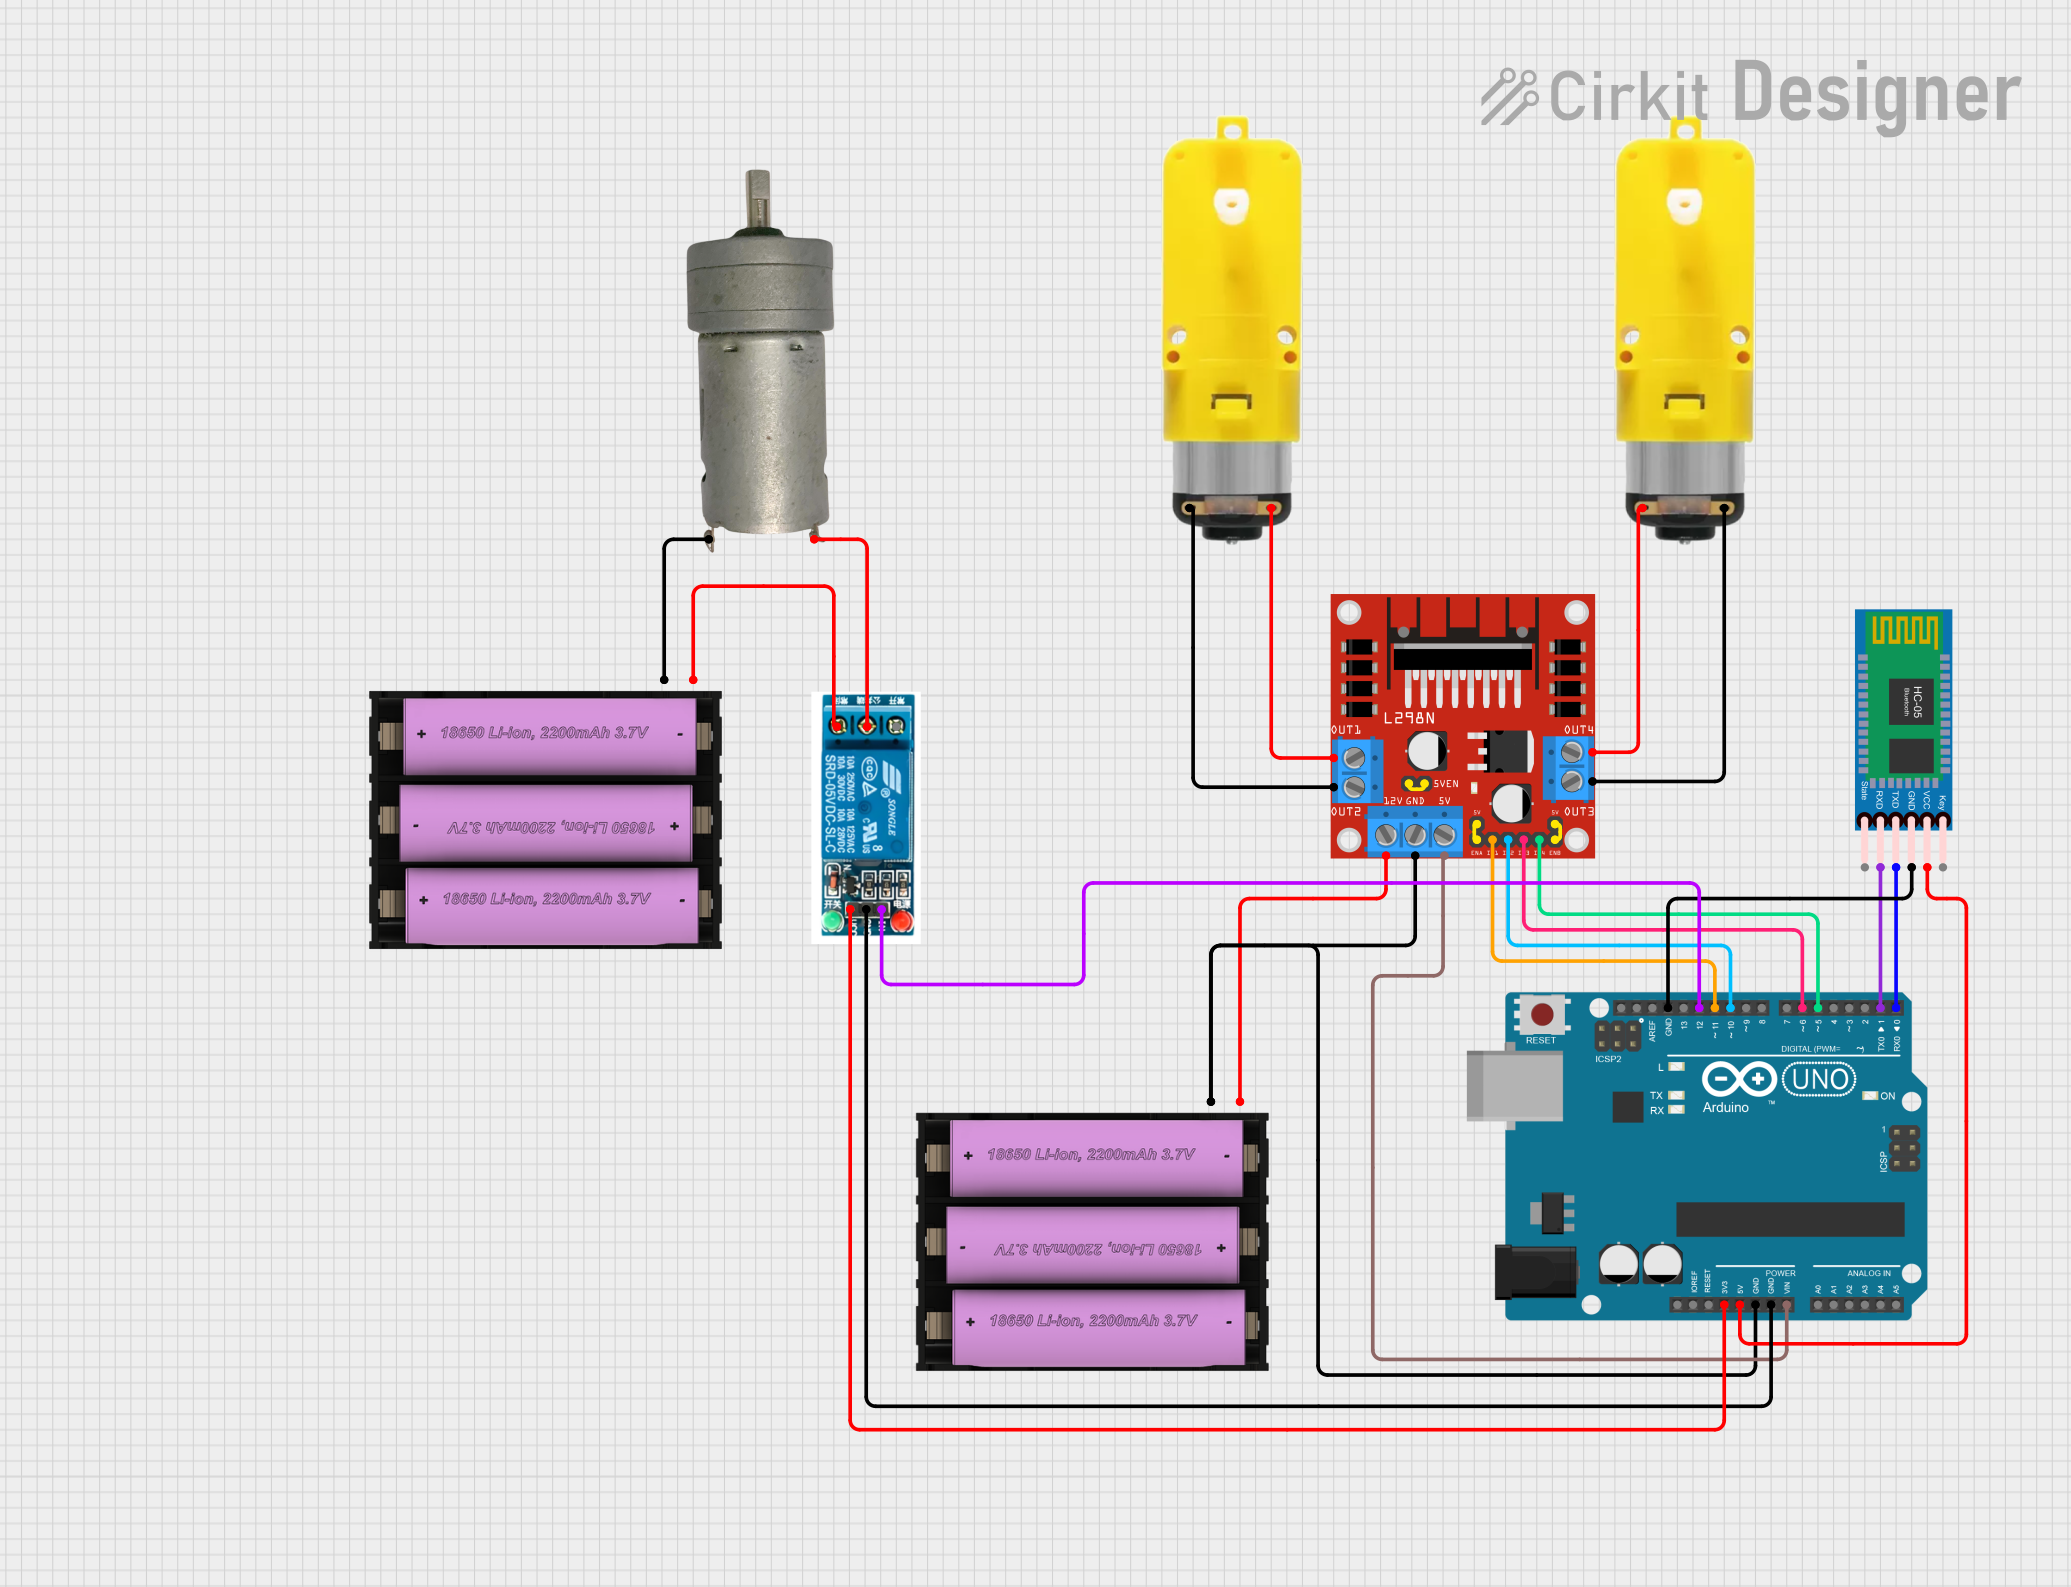 Open Project in Cirkit Designer
Explore Projects Built with Arduino BT Rev3
Open Project in Cirkit DesignerOpen Project in Cirkit DesignerOpen Project in Cirkit DesignerOpen Project in Cirkit DesignerCommon Applications
- IoT devices and smart home systems
- Wireless sensor networks
- Remote control of robots and drones
- Data logging and wireless data transmission
- Prototyping Bluetooth-enabled devices
Technical Specifications
Below are the key technical details of the Arduino BT Rev3:
| Specification | Details |
|---|---|
| Microcontroller | ATmega328 |
| Operating Voltage | 5V |
| Input Voltage (recommended) | 7-12V |
| Input Voltage (limits) | 6-20V |
| Digital I/O Pins | 14 (6 of which provide PWM output) |
| Analog Input Pins | 6 |
| DC Current per I/O Pin | 40 mA |
| Flash Memory | 32 KB (ATmega328) of which 2 KB used by bootloader |
| SRAM | 2 KB (ATmega328) |
| EEPROM | 1 KB (ATmega328) |
| Clock Speed | 16 MHz |
| Bluetooth Module | Integrated Bluetooth 2.0 module |
| Communication Protocols | UART, SPI, I2C |
| Dimensions | 68.6 mm x 53.4 mm |
| Weight | 25 g |
Pin Configuration and Descriptions
The Arduino BT Rev3 has a total of 28 pins, including digital, analog, and power pins. Below is the pin configuration:
Digital Pins
| Pin Number | Function | Description |
|---|---|---|
| D0 (RX) | UART Receive | Used for serial communication (Bluetooth or USB). |
| D1 (TX) | UART Transmit | Used for serial communication (Bluetooth or USB). |
| D2-D13 | Digital I/O | General-purpose digital input/output pins. |
| D3, D5, D6, D9, D10, D11 | PWM Output | Provide Pulse Width Modulation (PWM) functionality. |
Analog Pins
| Pin Number | Function | Description |
|---|---|---|
| A0-A5 | Analog Input | Read analog signals (0-5V) with 10-bit resolution. |
Power Pins
| Pin Name | Function | Description |
|---|---|---|
| VIN | Input Voltage | External power input (7-12V recommended). |
| 5V | Regulated 5V Output | Provides 5V to external components. |
| 3.3V | Regulated 3.3V Output | Provides 3.3V to external components. |
| GND | Ground | Common ground for the circuit. |
| RESET | Reset | Resets the microcontroller. |
Usage Instructions
How to Use the Arduino BT Rev3 in a Circuit
Powering the Board:
- Connect an external power supply (7-12V) to the VIN pin or use the USB port for power.
- Ensure the power supply is within the recommended voltage range to avoid damage.
Programming the Board:
- Use the Arduino IDE to write and upload code to the board via Bluetooth or USB.
- Select "Arduino Uno" as the board type in the Arduino IDE, as the Arduino BT Rev3 shares the same microcontroller (ATmega328).
Bluetooth Communication:
- Pair the board with a Bluetooth-enabled device (e.g., smartphone or PC).
- Use the default Bluetooth passkey (usually "1234") for pairing.
- Once paired, you can send and receive data wirelessly using serial communication.
Connecting Sensors and Actuators:
- Use the digital and analog pins to connect sensors, actuators, and other peripherals.
- Ensure the connected components do not exceed the maximum current rating of 40 mA per pin.
Important Considerations and Best Practices
- Avoid exceeding the voltage and current limits of the board to prevent damage.
- Use proper decoupling capacitors when connecting external components to reduce noise.
- When using Bluetooth, ensure the device is within the effective range (typically 10 meters).
- Disconnect the Bluetooth connection before uploading new code via USB to avoid conflicts.
Example Code for Bluetooth Communication
Below is an example of how to use the Arduino BT Rev3 to send and receive data via Bluetooth:
// Example: Bluetooth communication with Arduino BT Rev3
// This code sends "Hello, Bluetooth!" every second and echoes received data.

#include <SoftwareSerial.h>

// Define RX and TX pins for Bluetooth communication
SoftwareSerial bluetooth(0, 1); // RX = 0, TX = 1

void setup() {
  // Initialize serial communication
  Serial.begin(9600); // For USB communication
  bluetooth.begin(9600); // For Bluetooth communication

  // Print a message to indicate setup is complete
  Serial.println("Bluetooth communication started!");
}

void loop() {
  // Send a message via Bluetooth
  bluetooth.println("Hello, Bluetooth!");
  delay(1000); // Wait for 1 second

  // Check if data is received via Bluetooth
  if (bluetooth.available()) {
    String receivedData = bluetooth.readString(); // Read incoming data
    Serial.print("Received via Bluetooth: ");
    Serial.println(receivedData); // Print received data to Serial Monitor
  }
}
Troubleshooting and FAQs
Common Issues and Solutions
Bluetooth Pairing Fails:
- Ensure the board is powered on and within range of the Bluetooth device.
- Verify the Bluetooth passkey (default is "1234").
- Restart both the Arduino BT Rev3 and the Bluetooth device.
Code Upload Fails:
- Disconnect the Bluetooth connection before uploading code via USB.
- Check that the correct COM port and board type ("Arduino Uno") are selected in the Arduino IDE.
No Data Received via Bluetooth:
- Verify that the baud rate in the code matches the Bluetooth module's default baud rate (9600).
- Ensure the RX and TX pins are correctly connected.
Board Not Powering On:
- Check the power supply voltage and connections.
- Ensure the USB cable or external power source is functional.
FAQs
Q: Can I use the Arduino BT Rev3 with an external Bluetooth module?
A: Yes, but the board already includes an integrated Bluetooth module, so an external module is not necessary.
Q: What is the maximum range of the Bluetooth connection?
A: The effective range is typically 10 meters, but this may vary depending on environmental factors.
Q: Can I use the Arduino BT Rev3 for battery-powered projects?
A: Yes, you can power the board using a battery pack (7-12V recommended) connected to the VIN pin.
Q: Is the Arduino BT Rev3 compatible with all Arduino shields?
A: The board is compatible with most Arduino shields designed for the Arduino Uno form factor. However, ensure the shield does not interfere with the Bluetooth module.