
How to Use TM3DQ16T Schneider Electric: Examples, Pinouts, and Specs
 Design with TM3DQ16T Schneider Electric in Cirkit Designer
Introduction
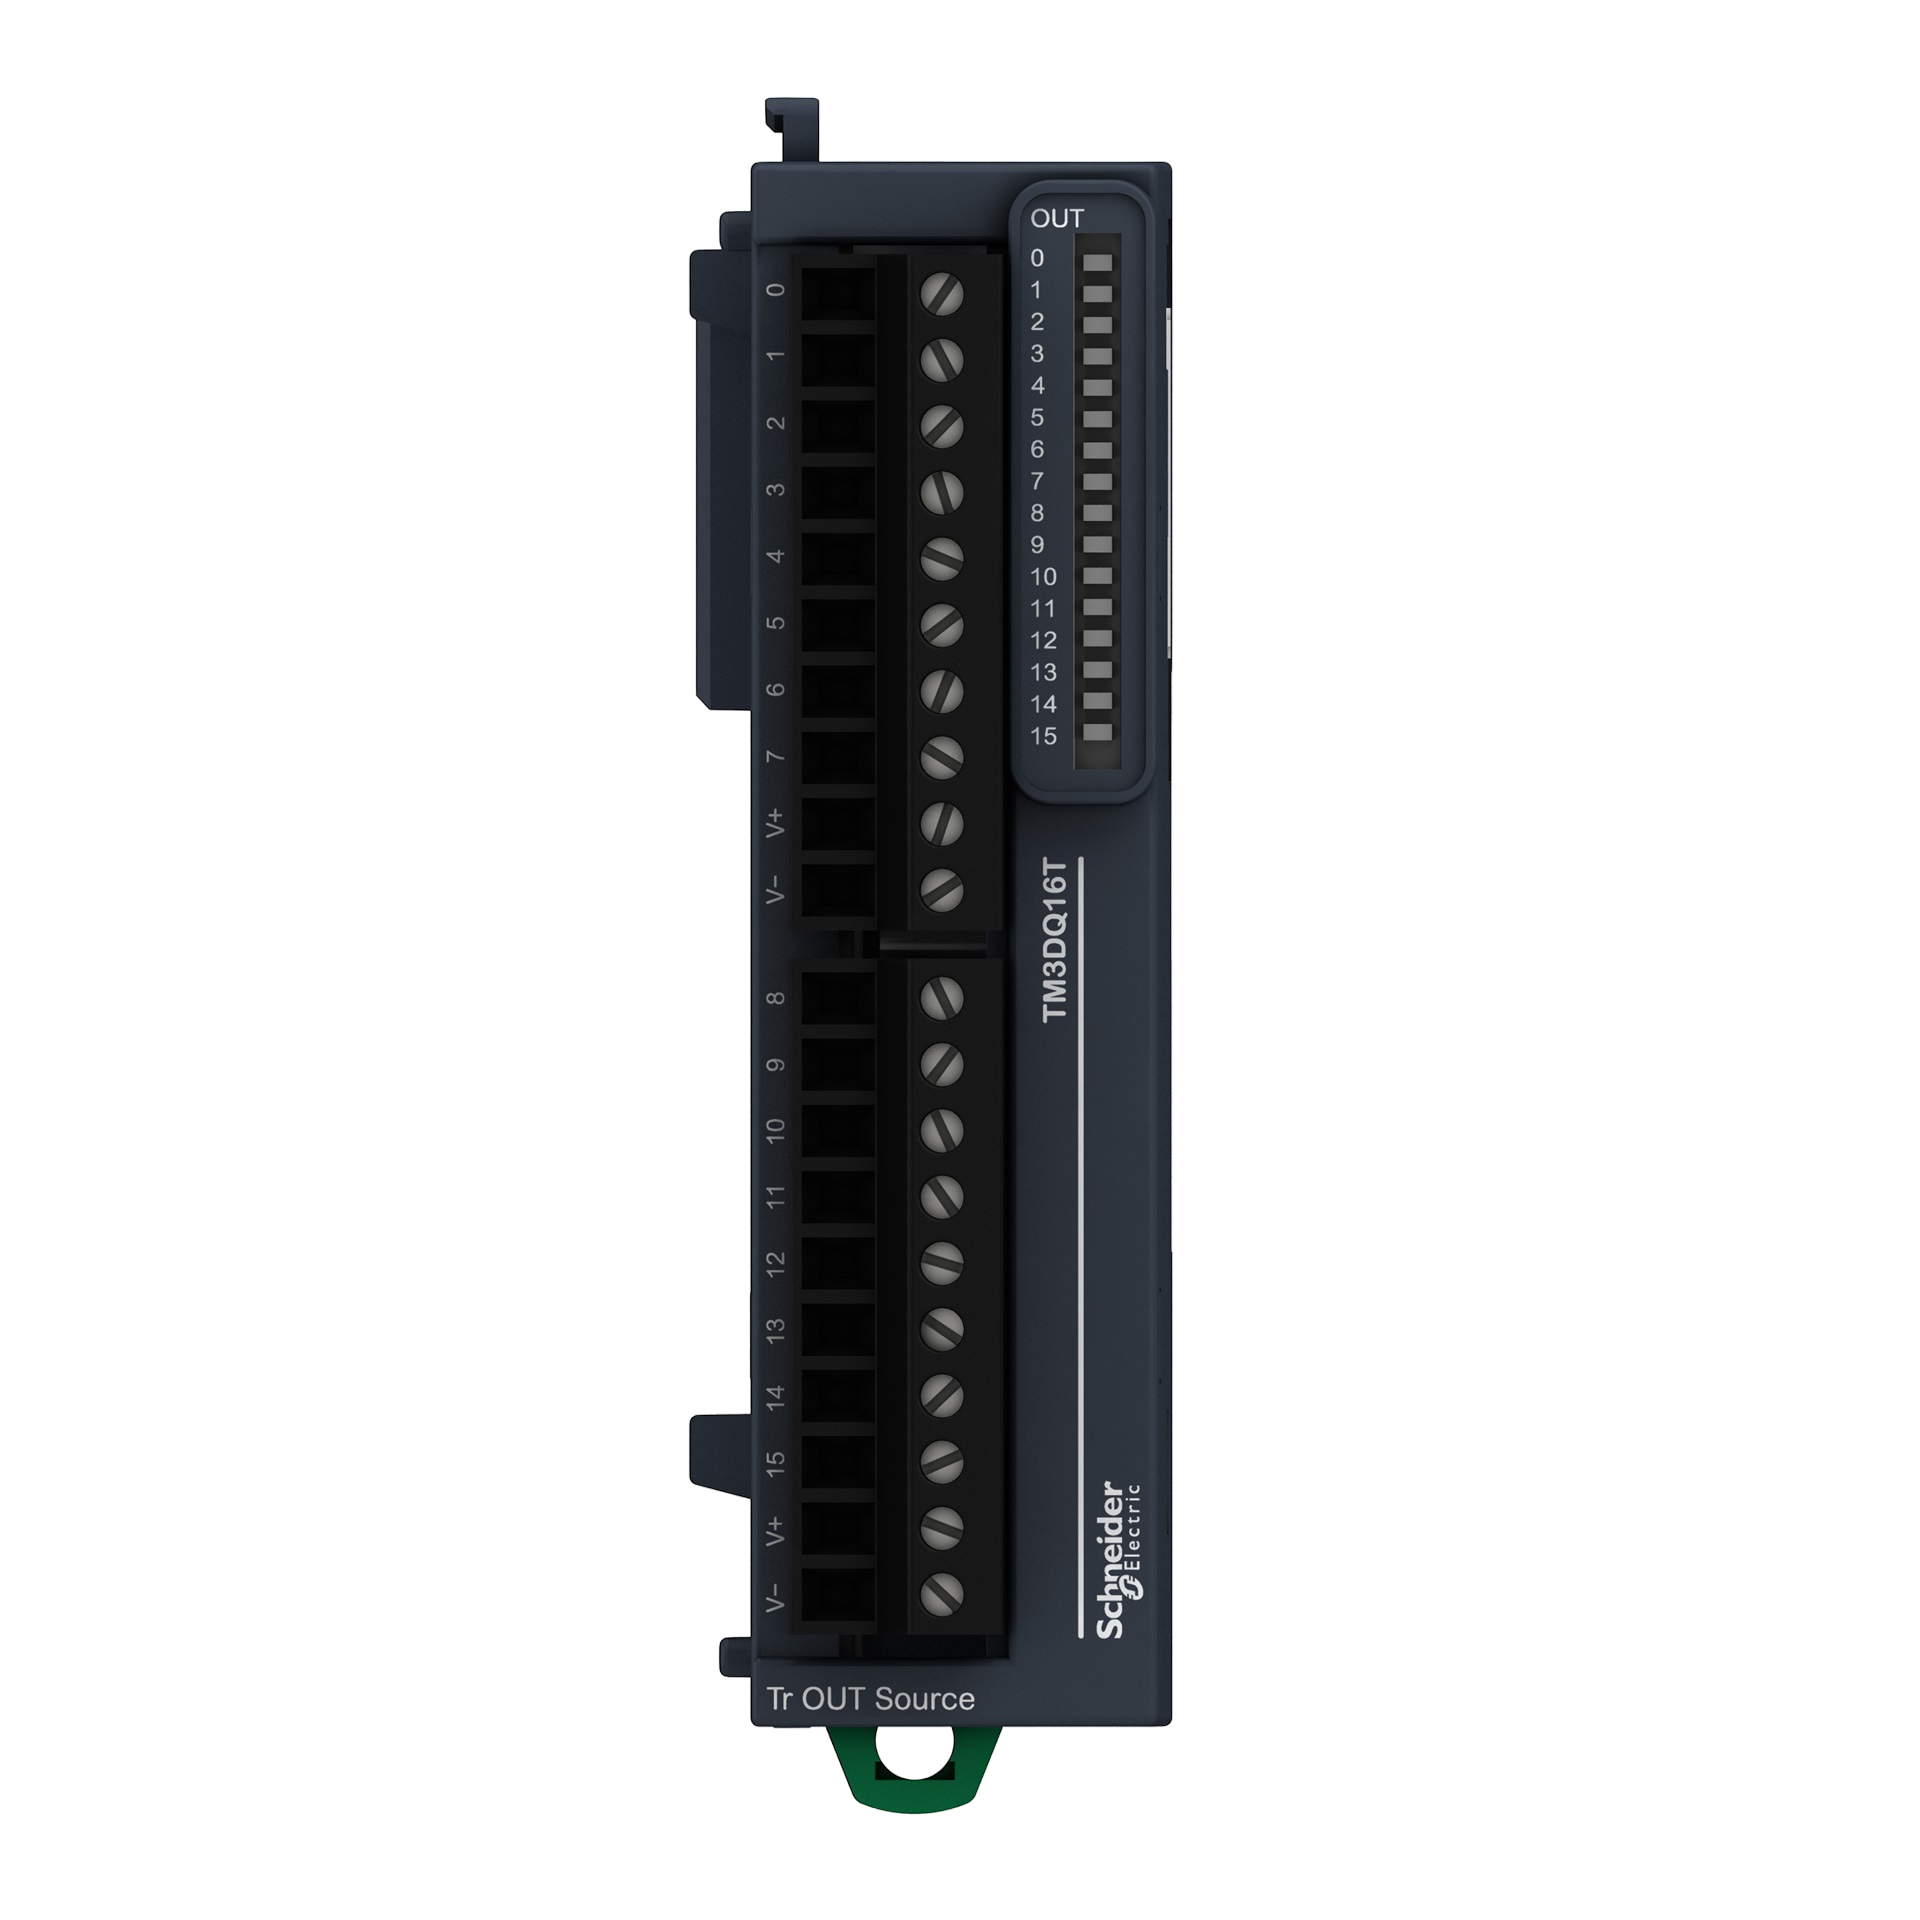
The TM3DQ16T is a versatile digital input/output module manufactured by Saya, designed as part of the TM3 series for modular automation systems. This component features 16 configurable digital channels, allowing users to set them as either inputs or outputs based on their application requirements. It is commonly used in industrial automation to control and monitor devices such as sensors, actuators, and relays.
Explore Projects Built with TM3DQ16T Schneider Electric
 Open Project in Cirkit Designer
 Open Project in Cirkit Designer
 Open Project in Cirkit Designer
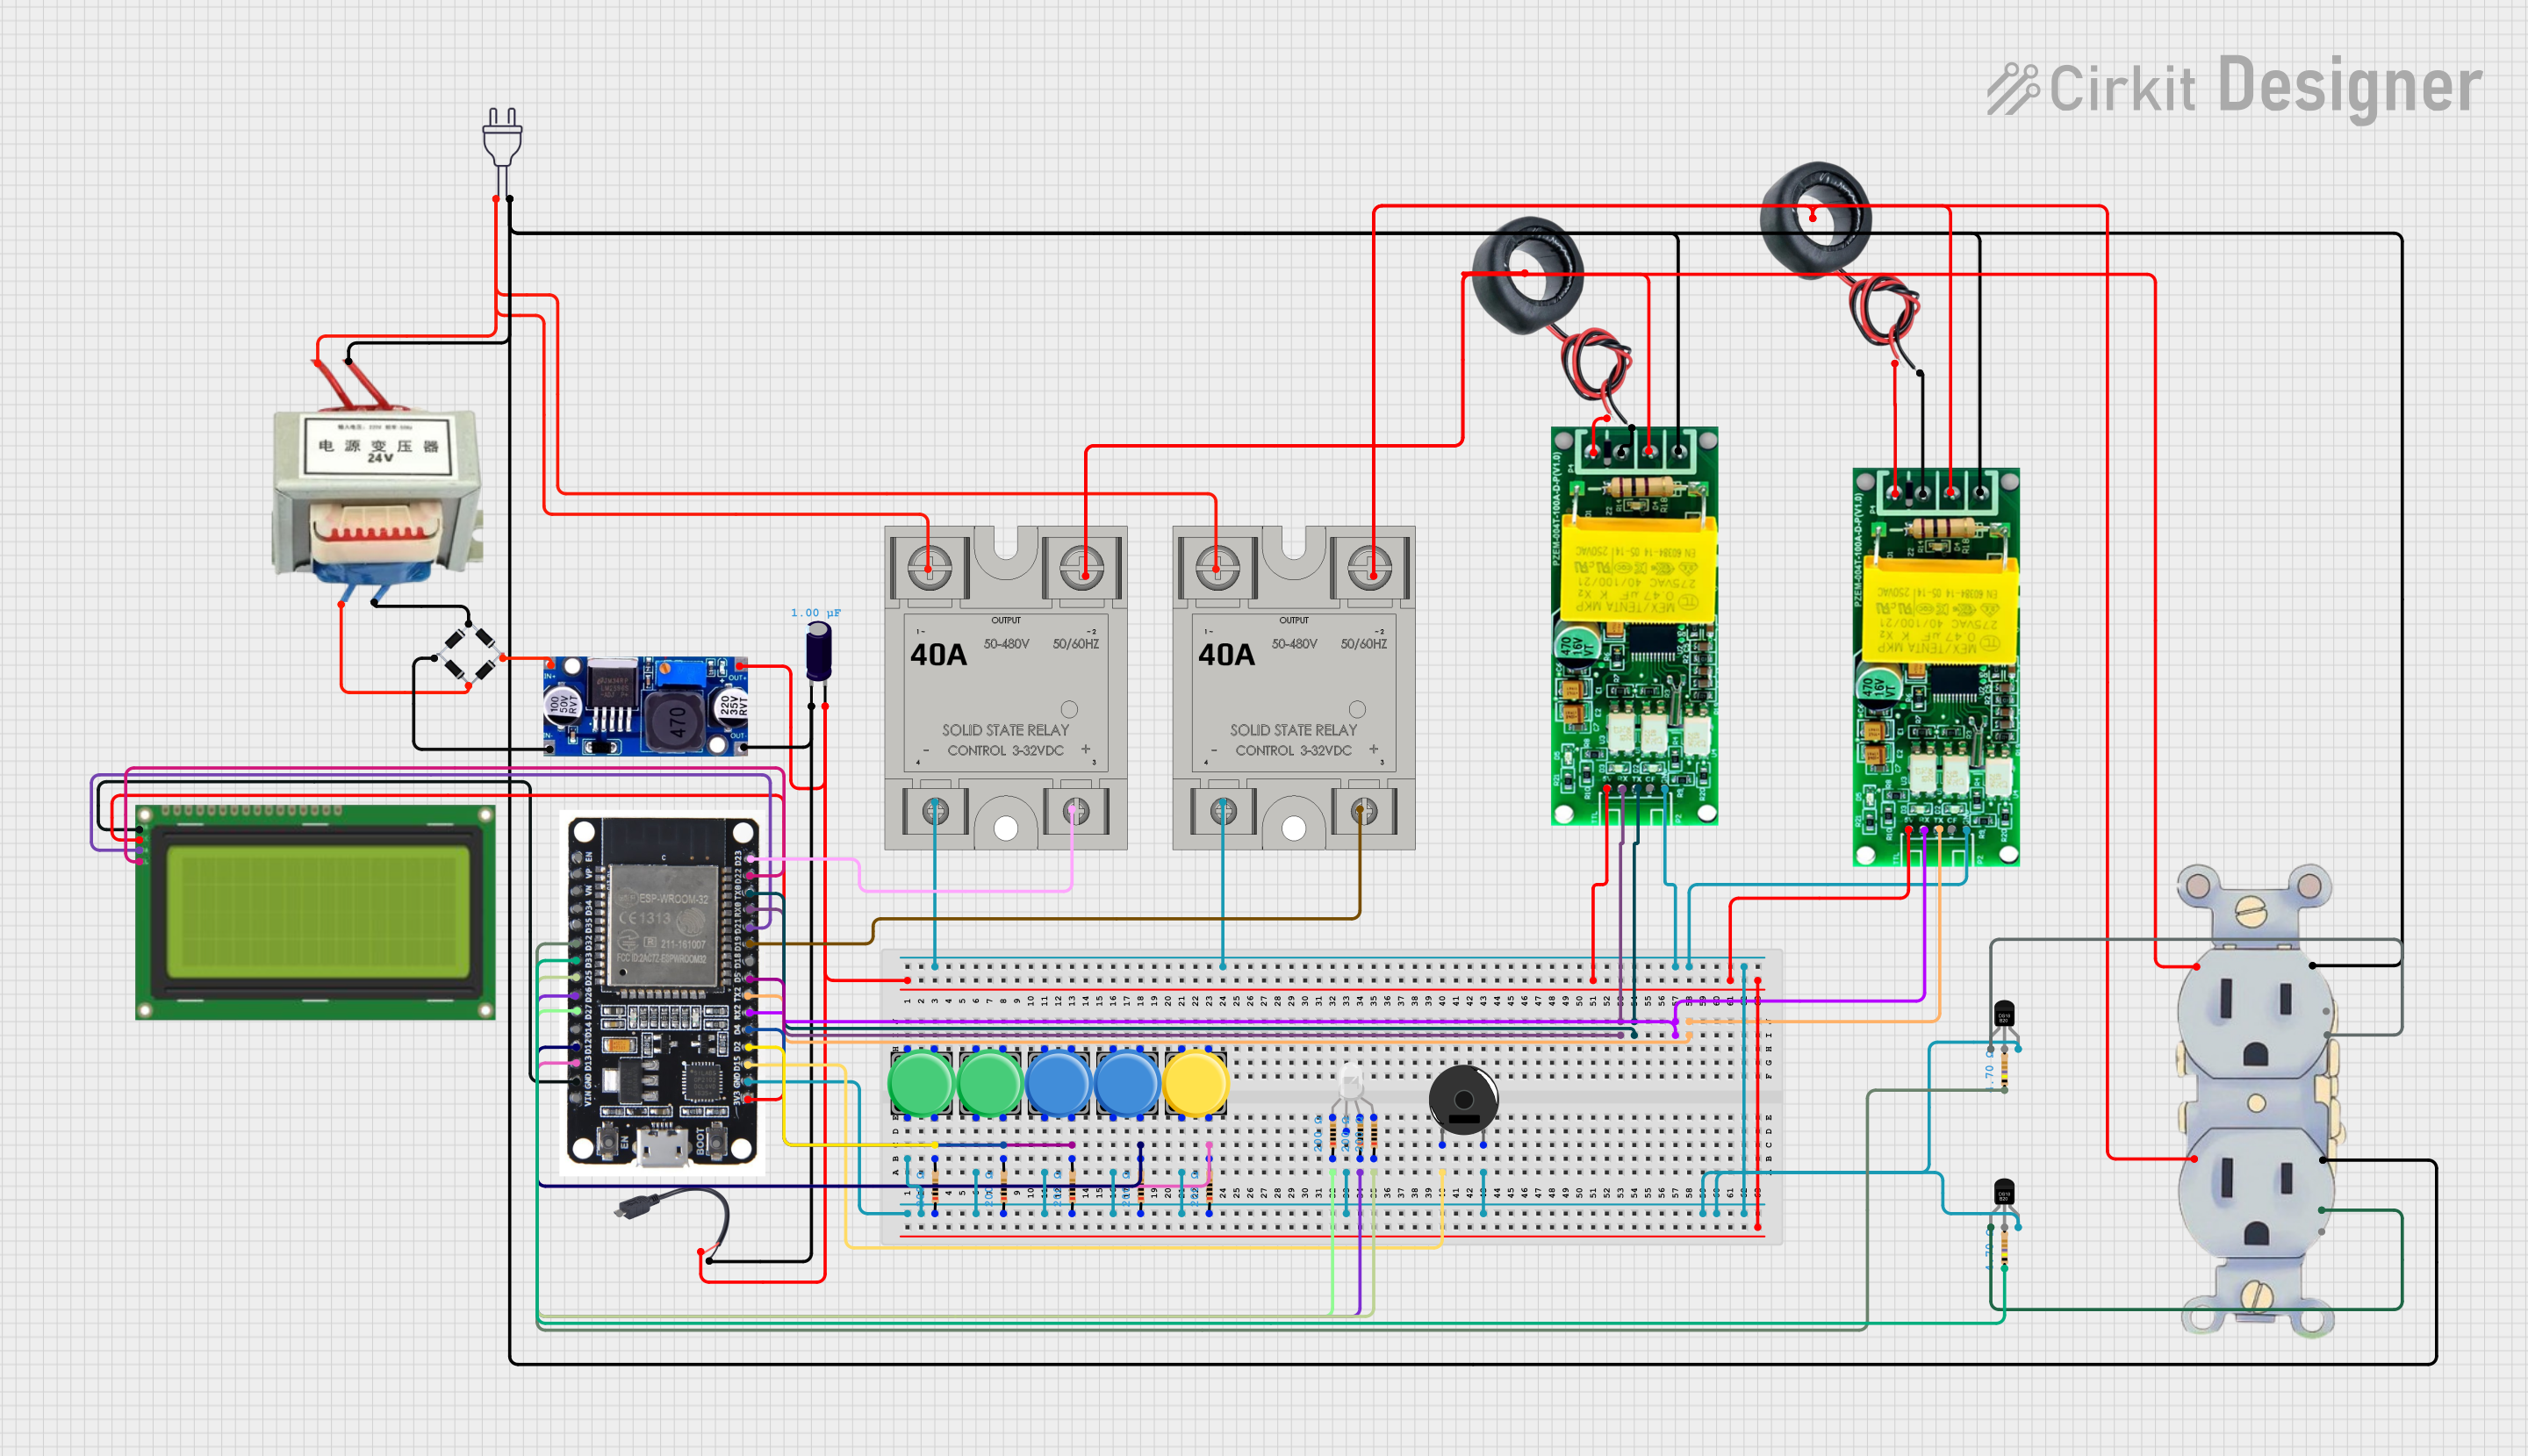 Open Project in Cirkit Designer
Explore Projects Built with TM3DQ16T Schneider Electric
Open Project in Cirkit DesignerOpen Project in Cirkit DesignerOpen Project in Cirkit DesignerOpen Project in Cirkit DesignerCommon Applications and Use Cases
- Industrial process automation
- Machine control systems
- Monitoring and controlling sensors and actuators
- Integration with programmable logic controllers (PLCs)
- Modular expansion for automation systems
Technical Specifications
The TM3DQ16T is designed to meet the demands of industrial environments, offering robust performance and flexibility. Below are the key technical specifications:
| Parameter | Specification |
|---|---|
| Number of Channels | 16 (configurable as input or output) |
| Input Voltage Range | 24 V DC |
| Output Voltage Range | 24 V DC |
| Output Current per Channel | 0.5 A max |
| Total Module Current | 8 A max |
| Response Time | Input: 3 ms, Output: 2 ms |
| Isolation Voltage | 500 V (between channels and logic) |
| Operating Temperature | -10°C to +55°C |
| Storage Temperature | -40°C to +70°C |
| Dimensions (W x H x D) | 23.5 mm x 90 mm x 70 mm |
| Mounting | DIN rail |
Pin Configuration and Descriptions
The TM3DQ16T module features a terminal block for connecting external devices. The pin configuration is as follows:
Input/Output Terminal Pinout
| Pin Number | Function | Description |
|---|---|---|
| 1-8 | Digital I/O Channels 1-8 | Configurable as input or output |
| 9-16 | Digital I/O Channels 9-16 | Configurable as input or output |
| 17 | Common (COM1) | Common ground for channels 1-8 |
| 18 | Common (COM2) | Common ground for channels 9-16 |
| 19 | 24 V DC Supply (+) | Positive power supply for the module |
| 20 | 24 V DC Supply (-) | Negative power supply for the module |
Usage Instructions
The TM3DQ16T module is designed for easy integration into modular automation systems. Follow the steps below to use the module effectively:
Step 1: Mounting the Module
- Secure the module onto a DIN rail in your control panel.
- Ensure the module is properly aligned with other TM3 series modules for seamless communication.
Step 2: Wiring the Module
- Connect the 24 V DC power supply to pins 19 (+) and 20 (-).
- Wire the digital input/output devices to the appropriate I/O channels (pins 1-16).
- Connect the common ground (COM1 or COM2) to the corresponding devices.
Step 3: Configuring the Channels
- Use the associated PLC or controller software to configure each channel as an input or output.
- Assign the desired logic levels and functions to each channel.
Step 4: Programming the Controller
If you are using an Arduino UNO to interface with the TM3DQ16T, you can use the following example code to read inputs and control outputs:
// Example code for interfacing Arduino UNO with TM3DQ16T module
// This code reads input from channel 1 and controls output on channel 9

#define INPUT_CHANNEL 2  // Arduino pin connected to TM3DQ16T channel 1
#define OUTPUT_CHANNEL 3 // Arduino pin connected to TM3DQ16T channel 9

void setup() {
  pinMode(INPUT_CHANNEL, INPUT);  // Set channel 1 as input
  pinMode(OUTPUT_CHANNEL, OUTPUT); // Set channel 9 as output
}

void loop() {
  int inputState = digitalRead(INPUT_CHANNEL); // Read input state

  if (inputState == HIGH) {
    digitalWrite(OUTPUT_CHANNEL, HIGH); // Turn on output if input is HIGH
  } else {
    digitalWrite(OUTPUT_CHANNEL, LOW);  // Turn off output if input is LOW
  }
}
Best Practices
- Ensure proper grounding to avoid electrical noise interference.
- Do not exceed the maximum current rating of 0.5 A per channel.
- Use appropriate fuses or circuit breakers to protect the module and connected devices.
- Verify the input/output configuration in the controller software before operation.
Troubleshooting and FAQs
Common Issues and Solutions
| Issue | Possible Cause | Solution |
|---|---|---|
| Module not powering on | Incorrect wiring of power supply | Verify connections to pins 19 (+) and 20 (-). |
| Channels not responding | Misconfigured input/output settings | Check and update the configuration in the controller software. |
| Output devices not functioning | Exceeding current rating or wiring issue | Ensure the load does not exceed 0.5 A per channel and verify wiring. |
| Electrical noise affecting performance | Poor grounding or shielding | Improve grounding and use shielded cables if necessary. |
FAQs
Can I use the TM3DQ16T with other TM3 modules?
Yes, the TM3DQ16T is designed for seamless integration with other TM3 series modules.What happens if I exceed the maximum current rating?
Exceeding the current rating may damage the module or connected devices. Always ensure the load is within the specified limits.Can I configure all 16 channels as outputs?
Yes, all 16 channels can be configured as outputs if required.Is the module compatible with 12 V DC systems?
No, the TM3DQ16T is designed for 24 V DC systems only.
By following this documentation, users can effectively integrate and operate the TM3DQ16T module in their automation systems.