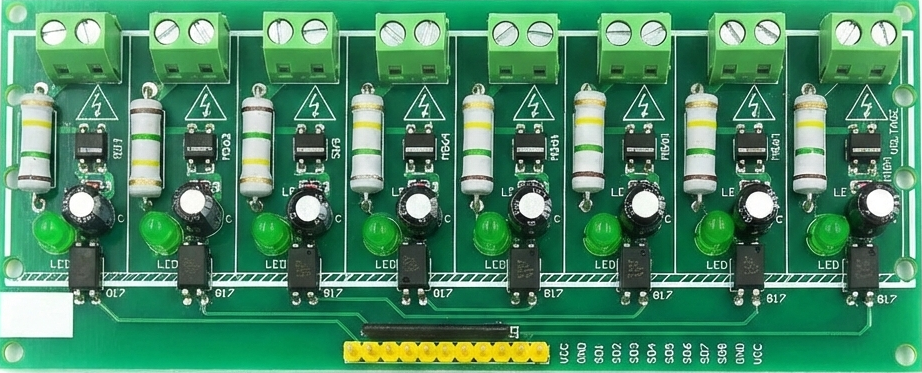
The 8-Channel AC 220V Optocoupler Input Module by Hailege is designed to safely interface high-voltage AC signals (up to 220V) with low-voltage control systems such as microcontrollers, PLCs, or other digital logic devices. This module uses optocouplers to provide electrical isolation between the high-voltage AC side and the low-voltage control side, ensuring safety and protecting sensitive components from voltage spikes or surges.
Explore Projects Built with 8-Channel AC 220V Optocoupler Input Module
Use Cirkit Designer to design, explore, and prototype these projects online. Some projects support real-time simulation. Click "Open Project" to start designing instantly!
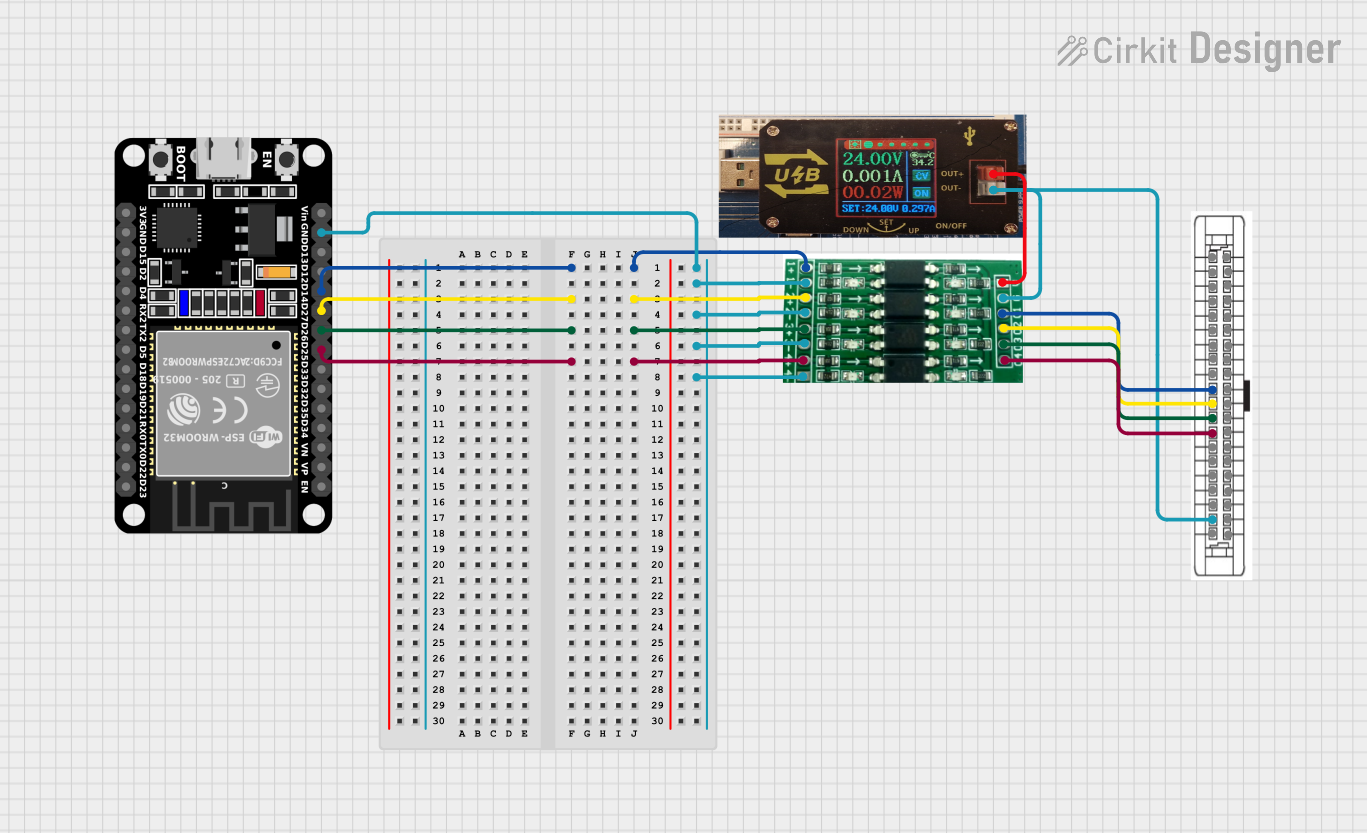
This circuit uses an ESP32 microcontroller to interface with a 3.3V PNP to 24V NPN photoelectric isolation module, which in turn connects to a 40-pin connector for general-purpose input and output. The 24V power supply provides the necessary voltage for the isolation module and the 40-pin connector, enabling the ESP32 to control and monitor high-voltage signals safely.
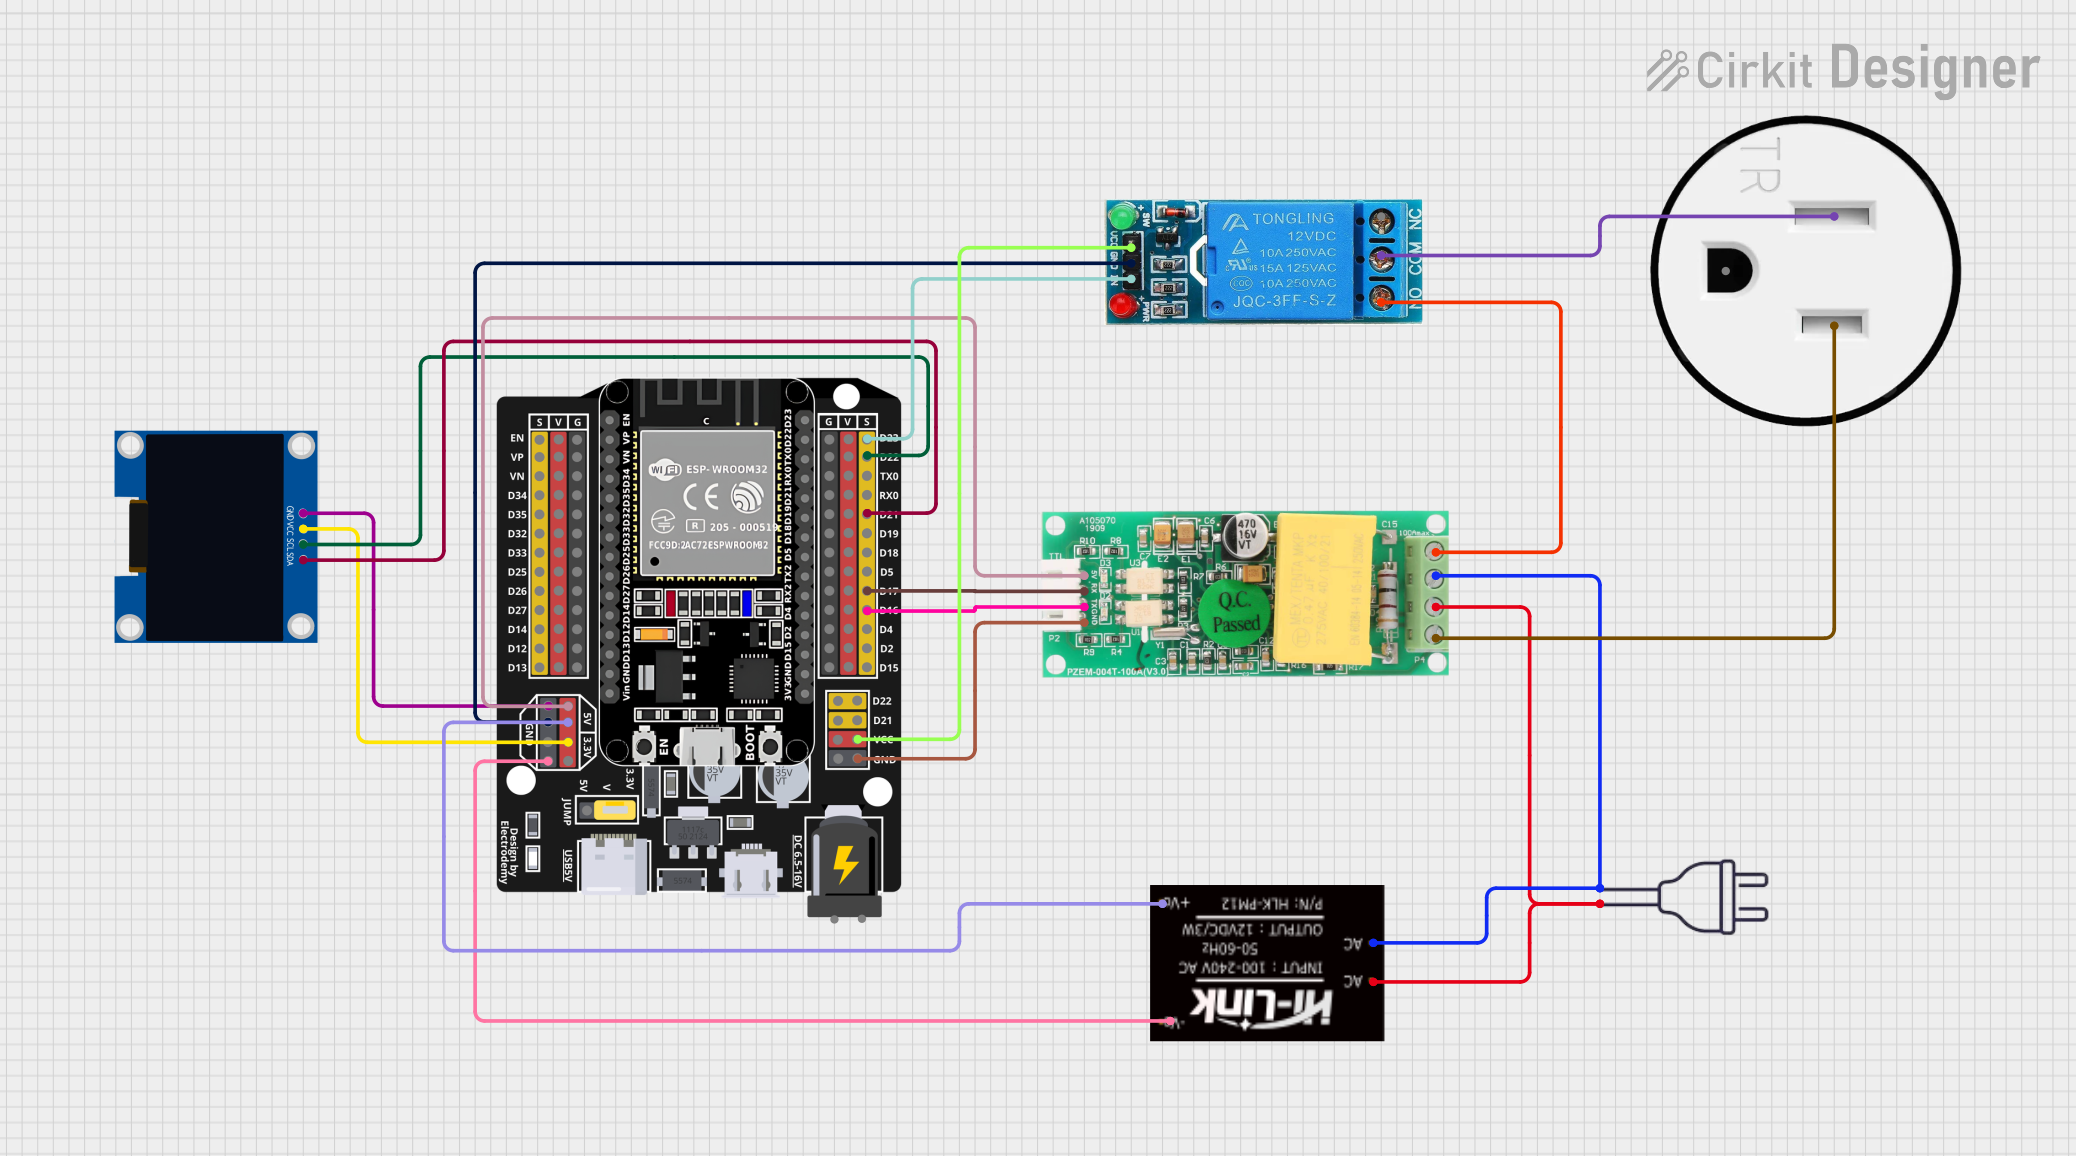
This circuit is designed to monitor and control a 120V AC outlet using an ESP32 microcontroller. It includes a PZEM004t module for measuring voltage, current, and power, and a 12V relay to switch the outlet on and off. An OLED display is used to show real-time data, and the HLK-PM12 module provides the necessary 5V and 3.3V power to the components.
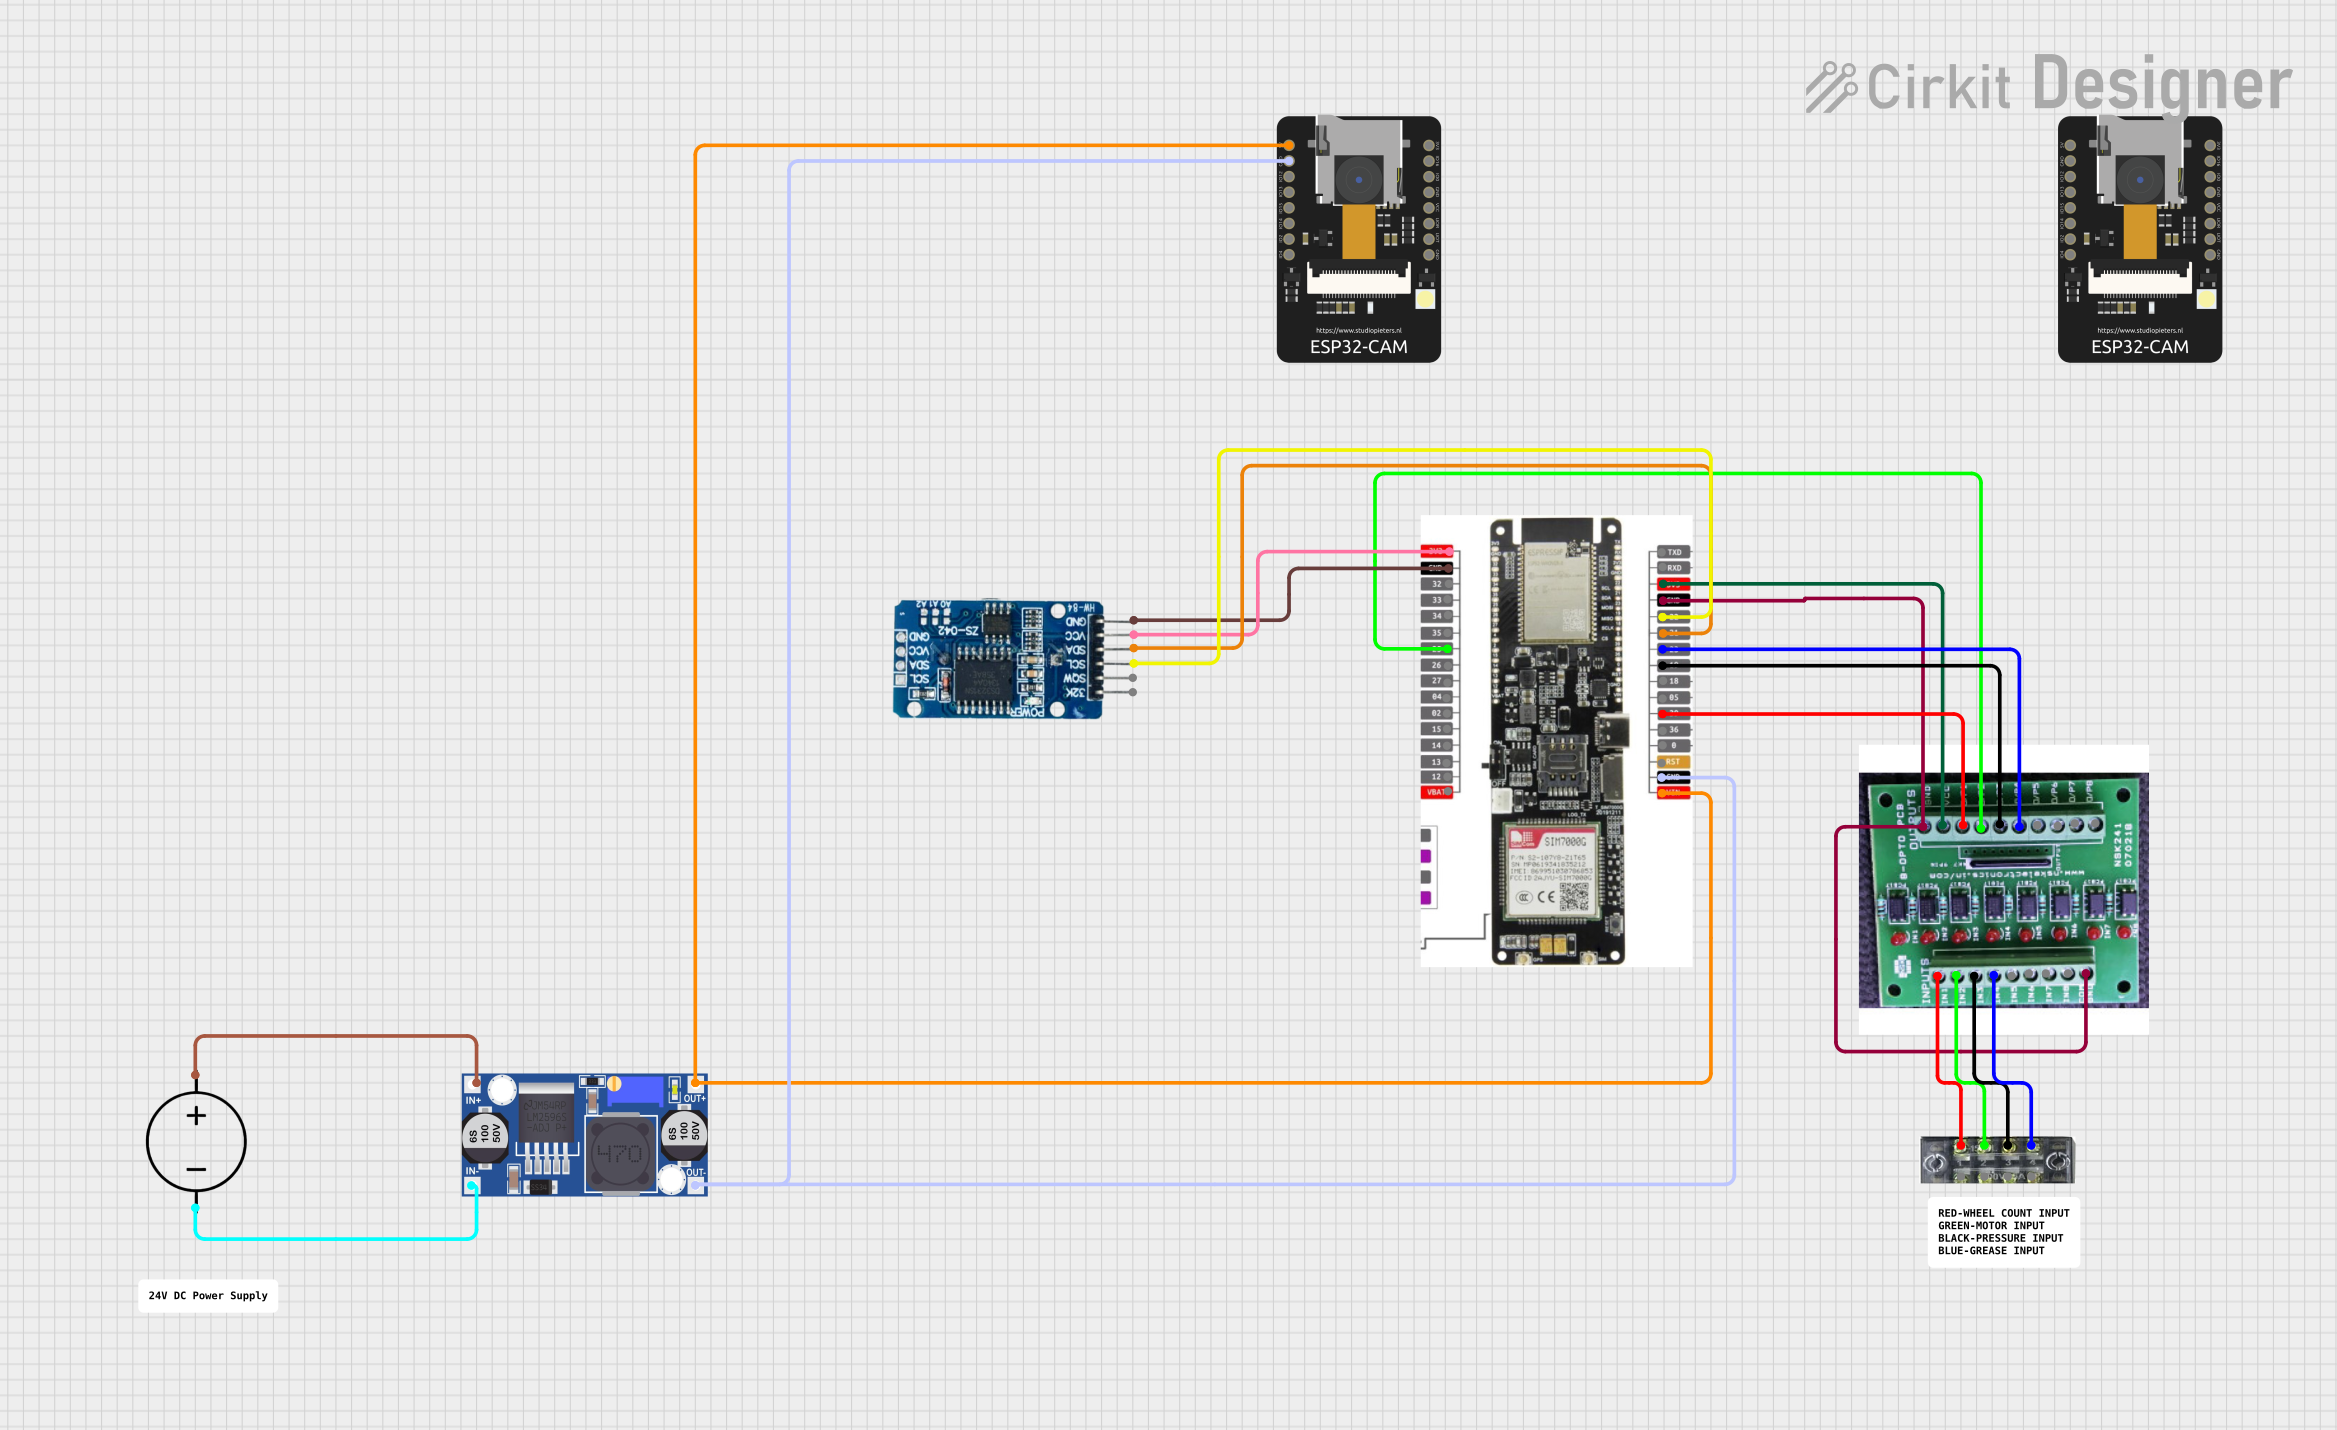
This circuit integrates a LilyGo-SIM7000G module with an RTC DS3231 for timekeeping, interfaced via I2C (SCL and SDA lines). An 8-Channel OPTO-COUPLER is used to isolate and interface external signals with the LilyGo-SIM7000G's GPIOs. Power is managed by a Buck converter, which steps down voltage from a DC Power Source to supply the ESP32-CAM and LilyGo-SIM7000G modules, as well as the OPTO-COUPLER.
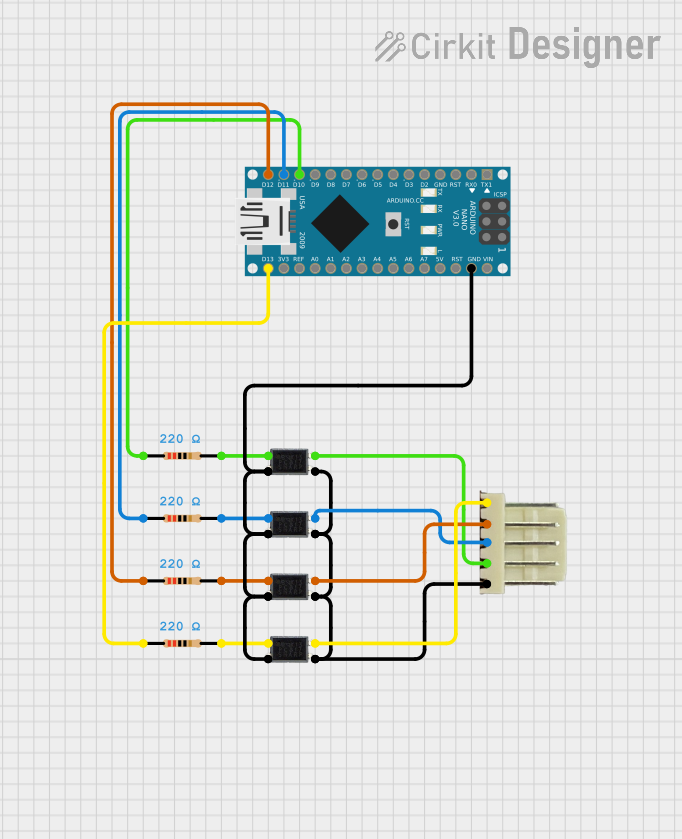
This circuit uses optocouplers paired with 220-ohm resistors to interface an Arduino Nano with an external device via a 5-pin relimate connector, providing electrical isolation and signal transfer while protecting the microcontroller. The Arduino's digital I/O pins are connected to the optocouplers, but the control logic is not yet defined in the provided code.
Interfacing high-voltage AC devices with microcontrollers (e.g., Arduino, Raspberry Pi)
Technical Specifications
Below are the key technical details of the 8-Channel AC 220V Optocoupler Input Module:
Parameter
Specification
Operating Voltage (Input)
100V AC to 250V AC
Output Voltage (Logic)
3.3V to 5V DC
Channels
8 independent optocoupler input channels
Isolation Voltage
≥ 2500V
Input Signal Frequency
50Hz to 60Hz
Output Type
Active low (logic 0 when input is active)
Dimensions
135mm x 55mm x 20mm
Mounting
Screw holes for secure installation
Pin Configuration and Descriptions
The module has two main interfaces: the AC input terminals and the logic output pins.
AC Input Terminals
Terminal
Description
IN1 to IN8
AC input channels (100V-250V AC)
COM
Common terminal for AC inputs
Logic Output Pins
Pin
Description
OUT1 to OUT8
Logic output pins corresponding to IN1 to IN8
GND
Ground connection for the logic circuit
VCC
Power supply for the logic circuit (3.3V-5V DC)
Usage Instructions
How to Use the Module in a Circuit
Power the Module: Connect the VCC pin to a 3.3V or 5V DC power source and the GND pin to the ground of your control system.
Connect AC Inputs: Wire the AC signals (100V-250V AC) to the input terminals (IN1 to IN8). Ensure that the common terminal (COM) is properly connected to the AC circuit.
Connect Logic Outputs: Connect the output pins (OUT1 to OUT8) to the digital input pins of your microcontroller or control system. The outputs are active low, meaning they will output a logic 0 when the corresponding AC input is active.
Verify Connections: Double-check all connections to ensure proper wiring and avoid short circuits.
Test the Module: Power on the system and monitor the logic outputs to confirm that the module is detecting AC signals correctly.
Important Considerations and Best Practices
Isolation: Ensure that the AC side and the logic side are electrically isolated to prevent damage to your control system.
Voltage Range: Do not exceed the specified AC input voltage range (100V-250V AC).
Output Pull-Up Resistors: If the logic outputs are not responding correctly, consider adding pull-up resistors to the output pins.
Safety Precautions: Always handle high-voltage AC circuits with care. Disconnect power before making any connections or modifications.
Example: Connecting to an Arduino UNO
Below is an example of how to connect the module to an Arduino UNO and read the status of the AC inputs.
Circuit Connections
Connect the module's VCC to the Arduino's 5V pin.
Connect the module's GND to the Arduino's GND pin.
Connect the module's OUT1 to Arduino digital pin 2, OUT2 to pin 3, and so on.
Arduino Code
// Define the input pins for the optocoupler module
const int inputPins[8] = {2, 3, 4, 5, 6, 7, 8, 9};

void setup() {
  // Initialize serial communication for debugging
  Serial.begin(9600);

  // Set the input pins as INPUT
  for (int i = 0; i < 8; i++) {
    pinMode(inputPins[i], INPUT);
  }
}

void loop() {
  // Read and print the status of each channel
  for (int i = 0; i < 8; i++) {
    int state = digitalRead(inputPins[i]);
    Serial.print("Channel ");
    Serial.print(i + 1);
    Serial.print(": ");
    Serial.println(state == LOW ? "ACTIVE" : "INACTIVE");
  }

  // Add a small delay to avoid flooding the serial monitor
  delay(500);
}
Troubleshooting and FAQs
Common Issues and Solutions
No Output Signal Detected
Cause: Incorrect wiring or insufficient power supply.
Solution: Verify that the VCC and GND pins are properly connected and that the AC input voltage is within the specified range.
Output Pins Always HIGH
Cause: No AC signal is present or the input voltage is too low.
Solution: Check the AC input connections and ensure the input voltage is between 100V and 250V AC.
Output Pins Always LOW
Cause: Faulty module or short circuit on the output side.
Solution: Inspect the module for damage and ensure there are no short circuits in the output wiring.
Interference or Noise in Outputs
Cause: High-frequency noise or improper grounding.
Solution: Use proper grounding techniques and consider adding capacitors to filter noise.
FAQs
Q: Can this module be used with a 3.3V logic system?
A: Yes, the module supports both 3.3V and 5V logic levels.
Q: Is it safe to directly connect the AC inputs to household mains?
A: Yes, as long as the input voltage is within the specified range (100V-250V AC). However, always follow proper safety precautions when working with high-voltage circuits.
Q: Can I use fewer than 8 channels?
A: Yes, you can use any number of channels. Unused channels will remain inactive.
Q: Does the module support DC input signals?
A: No, this module is designed specifically for AC signals. For DC signals, consider using a DC optocoupler module.

 Open Project in Cirkit Designer