
How to Use USB LiPoly Charger: Examples, Pinouts, and Specs
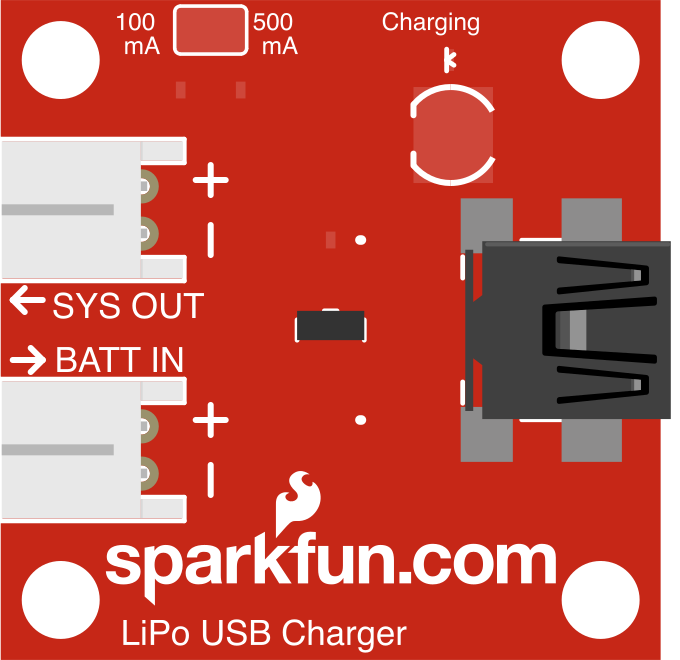
 Design with USB LiPoly Charger in Cirkit Designer
Introduction
The USB LiPoly Charger (Manufacturer Part ID: PRT-10083) by SparkFun Electronics is a compact and efficient device designed to charge lithium polymer (LiPoly) batteries via a USB connection. It provides a safe and reliable charging solution with built-in protection features, such as overcharge prevention and short-circuit protection. This charger is ideal for powering portable electronics, wearables, and DIY projects that utilize LiPoly batteries.
Explore Projects Built with USB LiPoly Charger
 Open Project in Cirkit Designer
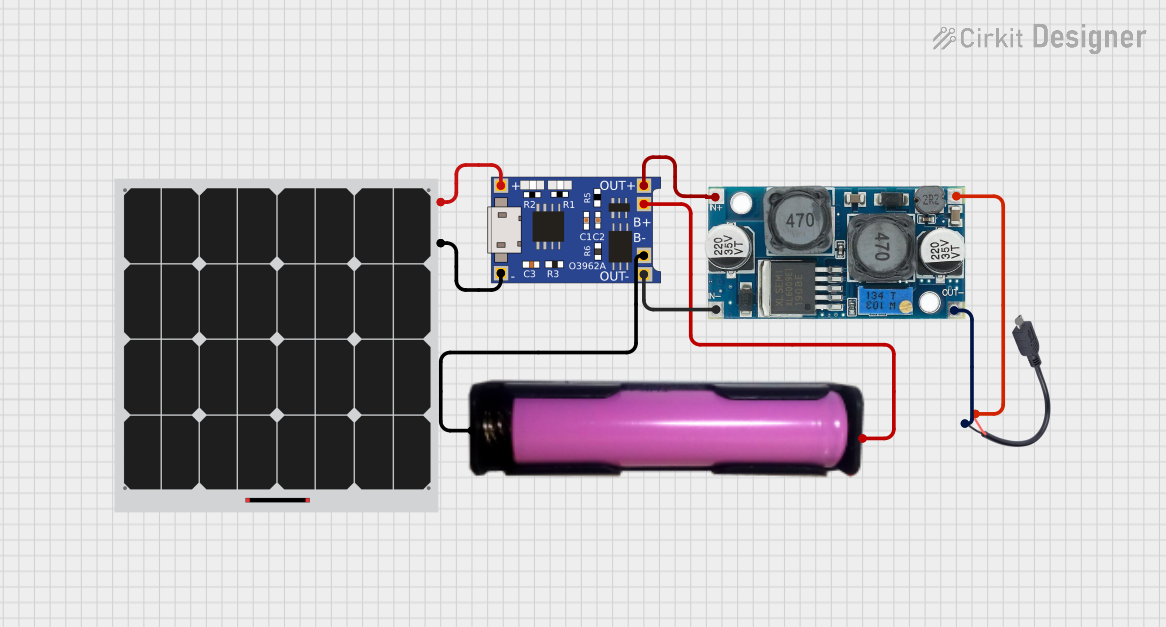 Open Project in Cirkit Designer
 Open Project in Cirkit Designer
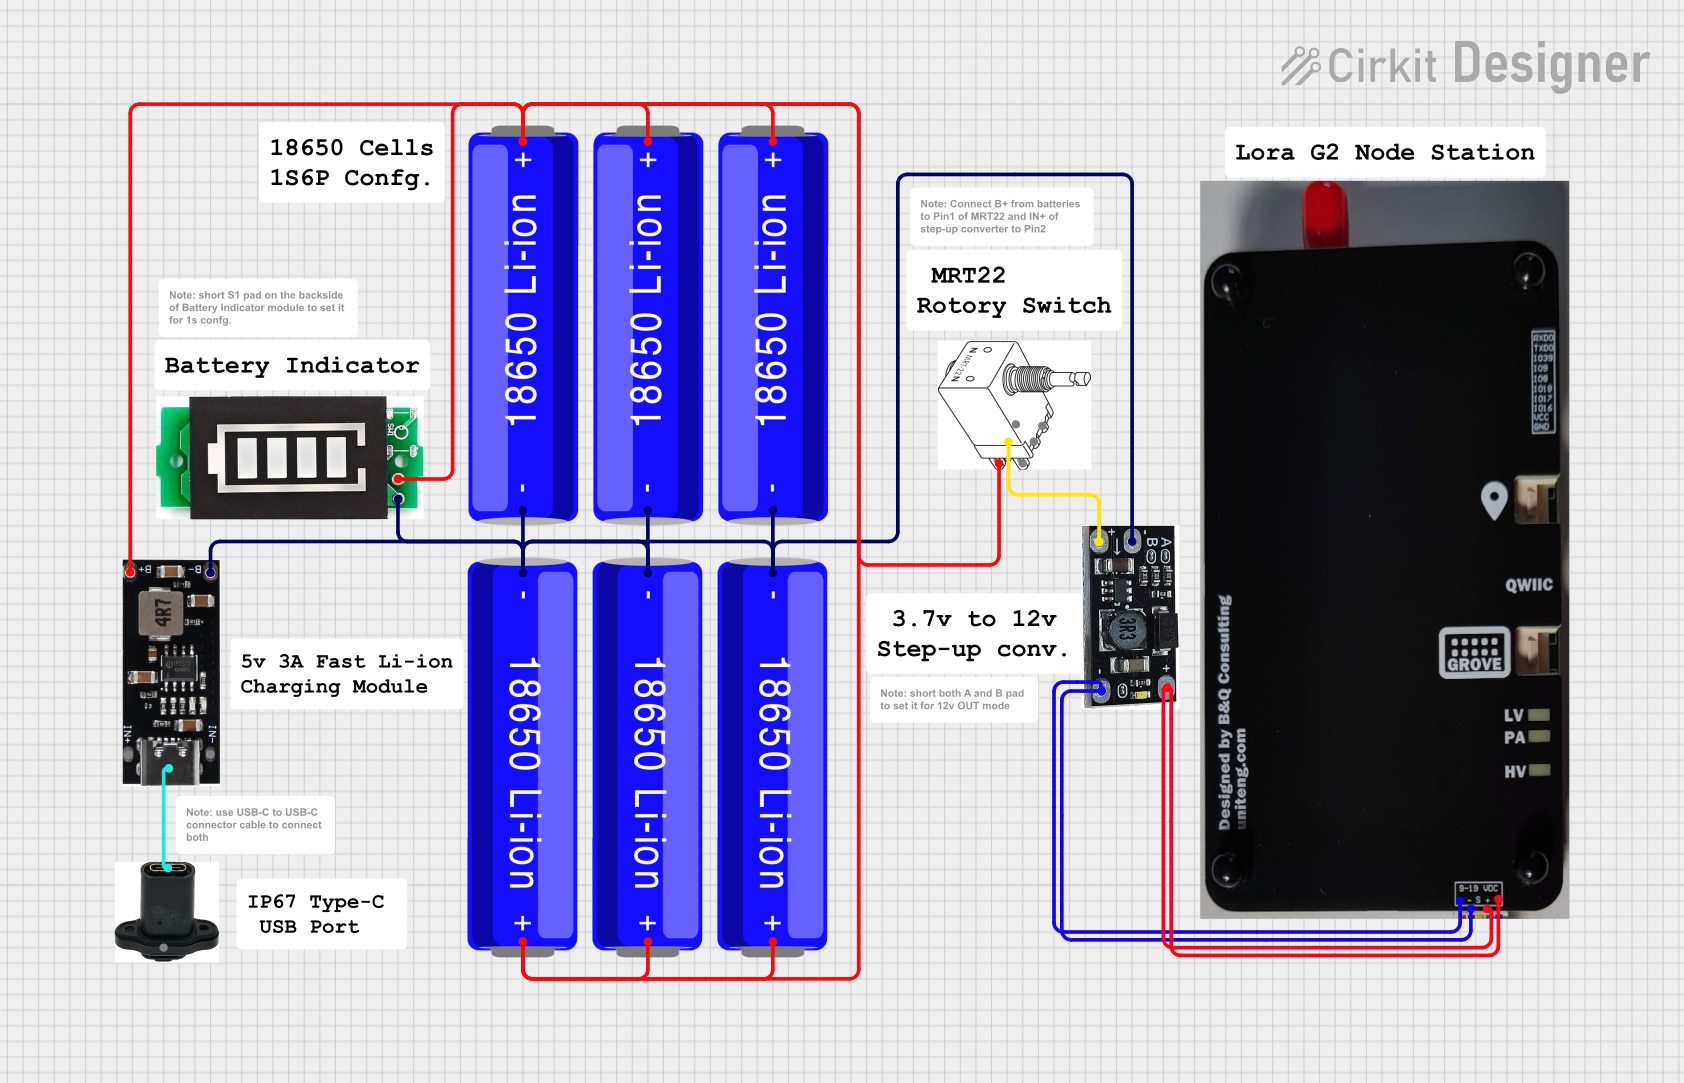 Open Project in Cirkit Designer
Explore Projects Built with USB LiPoly Charger
Open Project in Cirkit DesignerOpen Project in Cirkit DesignerOpen Project in Cirkit DesignerOpen Project in Cirkit DesignerCommon Applications
- Charging lithium polymer batteries for portable devices
- Powering wearable electronics
- DIY electronics projects requiring rechargeable power sources
- Robotics and IoT devices
Technical Specifications
The USB LiPoly Charger is designed to work seamlessly with single-cell LiPoly batteries. Below are its key technical details:
General Specifications
| Parameter | Value |
|---|---|
| Input Voltage | 5V (via USB) |
| Charging Current | 500mA (default, adjustable) |
| Battery Compatibility | Single-cell LiPoly (3.7V) |
| Charging Termination | 4.2V ± 1% |
| Protection Features | Overcharge, short-circuit |
| Operating Temperature | -40°C to +85°C |
| Dimensions | 1.0" x 0.8" (25.4mm x 20.3mm) |
Pin Configuration
The USB LiPoly Charger has the following pin layout:
| Pin Name | Description |
|---|---|
| BAT | Connects to the positive terminal of the LiPoly battery |
| GND | Ground connection for the battery and circuit |
| USB | USB input for 5V power supply |
| PROG | Allows adjustment of the charging current by connecting an external resistor |
| STAT | Status pin indicating charging state (e.g., LED connection for visual feedback) |
Usage Instructions
How to Use the USB LiPoly Charger
- Connect the Battery: Attach the positive terminal of the LiPoly battery to the
BATpin and the negative terminal to theGNDpin. - Power the Charger: Plug the USB connector into a 5V USB power source (e.g., a computer or USB wall adapter).
- Monitor Charging: Use the
STATpin to connect an LED for visual feedback. The LED will indicate the charging status:- ON: Charging in progress
- OFF: Charging complete
- Adjust Charging Current (Optional): To modify the default 500mA charging current, connect an external resistor to the
PROGpin. Refer to the datasheet for resistor values corresponding to desired current levels.
Important Considerations
- Battery Compatibility: Ensure the connected battery is a single-cell LiPoly battery with a nominal voltage of 3.7V.
- Heat Dissipation: The charger may heat up during operation. Ensure proper ventilation to avoid overheating.
- USB Power Source: Use a reliable 5V USB power source to prevent damage to the charger or battery.
- Polarity: Double-check the polarity of the battery connections to avoid short circuits or damage.
Example: Connecting to an Arduino UNO
The USB LiPoly Charger can be used to power an Arduino UNO via a LiPoly battery. Below is an example of how to monitor the charging status using the Arduino:
// Example code to monitor USB LiPoly Charger status with Arduino UNO
const int statusPin = 2; // Connect STAT pin of the charger to Arduino pin 2
const int ledPin = 13;   // Built-in LED on Arduino for status indication

void setup() {
  pinMode(statusPin, INPUT); // Set STAT pin as input
  pinMode(ledPin, OUTPUT);   // Set LED pin as output
}

void loop() {
  int chargingStatus = digitalRead(statusPin); // Read the STAT pin
  if (chargingStatus == LOW) {
    // If STAT pin is LOW, charging is in progress
    digitalWrite(ledPin, HIGH); // Turn on the LED
  } else {
    // If STAT pin is HIGH, charging is complete
    digitalWrite(ledPin, LOW); // Turn off the LED
  }
}
Troubleshooting and FAQs
Common Issues
Battery Not Charging
- Cause: Incorrect battery connection or polarity.
- Solution: Verify the battery is connected to the correct
BATandGNDpins with proper polarity.
Charger Overheating
- Cause: Insufficient ventilation or excessive charging current.
- Solution: Ensure proper airflow around the charger and reduce the charging current by adjusting the resistor on the
PROGpin.
LED Not Lighting Up
- Cause: Faulty connection to the
STATpin or damaged LED. - Solution: Check the wiring and replace the LED if necessary.
- Cause: Faulty connection to the
No Output Voltage
- Cause: USB power source not providing sufficient voltage.
- Solution: Use a reliable 5V USB power source and verify the USB connection.
FAQs
Q: Can I use this charger with a multi-cell LiPoly battery?
A: No, this charger is designed for single-cell LiPoly batteries only. Using it with multi-cell batteries may result in improper charging or damage.
Q: How do I adjust the charging current?
A: Connect an external resistor to the PROG pin. Refer to the datasheet for the resistor value corresponding to your desired current.
Q: Is it safe to leave the battery connected after charging is complete?
A: Yes, the charger includes overcharge protection, so it is safe to leave the battery connected.
Q: Can I use this charger with a power bank instead of a USB wall adapter?
A: Yes, as long as the power bank provides a stable 5V output, it can be used to power the charger.