Introduction
A Photoresistor, also known as a Light Dependent Resistor (LDR), is an electronic component whose resistance varies with the intensity of light it is exposed to. It is widely used in applications that require the detection of light levels, such as in light-activated switches, alarm systems, and ambient light sensing for display backlight control.
Technical Specifications
Key Technical Details
- Resistance Range: Typically 200 Ohms to 10 Megaohms (depending on light intensity)
- Maximum Voltage: 150V (peak AC) / 300V (DC)
- Power Rating: 100 mW
- Spectral Peak: 540 nm
- Light Resistance (10 Lux): 50-100 kOhms
- Dark Resistance: 5 MOhms min
- Response Time: 20 ms (Rise), 30 ms (Fall)
Pin Configuration and Descriptions
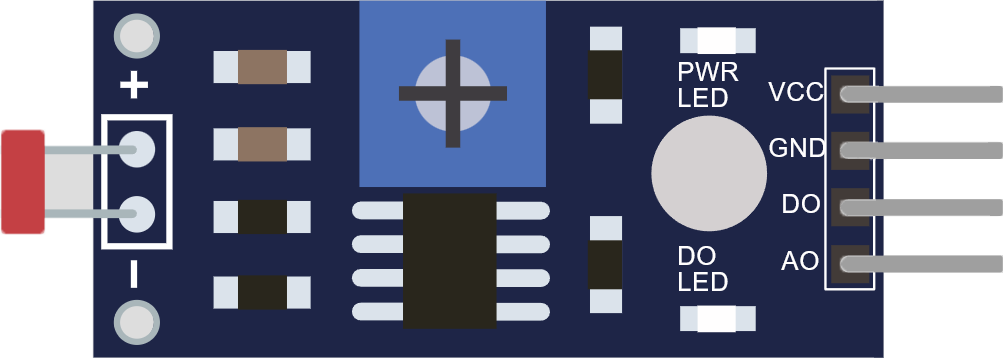
The LDR sensor typically has two terminals, which are non-polarized:
Usage Instructions
Incorporating the LDR into a Circuit
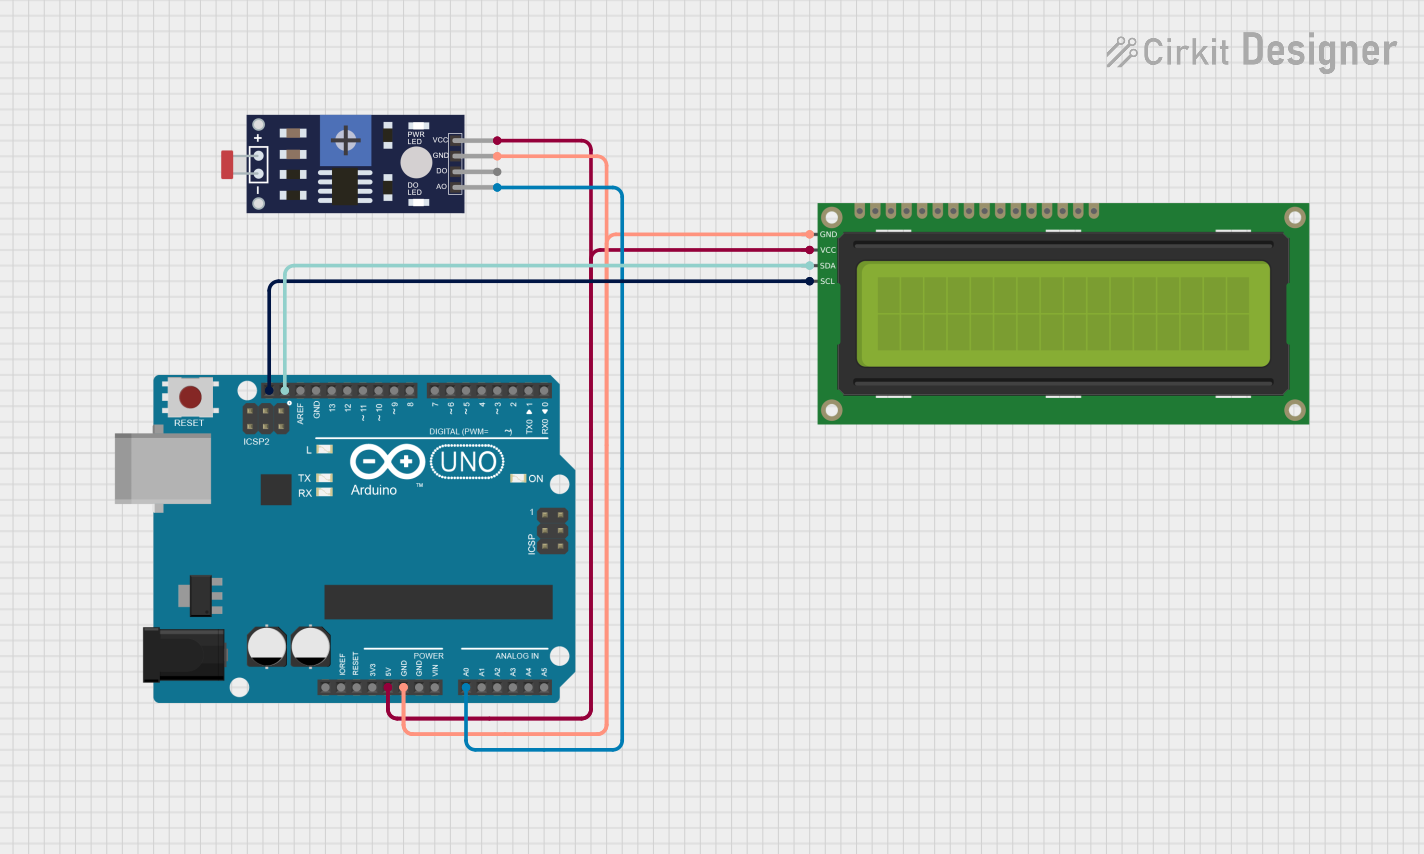
To use the LDR sensor in a circuit, you can create a voltage divider by connecting it in series with a resistor to the supply voltage. The voltage across the LDR will vary with light intensity, which can be measured using an analog input on a microcontroller such as an Arduino UNO.
Important Considerations and Best Practices
- Voltage Rating: Do not exceed the maximum voltage rating to prevent damage.
- Ambient Conditions: Avoid placing the LDR in environments with extreme temperatures or high humidity.
- Calibration: Since LDRs can vary from one to another, calibrate the sensor for accurate light measurements in your application.
- Shielding: To prevent interference from other light sources, use appropriate shielding or directional orientation.
Example Circuit and Code for Arduino UNO
// Define the LDR pin
const int ldrPin = A0;

void setup() {
  // Initialize serial communication at 9600 baud rate
  Serial.begin(9600);
}

void loop() {
  // Read the value from the LDR
  int ldrValue = analogRead(ldrPin);

  // Convert the analog reading (which goes from 0 - 1023) to a voltage (0 - 5V)
  float voltage = ldrValue * (5.0 / 1023.0);

  // Print out the value in the Serial Monitor
  Serial.print("LDR Value: ");
  Serial.print(ldrValue);
  Serial.print(" - Voltage: ");
  Serial.println(voltage);

  // Wait for a bit to avoid spamming the serial output
  delay(500);
}
Troubleshooting and FAQs
Common Issues
- Inconsistent Readings: Ensure that there are no loose connections and that the LDR is not exposed to intermittent light sources.
- No Change in Resistance: If the resistance does not change with light levels, check if the LDR is damaged or if the circuit is not correctly assembled.
Solutions and Tips for Troubleshooting
- Check Connections: Verify that all connections are secure and that the LDR is correctly placed in the circuit.
- Test with a Multimeter: Use a multimeter to check the resistance of the LDR in different lighting conditions to ensure it is functioning properly.
- Replace the LDR: If the LDR does not respond to light changes, it may be faulty and need replacement.
FAQs
Q: Can I use the LDR with a digital input?
A: The LDR is an analog sensor, so it is best used with an analog input to get a range of values. However, you can set a threshold to create a digital (on/off) signal.
Q: How do I calibrate the LDR for my application?
A: Measure the resistance of the LDR at known light levels and create a lookup table or function in your code to translate the analog readings to light levels.
Q: What is the lifespan of an LDR?
A: LDRs can last many years if used within their specified ratings and environmental conditions. However, they can degrade over time, especially if exposed to high-intensity light for extended periods.

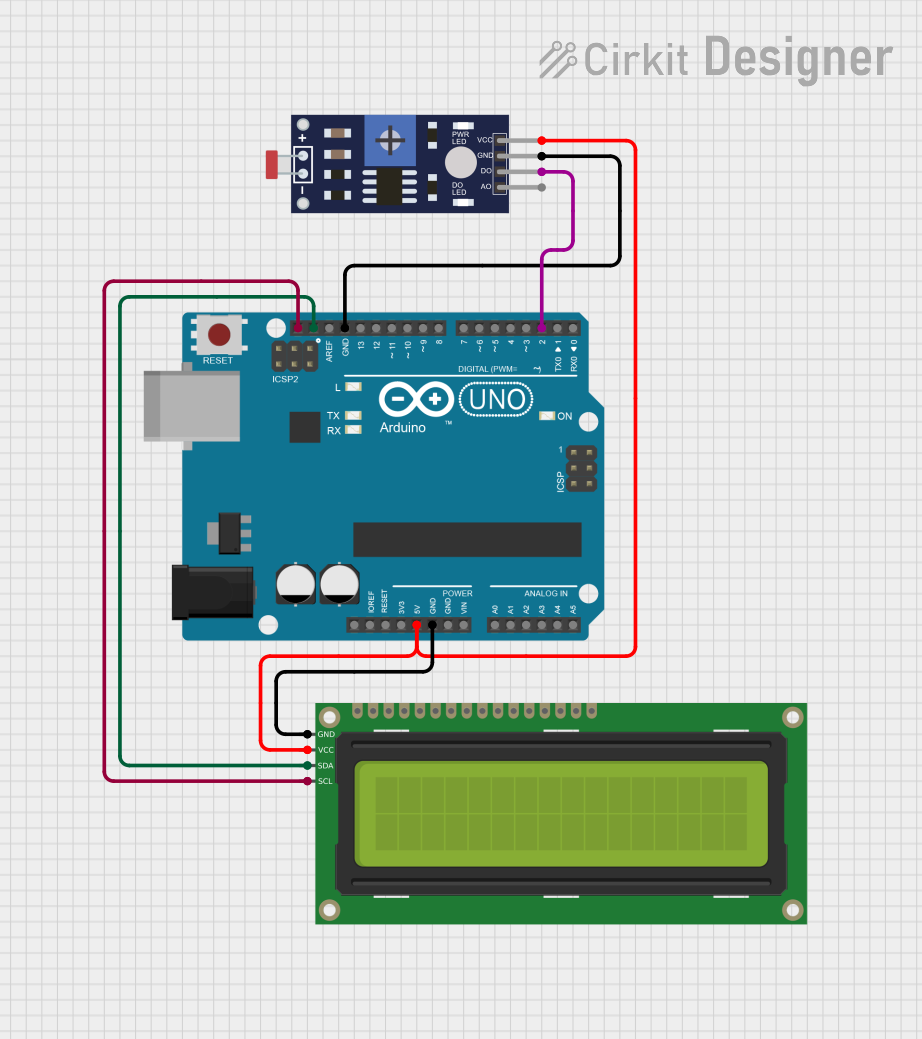
 Open Project in Cirkit Designer