How to Use solar panal (5v) 99*69: Examples, Pinouts, and Specs
Introduction
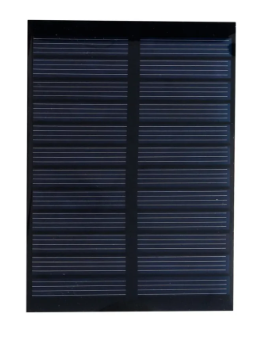
The Solar Panel (5V) 99x69, manufactured by Arduino (Part ID: UNO), is a compact and efficient solar energy solution. Designed to convert sunlight into electrical energy, this panel provides a stable 5V output, making it ideal for powering small electronic devices, charging batteries, or integrating into renewable energy projects. Its small size (99mm x 69mm) ensures easy integration into portable and space-constrained applications.
Explore Projects Built with solar panal (5v) 99*69

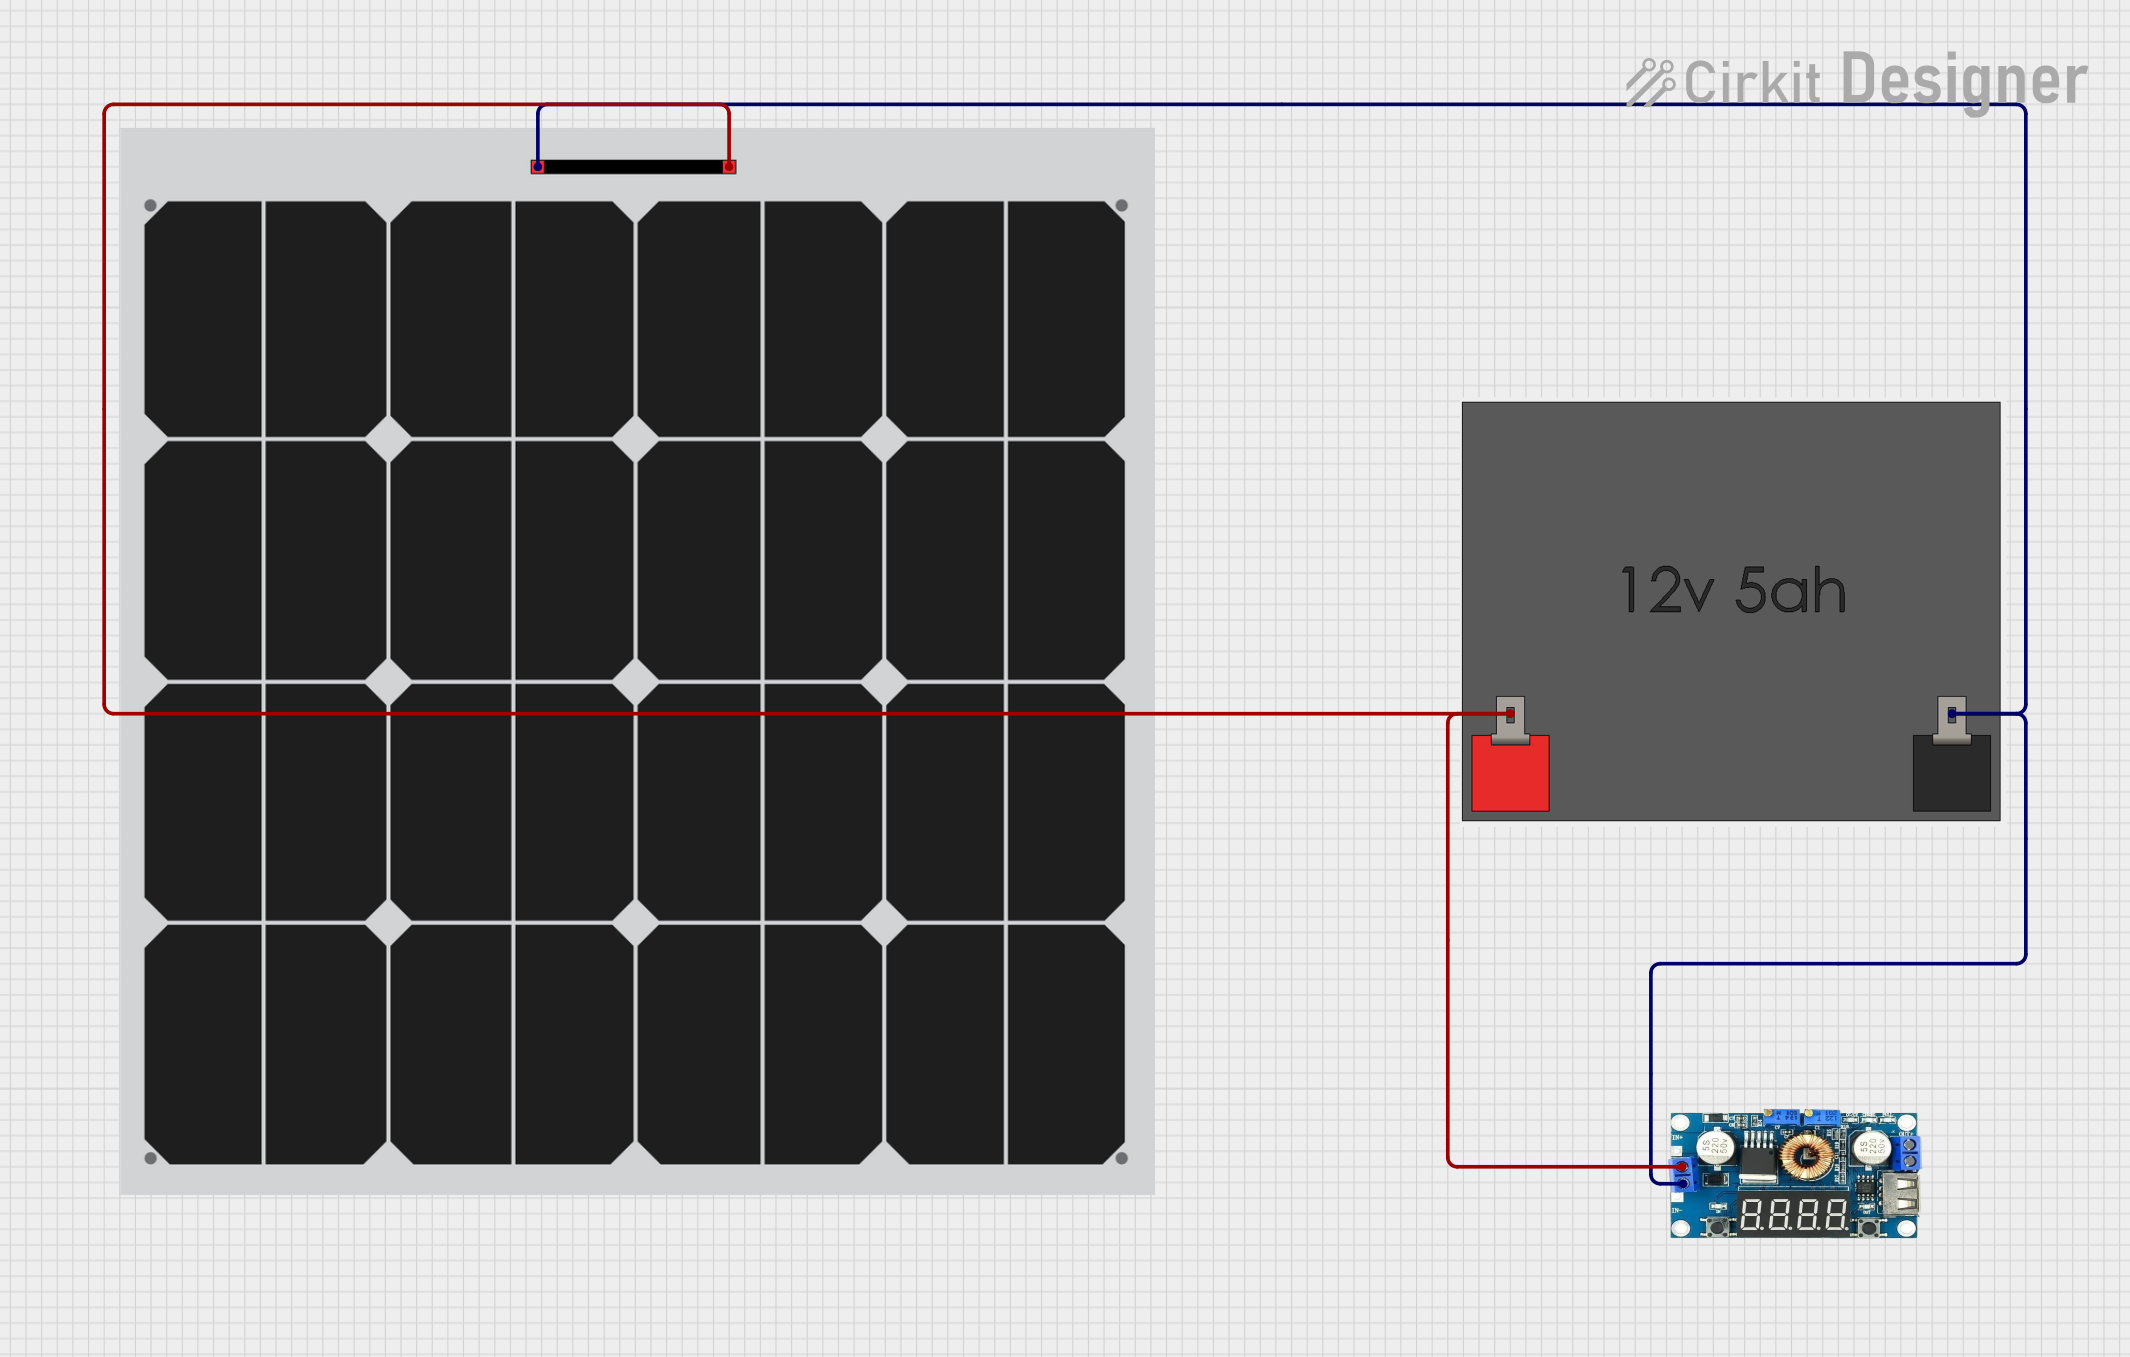
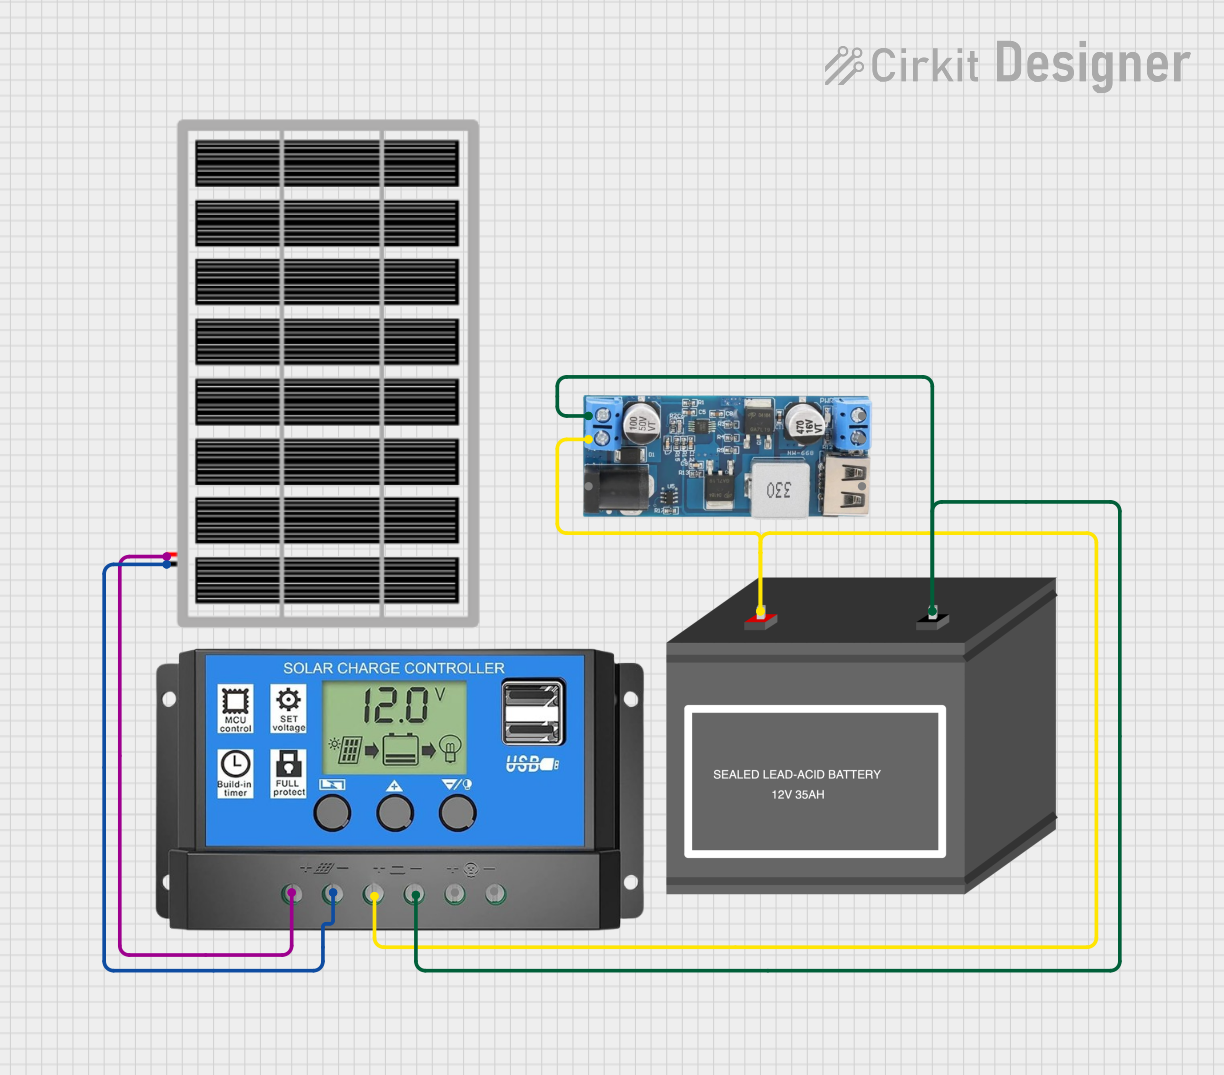
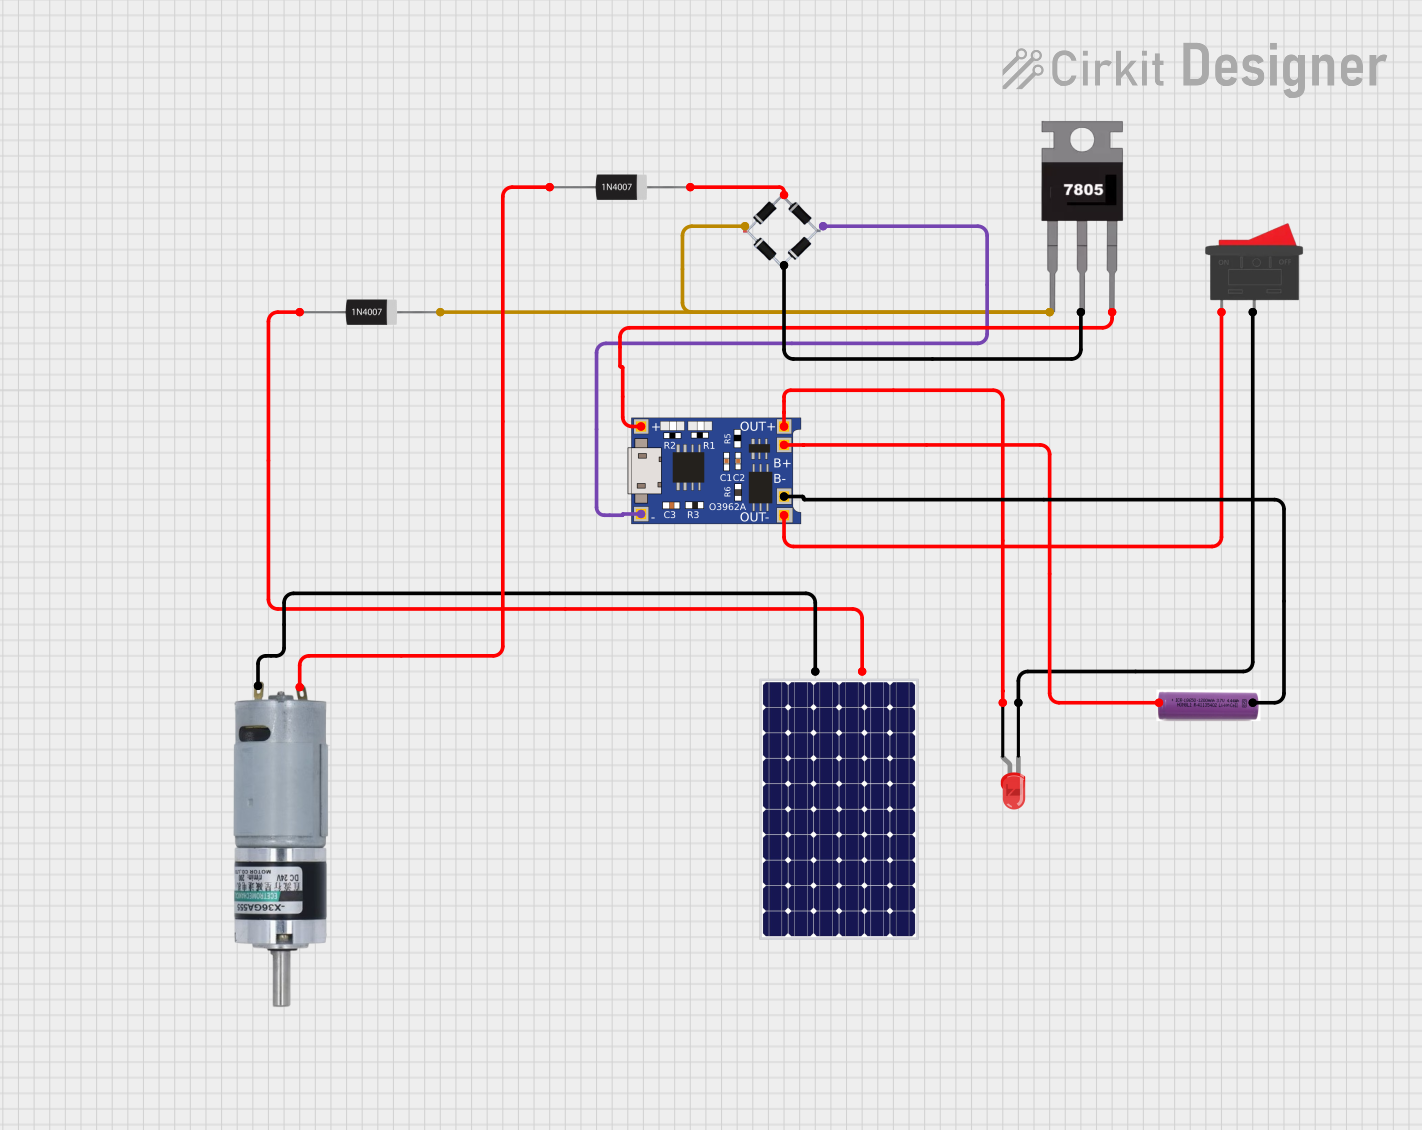
Explore Projects Built with solar panal (5v) 99*69
Common Applications and Use Cases
- Powering low-power IoT devices in outdoor environments
- Charging small batteries for portable electronics
- Renewable energy projects and experiments
- Educational kits for learning about solar energy
- Backup power for small sensors or microcontrollers
Technical Specifications
The following table outlines the key technical details of the Solar Panel (5V) 99x69:
| Parameter | Specification |
|---|---|
| Manufacturer | Arduino |
| Part ID | UNO |
| Output Voltage | 5V (nominal) |
| Maximum Current | 200mA (under full sunlight) |
| Power Output | 1W |
| Dimensions | 99mm x 69mm |
| Weight | ~50g |
| Operating Temperature | -20°C to 60°C |
| Connector Type | Solder pads or JST |
Pin Configuration and Descriptions
The Solar Panel (5V) 99x69 has two output terminals for electrical connections:
| Pin | Label | Description |
|---|---|---|
| 1 | Positive (+) | Positive terminal for 5V output |
| 2 | Negative (-) | Negative terminal (ground) |
Usage Instructions
How to Use the Solar Panel in a Circuit
- Positioning the Panel: Place the solar panel in direct sunlight for optimal performance. Ensure there are no obstructions (e.g., shadows or dirt) on the panel surface.
- Connecting the Terminals:
- Solder wires to the positive (+) and negative (-) terminals, or use a compatible JST connector.
- Connect the positive terminal to the input of your circuit or battery's positive terminal.
- Connect the negative terminal to the ground of your circuit or battery's negative terminal.
- Voltage Regulation: If your circuit requires a stable voltage lower than 5V, use a voltage regulator (e.g., LM7805 or a buck converter).
- Energy Storage (Optional): To store energy for later use, connect the panel to a rechargeable battery through a charge controller to prevent overcharging.
Important Considerations and Best Practices
- Sunlight Intensity: The panel's output depends on sunlight intensity. For consistent performance, ensure the panel is exposed to direct sunlight.
- Angle of Placement: Position the panel at an angle that maximizes sunlight exposure based on your geographic location.
- Overcurrent Protection: Use a diode to prevent reverse current flow from a battery to the panel during low-light conditions.
- Weatherproofing: While the panel is durable, consider additional protection (e.g., a transparent enclosure) for long-term outdoor use.
Example: Connecting to an Arduino UNO
The Solar Panel (5V) 99x69 can be used to power an Arduino UNO through a rechargeable battery and a charge controller. Below is an example of how to monitor the panel's voltage using the Arduino UNO:
// Solar Panel Voltage Monitoring with Arduino UNO
// This code reads the voltage from the solar panel and displays it on the Serial Monitor.

const int solarPin = A0; // Analog pin connected to the solar panel's positive terminal
float voltage = 0.0;     // Variable to store the calculated voltage

void setup() {
  Serial.begin(9600); // Initialize serial communication at 9600 baud
  pinMode(solarPin, INPUT); // Set the solar pin as input
}

void loop() {
  int sensorValue = analogRead(solarPin); // Read the analog value from the solar panel
  voltage = sensorValue * (5.0 / 1023.0); // Convert the analog value to voltage
  Serial.print("Solar Panel Voltage: ");
  Serial.print(voltage);
  Serial.println(" V"); // Print the voltage to the Serial Monitor
  delay(1000); // Wait for 1 second before the next reading
}
Troubleshooting and FAQs
Common Issues and Solutions
Low or No Output Voltage:
- Cause: Insufficient sunlight or panel is shaded.
- Solution: Ensure the panel is in direct sunlight and clean the surface of any dirt or debris.
Fluctuating Voltage:
- Cause: Rapid changes in sunlight intensity (e.g., clouds passing).
- Solution: Use a capacitor or battery to stabilize the output.
Reverse Current Flow:
- Cause: Current flows back into the panel from a connected battery at night.
- Solution: Add a blocking diode in series with the positive terminal.
Overheating:
- Cause: Prolonged exposure to high temperatures.
- Solution: Ensure adequate ventilation and avoid placing the panel in enclosed spaces.
FAQs
Q1: Can this panel charge a smartphone directly?
A1: No, the panel's output (5V, 200mA) is insufficient for directly charging most smartphones. Use a power bank or battery with a charge controller for this purpose.
Q2: Is the panel waterproof?
A2: The panel is weather-resistant but not fully waterproof. For outdoor use, consider additional waterproofing measures.
Q3: Can I connect multiple panels together?
A3: Yes, you can connect panels in series or parallel to increase voltage or current, respectively. Ensure your circuit can handle the combined output.
Q4: What type of battery is recommended for use with this panel?
A4: A 3.7V lithium-ion or lithium-polymer battery with a charge controller is recommended for optimal performance.