How to Use Servo MG996R: Examples, Pinouts, and Specs
Introduction
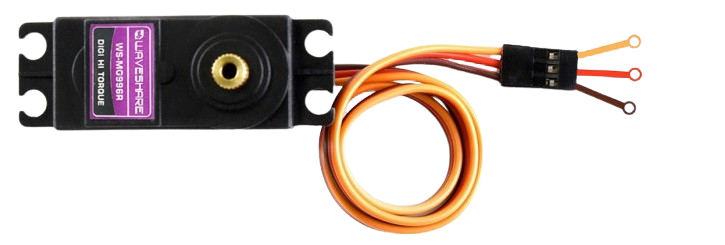
The Servo MG996R is a high-torque servo motor widely used in robotics, remote-controlled (RC) vehicles, and other applications requiring precise angular motion. It features a durable metal gear train, ensuring reliability and longevity even under high-stress conditions. With its ability to rotate to a specified angle within a range of 0° to 180°, the MG996R is ideal for tasks such as robotic arm movement, steering mechanisms, and pan-tilt camera systems.
Explore Projects Built with Servo MG996R
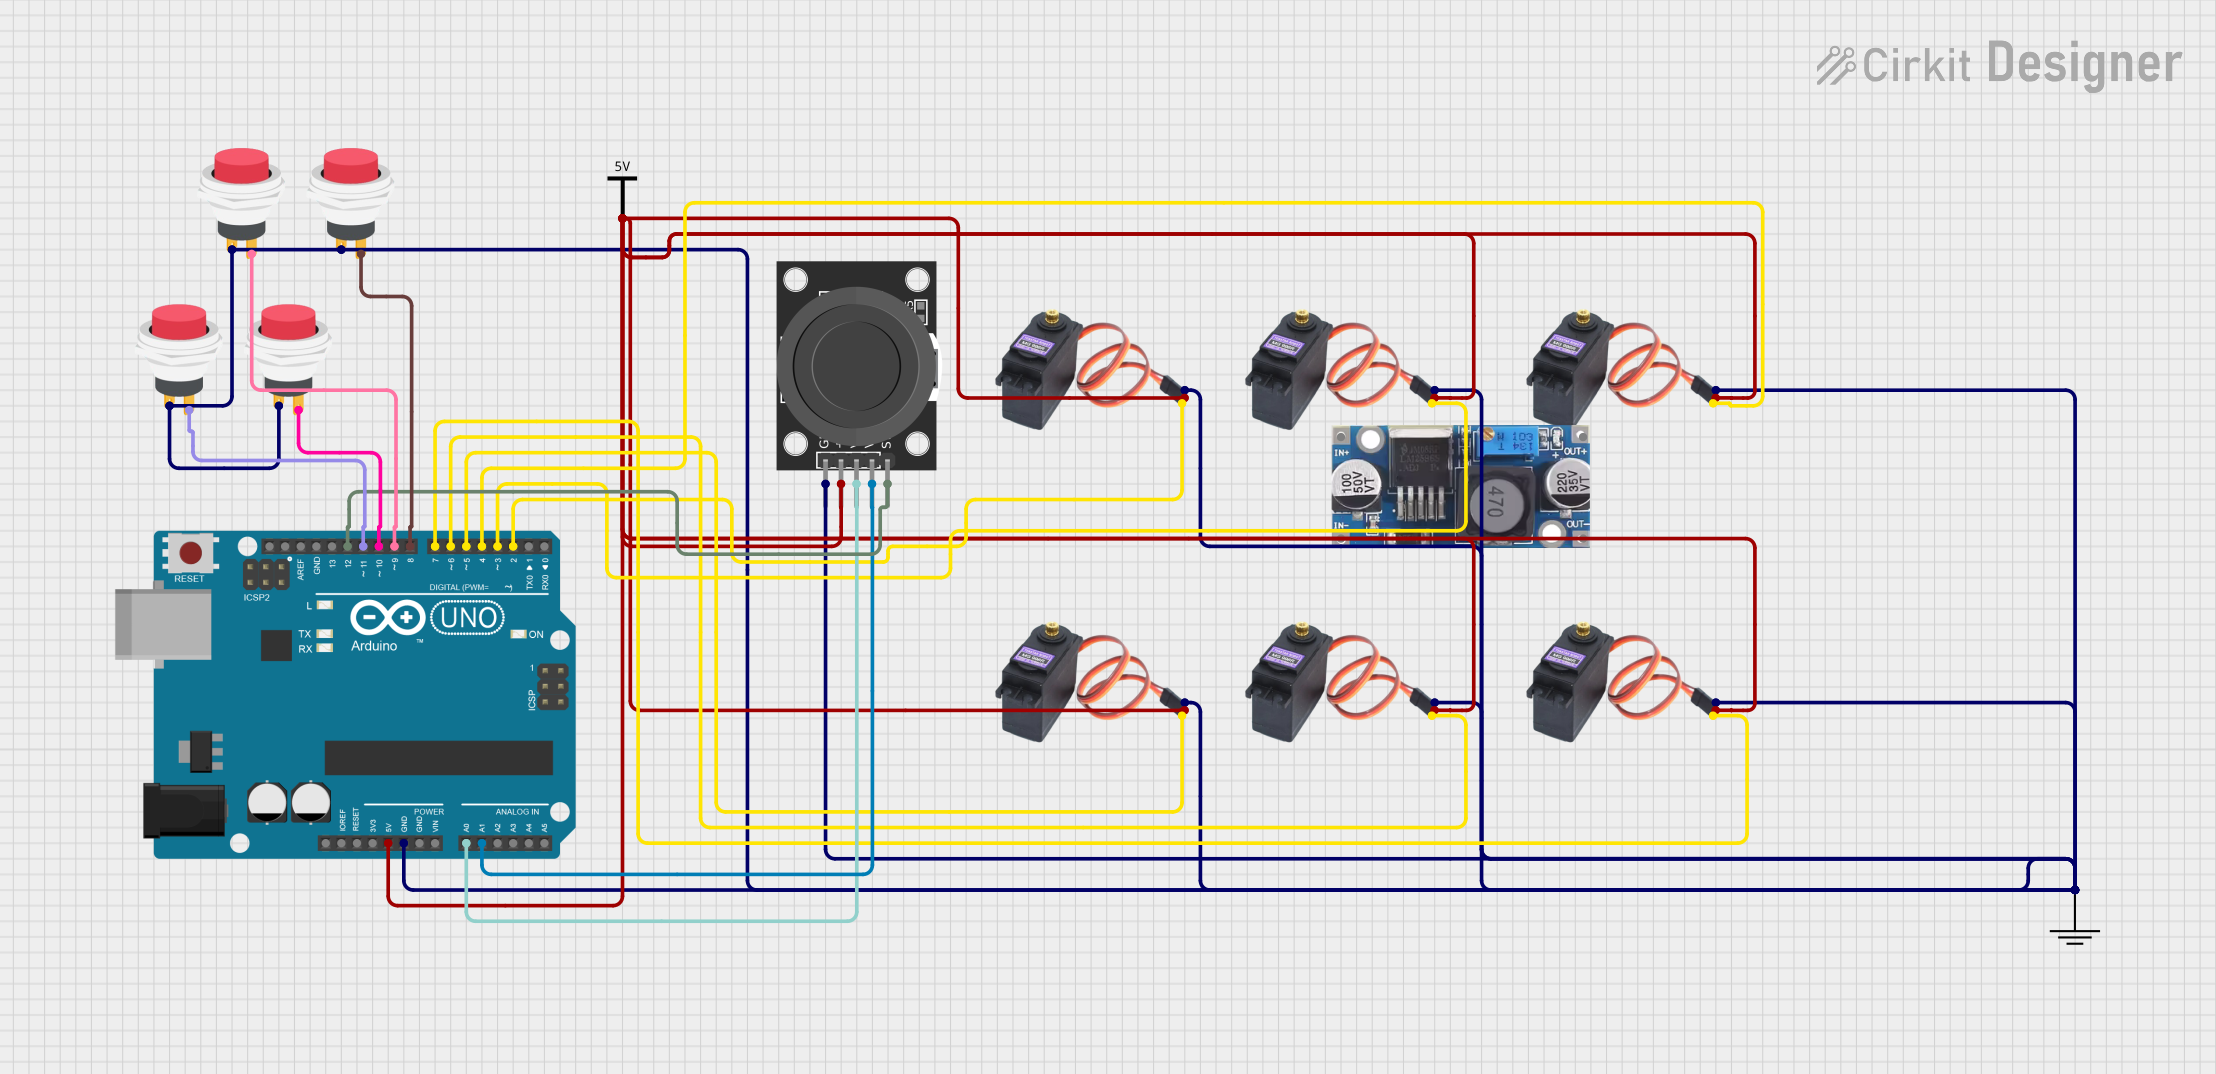
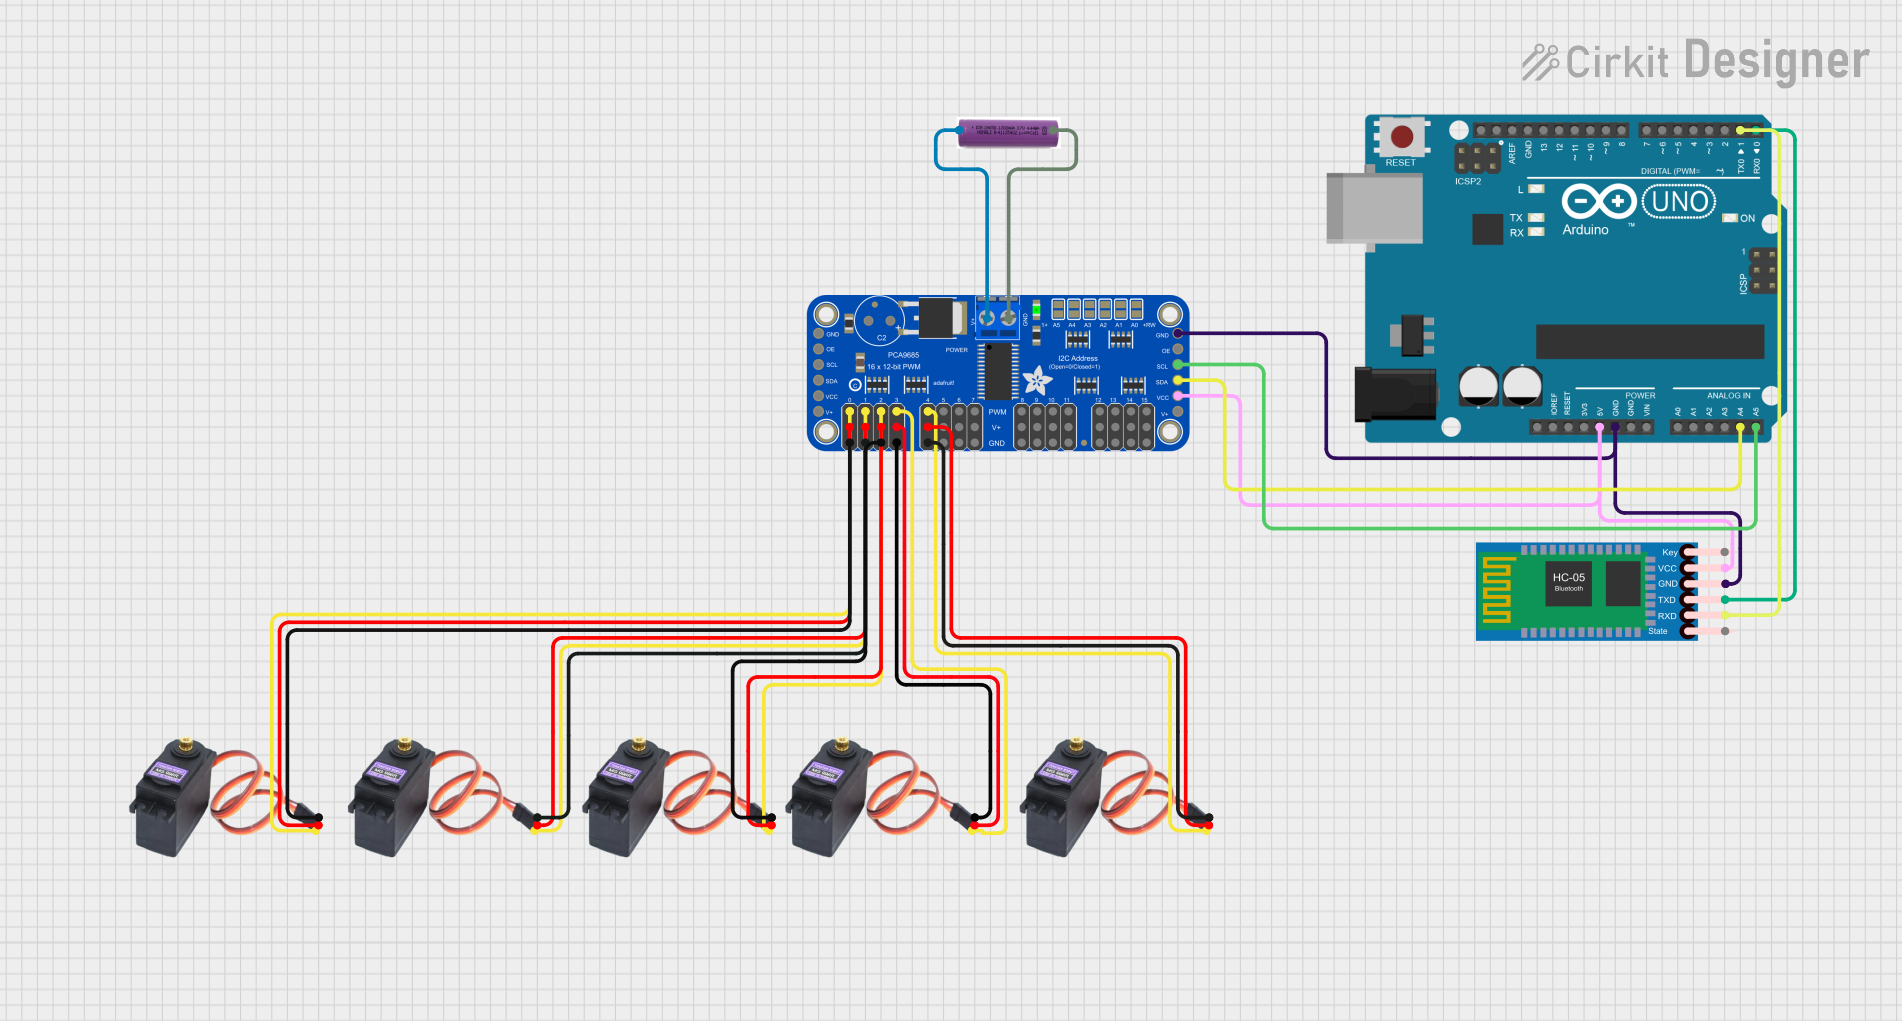


Explore Projects Built with Servo MG996R
Technical Specifications
- Operating Voltage: 4.8V to 7.2V
- Stall Torque:
- 9.4 kg·cm (at 4.8V)
- 11 kg·cm (at 6V)
- Operating Speed:
- 0.19 sec/60° (at 4.8V)
- 0.14 sec/60° (at 6V)
- Control Signal: PWM (Pulse Width Modulation)
- Angle Range: 0° to 180°
- Dead Band Width: 5 µs
- Dimensions: 40.7 mm × 19.7 mm × 42.9 mm
- Weight: 55 g
- Gear Material: Metal
- Connector Type: 3-pin female header (compatible with standard servo connectors)
Pin Configuration and Descriptions
The MG996R servo motor has a 3-pin connector with the following pinout:
| Pin Number | Wire Color | Function | Description |
|---|---|---|---|
| 1 | Brown | Ground (GND) | Connect to the ground of the power supply. |
| 2 | Red | Power (VCC) | Connect to a 4.8V–7.2V power source. |
| 3 | Orange | Signal (PWM) | Receives the PWM signal for position control. |
Usage Instructions
Connecting the MG996R to a Circuit
- Power Supply: Ensure the servo is powered by a stable voltage source within the range of 4.8V to 7.2V. A separate power supply is recommended for the servo to avoid overloading the microcontroller.
- Signal Connection: Connect the signal pin (orange wire) to a PWM-capable pin on your microcontroller (e.g., Arduino).
- Grounding: Connect the ground pin (brown wire) to the ground of both the power supply and the microcontroller.
Example: Using the MG996R with an Arduino UNO
Below is an example code to control the MG996R servo motor using an Arduino UNO:
#include <Servo.h> // Include the Servo library

Servo myServo; // Create a Servo object to control the MG996R

void setup() {
  myServo.attach(9); // Attach the servo to pin 9 on the Arduino
}

void loop() {
  myServo.write(0); // Move the servo to 0 degrees
  delay(1000);      // Wait for 1 second

  myServo.write(90); // Move the servo to 90 degrees
  delay(1000);       // Wait for 1 second

  myServo.write(180); // Move the servo to 180 degrees
  delay(1000);        // Wait for 1 second
}
Important Considerations
- Power Supply: Avoid powering the servo directly from the Arduino's 5V pin, as the current draw may exceed the Arduino's capacity. Use an external power source capable of supplying at least 2A.
- PWM Signal: Ensure the PWM signal is within the servo's operating range (typically 500 µs to 2500 µs pulse width).
- Mechanical Load: Do not exceed the servo's torque rating to prevent damage to the motor or gears.
Troubleshooting and FAQs
Common Issues
Servo Not Moving:
- Cause: Insufficient power supply.
- Solution: Use a power source capable of providing at least 2A at the required voltage.
Jittery or Erratic Movement:
- Cause: Electrical noise or unstable PWM signal.
- Solution: Use decoupling capacitors near the servo's power pins and ensure a clean PWM signal.
Overheating:
- Cause: Prolonged operation under high torque or incorrect voltage.
- Solution: Ensure the servo is not overloaded and operates within the specified voltage range.
Limited Range of Motion:
- Cause: Incorrect PWM signal or mechanical obstruction.
- Solution: Verify the PWM signal range and check for physical obstructions.
FAQs
Q: Can the MG996R rotate continuously?
A: No, the MG996R is a positional servo with a range of 0° to 180°. For continuous rotation, use a continuous rotation servo.Q: Can I control multiple MG996R servos with one Arduino?
A: Yes, but ensure the power supply can handle the combined current draw of all servos.Q: What is the dead band width?
A: The dead band width is 5 µs, meaning the servo will not respond to PWM signal changes smaller than this value.
By following this documentation, you can effectively integrate the MG996R servo motor into your projects and troubleshoot common issues.