
How to Use Adafruit Audio BFF: Examples, Pinouts, and Specs
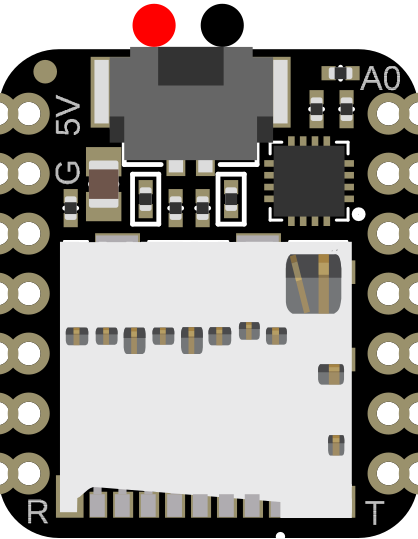
 Design with Adafruit Audio BFF in Cirkit Designer
Introduction
The Adafruit Audio BFF (Part ID: 5769) is a versatile audio add-on board designed to enhance microcontroller projects with high-quality audio playback and recording capabilities. This compact board supports various audio formats and is ideal for applications requiring sound effects, music playback, or audio data processing. Its small form factor and compatibility with popular microcontrollers make it a go-to solution for audio-based projects.
Explore Projects Built with Adafruit Audio BFF
 Open Project in Cirkit Designer
 Open Project in Cirkit Designer
 Open Project in Cirkit Designer
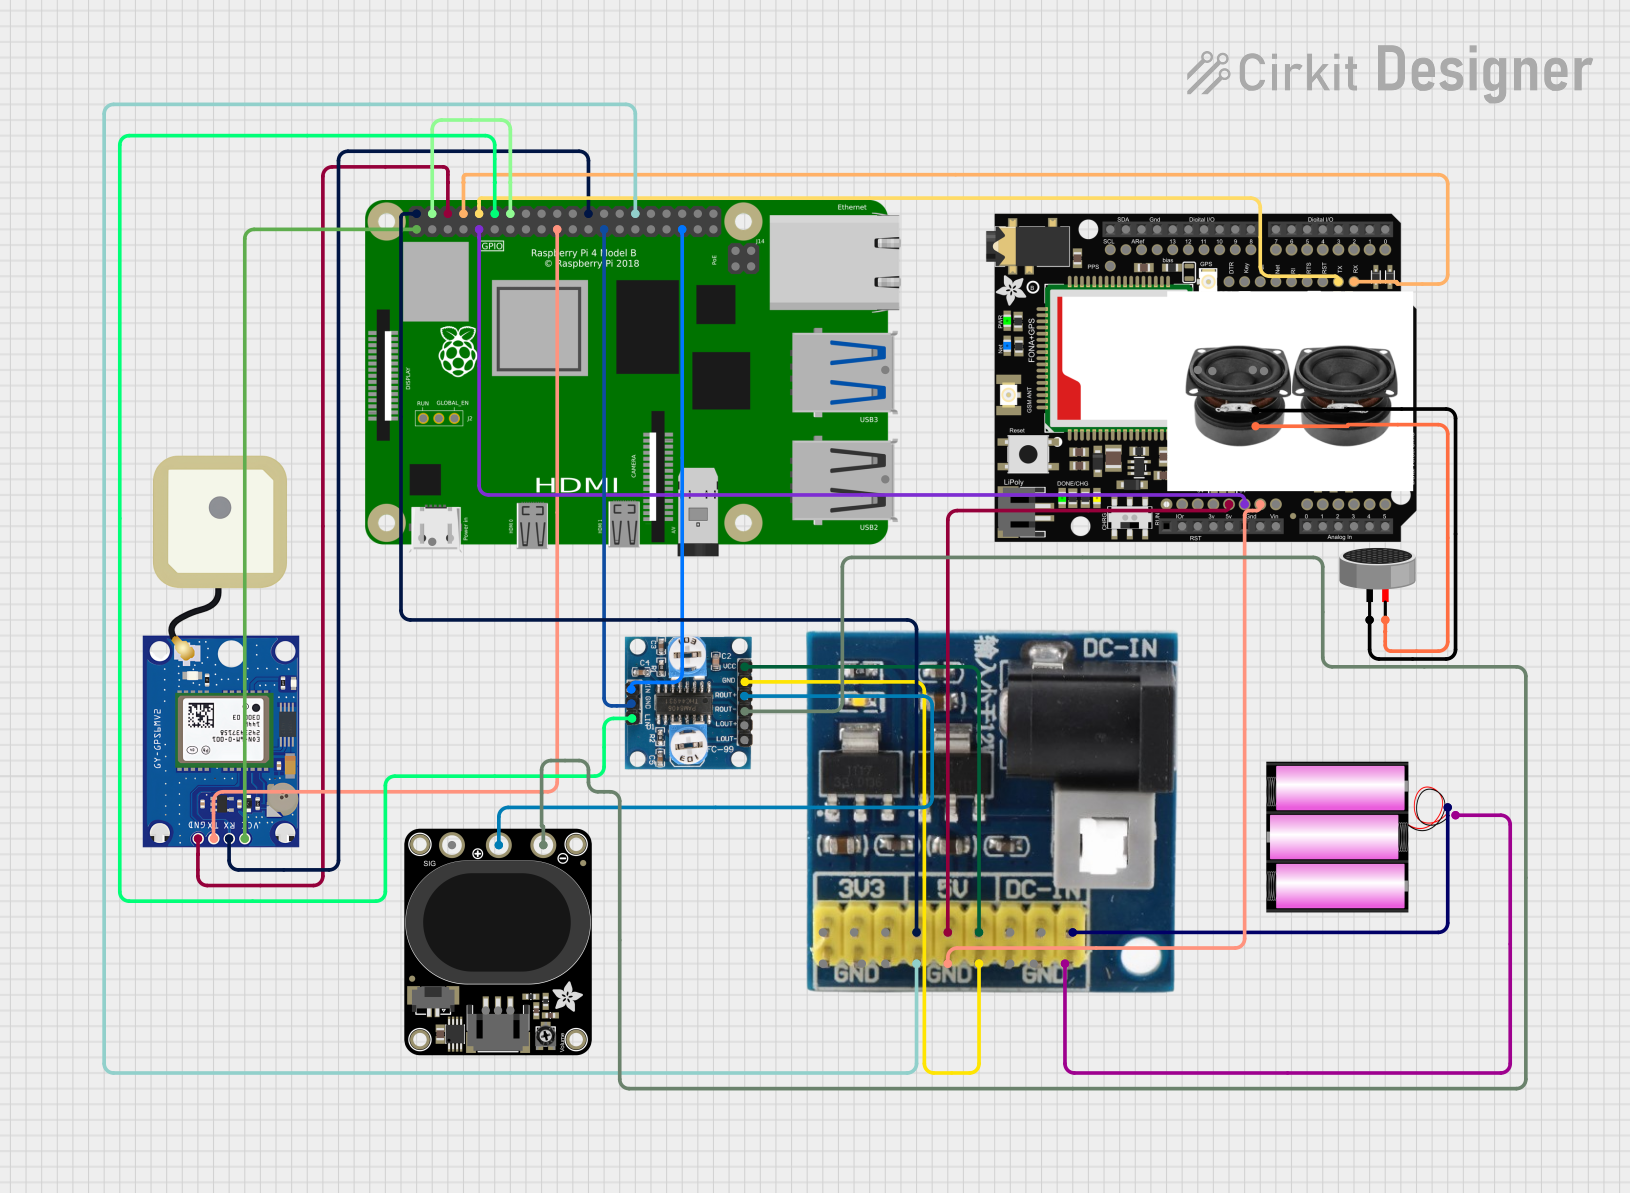 Open Project in Cirkit Designer
Explore Projects Built with Adafruit Audio BFF
Open Project in Cirkit DesignerOpen Project in Cirkit DesignerOpen Project in Cirkit DesignerOpen Project in Cirkit DesignerCommon Applications and Use Cases
- Adding sound effects or music to embedded systems
- Voice recording and playback for interactive devices
- Audio feedback for IoT devices
- Educational projects involving sound processing
- Portable audio players or alarms
Technical Specifications
The Adafruit Audio BFF is designed to deliver reliable audio performance while being easy to integrate into microcontroller-based systems. Below are its key technical details:
Key Technical Details
- Power Supply Voltage: 3.3V or 5V (compatible with most microcontrollers)
- Audio Codec: High-quality I2S audio interface
- Supported Formats: WAV, MP3, AAC, and more (depending on microcontroller firmware)
- Output: Stereo audio output via a 3.5mm headphone jack
- Input: Microphone input for recording
- Dimensions: 22mm x 22mm (compact design)
- Weight: ~2g
Pin Configuration and Descriptions
The Adafruit Audio BFF features a straightforward pinout for easy integration. Below is the pin configuration:
| Pin Name | Type | Description |
|---|---|---|
| VIN | Power Input | Power supply input (3.3V or 5V). Connect to the microcontroller's power source. |
| GND | Ground | Ground connection. |
| SDA | Data Line | I2C data line for communication with the microcontroller. |
| SCL | Clock Line | I2C clock line for communication with the microcontroller. |
| LRCLK | Audio Control | Left/Right clock for I2S audio communication. |
| BCLK | Audio Control | Bit clock for I2S audio communication. |
| DIN | Audio Data | Data input for I2S audio communication. |
| MIC+ | Microphone In | Positive terminal for microphone input. |
| MIC- | Microphone In | Negative terminal for microphone input. |
Usage Instructions
The Adafruit Audio BFF is designed to work seamlessly with microcontrollers such as the Arduino UNO, ESP32, and Raspberry Pi Pico. Below are the steps to use the component in a circuit:
Step 1: Wiring the Component
- Power Connection: Connect the
VINpin to the 3.3V or 5V power supply of your microcontroller. Connect theGNDpin to the ground. - I2S Audio Connection:
- Connect the
LRCLK,BCLK, andDINpins to the corresponding I2S pins on your microcontroller.
- Connect the
- Microphone Input (Optional): If recording is required, connect a compatible microphone to the
MIC+andMIC-pins. - Audio Output: Plug in a 3.5mm headphone or speaker to the audio jack for playback.
Step 2: Programming the Microcontroller
To use the Adafruit Audio BFF with an Arduino UNO, you can use the I2S library. Below is an example code snippet for audio playback:
#include <I2S.h> // Include the I2S library for audio communication

void setup() {
  // Initialize serial communication for debugging
  Serial.begin(9600);

  // Initialize I2S for audio playback
  if (!I2S.begin(I2S_PHILIPS_MODE, 44100, 16)) {
    Serial.println("Failed to initialize I2S!");
    while (1); // Halt if initialization fails
  }
  Serial.println("I2S initialized successfully!");
}

void loop() {
  // Example: Send a simple sine wave to the audio output
  for (int i = 0; i < 360; i++) {
    float sample = sin(i * PI / 180); // Generate sine wave sample
    int16_t audioSample = (int16_t)(sample * 32767); // Scale to 16-bit
    I2S.write(audioSample); // Send sample to I2S
  }
}
Important Considerations and Best Practices
- Ensure the power supply voltage matches the microcontroller's operating voltage (3.3V or 5V).
- Use shielded cables for the microphone input to minimize noise.
- Avoid driving high-power speakers directly from the audio jack; use an amplifier if needed.
- Verify the I2S pin configuration of your microcontroller before connecting the board.
Troubleshooting and FAQs
Common Issues and Solutions
No Audio Output:
- Verify that the
LRCLK,BCLK, andDINpins are correctly connected to the microcontroller. - Check the audio file format and ensure it is supported by the microcontroller firmware.
- Verify that the
Distorted Audio:
- Ensure the power supply is stable and free from noise.
- Use a high-quality audio cable and avoid long cable runs.
Microphone Not Working:
- Confirm that the microphone is properly connected to the
MIC+andMIC-pins. - Check if the microphone requires additional amplification.
- Confirm that the microphone is properly connected to the
I2S Initialization Fails:
- Verify that the I2S library is correctly installed in your development environment.
- Double-check the microcontroller's I2S pin assignments.
FAQs
Q: Can I use the Adafruit Audio BFF with a Raspberry Pi?
A: Yes, the Adafruit Audio BFF is compatible with the Raspberry Pi. You can use the I2S interface to communicate with the board.
Q: What is the maximum audio sampling rate supported?
A: The maximum sampling rate depends on the microcontroller and its I2S capabilities. Most microcontrollers support up to 44.1kHz or higher.
Q: Can I use this board for stereo recording?
A: The Adafruit Audio BFF supports mono microphone input. For stereo recording, additional hardware may be required.
Q: Is the board compatible with 5V logic?
A: Yes, the board is compatible with both 3.3V and 5V logic levels, making it versatile for various microcontrollers.
This concludes the documentation for the Adafruit Audio BFF. For further assistance, refer to the official Adafruit guide or community forums.