
How to Use DHT22: Examples, Pinouts, and Specs
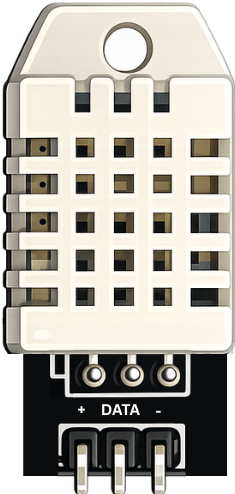
 Design with DHT22 in Cirkit Designer
Introduction
The DHT22 is a digital temperature and humidity sensor that provides accurate readings of temperature in Celsius and humidity in percentage. It features a single-wire digital interface, making it easy to connect to microcontrollers like Arduino and Raspberry Pi. The DHT22 is widely used in weather stations, environmental monitoring systems, and home automation projects due to its reliability and ease of use.
Explore Projects Built with DHT22
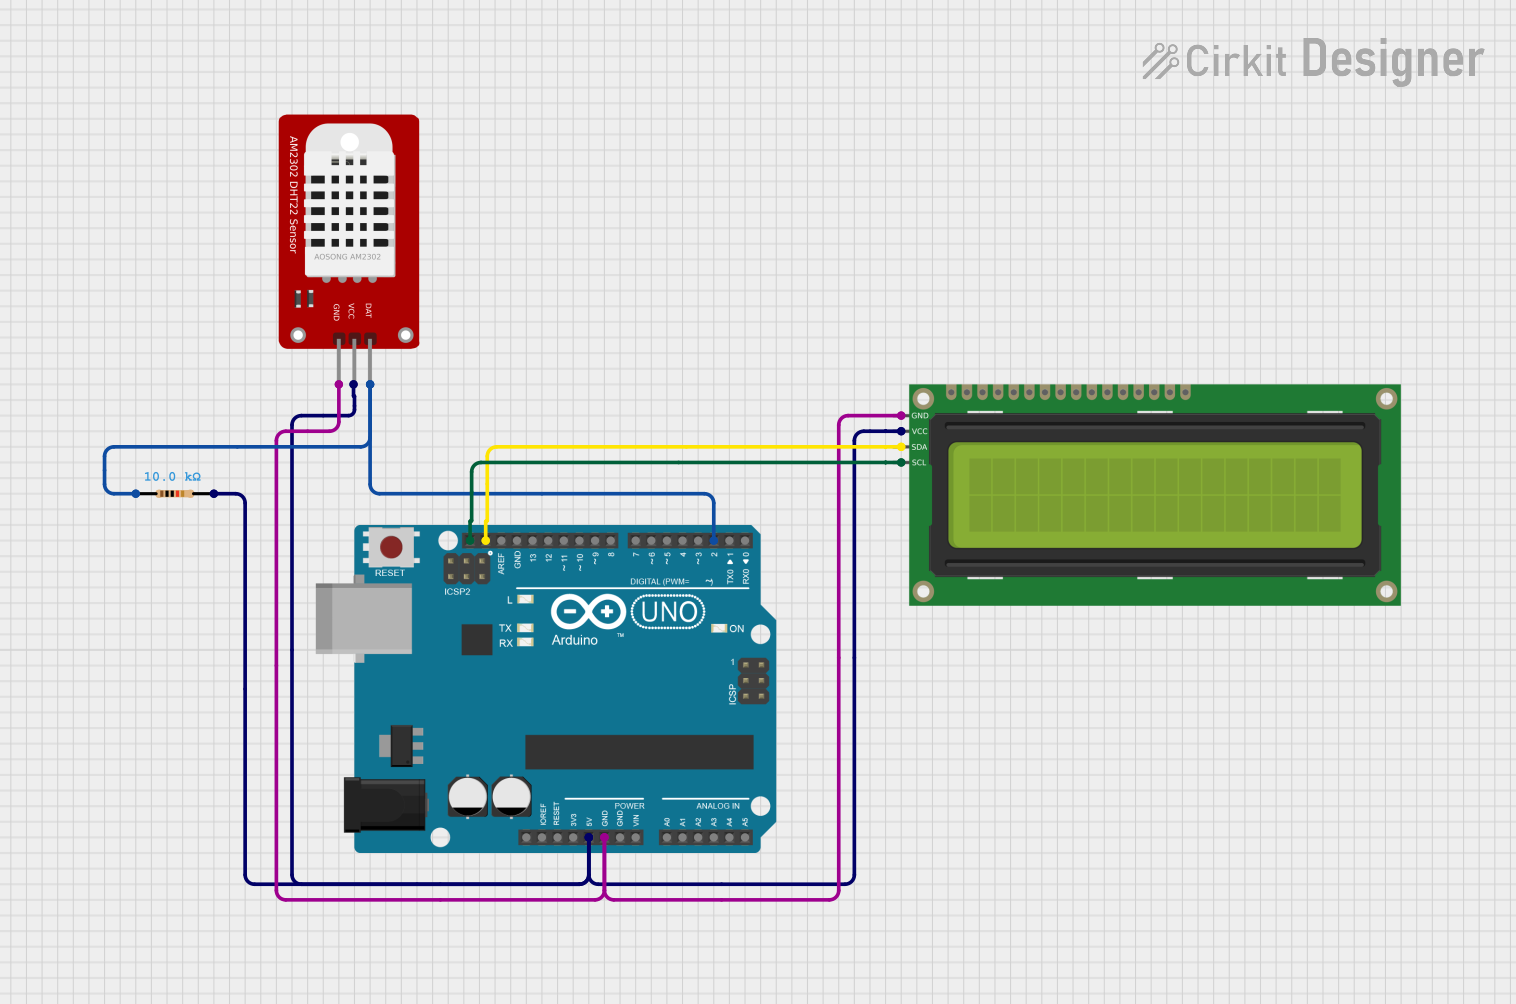 Open Project in Cirkit Designer
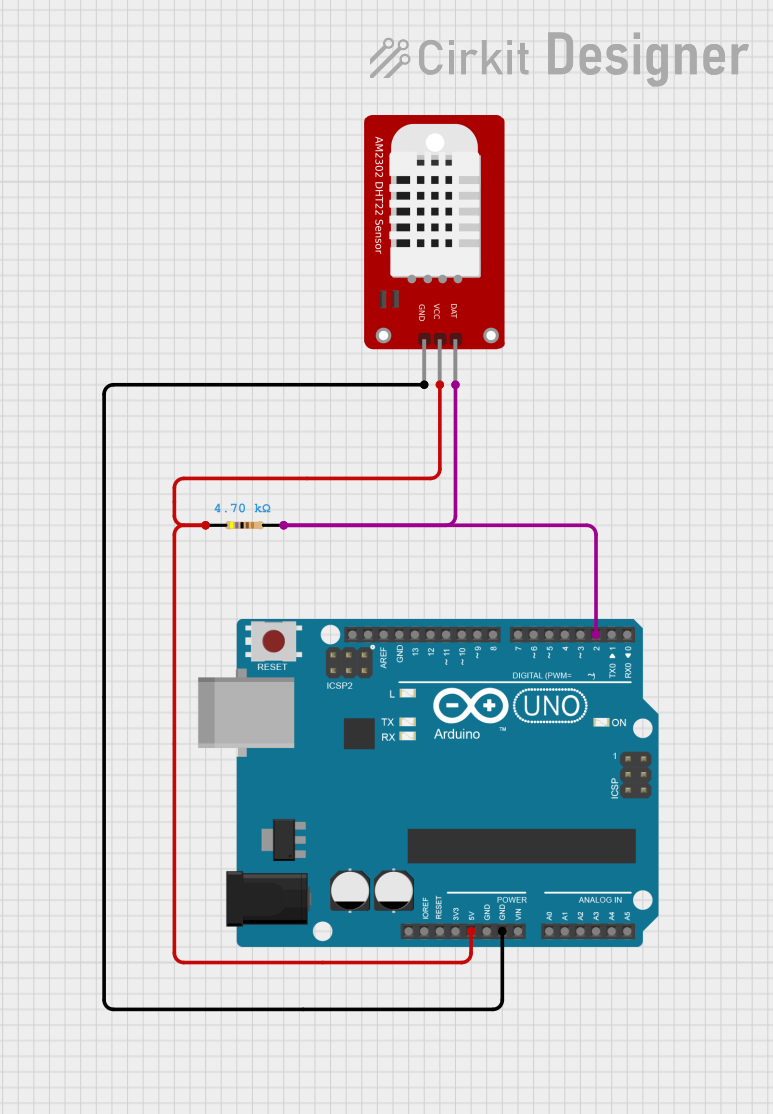 Open Project in Cirkit Designer
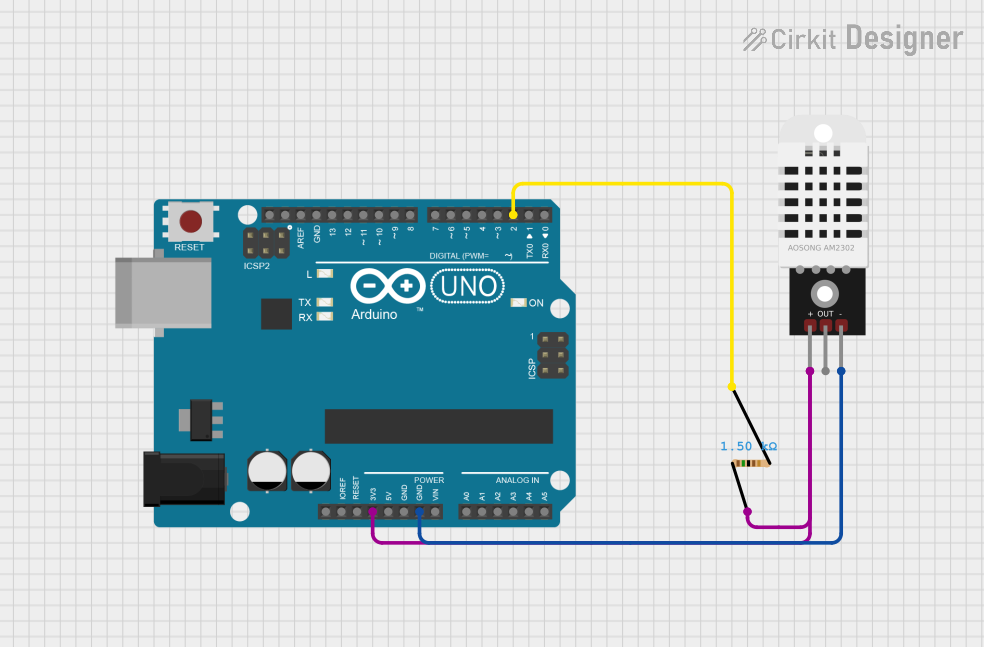 Open Project in Cirkit Designer
 Open Project in Cirkit Designer
Explore Projects Built with DHT22
Open Project in Cirkit DesignerOpen Project in Cirkit DesignerOpen Project in Cirkit DesignerOpen Project in Cirkit DesignerCommon Applications:
- Weather monitoring systems
- Indoor air quality monitoring
- Greenhouse and agricultural automation
- HVAC (Heating, Ventilation, and Air Conditioning) systems
- IoT (Internet of Things) projects
Technical Specifications
The DHT22 sensor is designed for precision and ease of integration. Below are its key technical details:
Key Specifications:
| Parameter | Value |
|---|---|
| Supply Voltage | 3.3V to 6V |
| Operating Current | 0.5mA (measuring) |
| Standby Current | < 60µA |
| Temperature Range | -40°C to +80°C |
| Temperature Accuracy | ±0.5°C |
| Humidity Range | 0% to 100% RH |
| Humidity Accuracy | ±2% RH |
| Sampling Period | 2 seconds |
| Communication Protocol | Single-wire digital interface |
Pin Configuration:
The DHT22 has four pins, as described in the table below:
| Pin Number | Name | Description |
|---|---|---|
| 1 | VCC | Power supply (3.3V to 6V) |
| 2 | DATA | Digital data output (connect to microcontroller) |
| 3 | NC | Not connected (leave unconnected) |
| 4 | GND | Ground (0V reference) |
Note: A pull-up resistor (typically 10kΩ) is required between the DATA pin and VCC for proper communication.
Usage Instructions
The DHT22 is simple to use in a circuit, thanks to its single-wire communication protocol. Below are the steps to integrate and use the DHT22 sensor:
Connecting the DHT22 to a Microcontroller:
- Connect the VCC pin to the 3.3V or 5V power supply of your microcontroller.
- Connect the GND pin to the ground (GND) of your microcontroller.
- Connect the DATA pin to a digital input pin on your microcontroller.
- Add a 10kΩ pull-up resistor between the DATA pin and the VCC pin.
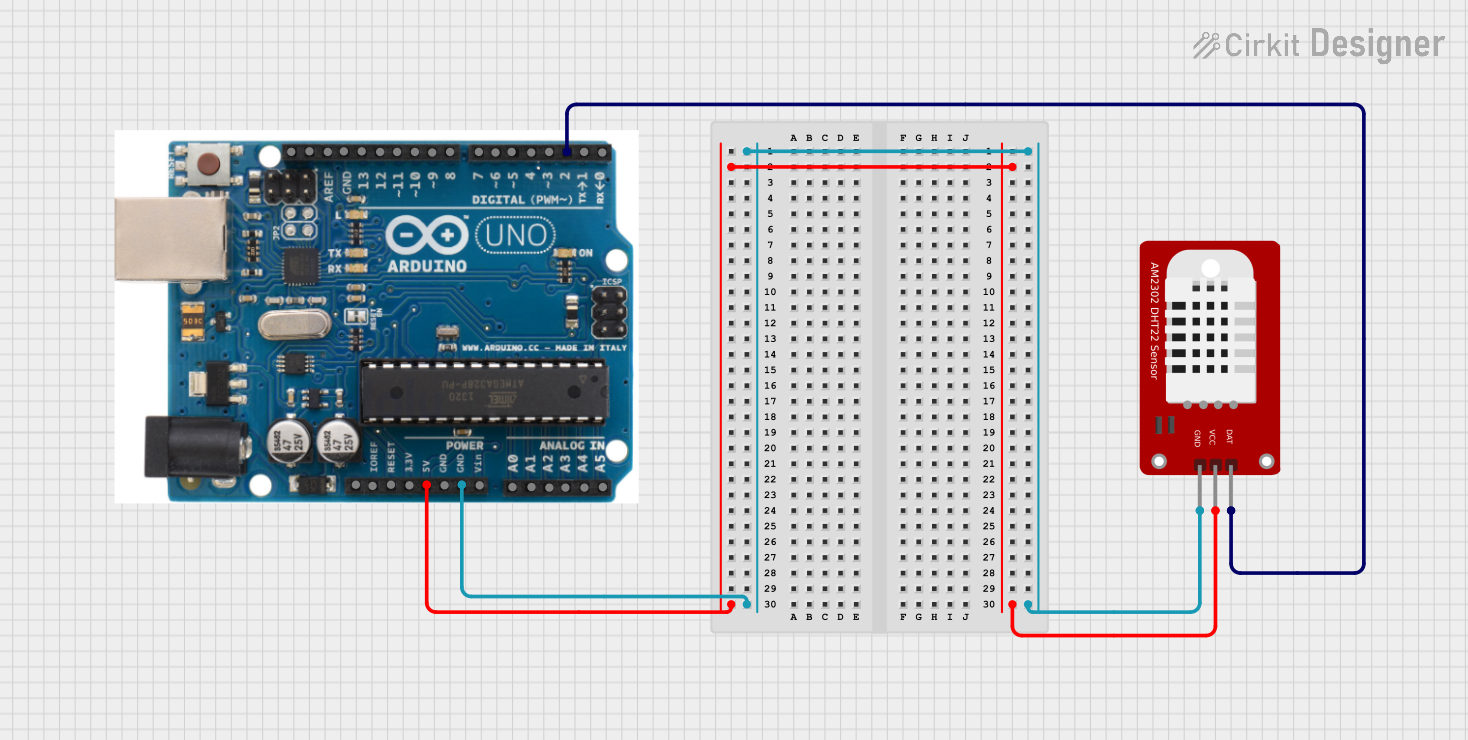
Example Circuit:
- VCC → 5V (Arduino UNO)
- DATA → Digital Pin 2 (Arduino UNO)
- GND → GND (Arduino UNO)
- 10kΩ resistor between DATA and VCC
Arduino Code Example:
Below is an example Arduino sketch to read temperature and humidity data from the DHT22 sensor using the popular DHT library.
#include <DHT.h>

// Define the pin where the DHT22 is connected
#define DHTPIN 2  // Connect DATA pin to digital pin 2

// Define the type of DHT sensor
#define DHTTYPE DHT22  // DHT22 (AM2302)

// Initialize the DHT sensor
DHT dht(DHTPIN, DHTTYPE);

void setup() {
  Serial.begin(9600);  // Start serial communication
  Serial.println("DHT22 Sensor Initialization...");
  dht.begin();  // Initialize the DHT sensor
}

void loop() {
  delay(2000);  // DHT22 requires a 2-second delay between readings

  // Read temperature in Celsius
  float temperature = dht.readTemperature();
  // Read humidity in percentage
  float humidity = dht.readHumidity();

  // Check if readings are valid
  if (isnan(temperature) || isnan(humidity)) {
    Serial.println("Failed to read from DHT sensor!");
    return;
  }

  // Print the readings to the Serial Monitor
  Serial.print("Temperature: ");
  Serial.print(temperature);
  Serial.println(" °C");

  Serial.print("Humidity: ");
  Serial.print(humidity);
  Serial.println(" %");
}
Best Practices:
- Ensure the sensor is placed in an environment free from condensation or water droplets.
- Avoid placing the sensor near heat sources or direct sunlight for accurate readings.
- Use a pull-up resistor (10kΩ) on the DATA pin to ensure stable communication.
- Allow a 2-second delay between consecutive readings to avoid communication errors.
Troubleshooting and FAQs
Common Issues:
No Data or Incorrect Readings:
- Cause: Missing or incorrect pull-up resistor on the DATA pin.
- Solution: Ensure a 10kΩ pull-up resistor is connected between the DATA pin and VCC.
Sensor Fails to Initialize:
- Cause: Incorrect wiring or insufficient power supply.
- Solution: Double-check the wiring and ensure the power supply is within the 3.3V to 6V range.
Readings are NaN (Not a Number):
- Cause: Communication error or sensor malfunction.
- Solution: Verify the connections, ensure the delay between readings is at least 2 seconds, and check for damaged components.
Inconsistent Readings:
- Cause: Environmental interference or unstable power supply.
- Solution: Place the sensor in a stable environment and use a decoupling capacitor (e.g., 0.1µF) across the VCC and GND pins.
FAQs:
Q1: Can the DHT22 be used outdoors?
A1: Yes, but it should be placed in a protective enclosure to shield it from rain and direct sunlight.
Q2: What is the maximum cable length for the DHT22?
A2: The maximum cable length depends on the pull-up resistor value and the environment. Typically, it works reliably up to 20 meters with a 10kΩ resistor.
Q3: Can I use the DHT22 with a 3.3V microcontroller?
A3: Yes, the DHT22 operates within a voltage range of 3.3V to 6V, making it compatible with 3.3V systems.
Q4: How does the DHT22 differ from the DHT11?
A4: The DHT22 offers higher accuracy, a wider temperature range, and better humidity precision compared to the DHT11.
By following this documentation, you can effectively integrate and troubleshoot the DHT22 sensor in your projects.