
How to Use TEMPERATURE-SENSOR: Examples, Pinouts, and Specs
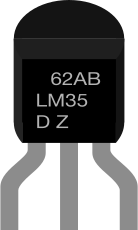
 Design with TEMPERATURE-SENSOR in Cirkit Designer
Introduction
A temperature sensor is a device that measures temperature and converts it into a readable signal, such as an electrical voltage or digital data. These sensors are widely used in various applications, including HVAC systems, weather stations, industrial processes, and consumer electronics. They are essential for monitoring and controlling temperature in both simple and complex systems.
Common types of temperature sensors include thermistors, thermocouples, resistance temperature detectors (RTDs), and integrated circuit (IC) temperature sensors. Each type has its own advantages and is suited for specific use cases.
Explore Projects Built with TEMPERATURE-SENSOR
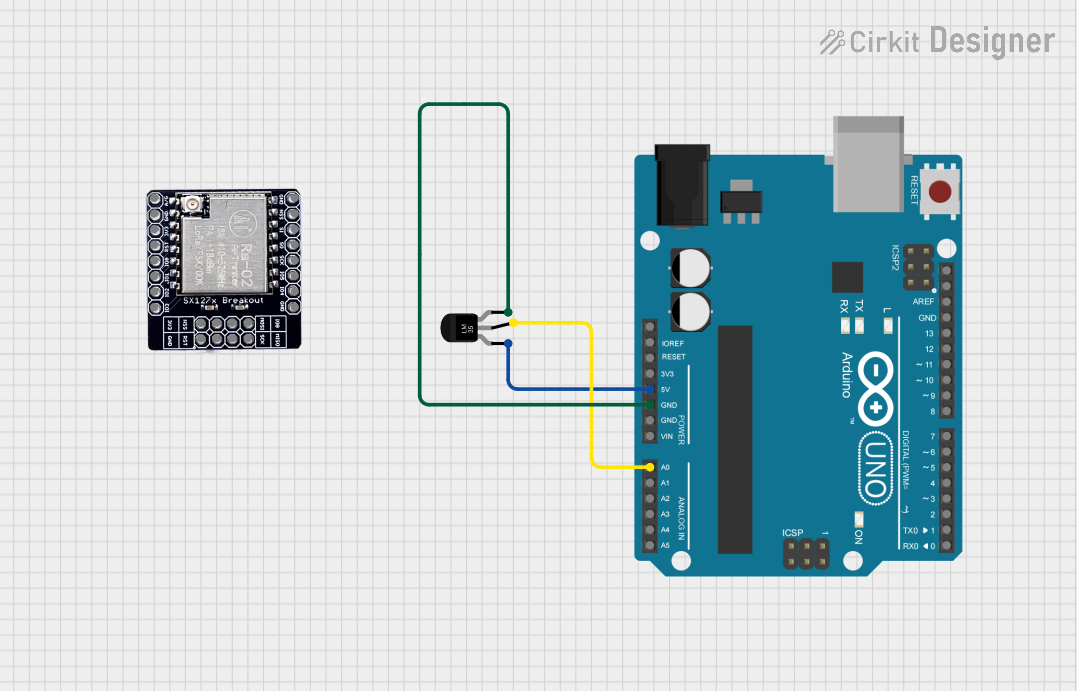 Open Project in Cirkit Designer
 Open Project in Cirkit Designer
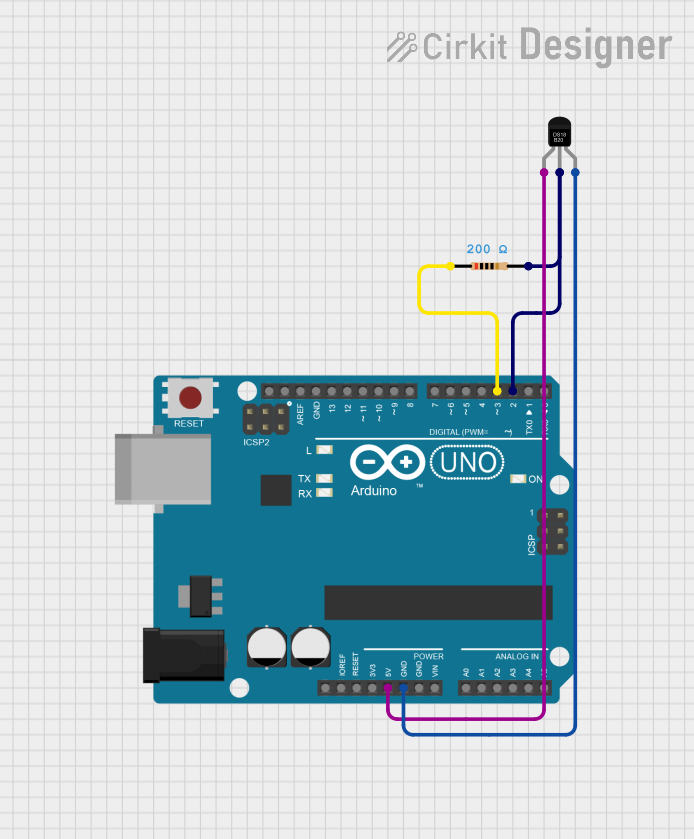 Open Project in Cirkit Designer
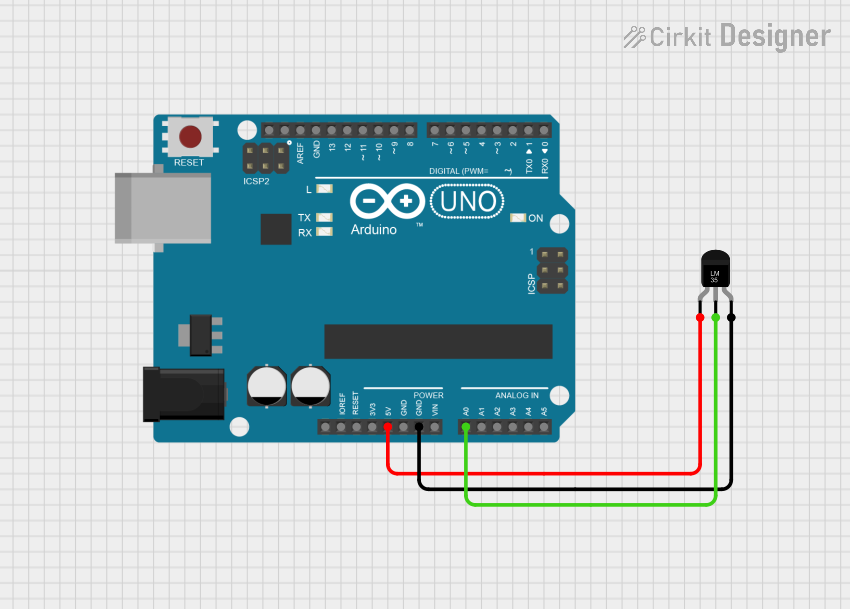 Open Project in Cirkit Designer
Explore Projects Built with TEMPERATURE-SENSOR
Open Project in Cirkit DesignerOpen Project in Cirkit DesignerOpen Project in Cirkit DesignerOpen Project in Cirkit DesignerTechnical Specifications
Below are the general technical specifications for a typical temperature sensor. Note that specific models may vary, so always refer to the datasheet of the sensor you are using.
General Specifications
- Operating Voltage: 3.3V to 5V (typical for IC sensors)
- Temperature Range: -40°C to +125°C (varies by sensor type)
- Accuracy: ±0.5°C to ±2°C (depending on the sensor)
- Output Type: Analog voltage, digital signal (I2C, SPI, or 1-Wire), or resistance
- Response Time: 0.5 to 10 seconds (depending on the sensor and environment)
Pin Configuration and Descriptions
Below is an example pinout for a common IC temperature sensor, such as the LM35 or DS18B20.
Analog Temperature Sensor (e.g., LM35)
| Pin Number | Pin Name | Description |
|---|---|---|
| 1 | VCC | Power supply (3.3V to 5V) |
| 2 | OUT | Analog output voltage proportional |
| to temperature | ||
| 3 | GND | Ground connection |
Digital Temperature Sensor (e.g., DS18B20)
| Pin Number | Pin Name | Description |
|---|---|---|
| 1 | GND | Ground connection |
| 2 | DQ | Data line (requires pull-up resistor) |
| 3 | VDD | Power supply (3.0V to 5.5V) |
Usage Instructions
How to Use the Component in a Circuit
- Power the Sensor: Connect the VCC pin to a 3.3V or 5V power source and the GND pin to ground.
- Read the Output:
- For analog sensors, connect the OUT pin to an analog input pin on your microcontroller.
- For digital sensors, connect the data pin (e.g., DQ) to a digital I/O pin on your microcontroller and use the appropriate communication protocol (e.g., 1-Wire for DS18B20).
- Add a Pull-Up Resistor (if required): For digital sensors like the DS18B20, connect a 4.7kΩ pull-up resistor between the data pin and the VCC pin.
Important Considerations and Best Practices
- Calibration: Some sensors may require calibration for accurate readings.
- Placement: Ensure the sensor is placed in an area where it can accurately measure the desired temperature without interference from heat sources or airflow.
- Power Supply: Use a stable power supply to avoid fluctuations in readings.
- Pull-Up Resistor: For digital sensors, always use the recommended pull-up resistor value to ensure proper communication.
Example Code for Arduino UNO
Below is an example of how to use a DS18B20 digital temperature sensor with an Arduino UNO.
#include <OneWire.h>
#include <DallasTemperature.h>

// Pin connected to the DS18B20 data line
#define ONE_WIRE_BUS 2

// Setup a oneWire instance to communicate with any OneWire devices
OneWire oneWire(ONE_WIRE_BUS);

// Pass the oneWire reference to DallasTemperature library
DallasTemperature sensors(&oneWire);

void setup() {
  Serial.begin(9600); // Initialize serial communication
  sensors.begin();    // Start the DS18B20 sensor
}

void loop() {
  sensors.requestTemperatures(); // Request temperature readings
  float temperatureC = sensors.getTempCByIndex(0); // Get temperature in Celsius

  // Print the temperature to the Serial Monitor
  Serial.print("Temperature: ");
  Serial.print(temperatureC);
  Serial.println(" °C");

  delay(1000); // Wait 1 second before the next reading
}
Troubleshooting and FAQs
Common Issues
No Output or Incorrect Readings:
- Check the wiring and ensure all connections are secure.
- Verify that the sensor is receiving the correct voltage.
- For digital sensors, ensure the pull-up resistor is correctly connected.
Fluctuating Readings:
- Use a decoupling capacitor (e.g., 0.1µF) between VCC and GND to stabilize the power supply.
- Ensure the sensor is not exposed to rapid temperature changes or electrical noise.
Sensor Not Detected:
- For digital sensors, confirm that the correct communication protocol is implemented in the code.
- Check for loose connections or damaged components.
FAQs
Q: Can I use a temperature sensor with a 3.3V microcontroller?
A: Yes, most temperature sensors are compatible with 3.3V systems. Check the sensor's datasheet to confirm its operating voltage range.
Q: How do I extend the cable length for a temperature sensor?
A: Use shielded cables to reduce noise and interference. For digital sensors, ensure the pull-up resistor value is appropriate for the extended cable length.
Q: What is the difference between analog and digital temperature sensors?
A: Analog sensors output a voltage proportional to the temperature, while digital sensors provide temperature data in a digital format using communication protocols like I2C, SPI, or 1-Wire.
By following this documentation, you can effectively integrate a temperature sensor into your project and troubleshoot common issues. Always refer to the specific sensor's datasheet for detailed information.