
How to Use SparkFun MIDI Shield: Examples, Pinouts, and Specs
 Design with SparkFun MIDI Shield in Cirkit Designer
Introduction
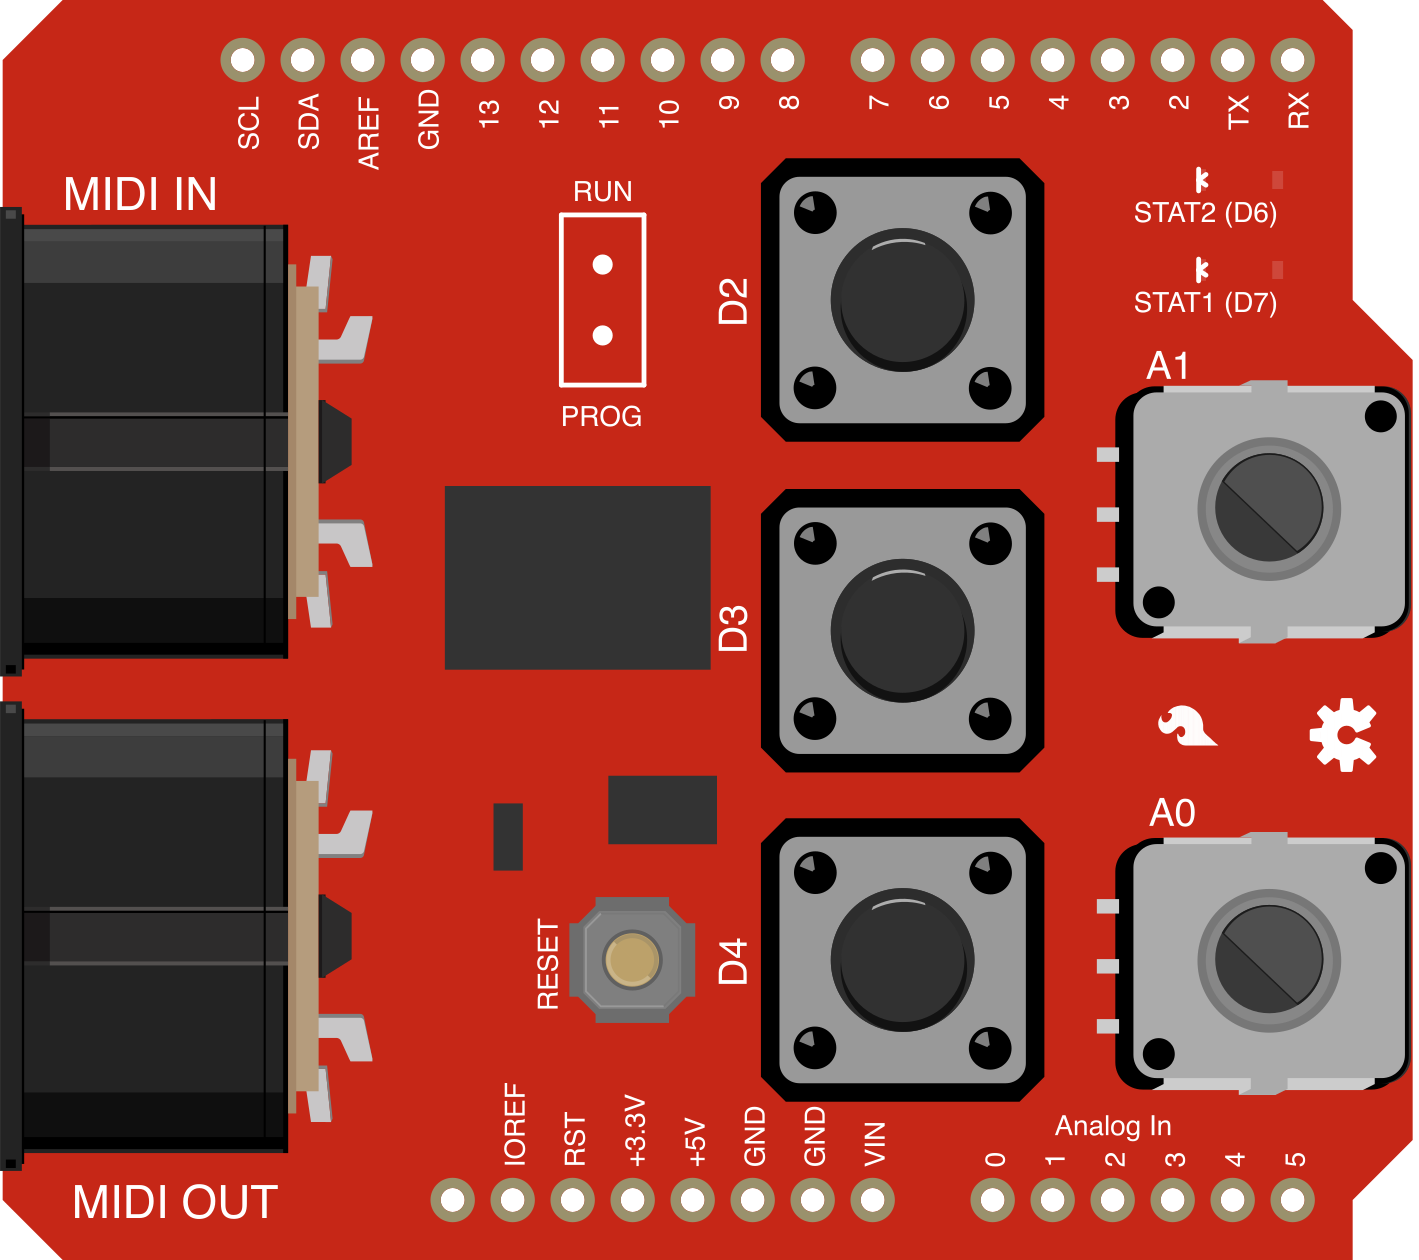
The SparkFun MIDI Shield (MIDI Shield v13) is a versatile add-on board designed for Arduino, enabling seamless integration of MIDI (Musical Instrument Digital Interface) capabilities. This shield allows users to send and receive MIDI messages, making it ideal for music-related projects such as synthesizers, MIDI controllers, and other audio applications. With its user-friendly design, the MIDI Shield simplifies communication with MIDI devices, making it a popular choice for both hobbyists and professionals in the music and electronics fields.
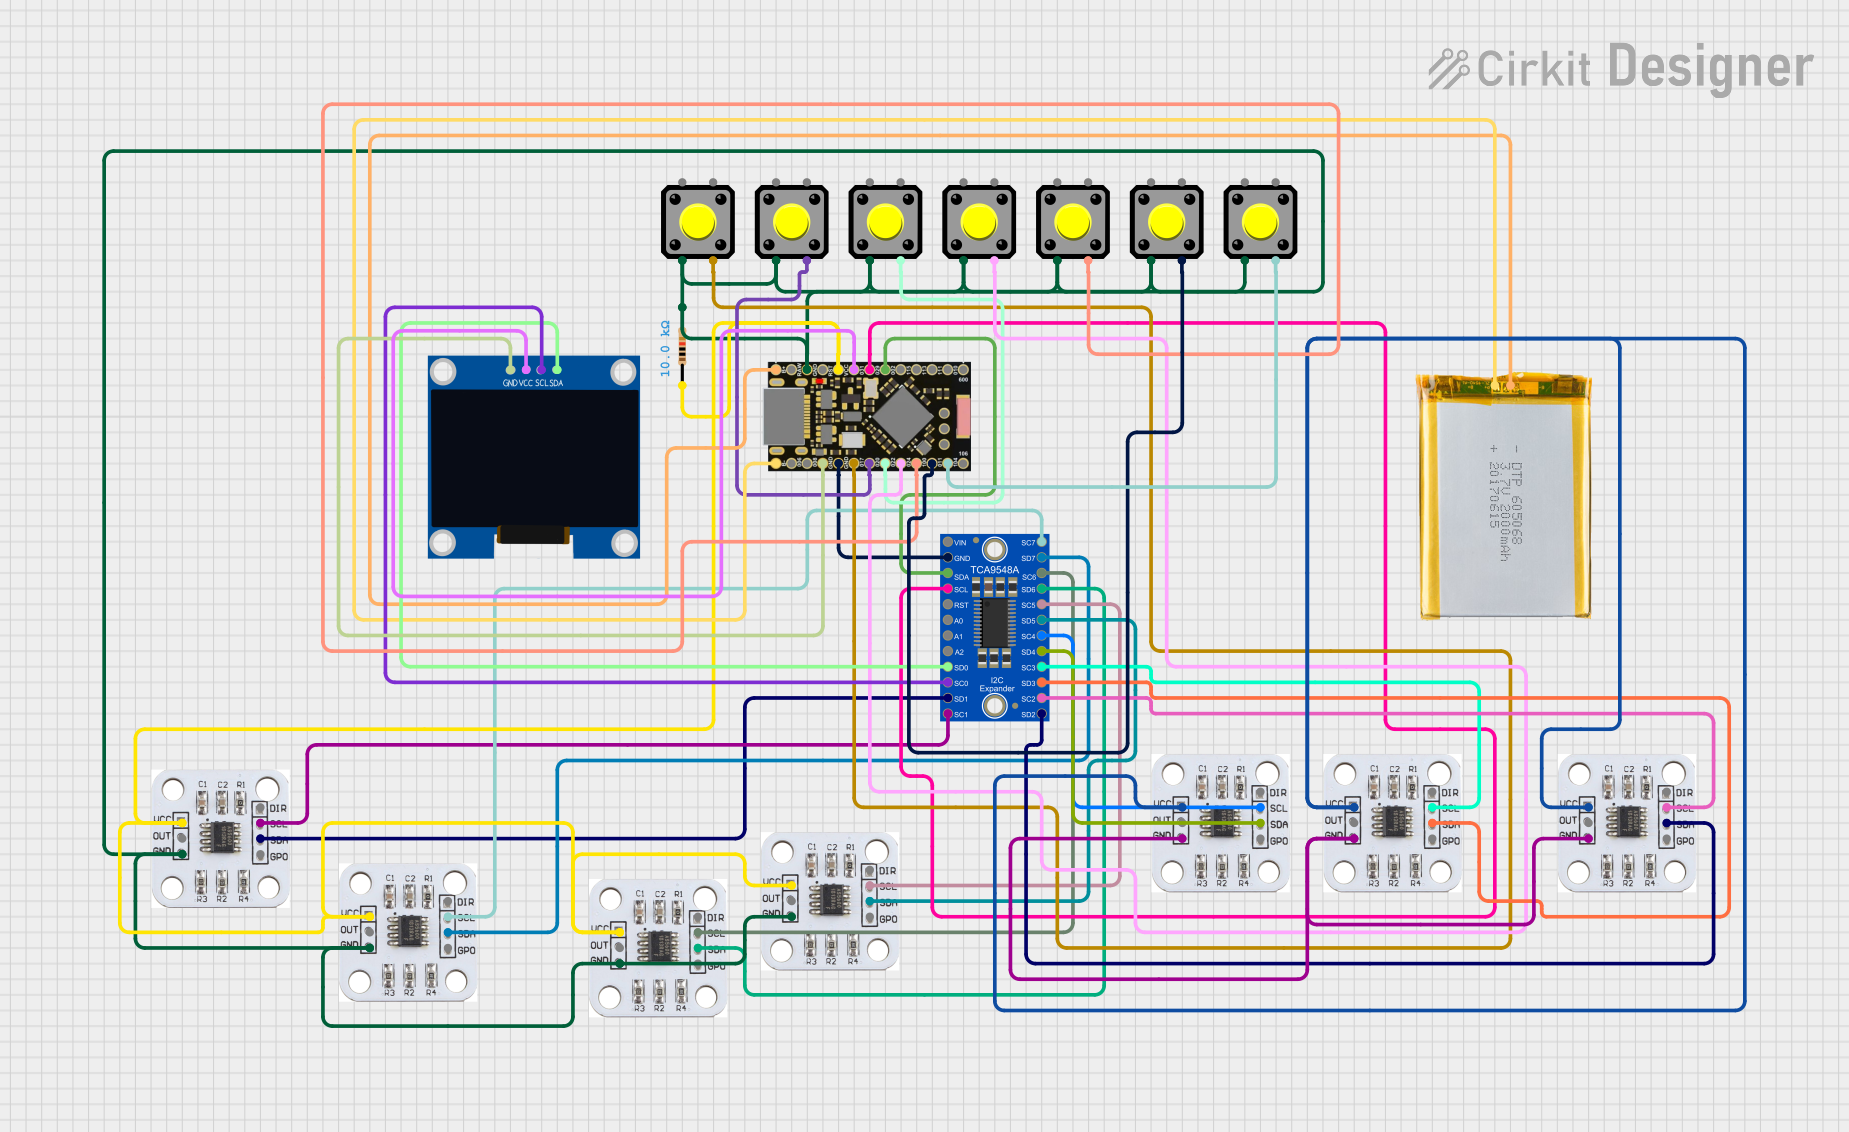
Explore Projects Built with SparkFun MIDI Shield
 Open Project in Cirkit Designer
 Open Project in Cirkit Designer
 Open Project in Cirkit Designer
 Open Project in Cirkit Designer
Explore Projects Built with SparkFun MIDI Shield
Open Project in Cirkit DesignerOpen Project in Cirkit DesignerOpen Project in Cirkit DesignerOpen Project in Cirkit DesignerCommon Applications and Use Cases
- Building custom MIDI controllers for music production.
- Interfacing with synthesizers, drum machines, and other MIDI-enabled devices.
- Creating MIDI-based lighting or stage effects.
- Developing interactive audio installations or performances.
- Learning and experimenting with MIDI communication protocols.
Technical Specifications
The following table outlines the key technical details of the SparkFun MIDI Shield:
| Specification | Details |
|---|---|
| Manufacturer | SparkFun |
| Part Number | MIDI Shield v13 |
| Input Voltage | 5V (powered via Arduino) |
| MIDI Input/Output | Standard 5-pin DIN connectors for MIDI IN and MIDI OUT |
| Additional Features | 3.5mm stereo jack for MIDI THRU, potentiometers, and pushbuttons |
| Compatible Boards | Arduino UNO, Mega, Leonardo, and other Arduino boards with standard headers |
| Dimensions | 68.6mm x 53.3mm (fits standard Arduino form factor) |
Pin Configuration and Descriptions
The SparkFun MIDI Shield uses the Arduino's pins for MIDI communication and additional features. Below is the pin mapping:
| Pin | Function |
|---|---|
| D0 (RX) | MIDI IN (receives MIDI messages from external devices) |
| D1 (TX) | MIDI OUT (sends MIDI messages to external devices) |
| D2 | Pushbutton 1 (user-configurable) |
| D3 | Pushbutton 2 (user-configurable) |
| A0 | Potentiometer 1 (user-configurable analog input) |
| A1 | Potentiometer 2 (user-configurable analog input) |
| 5V, GND | Power and ground connections (shared with Arduino) |
Usage Instructions
How to Use the MIDI Shield in a Circuit
- Attach the Shield to an Arduino Board: Align the shield's headers with the Arduino's pins and press it firmly into place.
- Connect MIDI Devices:
- Use the 5-pin DIN connectors to connect MIDI IN and MIDI OUT devices.
- Optionally, use the 3.5mm stereo jack for MIDI THRU.
- Power the Circuit: Power the Arduino via USB or an external power source.
- Upload Code: Write and upload Arduino sketches to send or receive MIDI messages.
Important Considerations and Best Practices
- MIDI Baud Rate: MIDI communication operates at a baud rate of 31250. Ensure your Arduino sketch is configured accordingly.
- Isolation: The MIDI Shield includes opto-isolation for MIDI IN to protect your Arduino from voltage spikes.
- Pin Conflicts: Avoid using pins D0 and D1 for other purposes, as they are dedicated to MIDI communication.
- External Power: If using multiple MIDI devices, consider powering the Arduino externally to ensure sufficient current.
Example Code for Arduino UNO
Below is an example sketch to send a MIDI note when a button is pressed:
#include <MIDI.h> // Include the MIDI library

MIDI_CREATE_DEFAULT_INSTANCE();

const int buttonPin = 2; // Pin connected to the button
const int note = 60;     // MIDI note number (Middle C)
const int velocity = 100; // Velocity of the note
const int channel = 1;    // MIDI channel

void setup() {
  pinMode(buttonPin, INPUT_PULLUP); // Configure button pin as input with pull-up
  MIDI.begin(MIDI_CHANNEL_OMNI);   // Start MIDI communication
}

void loop() {
  static bool notePlaying = false; // Track if the note is currently playing

  if (digitalRead(buttonPin) == LOW) { // Check if button is pressed
    if (!notePlaying) {
      MIDI.sendNoteOn(note, velocity, channel); // Send Note On message
      notePlaying = true; // Update state to indicate note is playing
    }
  } else {
    if (notePlaying) {
      MIDI.sendNoteOff(note, velocity, channel); // Send Note Off message
      notePlaying = false; // Update state to indicate note is not playing
    }
  }
}
Explanation of the Code
- The
MIDI_CREATE_DEFAULT_INSTANCE()macro initializes the MIDI library. - The button is connected to pin 2 and configured as an input with a pull-up resistor.
- When the button is pressed, a MIDI Note On message is sent. When released, a Note Off message is sent.
Troubleshooting and FAQs
Common Issues and Solutions
No MIDI Communication:
- Ensure the shield is properly seated on the Arduino.
- Verify that the MIDI cables are securely connected to the correct ports.
- Check that the Arduino sketch is using the correct baud rate (31250).
Button or Potentiometer Not Working:
- Confirm that the correct pins are being used in the code.
- Check for loose connections or damaged components.
Arduino Not Recognized by Computer:
- Ensure the correct board and port are selected in the Arduino IDE.
- Try a different USB cable or port.
MIDI Messages Not Received by External Device:
- Verify that the external device is set to the same MIDI channel as the Arduino.
- Check the MIDI OUT connection and cable for faults.
FAQs
Q: Can I use the MIDI Shield with boards other than the Arduino UNO?
A: Yes, the MIDI Shield is compatible with other Arduino boards like the Mega and Leonardo, as long as they have the standard header layout.
Q: Can I use the shield for USB MIDI communication?
A: The MIDI Shield is designed for standard 5-pin MIDI communication. For USB MIDI, additional hardware or software may be required.
Q: How do I test if the shield is working?
A: Use a simple sketch to send a MIDI Note On message and verify that the connected MIDI device responds.
Q: Can I use the potentiometers and buttons for non-MIDI purposes?
A: Yes, the potentiometers and buttons can be used as general-purpose inputs for other Arduino projects.