
How to Use Micro servo 9G: Examples, Pinouts, and Specs
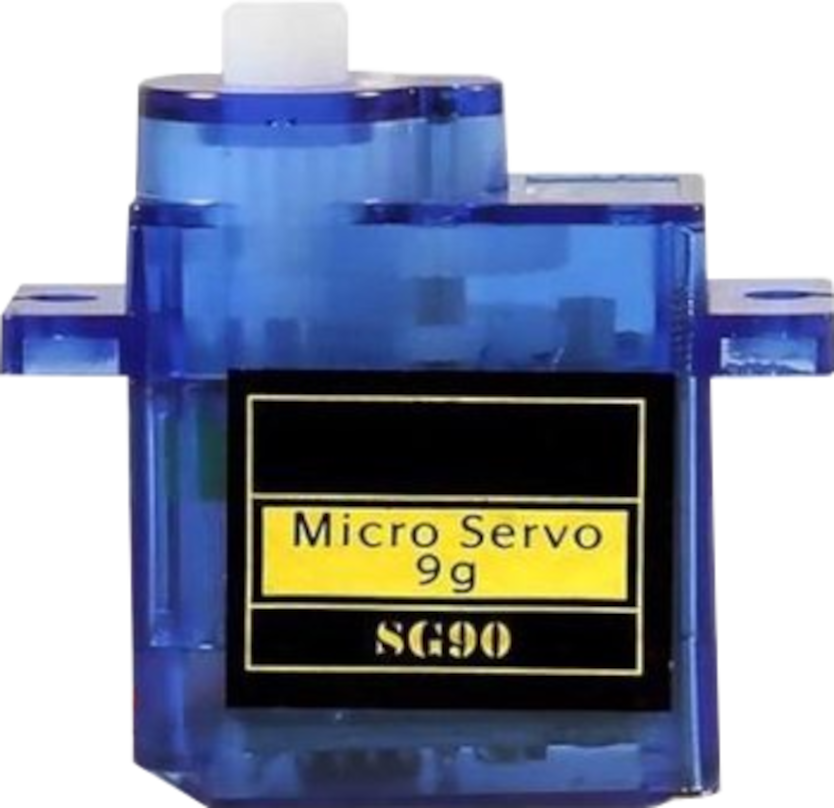
 Design with Micro servo 9G in Cirkit Designer
Introduction
The Micro Servo 9G (SG90) by AZDelivery is a compact and lightweight servo motor widely used in the world of hobby electronics and robotics. Its small size and affordability make it an ideal choice for applications such as radio-controlled models, small robotics projects, and any application where precise movement and control of small components are required.
Explore Projects Built with Micro servo 9G
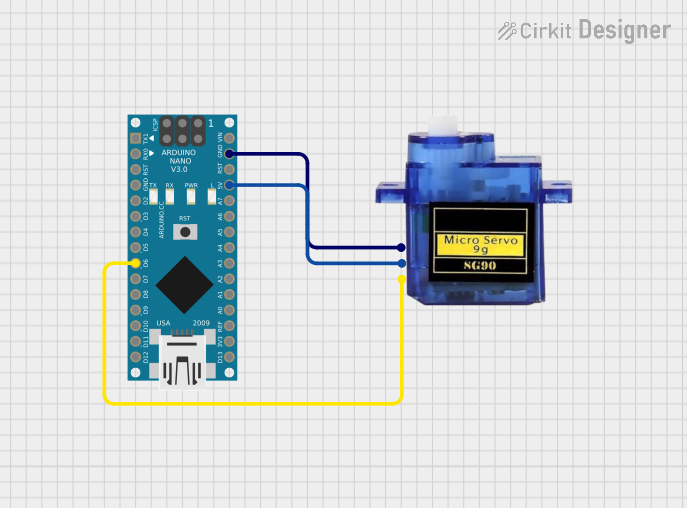
 Open Project in Cirkit Designer
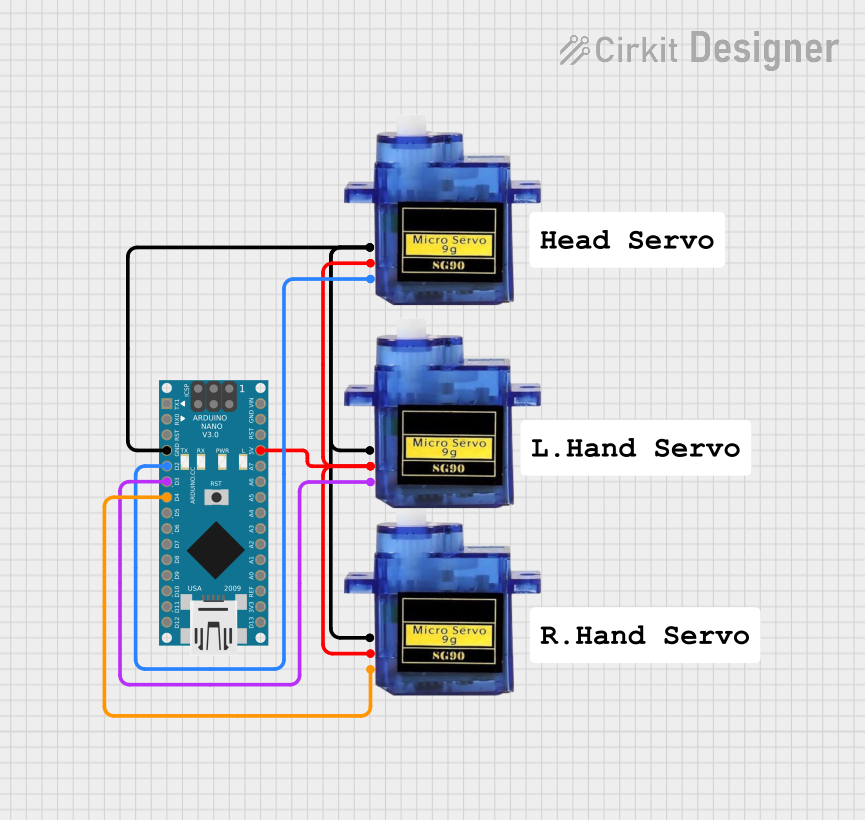
 Open Project in Cirkit Designer
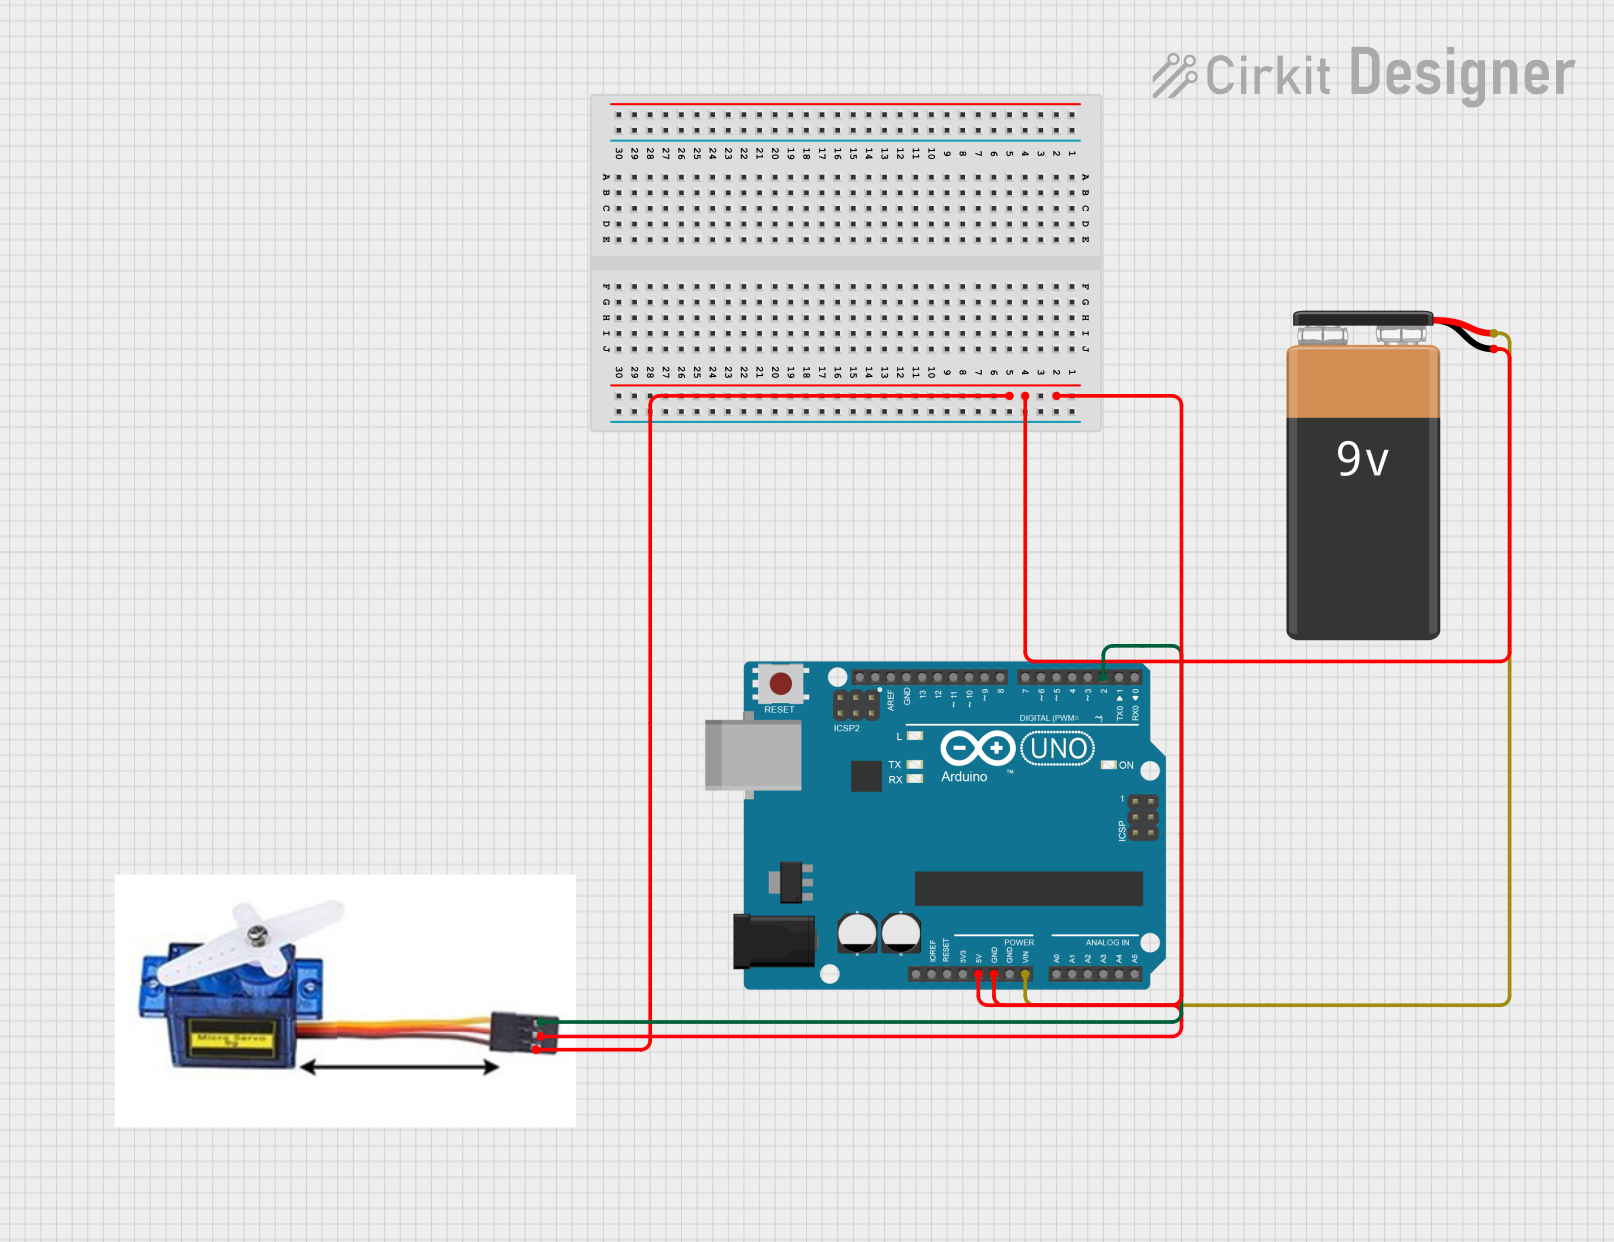
 Open Project in Cirkit Designer
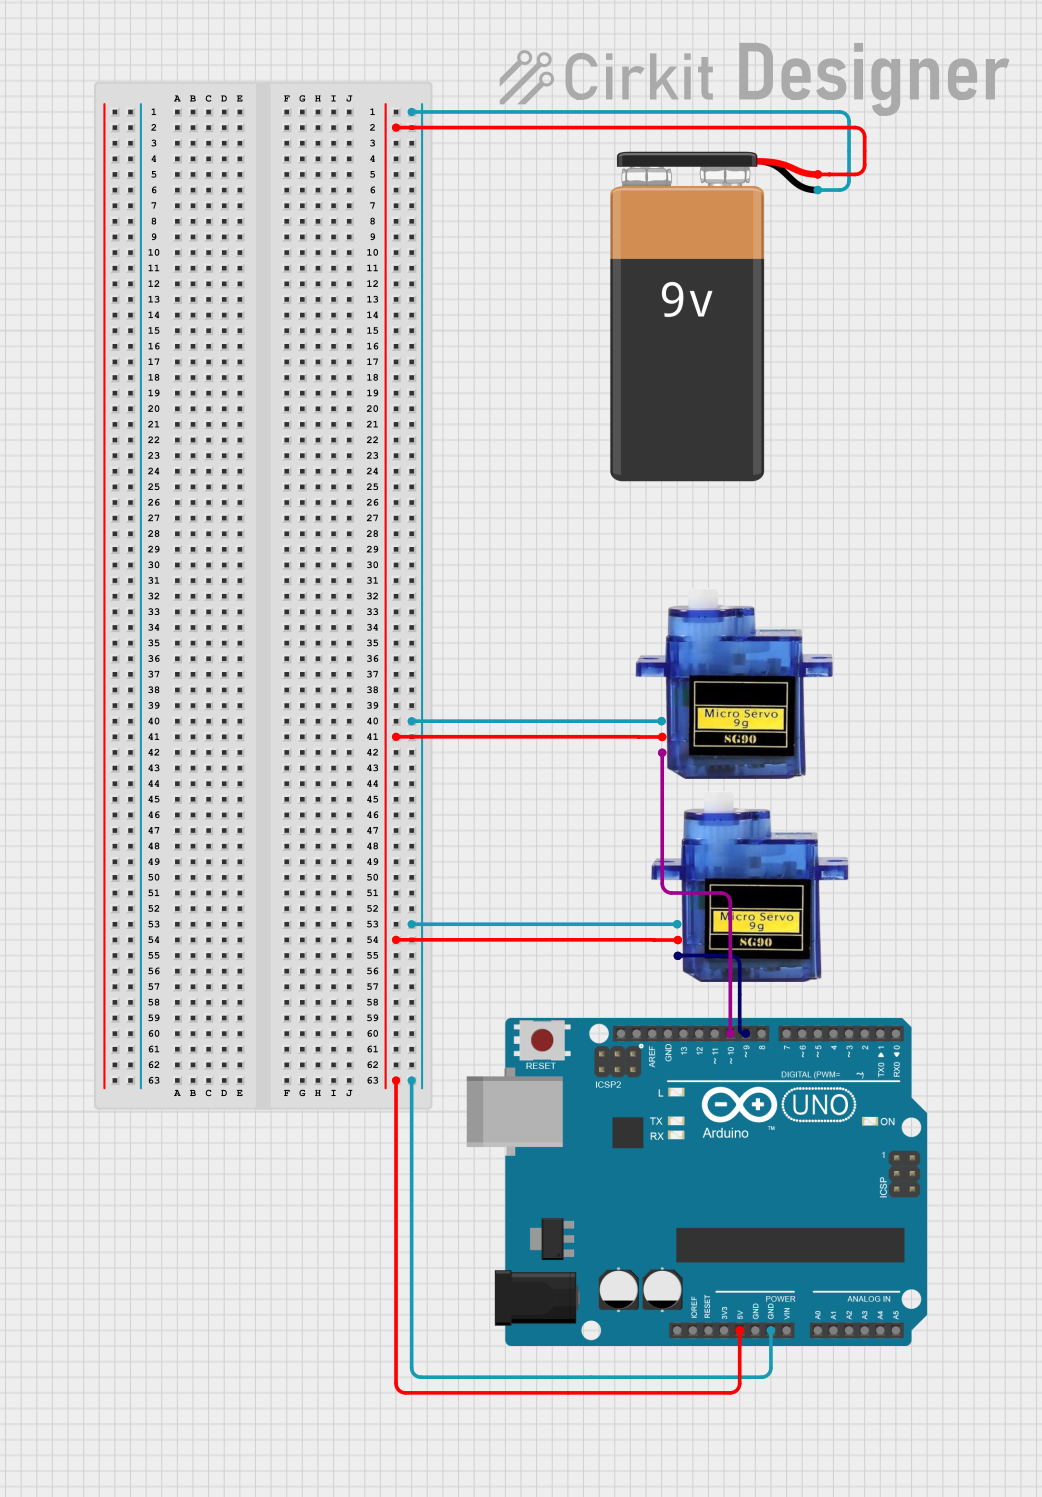
 Open Project in Cirkit Designer
Explore Projects Built with Micro servo 9G

 Open Project in Cirkit Designer
 Open Project in Cirkit Designer
 Open Project in Cirkit Designer
 Open Project in Cirkit Designer
Common Applications and Use Cases
- Radio-controlled vehicles (cars, airplanes, boats)
- Robotic arms and manipulators
- Camera pan/tilt systems
- Small-scale automation projects
Technical Specifications
Key Technical Details
- Operating Voltage: 4.8V to 6.0V
- Stall Torque: 1.8 kg-cm (4.8V), 2.2 kg-cm (6.0V)
- Operating Speed: 0.12 sec/60° (4.8V), 0.10 sec/60° (6.0V)
- Temperature Range: -30°C to +60°C
- Weight: 9g
- Dimensions: 22.2 x 11.8 x 31 mm
Pin Configuration and Descriptions
| Pin Number | Color | Description |
|---|---|---|
| 1 | Brown | Ground (GND) |
| 2 | Red | Power Supply (VCC) |
| 3 | Orange | Control Signal (PWM) |
Usage Instructions
How to Use the Component in a Circuit
- Power Supply: Connect the red wire to a power supply that is within the operating voltage range (4.8V to 6.0V).
- Ground: Connect the brown wire to the ground of your power supply and microcontroller.
- Control Signal: Connect the orange wire to a PWM-capable pin on your microcontroller.
Important Considerations and Best Practices
- Ensure that the power supply is stable and within the specified voltage range to prevent damage to the servo.
- Do not exceed the servo's torque capabilities, as this may cause permanent damage.
- When mounting the servo, ensure that it is securely fastened to prevent any unintended movement.
- Avoid placing the servo under continuous load for extended periods to prevent overheating and potential failure.
Example Code for Arduino UNO
#include <Servo.h>

Servo myservo;  // create servo object to control a servo

void setup() {
  myservo.attach(9);  // attaches the servo on pin 9 to the servo object
}

void loop() {
  myservo.write(90);  // sets the servo position according to the scaled value
  delay(1000);        // waits for the servo to reach the position
  myservo.write(0);   // sets the servo back to the starting position
  delay(1000);        // waits for the servo to reach the position
}
Troubleshooting and FAQs
Common Issues Users Might Face
- Servo not responding: Ensure that all connections are secure and the power supply is within the operating voltage range.
- Erratic movements: Check for any signal interference or inconsistencies in the control signal.
- Overheating: Make sure the servo is not under excessive load and is being used within its torque specifications.
Solutions and Tips for Troubleshooting
- Double-check wiring, especially the control signal wire, to ensure it is connected to a PWM-capable pin.
- Use a separate power supply for the servo if the microcontroller cannot provide sufficient current.
- Implement a "sweep" test code to ensure the servo is functioning correctly across its range of motion.
FAQs
Q: Can I control the Micro Servo 9G with a Raspberry Pi? A: Yes, you can control the servo using the Raspberry Pi's GPIO pins, but you will need to ensure proper logic level conversion and power supply.
Q: How many servos can I connect to an Arduino UNO? A: The Arduino UNO can control as many servos as there are PWM-capable pins available, but power limitations may require an external power supply when using multiple servos.
Q: What is the lifespan of the Micro Servo 9G? A: The lifespan can vary based on usage, but with proper care and not exceeding its specifications, it can last for many operational hours.