Cirkit Designer Logo
Cirkit Designer
Your all-in-one circuit design IDE
Home / 
Component Documentation

How to Use USB Type C Power Delivery Dummy Breakout - I2C or Fixed: Examples, Pinouts, and Specs

Image of USB Type C Power Delivery Dummy Breakout - I2C or Fixed
Cirkit Designer LogoDesign with USB Type C Power Delivery Dummy Breakout - I2C or Fixed in Cirkit Designer

Introduction

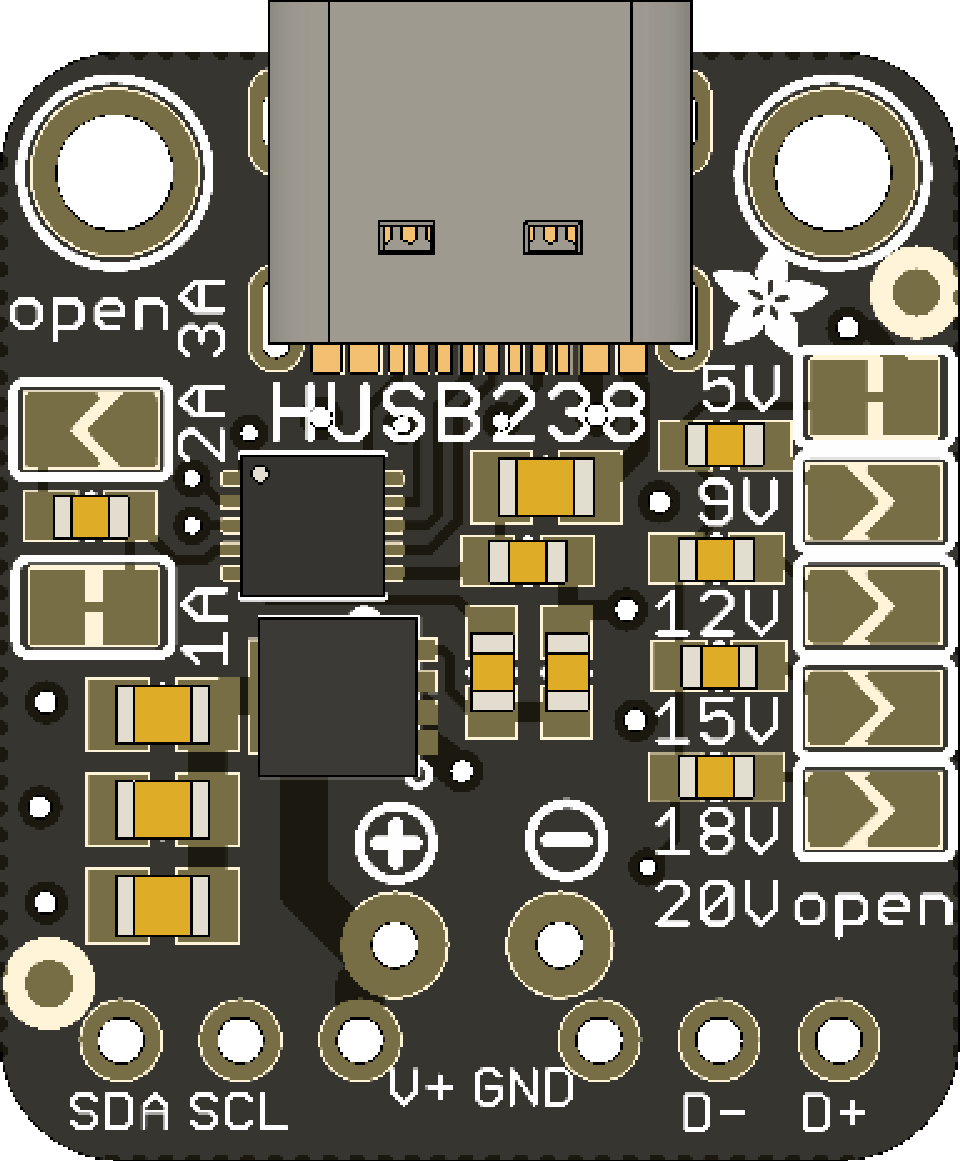
The USB Type C Power Delivery Dummy Breakout - I2C or Fixed (Manufacturer Part ID: HUSB238) by Adafruit is a versatile breakout board designed to facilitate easy access to USB Type C power delivery features. This component supports both I2C communication and fixed voltage configurations, making it an ideal choice for a wide range of applications.

Explore Projects Built with USB Type C Power Delivery Dummy Breakout - I2C or Fixed

Use Cirkit Designer to design, explore, and prototype these projects online. Some projects support real-time simulation. Click "Open Project" to start designing instantly!
Raspberry Pi 3B Powered 15.6-inch Touchscreen Display with USB Type-C Power Delivery
Image of Pi Touch Screen Kiosk: A project utilizing USB Type C Power Delivery Dummy Breakout - I2C or Fixed in a practical application
This circuit powers a 15.6-inch capacitive touch display and a Raspberry Pi 3B using a USB Type C power delivery breakout and two buck converters. The Raspberry Pi connects to the display via HDMI and USB for touch functionality, while the power delivery breakout provides regulated power to both the display and the Raspberry Pi through the buck converters.
Cirkit Designer LogoOpen Project in Cirkit Designer
USB Type-C Powered LED Circuit with Resistor
Image of Scheme1: A project utilizing USB Type C Power Delivery Dummy Breakout - I2C or Fixed in a practical application
This circuit consists of a USB Type-C port providing power to a red LED through a 1000 Ohm resistor. The resistor limits the current flowing through the LED, which lights up when the circuit is powered.
Cirkit Designer LogoOpen Project in Cirkit Designer
I2C LCD Display Module with Power Supply Interface
Image of J8 +j22 lcd closeup: A project utilizing USB Type C Power Delivery Dummy Breakout - I2C or Fixed in a practical application
This circuit interfaces a 20x4 I2C LCD display with a power source and an I2C communication bus. The LCD is powered by a 4.2V supply from a connector and communicates via I2C through another connector, which provides the SCL and SDA lines as well as ground.
Cirkit Designer LogoOpen Project in Cirkit Designer
Battery-Powered Raspberry Pi Zero with OLED Display and EmStat Pico for Portable Data Acquisition
Image of RPI Zero Prototype: A project utilizing USB Type C Power Delivery Dummy Breakout - I2C or Fixed in a practical application
This circuit is a portable system powered by a 3.7V LiPo battery, which is boosted to 5V using an Adafruit PowerBoost 1000C to power a Raspberry Pi Zero and an EmStat Pico. The Raspberry Pi Zero interfaces with an OLED display via I2C and a tactile switch for user input, while the EmStat Pico communicates with the Raspberry Pi over UART for data acquisition or control purposes.
Cirkit Designer LogoOpen Project in Cirkit Designer

Explore Projects Built with USB Type C Power Delivery Dummy Breakout - I2C or Fixed

Use Cirkit Designer to design, explore, and prototype these projects online. Some projects support real-time simulation. Click "Open Project" to start designing instantly!
Image of Pi Touch Screen Kiosk: A project utilizing USB Type C Power Delivery Dummy Breakout - I2C or Fixed in a practical application
Raspberry Pi 3B Powered 15.6-inch Touchscreen Display with USB Type-C Power Delivery
This circuit powers a 15.6-inch capacitive touch display and a Raspberry Pi 3B using a USB Type C power delivery breakout and two buck converters. The Raspberry Pi connects to the display via HDMI and USB for touch functionality, while the power delivery breakout provides regulated power to both the display and the Raspberry Pi through the buck converters.
Cirkit Designer LogoOpen Project in Cirkit Designer
Image of Scheme1: A project utilizing USB Type C Power Delivery Dummy Breakout - I2C or Fixed in a practical application
USB Type-C Powered LED Circuit with Resistor
This circuit consists of a USB Type-C port providing power to a red LED through a 1000 Ohm resistor. The resistor limits the current flowing through the LED, which lights up when the circuit is powered.
Cirkit Designer LogoOpen Project in Cirkit Designer
Image of J8 +j22 lcd closeup: A project utilizing USB Type C Power Delivery Dummy Breakout - I2C or Fixed in a practical application
I2C LCD Display Module with Power Supply Interface
This circuit interfaces a 20x4 I2C LCD display with a power source and an I2C communication bus. The LCD is powered by a 4.2V supply from a connector and communicates via I2C through another connector, which provides the SCL and SDA lines as well as ground.
Cirkit Designer LogoOpen Project in Cirkit Designer
Image of RPI Zero Prototype: A project utilizing USB Type C Power Delivery Dummy Breakout - I2C or Fixed in a practical application
Battery-Powered Raspberry Pi Zero with OLED Display and EmStat Pico for Portable Data Acquisition
This circuit is a portable system powered by a 3.7V LiPo battery, which is boosted to 5V using an Adafruit PowerBoost 1000C to power a Raspberry Pi Zero and an EmStat Pico. The Raspberry Pi Zero interfaces with an OLED display via I2C and a tactile switch for user input, while the EmStat Pico communicates with the Raspberry Pi over UART for data acquisition or control purposes.
Cirkit Designer LogoOpen Project in Cirkit Designer

Common Applications and Use Cases

  • Power Supply for Development Boards: Provides a reliable power source for microcontrollers and development boards such as Arduino, Raspberry Pi, and others.
  • Portable Electronics: Ideal for powering portable devices that require specific voltage levels.
  • Prototyping and Testing: Useful in prototyping environments where different voltage levels are needed for testing various components.
  • Battery Charging: Can be used in custom battery charging circuits that require precise voltage control.

Technical Specifications

Key Technical Details

Parameter Value
Input Voltage 5V to 20V (via USB Type C)
Output Voltage Configurable (5V, 9V, 12V, 15V, 20V)
Communication I2C
Current Rating Up to 5A
Power Rating Up to 100W
Dimensions 25mm x 20mm x 5mm
Operating Temperature -40°C to 85°C

Pin Configuration and Descriptions

Pin Name Description
VBUS Main power input (5V to 20V)
GND Ground
SCL I2C Clock Line
SDA I2C Data Line
VOUT Configurable output voltage (5V, 9V, 12V, etc.)
EN Enable pin for the breakout board

Usage Instructions

How to Use the Component in a Circuit

  1. Power Connection:

    • Connect the VBUS pin to the USB Type C power source.
    • Connect the GND pin to the ground of your circuit.
  2. I2C Communication:

    • Connect the SCL pin to the I2C clock line of your microcontroller.
    • Connect the SDA pin to the I2C data line of your microcontroller.
  3. Output Voltage:

    • The VOUT pin provides the configurable output voltage. Connect this pin to the load that requires the specific voltage.
  4. Enable Pin:

    • The EN pin can be used to enable or disable the breakout board. Connect it to a digital I/O pin of your microcontroller to control the power delivery.

Important Considerations and Best Practices

  • Voltage Selection: Ensure that the output voltage is correctly configured for your application to avoid damaging your components.
  • Current Rating: Do not exceed the maximum current rating of 5A to prevent overheating and potential damage.
  • I2C Address: The default I2C address for the HUSB238 is 0x28. Ensure that this address does not conflict with other I2C devices on the same bus.
  • Heat Dissipation: If operating at high currents, consider adding a heat sink or ensuring adequate ventilation to manage heat dissipation.

Example Code for Arduino UNO

Below is an example code to configure the HUSB238 using I2C communication with an Arduino UNO:

#include <Wire.h>

#define HUSB238_I2C_ADDRESS 0x28

void setup() {
  Wire.begin(); // Initialize I2C communication
  Serial.begin(9600); // Initialize serial communication for debugging

  // Set the output voltage to 9V
  setOutputVoltage(9);
}

void loop() {
  // Main loop does nothing in this example
}

void setOutputVoltage(uint8_t voltage) {
  Wire.beginTransmission(HUSB238_I2C_ADDRESS);
  Wire.write(0x01); // Command to set voltage
  Wire.write(voltage); // Voltage value (5, 9, 12, 15, 20)
  Wire.endTransmission();

  Serial.print("Output voltage set to: ");
  Serial.print(voltage);
  Serial.println("V");
}

Troubleshooting and FAQs

Common Issues Users Might Face

  1. No Output Voltage:

    • Solution: Ensure that the VBUS and GND pins are properly connected to the power source. Check if the EN pin is set to enable the breakout board.
  2. Incorrect Voltage Output:

    • Solution: Verify the I2C communication and ensure that the correct voltage value is being sent to the HUSB238. Check for any conflicts with other I2C devices.
  3. Overheating:

    • Solution: Ensure that the current draw does not exceed 5A. Provide adequate cooling or ventilation if operating at high currents.

Solutions and Tips for Troubleshooting

  • Check Connections: Ensure all connections are secure and correctly oriented.
  • Monitor I2C Communication: Use a logic analyzer or oscilloscope to monitor I2C signals if communication issues arise.
  • Use Serial Debugging: Implement serial debugging to print out status messages and error codes for easier troubleshooting.

By following this documentation, users can effectively utilize the USB Type C Power Delivery Dummy Breakout - I2C or Fixed (HUSB238) in their projects, ensuring reliable and configurable power delivery for various applications.