
How to Use Edspert Board: Examples, Pinouts, and Specs
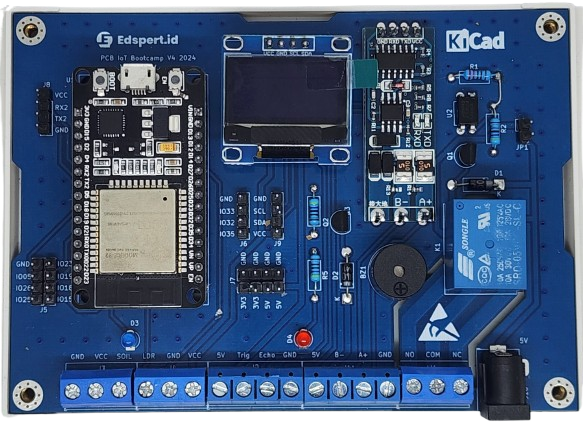
 Design with Edspert Board in Cirkit Designer
Introduction
The Edspert Board is a versatile educational microcontroller board designed to simplify the learning process for programming and electronics. It is equipped with a variety of input/output options, making it an ideal platform for students, hobbyists, and educators. The board is compatible with a wide range of sensors and modules, enabling users to build and experiment with diverse projects.
Explore Projects Built with Edspert Board
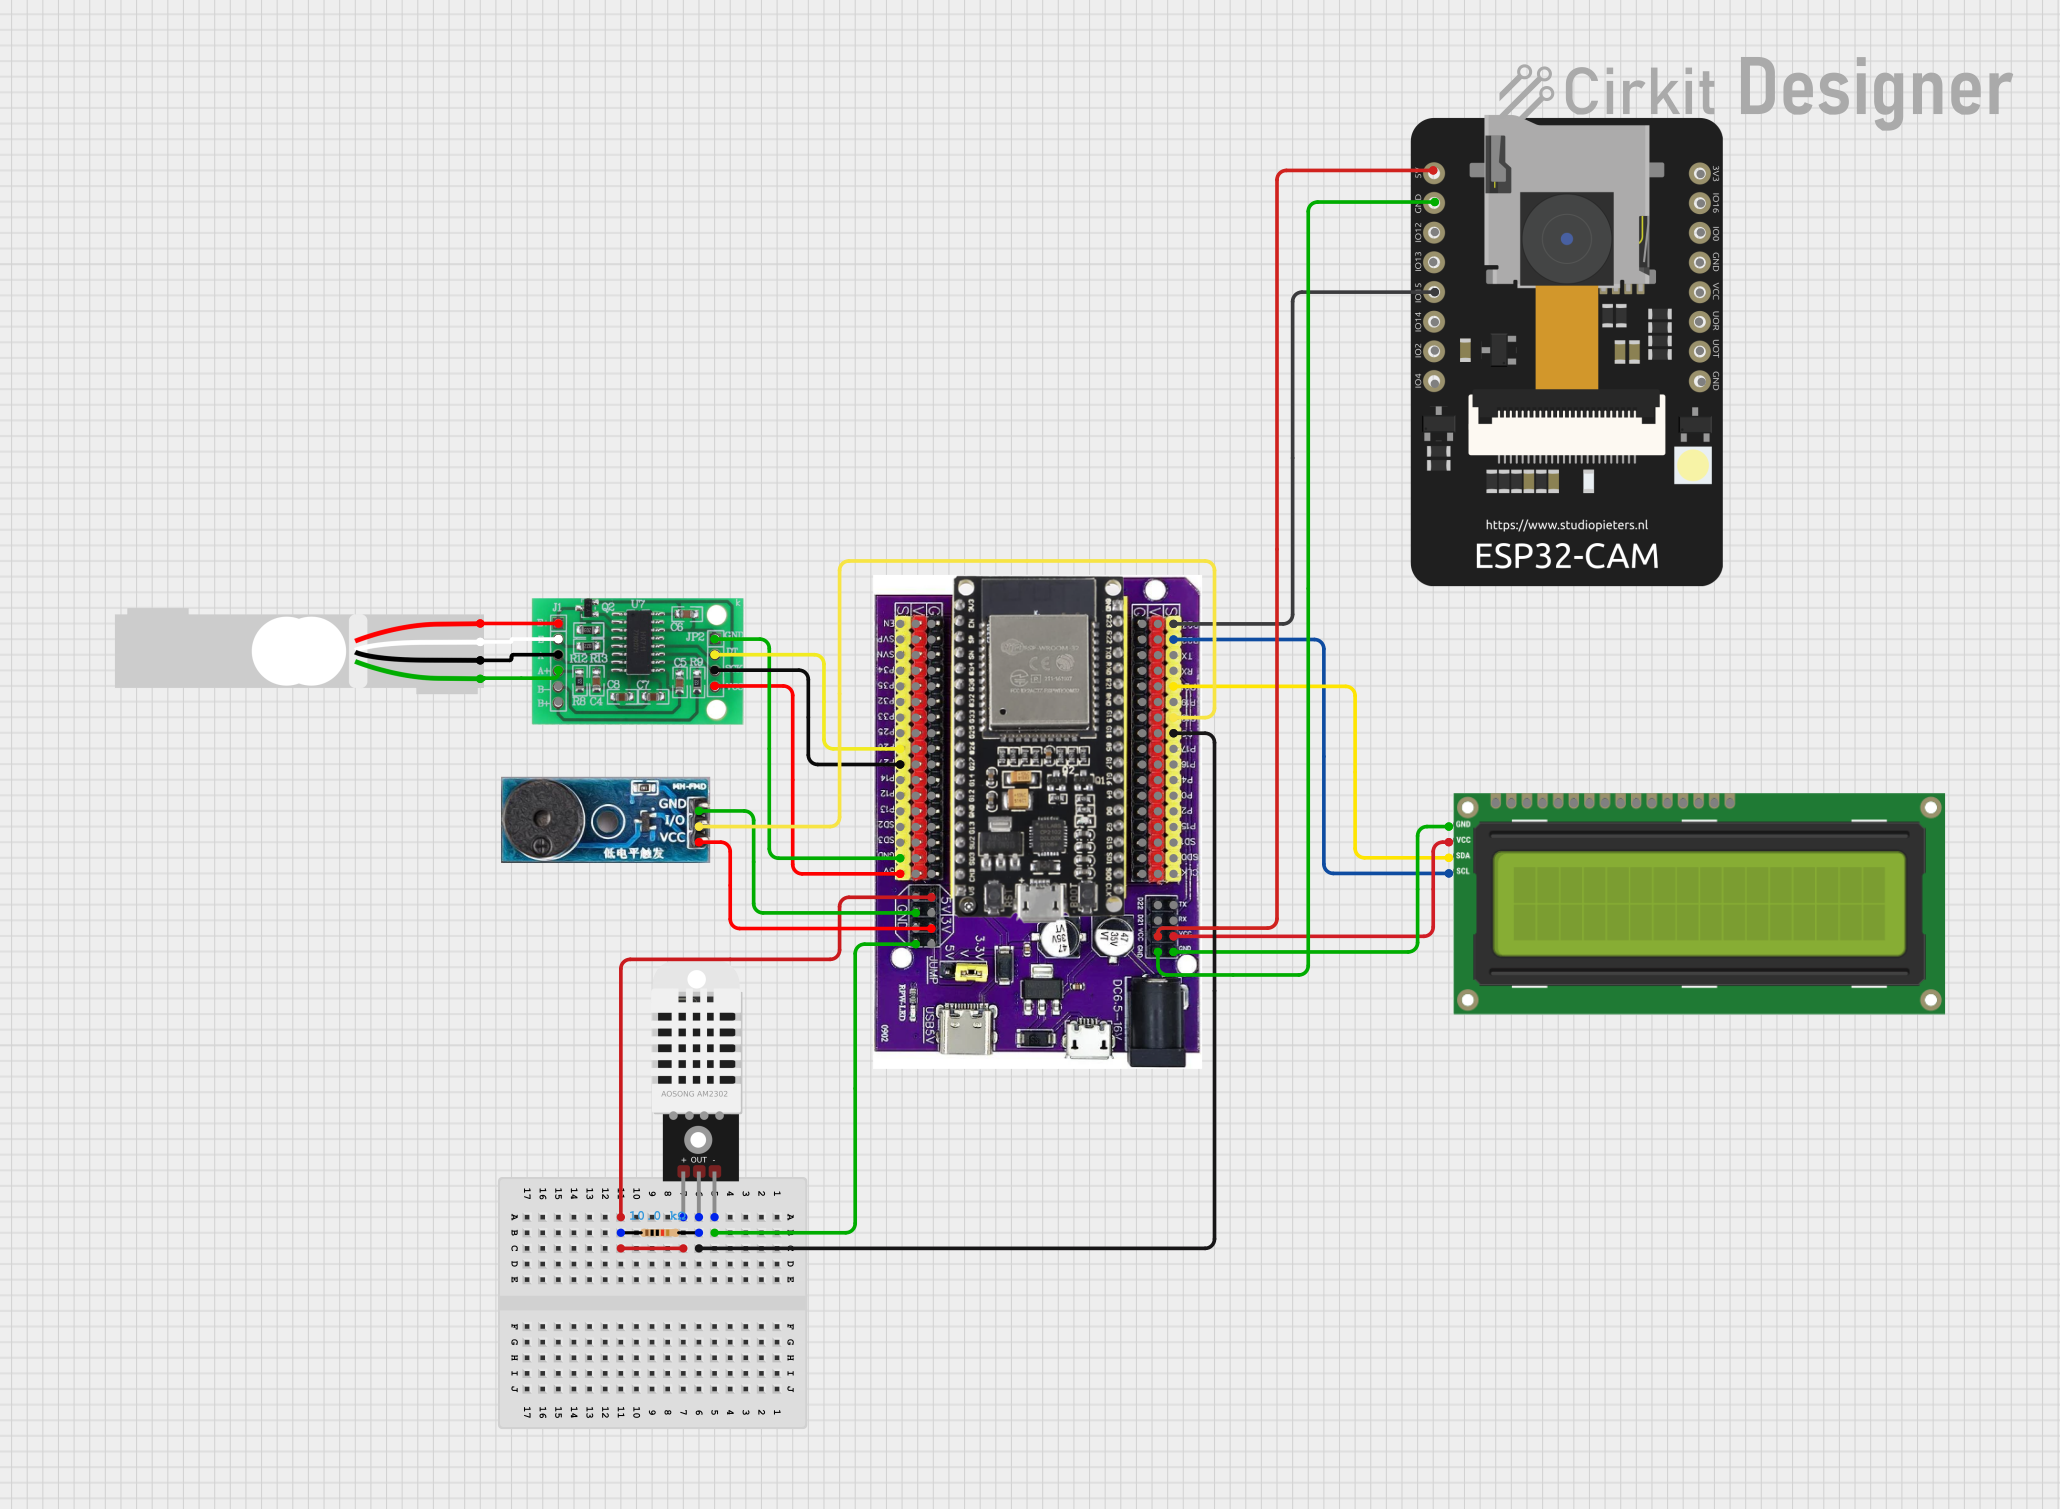
 Open Project in Cirkit Designer
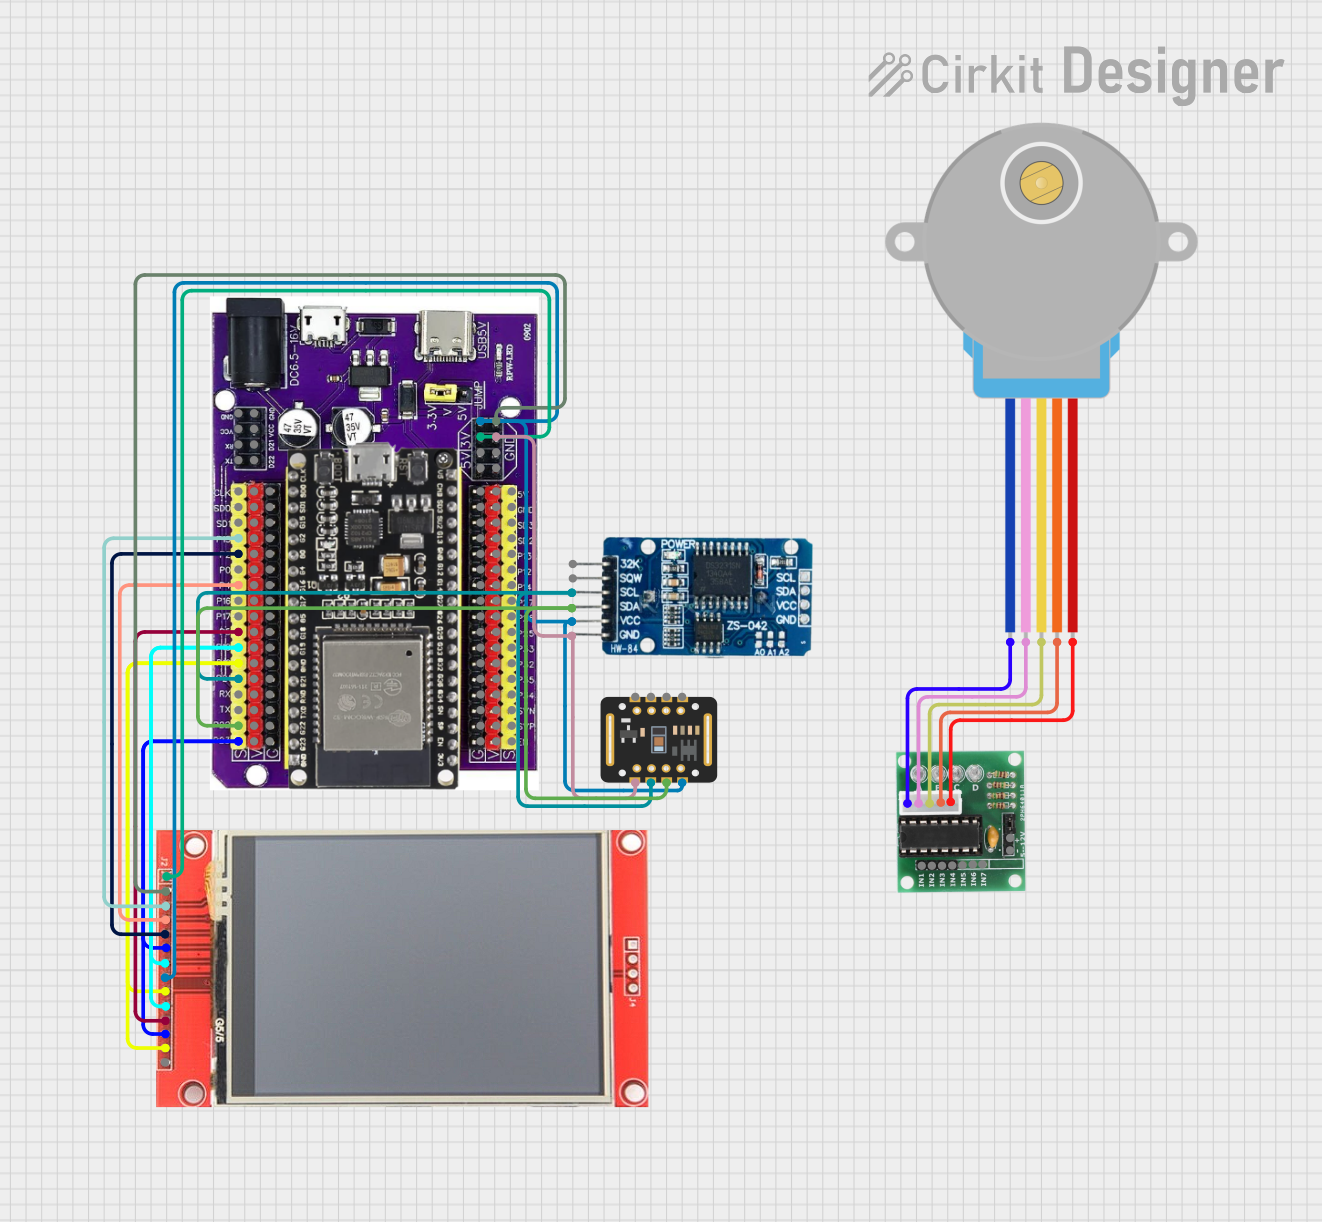
 Open Project in Cirkit Designer
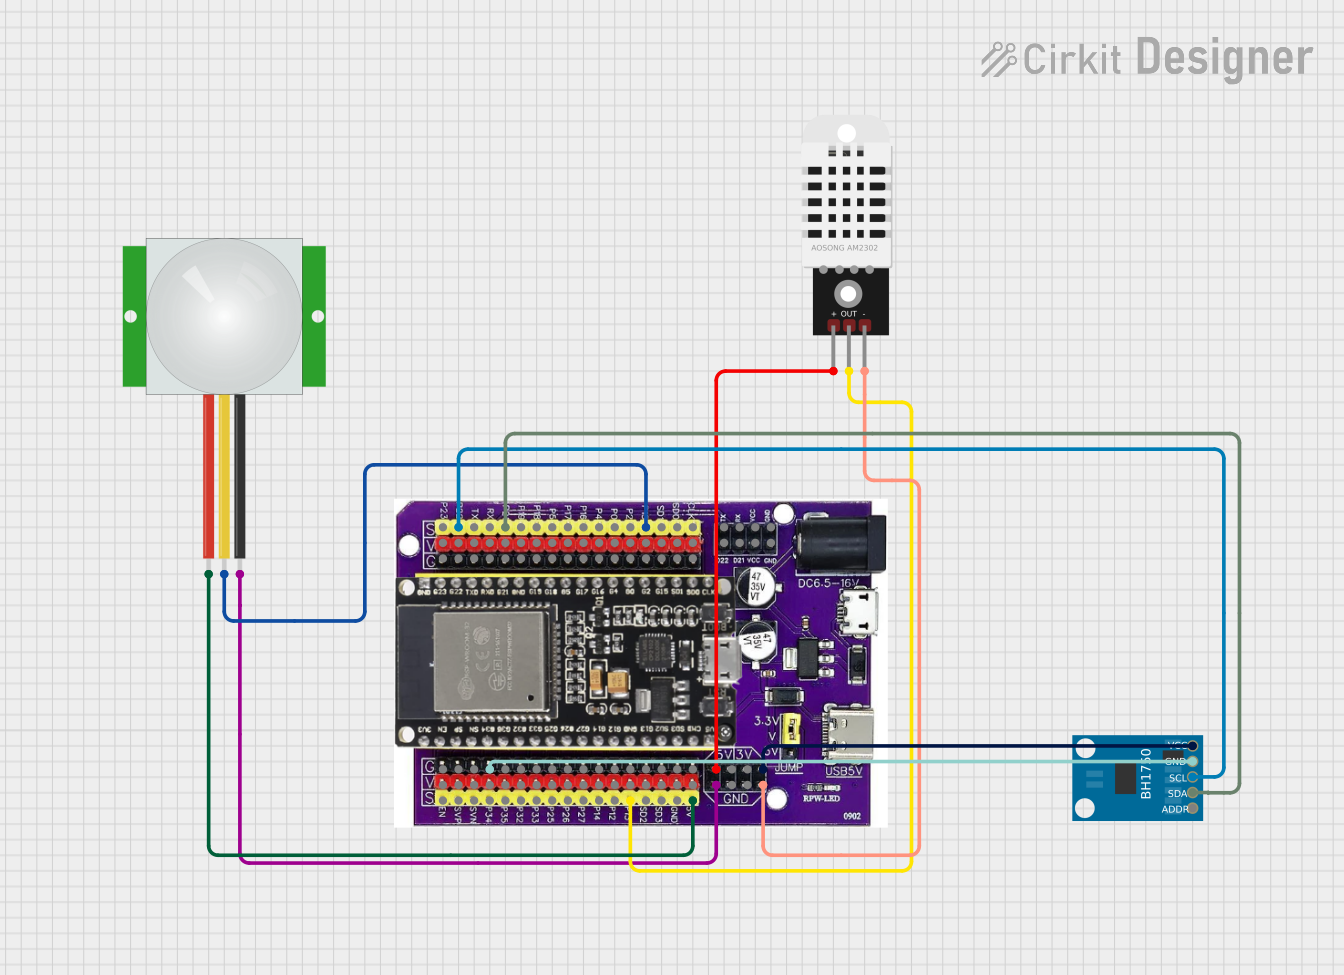
 Open Project in Cirkit Designer
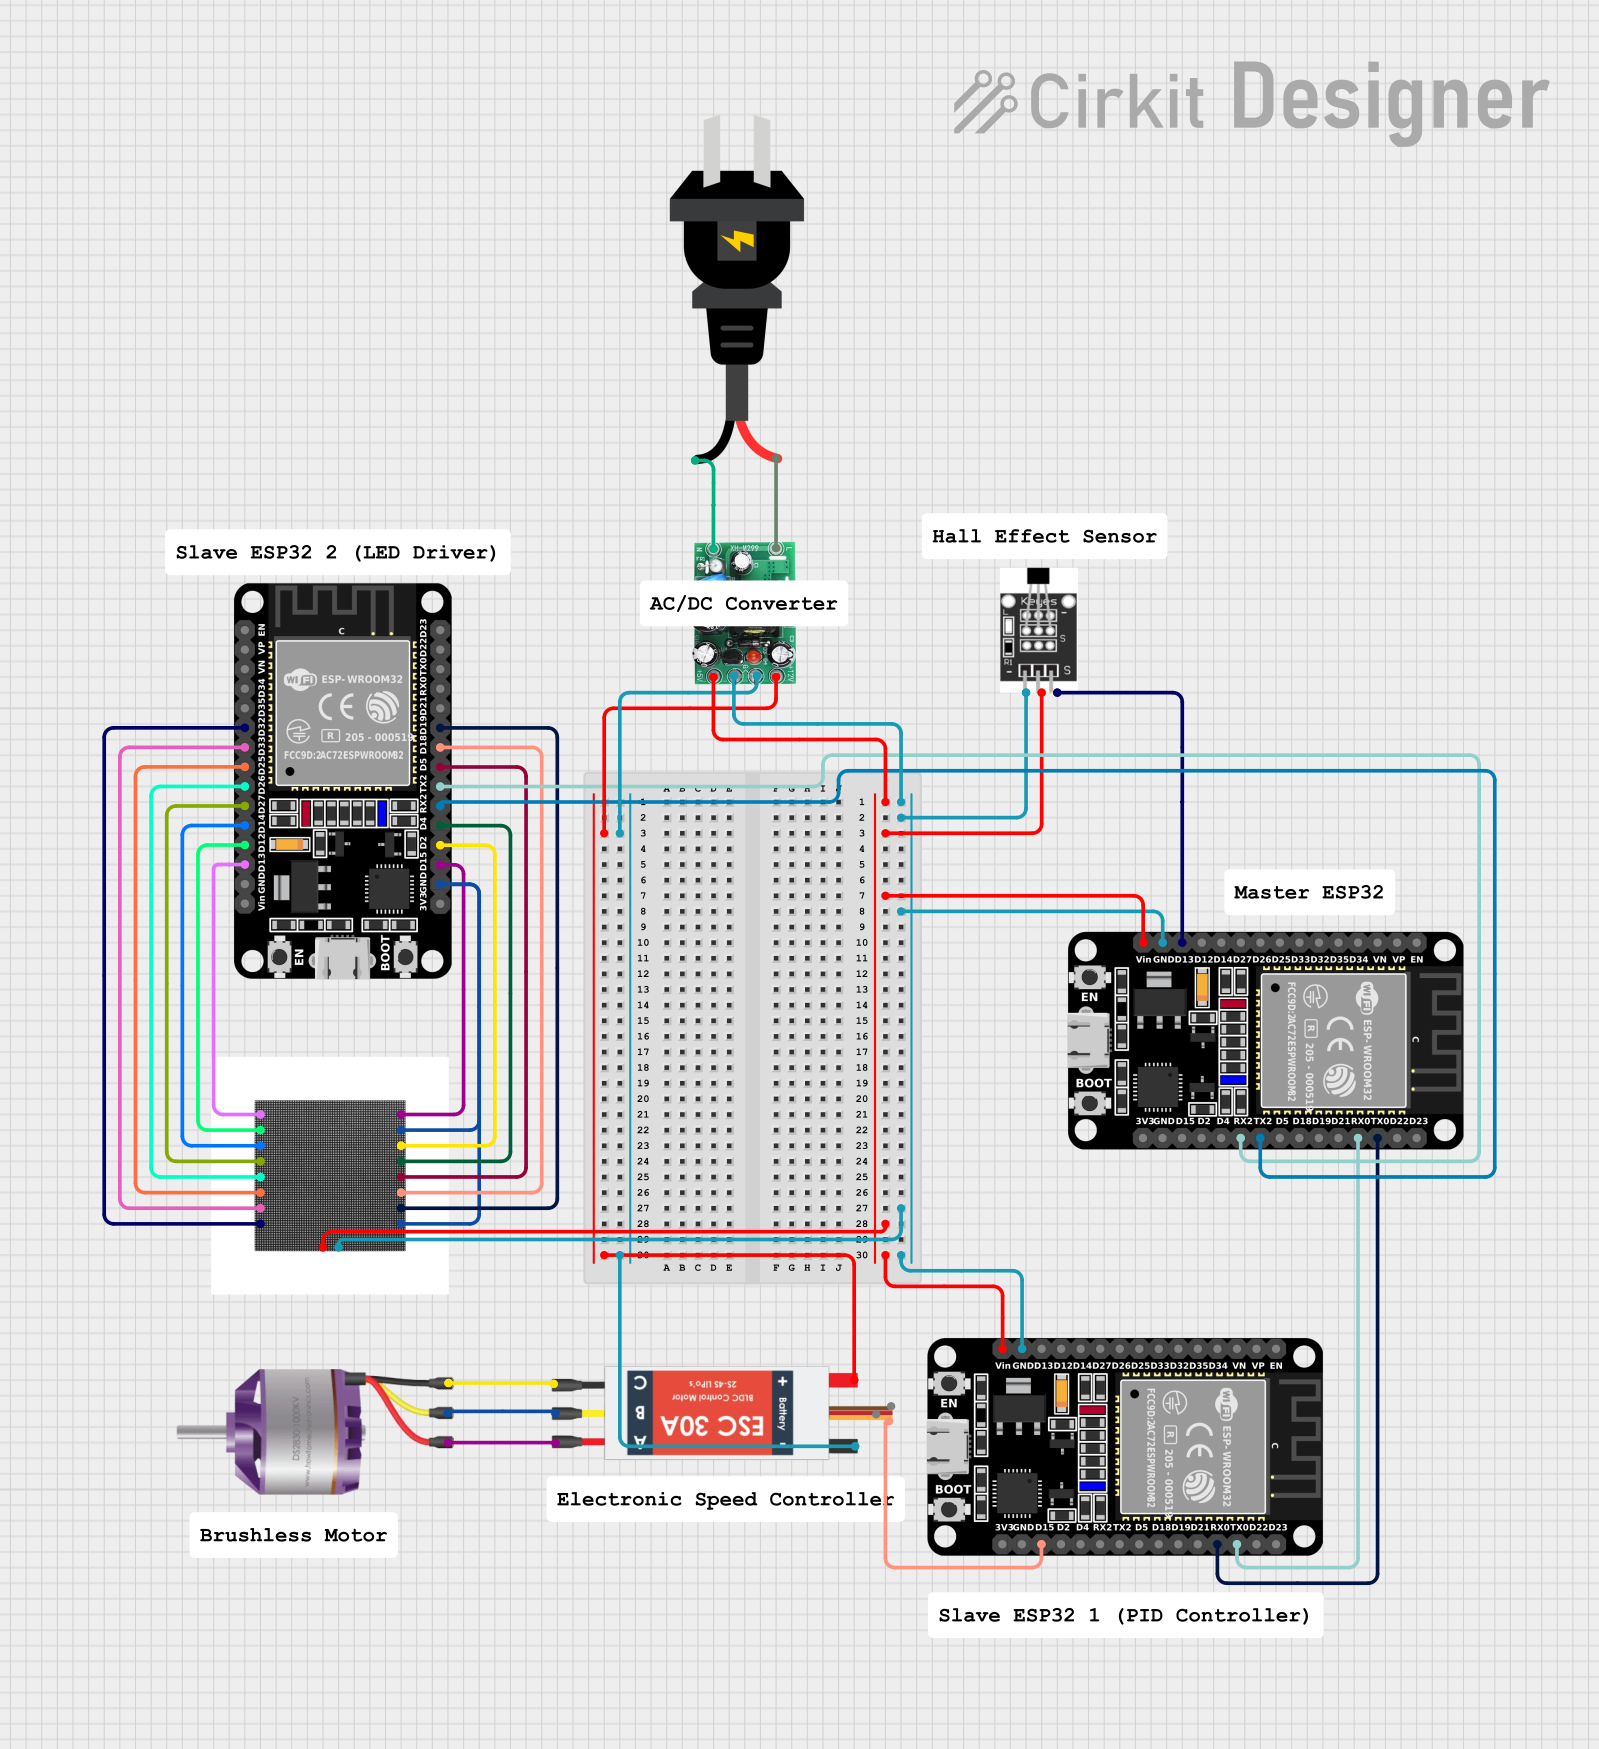
 Open Project in Cirkit Designer
Explore Projects Built with Edspert Board

 Open Project in Cirkit Designer
 Open Project in Cirkit Designer
 Open Project in Cirkit Designer
 Open Project in Cirkit Designer
Common Applications and Use Cases
- Teaching programming and electronics in classrooms
- Prototyping IoT (Internet of Things) projects
- Robotics and automation projects
- Interactive art installations
- Sensor-based data collection and analysis
Technical Specifications
The Edspert Board is built to provide flexibility and ease of use. Below are its key technical details:
General Specifications
| Parameter | Value |
|---|---|
| Microcontroller | ATmega328P |
| Operating Voltage | 5V |
| Input Voltage (via USB) | 5V |
| Input Voltage (via VIN) | 7-12V |
| Digital I/O Pins | 14 (6 PWM capable) |
| Analog Input Pins | 6 |
| Flash Memory | 32 KB (0.5 KB used by bootloader) |
| SRAM | 2 KB |
| EEPROM | 1 KB |
| Clock Speed | 16 MHz |
| Communication Interfaces | UART, I2C, SPI |
Pin Configuration and Descriptions
| Pin Name | Type | Description |
|---|---|---|
| VIN | Power Input | External power supply input (7-12V recommended). |
| GND | Power Ground | Ground connection for the circuit. |
| 5V | Power Output | Regulated 5V output for powering external devices. |
| 3.3V | Power Output | Regulated 3.3V output for low-power devices. |
| A0-A5 | Analog Input | Analog input pins (10-bit resolution). |
| D0-D13 | Digital I/O | General-purpose digital input/output pins. |
| PWM Pins | Digital I/O | D3, D5, D6, D9, D10, D11 support PWM output. |
| TX (D1) | UART TX | Transmit pin for serial communication. |
| RX (D0) | UART RX | Receive pin for serial communication. |
| SCL (A5) | I2C Clock | I2C clock line for communication with peripherals. |
| SDA (A4) | I2C Data | I2C data line for communication with peripherals. |
Usage Instructions
The Edspert Board is easy to use and can be programmed using the Arduino IDE. Follow these steps to get started:
Step 1: Setting Up the Environment
- Download and install the Arduino IDE from arduino.cc.
- Connect the Edspert Board to your computer using a USB cable.
- In the Arduino IDE, go to Tools > Board and select Arduino Uno (the Edspert Board is compatible with this setting).
- Select the correct COM Port under Tools > Port.
Step 2: Writing and Uploading Code
- Open the Arduino IDE and write your code or use the example below.
- Click the Upload button to upload the code to the Edspert Board.
Example Code: Blinking an LED
// This example code blinks an LED connected to pin 13 of the Edspert Board.
// The LED will turn on for 1 second and off for 1 second in a loop.

void setup() {
  pinMode(13, OUTPUT); // Set pin 13 as an output pin
}

void loop() {
  digitalWrite(13, HIGH); // Turn the LED on
  delay(1000);            // Wait for 1 second
  digitalWrite(13, LOW);  // Turn the LED off
  delay(1000);            // Wait for 1 second
}
Important Considerations and Best Practices
- Always check the voltage and current ratings of connected components to avoid damage.
- Use appropriate resistors when connecting LEDs or other components to prevent overcurrent.
- Avoid short circuits by double-checking your wiring before powering the board.
- For external power, ensure the input voltage is within the recommended range (7-12V).
Troubleshooting and FAQs
Common Issues and Solutions
The board is not detected by the computer.
- Ensure the USB cable is properly connected and functional.
- Check if the correct COM port is selected in the Arduino IDE.
- Install or update the necessary USB drivers.
Code upload fails with an error message.
- Verify that the correct board (Arduino Uno) is selected in the Arduino IDE.
- Ensure no other application is using the COM port.
- Press the reset button on the board and try uploading again.
The connected components are not working as expected.
- Double-check the wiring and connections.
- Ensure the components are compatible with the Edspert Board.
- Use a multimeter to verify power supply and signal levels.
FAQs
Q: Can I use the Edspert Board with sensors and modules designed for Arduino?
A: Yes, the Edspert Board is fully compatible with most Arduino-compatible sensors and modules.
Q: What is the maximum current output of the 5V and 3.3V pins?
A: The 5V pin can supply up to 500mA, and the 3.3V pin can supply up to 50mA.
Q: Can I power the board using batteries?
A: Yes, you can use a 9V battery or a battery pack (7-12V) connected to the VIN pin.
Q: Is the Edspert Board suitable for advanced projects?
A: Absolutely! While it is designed for educational purposes, its features make it suitable for a wide range of projects, from beginner to advanced levels.