How to Use Zs-x11d: Examples, Pinouts, and Specs
Introduction
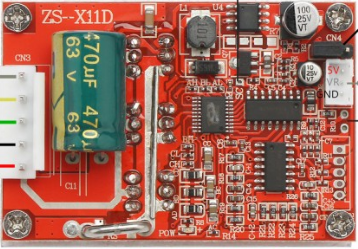
The ZS-X11D is a specialized electronic component designed by Arduino for high-performance applications. It is commonly used in advanced circuit designs for signal processing, control systems, and other precision electronic applications. Its robust design and versatile functionality make it a popular choice for engineers and hobbyists working on demanding projects.
Explore Projects Built with Zs-x11d

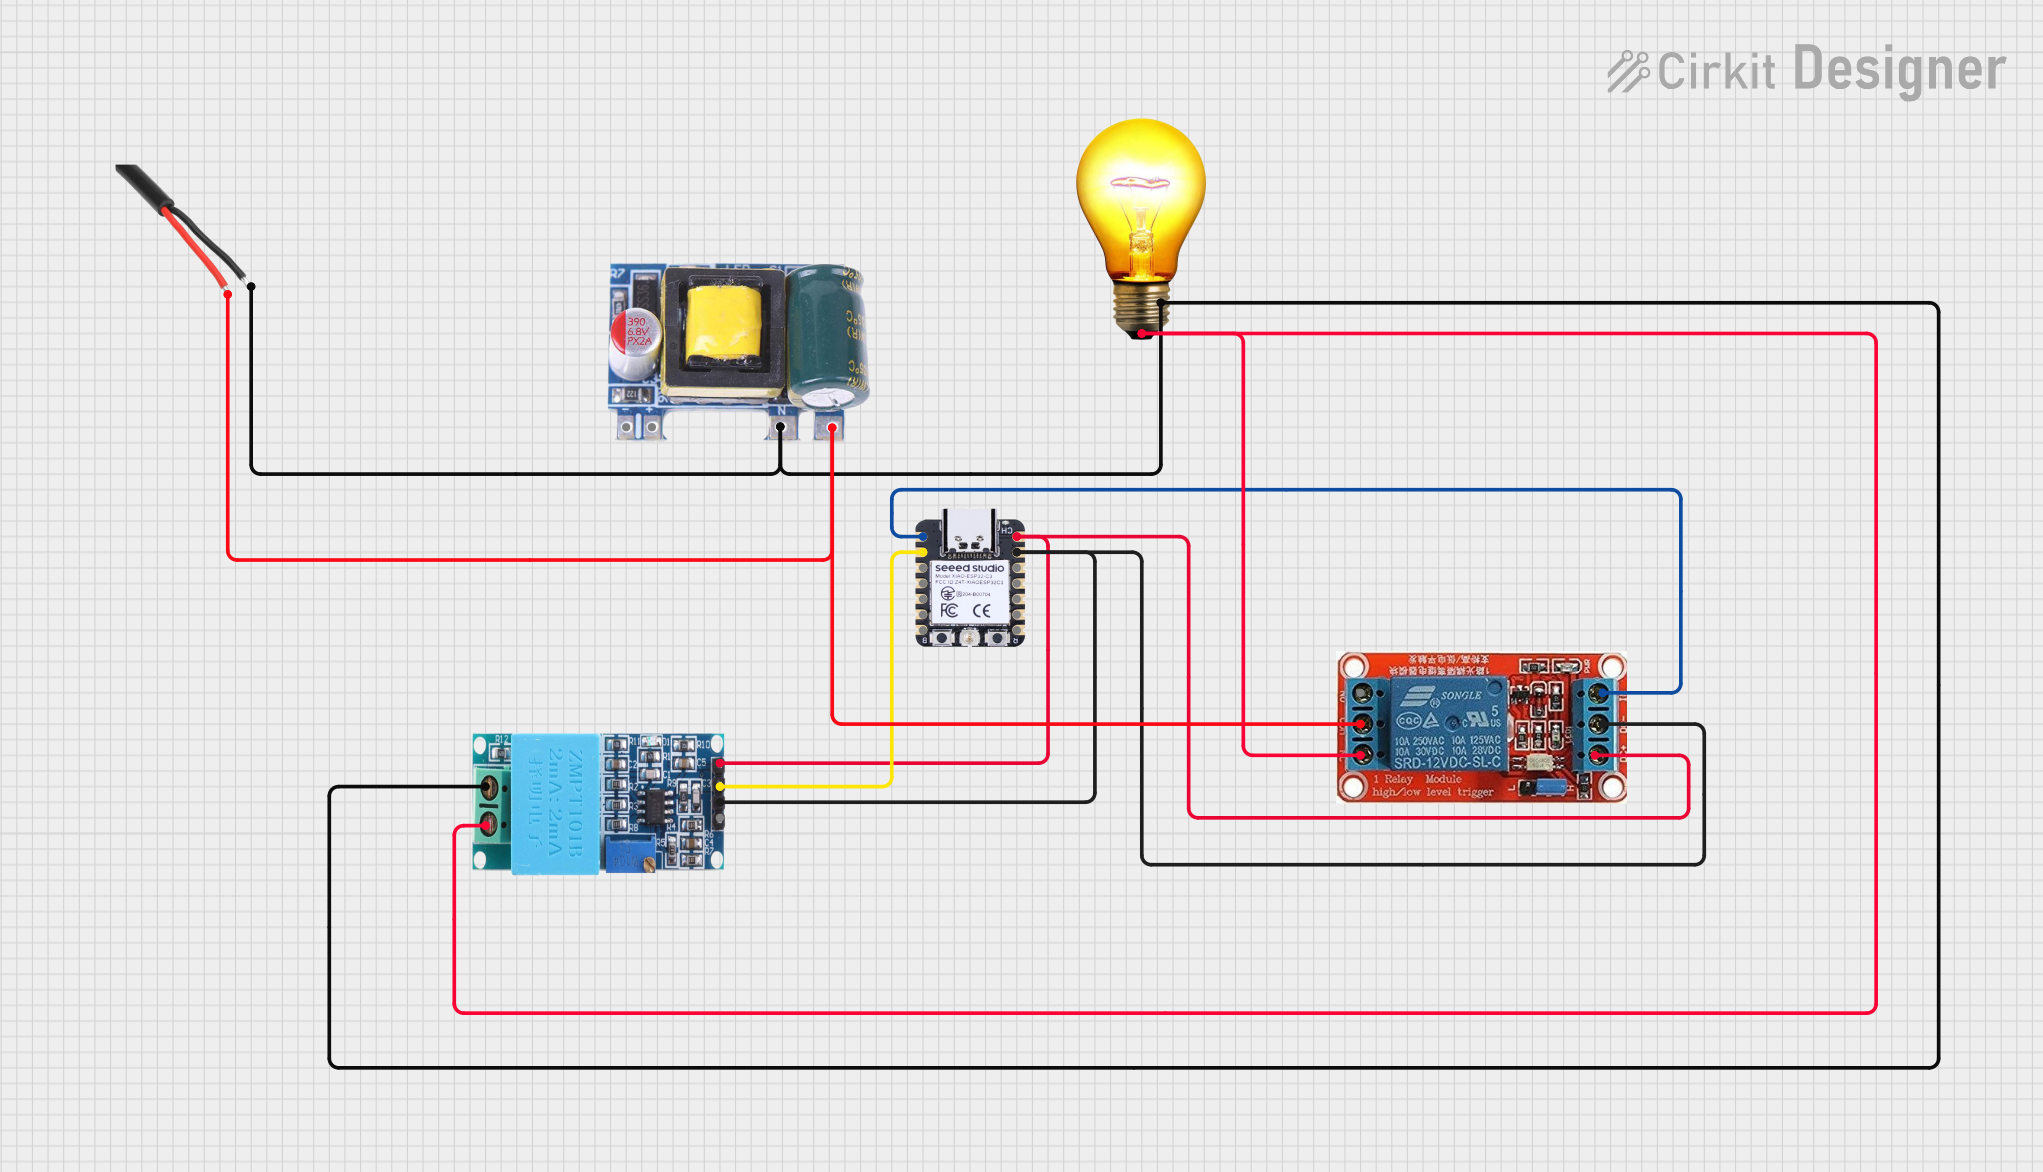


Explore Projects Built with Zs-x11d
Common Applications and Use Cases
- Signal processing in communication systems
- Motor control in robotics and automation
- Precision measurement and instrumentation
- High-speed data acquisition systems
- Advanced prototyping and research projects
Technical Specifications
The ZS-X11D is engineered to deliver reliable performance under a wide range of operating conditions. Below are its key technical details:
General Specifications
| Parameter | Value |
|---|---|
| Operating Voltage | 3.3V to 5V |
| Maximum Current | 500mA |
| Power Consumption | < 2W |
| Operating Temperature | -40°C to 85°C |
| Communication Protocol | I2C, SPI |
| Dimensions | 25mm x 20mm x 5mm |
Pin Configuration and Descriptions
The ZS-X11D features a 6-pin interface for easy integration into circuits. Below is the pinout description:
| Pin Number | Pin Name | Description |
|---|---|---|
| 1 | VCC | Power supply input (3.3V to 5V) |
| 2 | GND | Ground connection |
| 3 | SDA | I2C data line |
| 4 | SCL | I2C clock line |
| 5 | MOSI | SPI Master Out Slave In (data input) |
| 6 | MISO | SPI Master In Slave Out (data output) |
Usage Instructions
The ZS-X11D is straightforward to use in a variety of circuit designs. Below are the steps and best practices for integrating it into your project.
How to Use the ZS-X11D in a Circuit
- Power Supply: Connect the VCC pin to a 3.3V or 5V power source and the GND pin to the ground of your circuit.
- Communication Protocol: Choose between I2C or SPI based on your application:
- For I2C, connect the SDA and SCL pins to the corresponding pins on your microcontroller.
- For SPI, connect the MOSI and MISO pins to the appropriate SPI pins on your microcontroller.
- Pull-Up Resistors: If using I2C, ensure pull-up resistors (typically 4.7kΩ) are connected to the SDA and SCL lines.
- Software Configuration: Use the Arduino IDE to program your microcontroller and communicate with the ZS-X11D.
Example Code for Arduino UNO
Below is an example of how to use the ZS-X11D with an Arduino UNO via I2C:
#include <Wire.h> // Include the Wire library for I2C communication

#define ZS_X11D_ADDRESS 0x40 // Replace with the actual I2C address of the ZS-X11D

void setup() {
  Wire.begin(); // Initialize I2C communication
  Serial.begin(9600); // Start serial communication for debugging

  // Send initialization command to ZS-X11D
  Wire.beginTransmission(ZS_X11D_ADDRESS);
  Wire.write(0x01); // Example command to initialize the component
  Wire.endTransmission();

  Serial.println("ZS-X11D initialized successfully.");
}

void loop() {
  Wire.requestFrom(ZS_X11D_ADDRESS, 2); // Request 2 bytes of data from the ZS-X11D

  if (Wire.available() == 2) {
    int data = Wire.read() << 8 | Wire.read(); // Combine two bytes into a single value
    Serial.print("Data received: ");
    Serial.println(data);
  }

  delay(1000); // Wait for 1 second before the next request
}
Important Considerations and Best Practices
- Voltage Levels: Ensure the operating voltage matches the ZS-X11D's requirements (3.3V to 5V).
- Decoupling Capacitors: Place a 0.1µF capacitor close to the VCC pin to reduce noise.
- Signal Integrity: Use short and properly routed wires for I2C or SPI connections to avoid signal degradation.
- Address Conflicts: If using multiple I2C devices, ensure each device has a unique address.
Troubleshooting and FAQs
Common Issues and Solutions
No Response from the ZS-X11D
- Cause: Incorrect wiring or power supply issues.
- Solution: Double-check all connections and ensure the VCC and GND pins are properly connected.
I2C Communication Fails
- Cause: Missing pull-up resistors or incorrect I2C address.
- Solution: Add 4.7kΩ pull-up resistors to the SDA and SCL lines and verify the device's I2C address.
Data Corruption in SPI Mode
- Cause: Long wires or incorrect clock settings.
- Solution: Use shorter wires and ensure the SPI clock speed is within the ZS-X11D's specifications.
Overheating
- Cause: Exceeding the maximum current rating.
- Solution: Ensure the current draw does not exceed 500mA.
FAQs
Q: Can the ZS-X11D operate at 3.3V?
A: Yes, the ZS-X11D is designed to operate at both 3.3V and 5V.
Q: What is the maximum data rate for I2C communication?
A: The ZS-X11D supports standard-mode I2C (100kHz) and fast-mode I2C (400kHz).
Q: Can I use the ZS-X11D with a Raspberry Pi?
A: Yes, the ZS-X11D is compatible with any microcontroller or SBC that supports I2C or SPI communication.
Q: Do I need external components to use the ZS-X11D?
A: You may need pull-up resistors for I2C communication and decoupling capacitors for stable operation.