
How to Use XIAO RA4M1: Examples, Pinouts, and Specs
 Design with XIAO RA4M1 in Cirkit Designer
Introduction
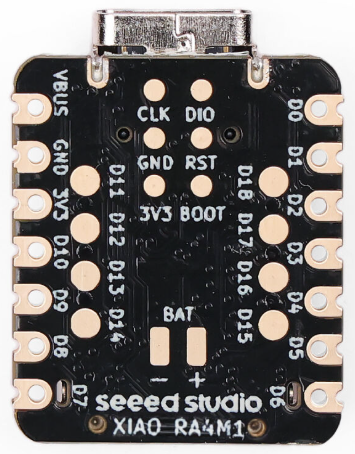
The XIAO RA4M1 is a compact microcontroller board developed by Seeed Studio, featuring the RA4M1 chip from Renesas. This board is designed for low-power applications and is equipped with built-in Wi-Fi and Bluetooth capabilities, making it an excellent choice for Internet of Things (IoT) projects. Its small form factor, versatile GPIO pins, ADC, and communication interfaces make it suitable for a wide range of embedded systems.
Explore Projects Built with XIAO RA4M1
 Open Project in Cirkit Designer
 Open Project in Cirkit Designer
 Open Project in Cirkit Designer
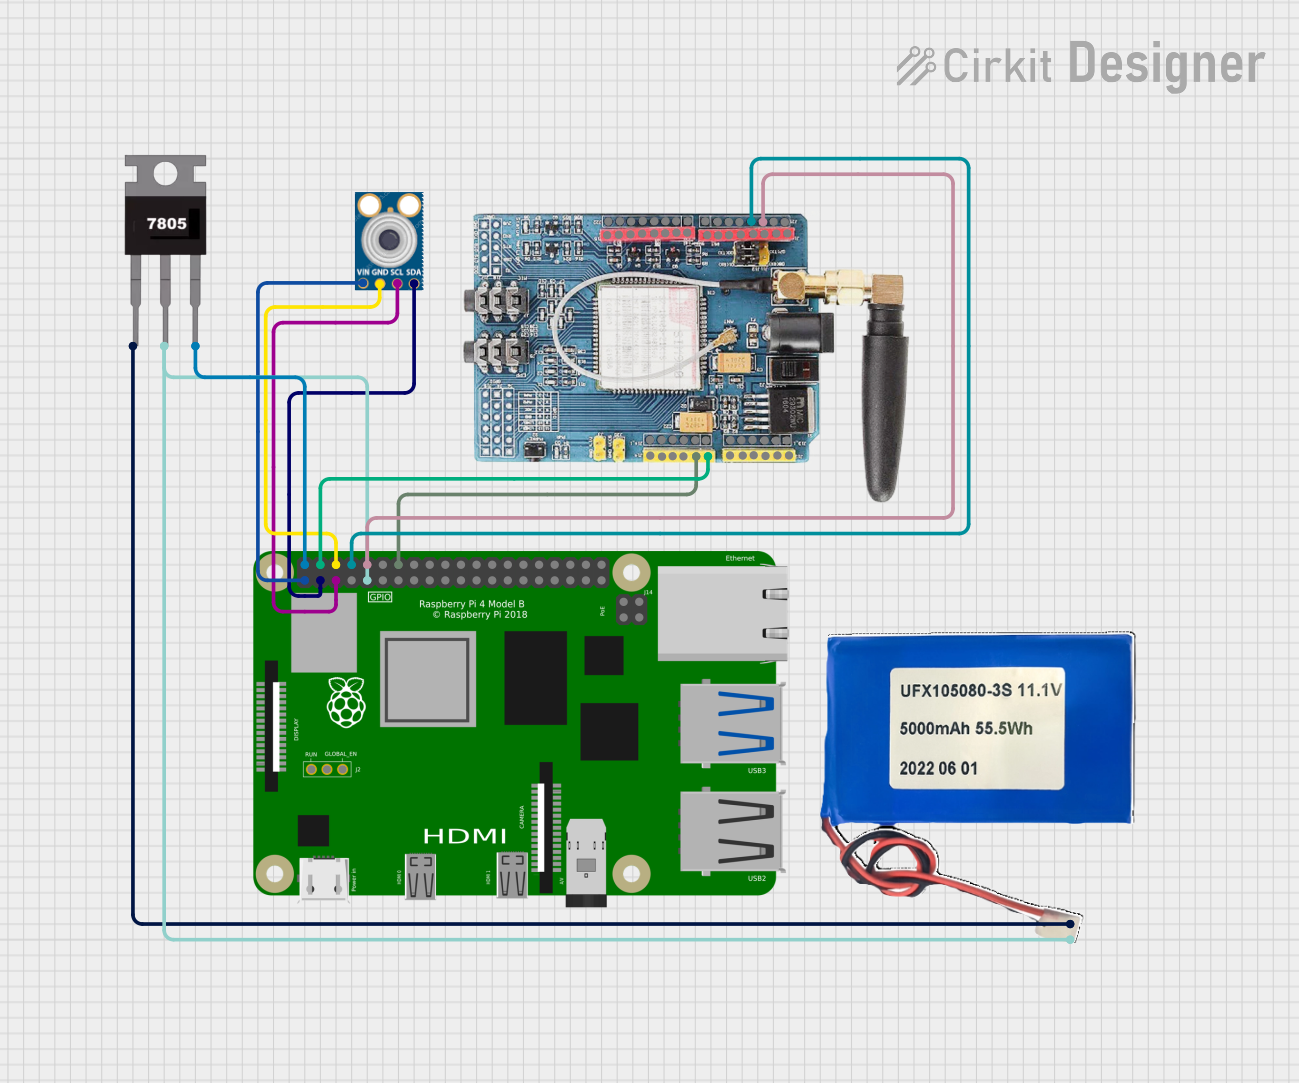 Open Project in Cirkit Designer
Explore Projects Built with XIAO RA4M1
Open Project in Cirkit DesignerOpen Project in Cirkit DesignerOpen Project in Cirkit DesignerOpen Project in Cirkit DesignerCommon Applications and Use Cases
- IoT devices and smart home applications
- Wearable electronics
- Low-power data acquisition systems
- Wireless sensor networks
- Prototyping and educational projects
Technical Specifications
Key Technical Details
| Parameter | Specification |
|---|---|
| Microcontroller | Renesas RA4M1 (ARM Cortex-M4 @ 48 MHz) |
| Flash Memory | 256 KB |
| SRAM | 32 KB |
| Operating Voltage | 3.3V |
| Input Voltage Range | 3.3V - 5V |
| GPIO Pins | 11 |
| ADC Resolution | 12-bit |
| Communication Interfaces | UART, I2C, SPI |
| Wireless Connectivity | Wi-Fi, Bluetooth |
| Dimensions | 21 x 17.5 mm |
Pin Configuration and Descriptions
The XIAO RA4M1 features 14 pins, including power, GPIO, and communication pins. Below is the pinout description:
| Pin Number | Pin Name | Function |
|---|---|---|
| 1 | 3V3 | 3.3V Power Output |
| 2 | GND | Ground |
| 3 | D0/RX | Digital I/O, UART RX |
| 4 | D1/TX | Digital I/O, UART TX |
| 5 | D2 | Digital I/O |
| 6 | D3 | Digital I/O, PWM |
| 7 | D4 | Digital I/O |
| 8 | D5 | Digital I/O, PWM |
| 9 | A0 | Analog Input (ADC) |
| 10 | A1 | Analog Input (ADC) |
| 11 | SCL | I2C Clock |
| 12 | SDA | I2C Data |
| 13 | SWDIO | Debug Interface (SWDIO) |
| 14 | SWCLK | Debug Interface (SWCLK) |
Usage Instructions
How to Use the XIAO RA4M1 in a Circuit
Powering the Board:
- Supply 3.3V to the
3V3pin or connect a 5V source to the USB-C port. - Ensure the ground (
GND) is connected to the circuit's ground.
- Supply 3.3V to the
Connecting Peripherals:
- Use the GPIO pins for digital input/output.
- Connect sensors or other analog devices to the
A0andA1pins for ADC functionality. - For communication, use the UART (
D0/D1), I2C (SCL/SDA), or SPI pins.
Programming the Board:
- The XIAO RA4M1 can be programmed using the Arduino IDE or Renesas' e2 studio.
- Install the necessary board support package (BSP) for the XIAO RA4M1 in the Arduino IDE.
- Connect the board to your computer via USB-C and upload your code.
Important Considerations and Best Practices
- Voltage Levels: Ensure all connected peripherals operate at 3.3V logic levels to avoid damaging the board.
- Power Consumption: Utilize the low-power modes of the RA4M1 chip for battery-powered applications.
- Pin Multiplexing: Some pins have multiple functions (e.g., GPIO, PWM, ADC). Configure them appropriately in your code.
- Debugging: Use the SWDIO and SWCLK pins for debugging with a compatible debugger.
Example Code for Arduino IDE
The following example demonstrates how to blink an LED connected to pin D3:
// Define the pin number for the LED
const int ledPin = 3;

void setup() {
  // Set the LED pin as an output
  pinMode(ledPin, OUTPUT);
}

void loop() {
  // Turn the LED on
  digitalWrite(ledPin, HIGH);
  delay(1000); // Wait for 1 second

  // Turn the LED off
  digitalWrite(ledPin, LOW);
  delay(1000); // Wait for 1 second
}
Troubleshooting and FAQs
Common Issues and Solutions
Board Not Detected by Computer:
- Ensure the USB-C cable is data-capable (not just for charging).
- Check if the correct drivers are installed for the XIAO RA4M1.
Code Upload Fails:
- Verify that the correct board and port are selected in the Arduino IDE.
- Press the reset button on the board to enter bootloader mode before uploading.
Wi-Fi/Bluetooth Not Working:
- Ensure the wireless module is properly initialized in your code.
- Check for interference or weak signal strength in your environment.
Analog Readings Are Inaccurate:
- Use proper grounding and shielding for analog sensors.
- Ensure the input voltage does not exceed the ADC reference voltage (3.3V).
FAQs
Q: Can I power the XIAO RA4M1 with a battery?
A: Yes, you can power the board using a 3.7V LiPo battery connected to the 3V3 pin or via a battery management module.
Q: Is the XIAO RA4M1 compatible with Arduino libraries?
A: Many Arduino libraries are compatible, but some may require modifications due to differences in the RA4M1 architecture.
Q: How do I reset the board?
A: Press the reset button located on the board to restart it or enter bootloader mode.
Q: Can I use the XIAO RA4M1 for machine learning applications?
A: While the RA4M1 chip is not specifically designed for ML, lightweight models can be implemented using frameworks like TensorFlow Lite for Microcontrollers.
This concludes the documentation for the XIAO RA4M1. For further assistance, refer to the official Seeed Studio documentation or community forums.