
How to Use DFRobot Capacitive Finger Print Sensor v1.0: Examples, Pinouts, and Specs
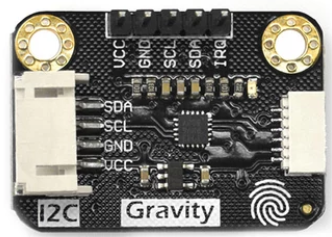
 Design with DFRobot Capacitive Finger Print Sensor v1.0 in Cirkit Designer
Introduction
The DFRobot Capacitive Finger Print Sensor v1.0 is a high-performance biometric sensor designed for secure user authentication. Utilizing capacitive technology, this sensor can detect and recognize fingerprints with high accuracy and reliability. It is ideal for applications requiring secure access control, such as smart locks, attendance systems, and personal electronics.
This sensor is part of DFRobot's Gravity series, which ensures ease of use and compatibility with popular microcontrollers like Arduino. Its compact design and robust functionality make it a versatile choice for both hobbyists and professional developers.
Explore Projects Built with DFRobot Capacitive Finger Print Sensor v1.0
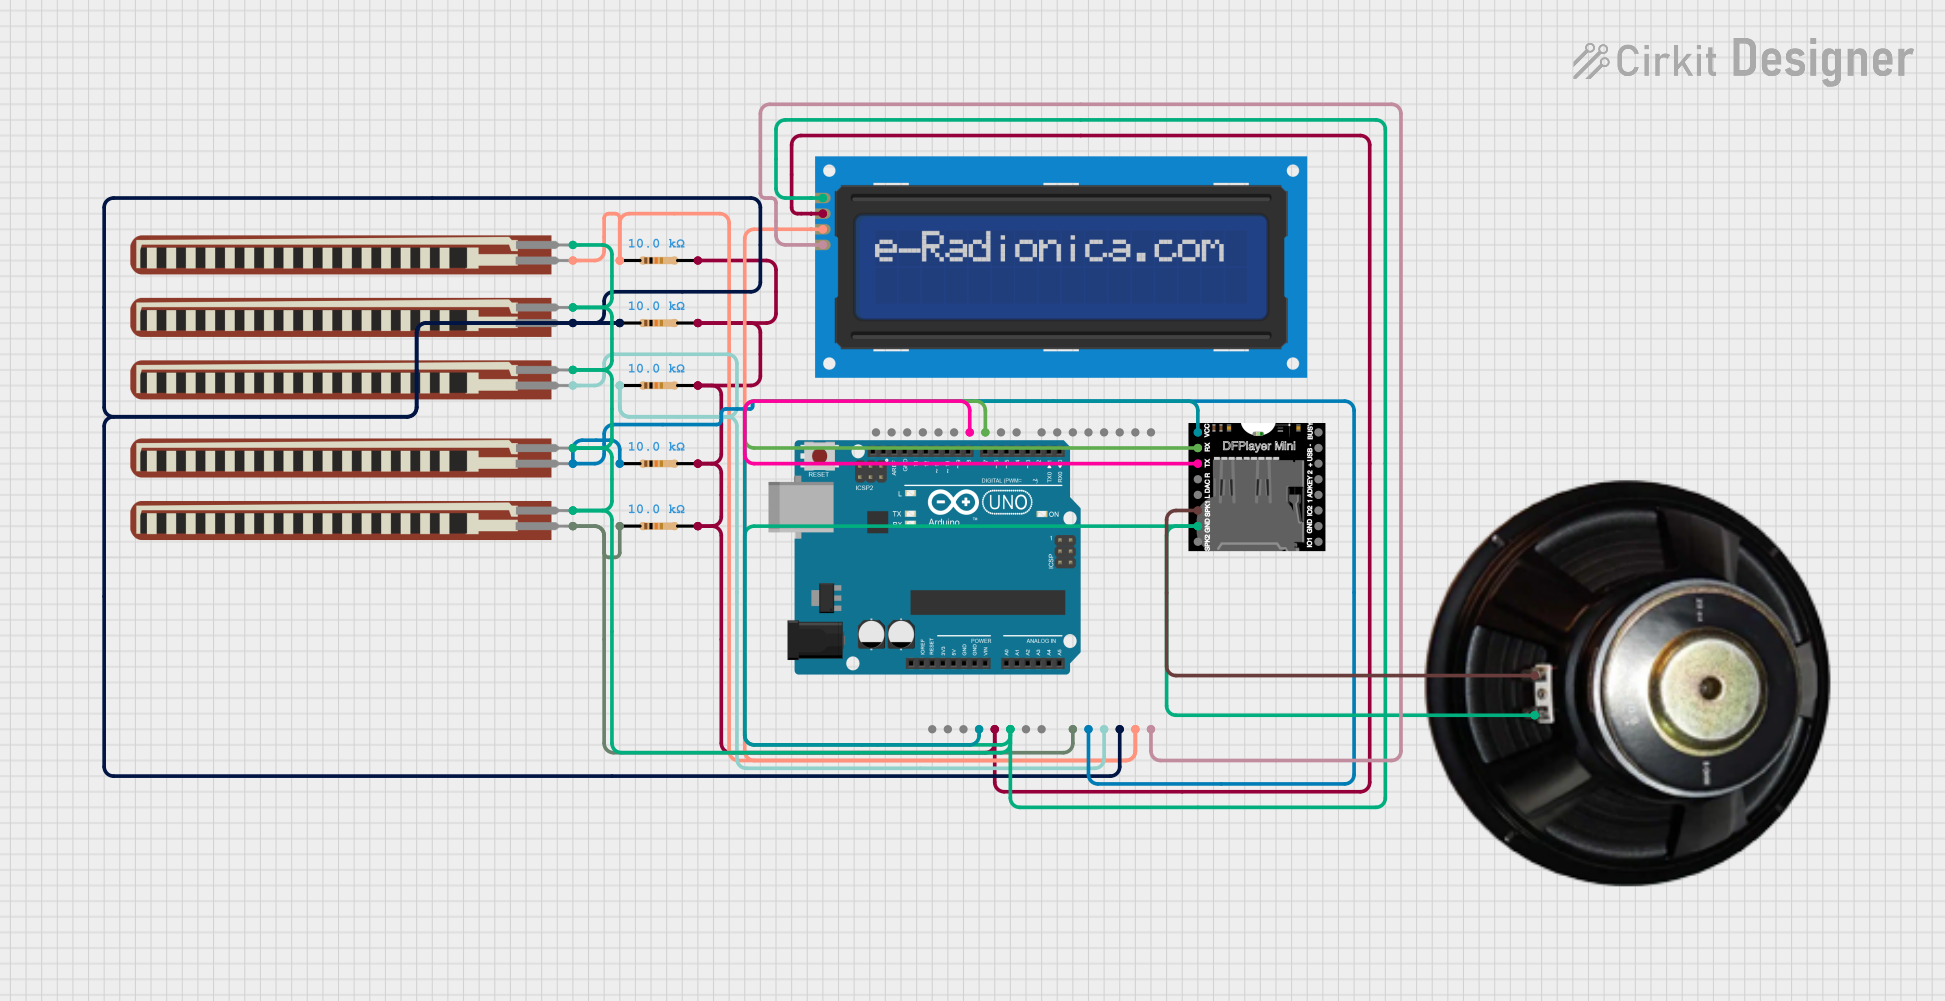 Open Project in Cirkit Designer
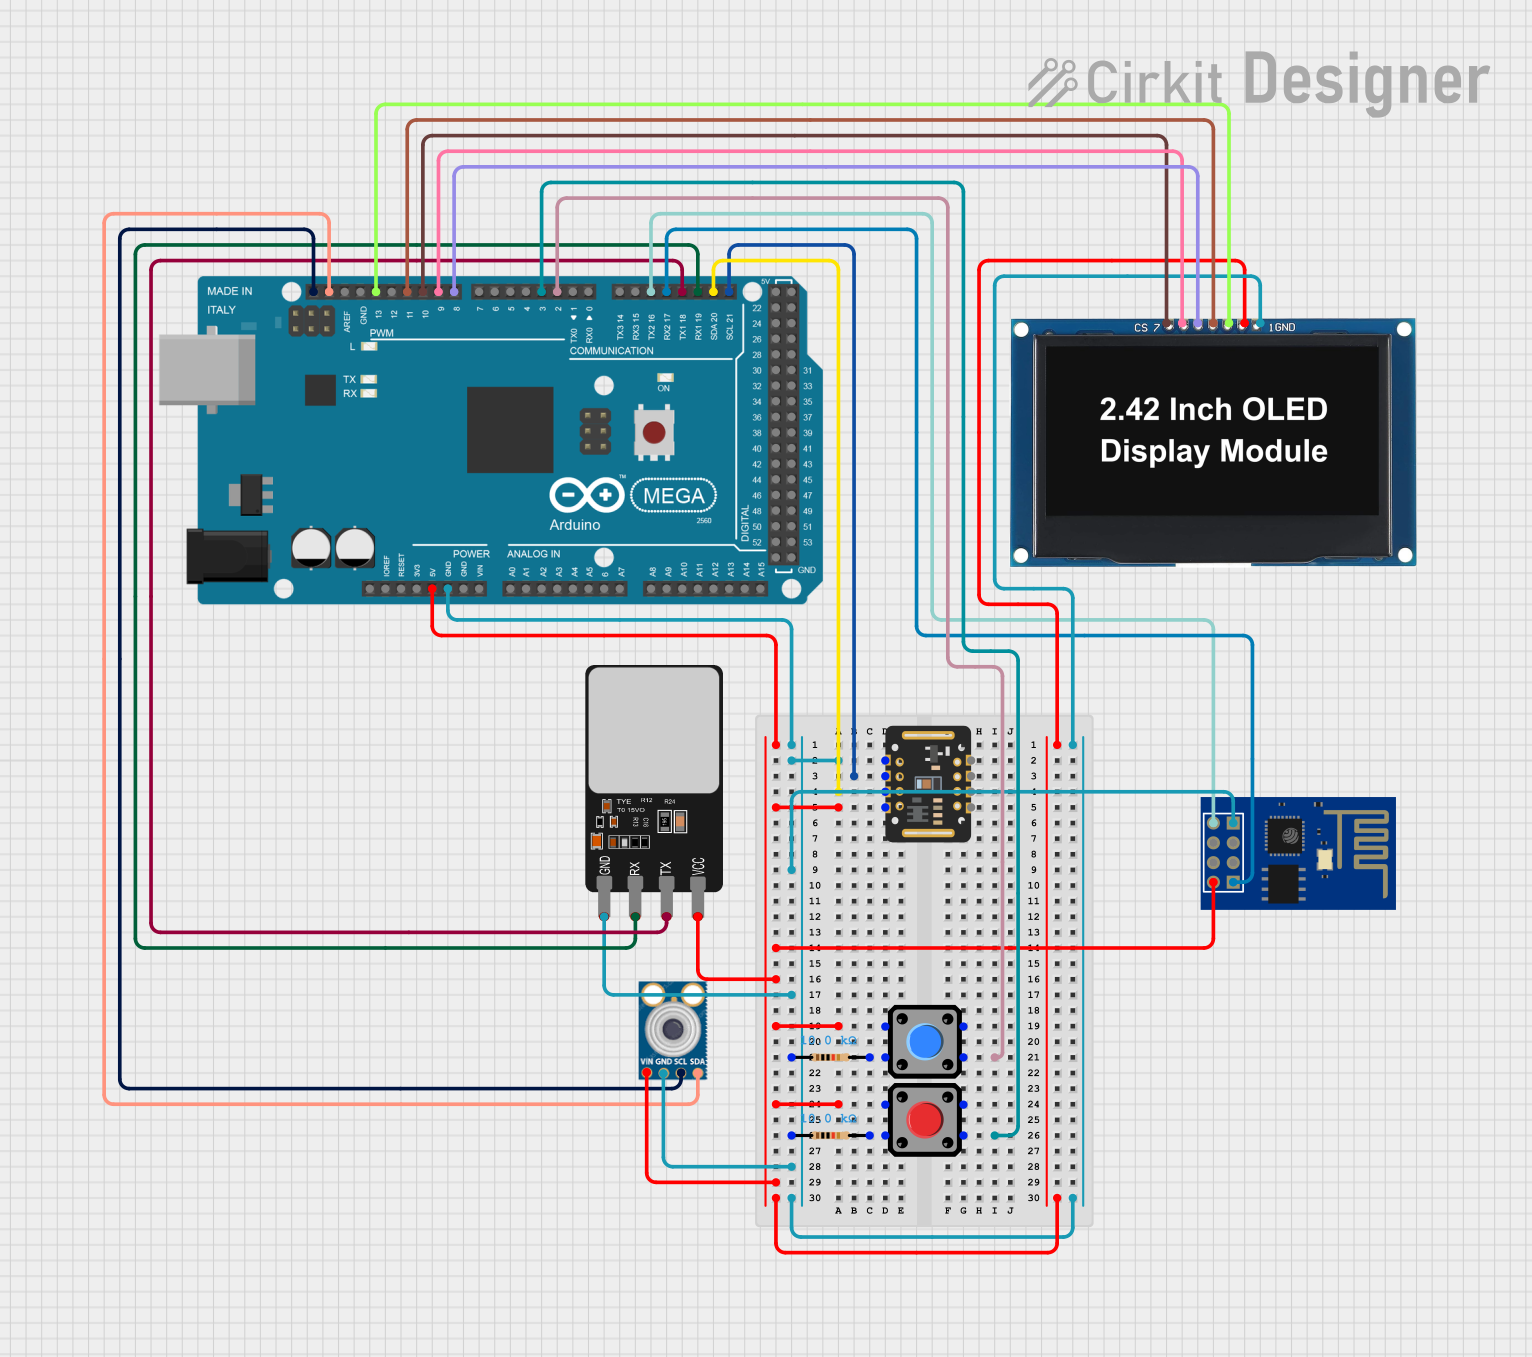 Open Project in Cirkit Designer
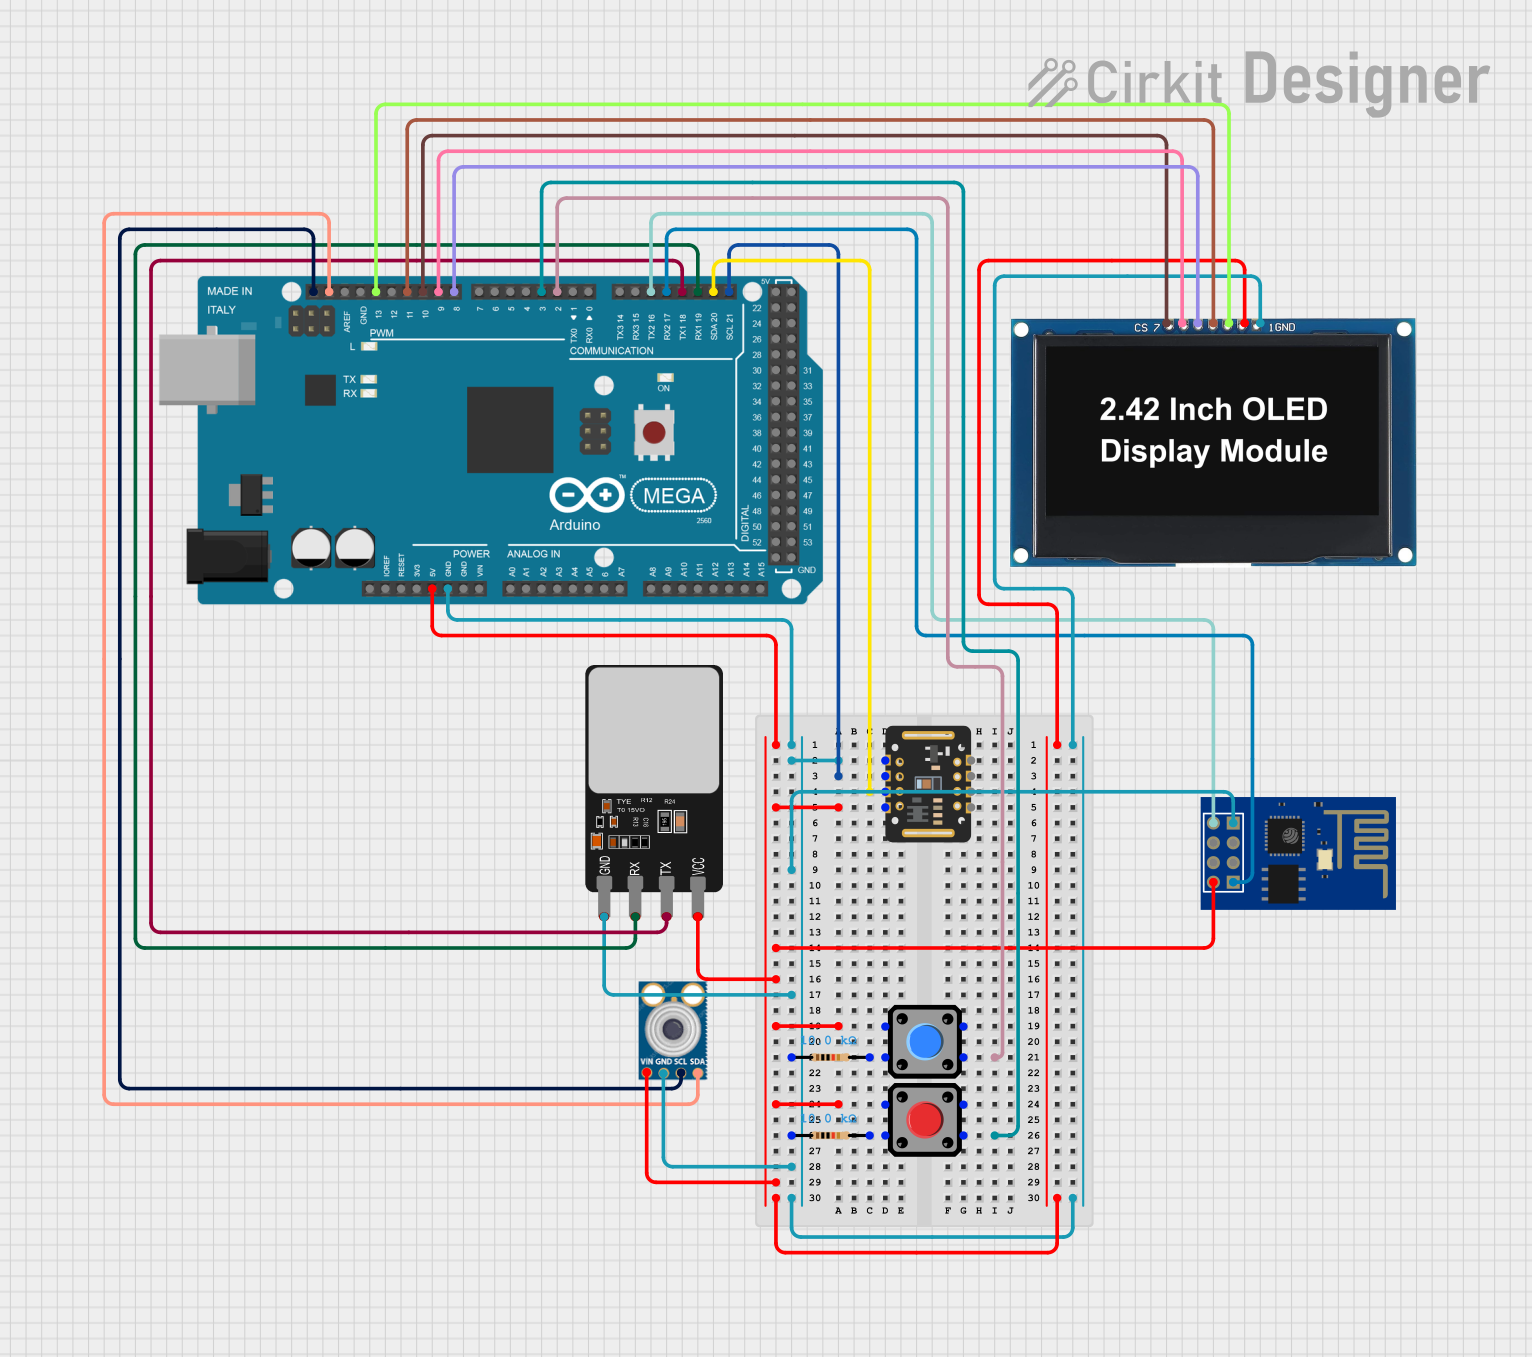 Open Project in Cirkit Designer
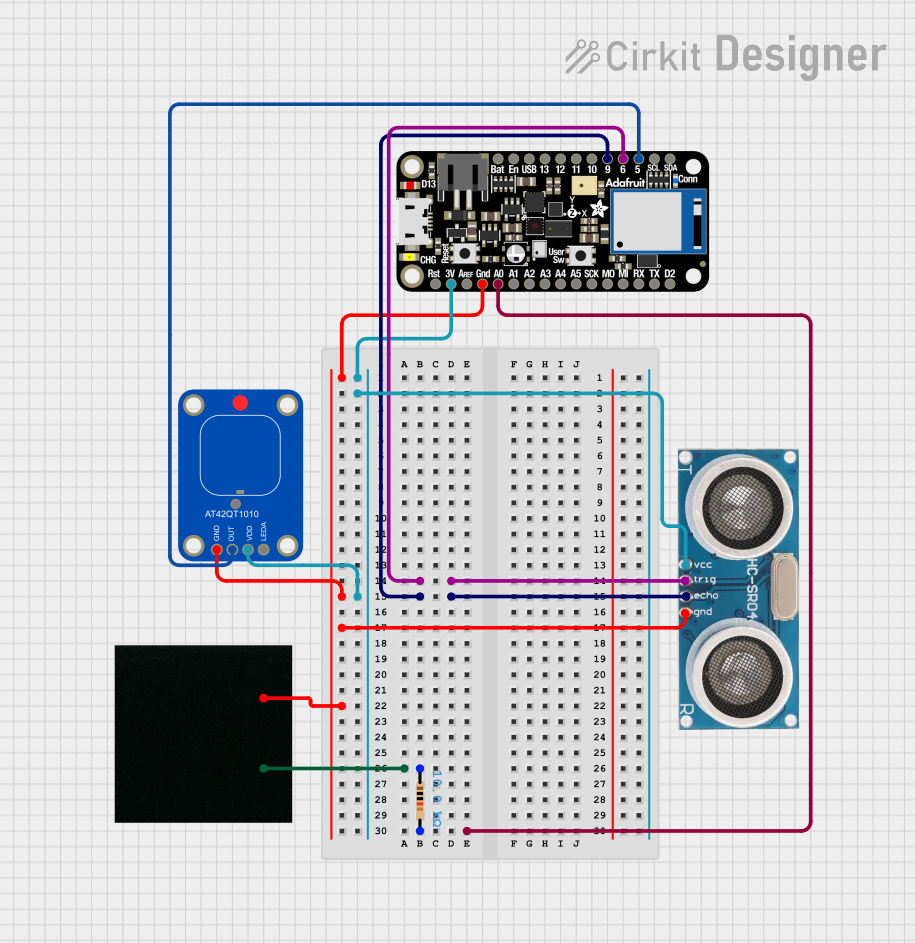 Open Project in Cirkit Designer
Explore Projects Built with DFRobot Capacitive Finger Print Sensor v1.0
Open Project in Cirkit DesignerOpen Project in Cirkit DesignerOpen Project in Cirkit DesignerOpen Project in Cirkit DesignerCommon Applications
- Smart locks and access control systems
- Time attendance systems
- Personal identification devices
- Secure payment terminals
- IoT devices requiring biometric authentication
Technical Specifications
Key Technical Details
| Parameter | Specification |
|---|---|
| Model | DFRobot Capacitive Finger Print Sensor v1.0 |
| Manufacturer | DFRobot |
| Part ID | Gravity |
| Operating Voltage | 3.3V - 6V |
| Operating Current | < 120mA |
| Interface | UART (TTL) |
| Baud Rate | 9600 bps (default) |
| Fingerprint Capacity | 80 fingerprints |
| Recognition Time | < 1 second |
| Communication Range | Up to 20cm (with proper wiring) |
| Operating Temperature | -20°C to 60°C |
| Dimensions | 33mm x 20mm x 1.0mm |
Pin Configuration
The sensor has a 4-pin interface for easy connection to microcontrollers. Below is the pinout description:
| Pin Number | Pin Name | Description |
|---|---|---|
| 1 | VCC | Power supply (3.3V - 6V) |
| 2 | GND | Ground |
| 3 | TX | UART Transmit (connect to RX of MCU) |
| 4 | RX | UART Receive (connect to TX of MCU) |
Usage Instructions
Connecting the Sensor to an Arduino UNO
To use the DFRobot Capacitive Finger Print Sensor v1.0 with an Arduino UNO, follow these steps:
Wiring:
- Connect the sensor's
VCCpin to the Arduino's5Vpin. - Connect the sensor's
GNDpin to the Arduino'sGNDpin. - Connect the sensor's
TXpin to the Arduino'sD2pin (via a voltage divider if needed). - Connect the sensor's
RXpin to the Arduino'sD3pin.
- Connect the sensor's
Install Required Libraries:
- Download and install the
Adafruit Fingerprint Sensor Libraryfrom the Arduino Library Manager.
- Download and install the
Upload Example Code: Use the following example code to enroll and verify fingerprints:
#include <Adafruit_Fingerprint.h>
#include <SoftwareSerial.h>

// Define the pins for SoftwareSerial
SoftwareSerial mySerial(2, 3); // RX, TX

// Initialize the fingerprint sensor
Adafruit_Fingerprint finger(&mySerial);

void setup() {
  Serial.begin(9600); // Initialize Serial Monitor
  while (!Serial);    // Wait for Serial Monitor to open
  Serial.println("Initializing fingerprint sensor...");

  // Start the fingerprint sensor
  finger.begin(57600);
  if (finger.verifyPassword()) {
    Serial.println("Fingerprint sensor detected!");
  } else {
    Serial.println("Fingerprint sensor not detected. Check wiring!");
    while (1); // Halt the program
  }
}

void loop() {
  Serial.println("Place your finger on the sensor...");
  int result = finger.getImage();
  if (result == FINGERPRINT_OK) {
    Serial.println("Fingerprint detected!");
    // Add further processing here
  } else {
    Serial.println("No fingerprint detected. Try again.");
  }
  delay(2000); // Wait before the next attempt
}
Important Considerations
- Ensure proper wiring to avoid communication issues.
- Use a stable power supply to prevent voltage fluctuations.
- Avoid exposing the sensor to direct sunlight or extreme temperatures.
- Clean the sensor surface regularly to maintain accuracy.
Troubleshooting and FAQs
Common Issues and Solutions
| Issue | Possible Cause | Solution |
|---|---|---|
| Sensor not detected by Arduino | Incorrect wiring or loose connections | Double-check wiring and ensure secure connections. |
| Fingerprint not recognized | Poor finger placement or dirty sensor | Place finger properly and clean the sensor surface. |
| Communication errors (e.g., timeout) | Incorrect baud rate or damaged cable | Verify baud rate settings and replace damaged cables. |
| Sensor fails to enroll fingerprints | Memory full or poor-quality fingerprint | Clear memory or ensure proper finger placement. |
FAQs
Can I increase the fingerprint storage capacity?
No, the sensor has a fixed capacity of 80 fingerprints.What is the default baud rate of the sensor?
The default baud rate is 9600 bps, but it can be configured to other rates.Can this sensor be used with Raspberry Pi?
Yes, the sensor can be used with Raspberry Pi via UART or USB-to-Serial converters.How do I reset the sensor to factory settings?
Use theemptyDatabase()function from the Adafruit Fingerprint Sensor Library to clear all stored fingerprints.
By following this documentation, you can effectively integrate the DFRobot Capacitive Finger Print Sensor v1.0 into your projects for secure and reliable biometric authentication.