
How to Use Cyberbrick Battery: Examples, Pinouts, and Specs

 Design with Cyberbrick Battery in Cirkit Designer
Introduction
The Cyberbrick Battery is a high-capacity rechargeable battery designed to power a wide range of electronic devices. Known for its durability and long-lasting performance, it is an ideal choice for applications requiring reliable and consistent energy output. Its robust design makes it suitable for use in portable electronics, robotics, IoT devices, and other power-demanding systems.
Explore Projects Built with Cyberbrick Battery
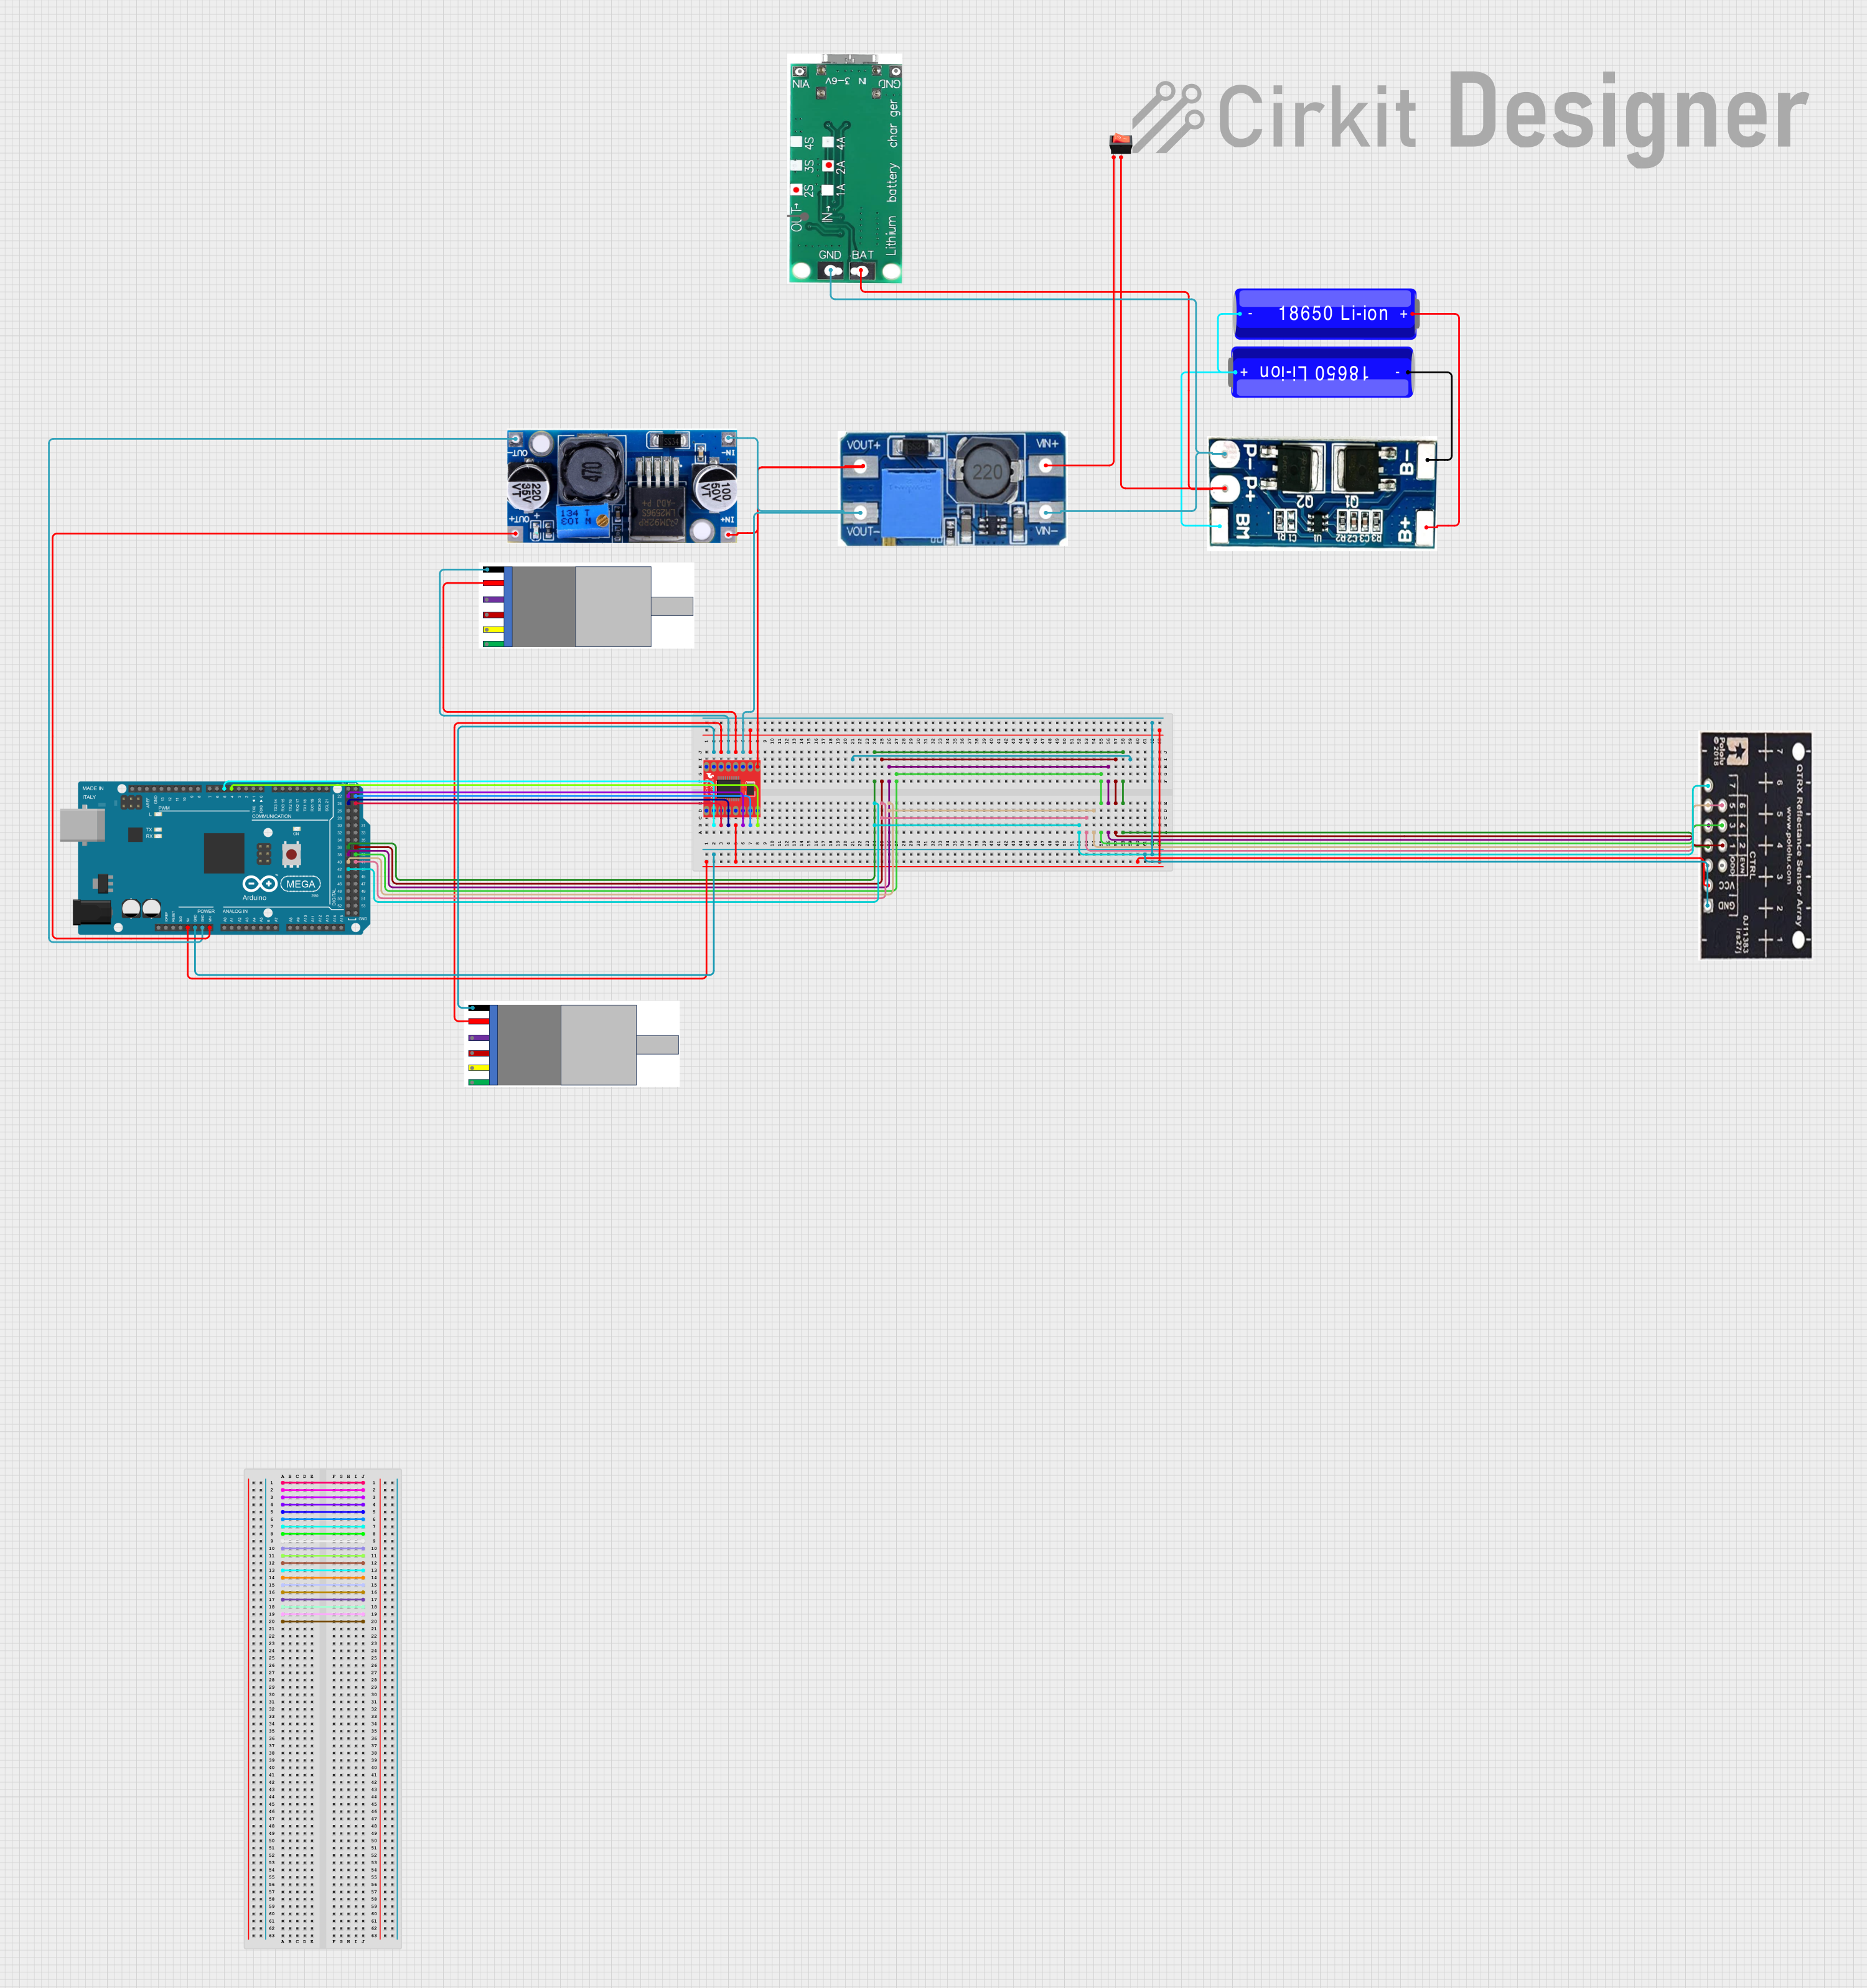 Open Project in Cirkit Designer
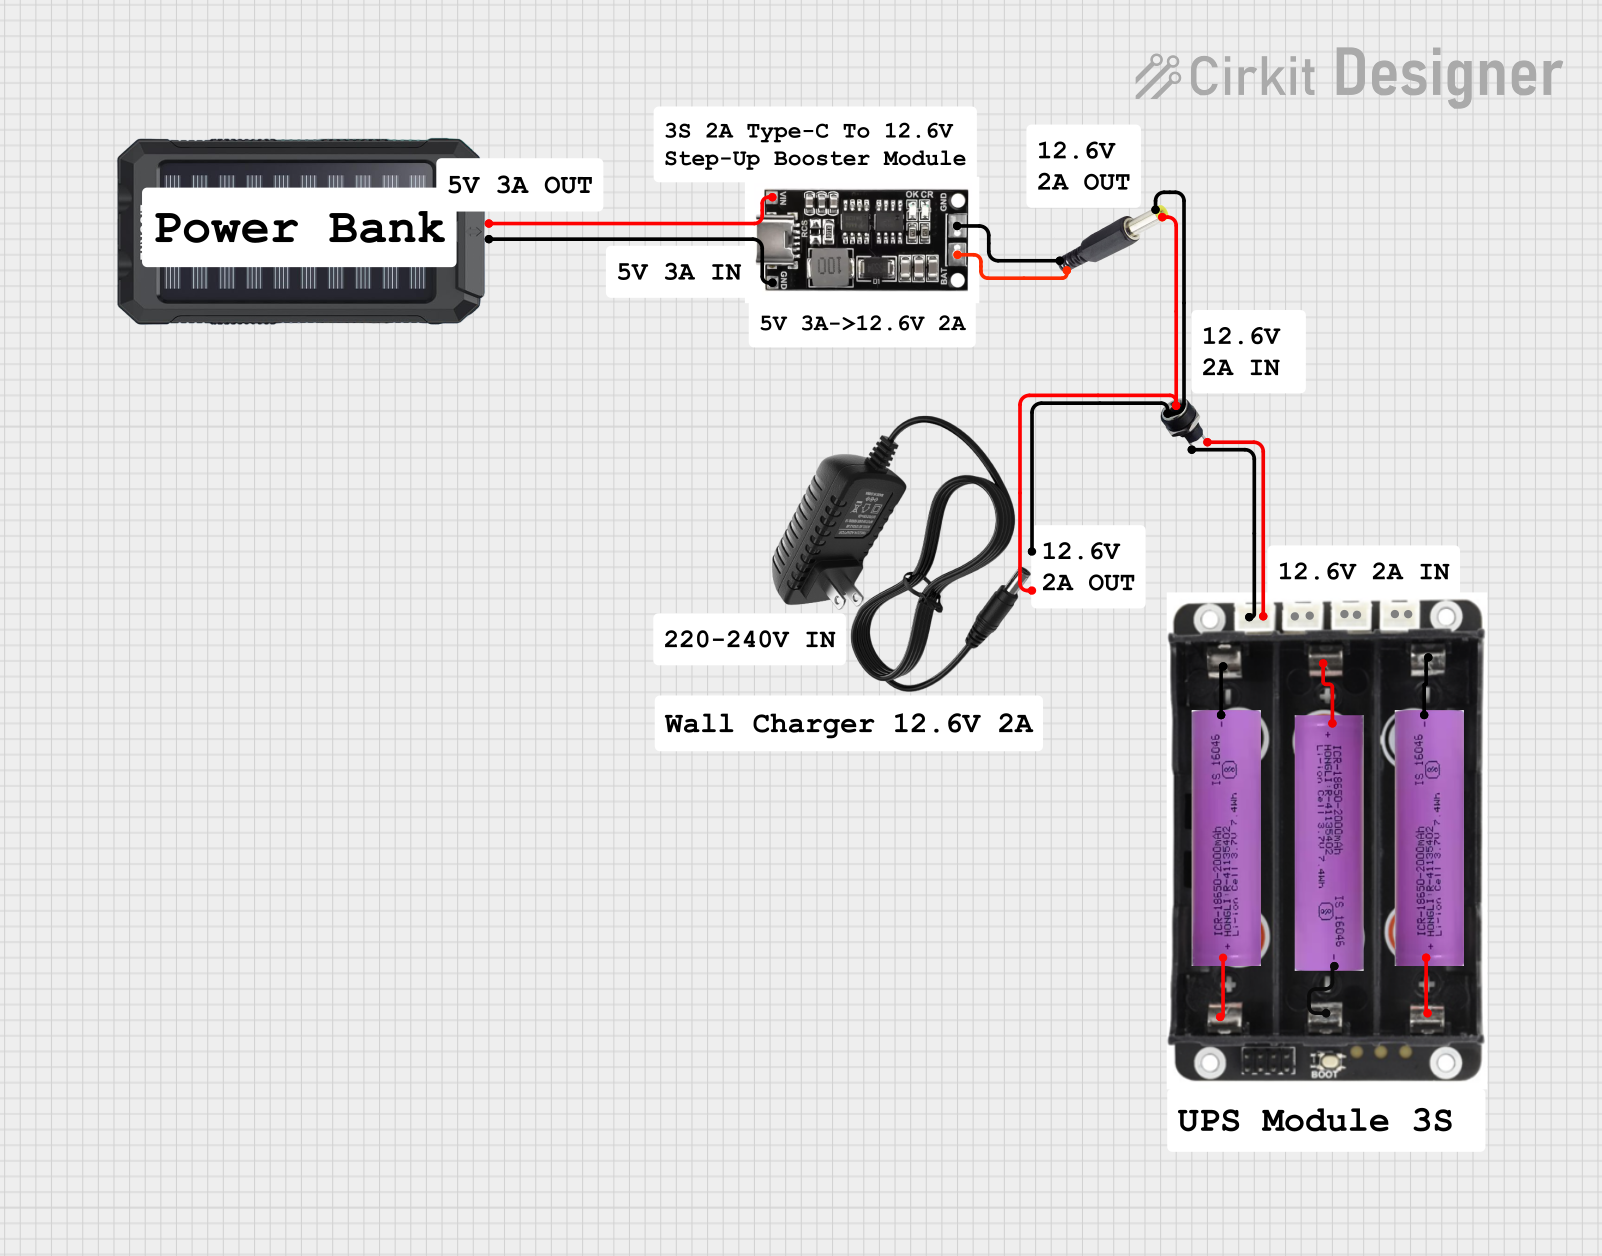 Open Project in Cirkit Designer
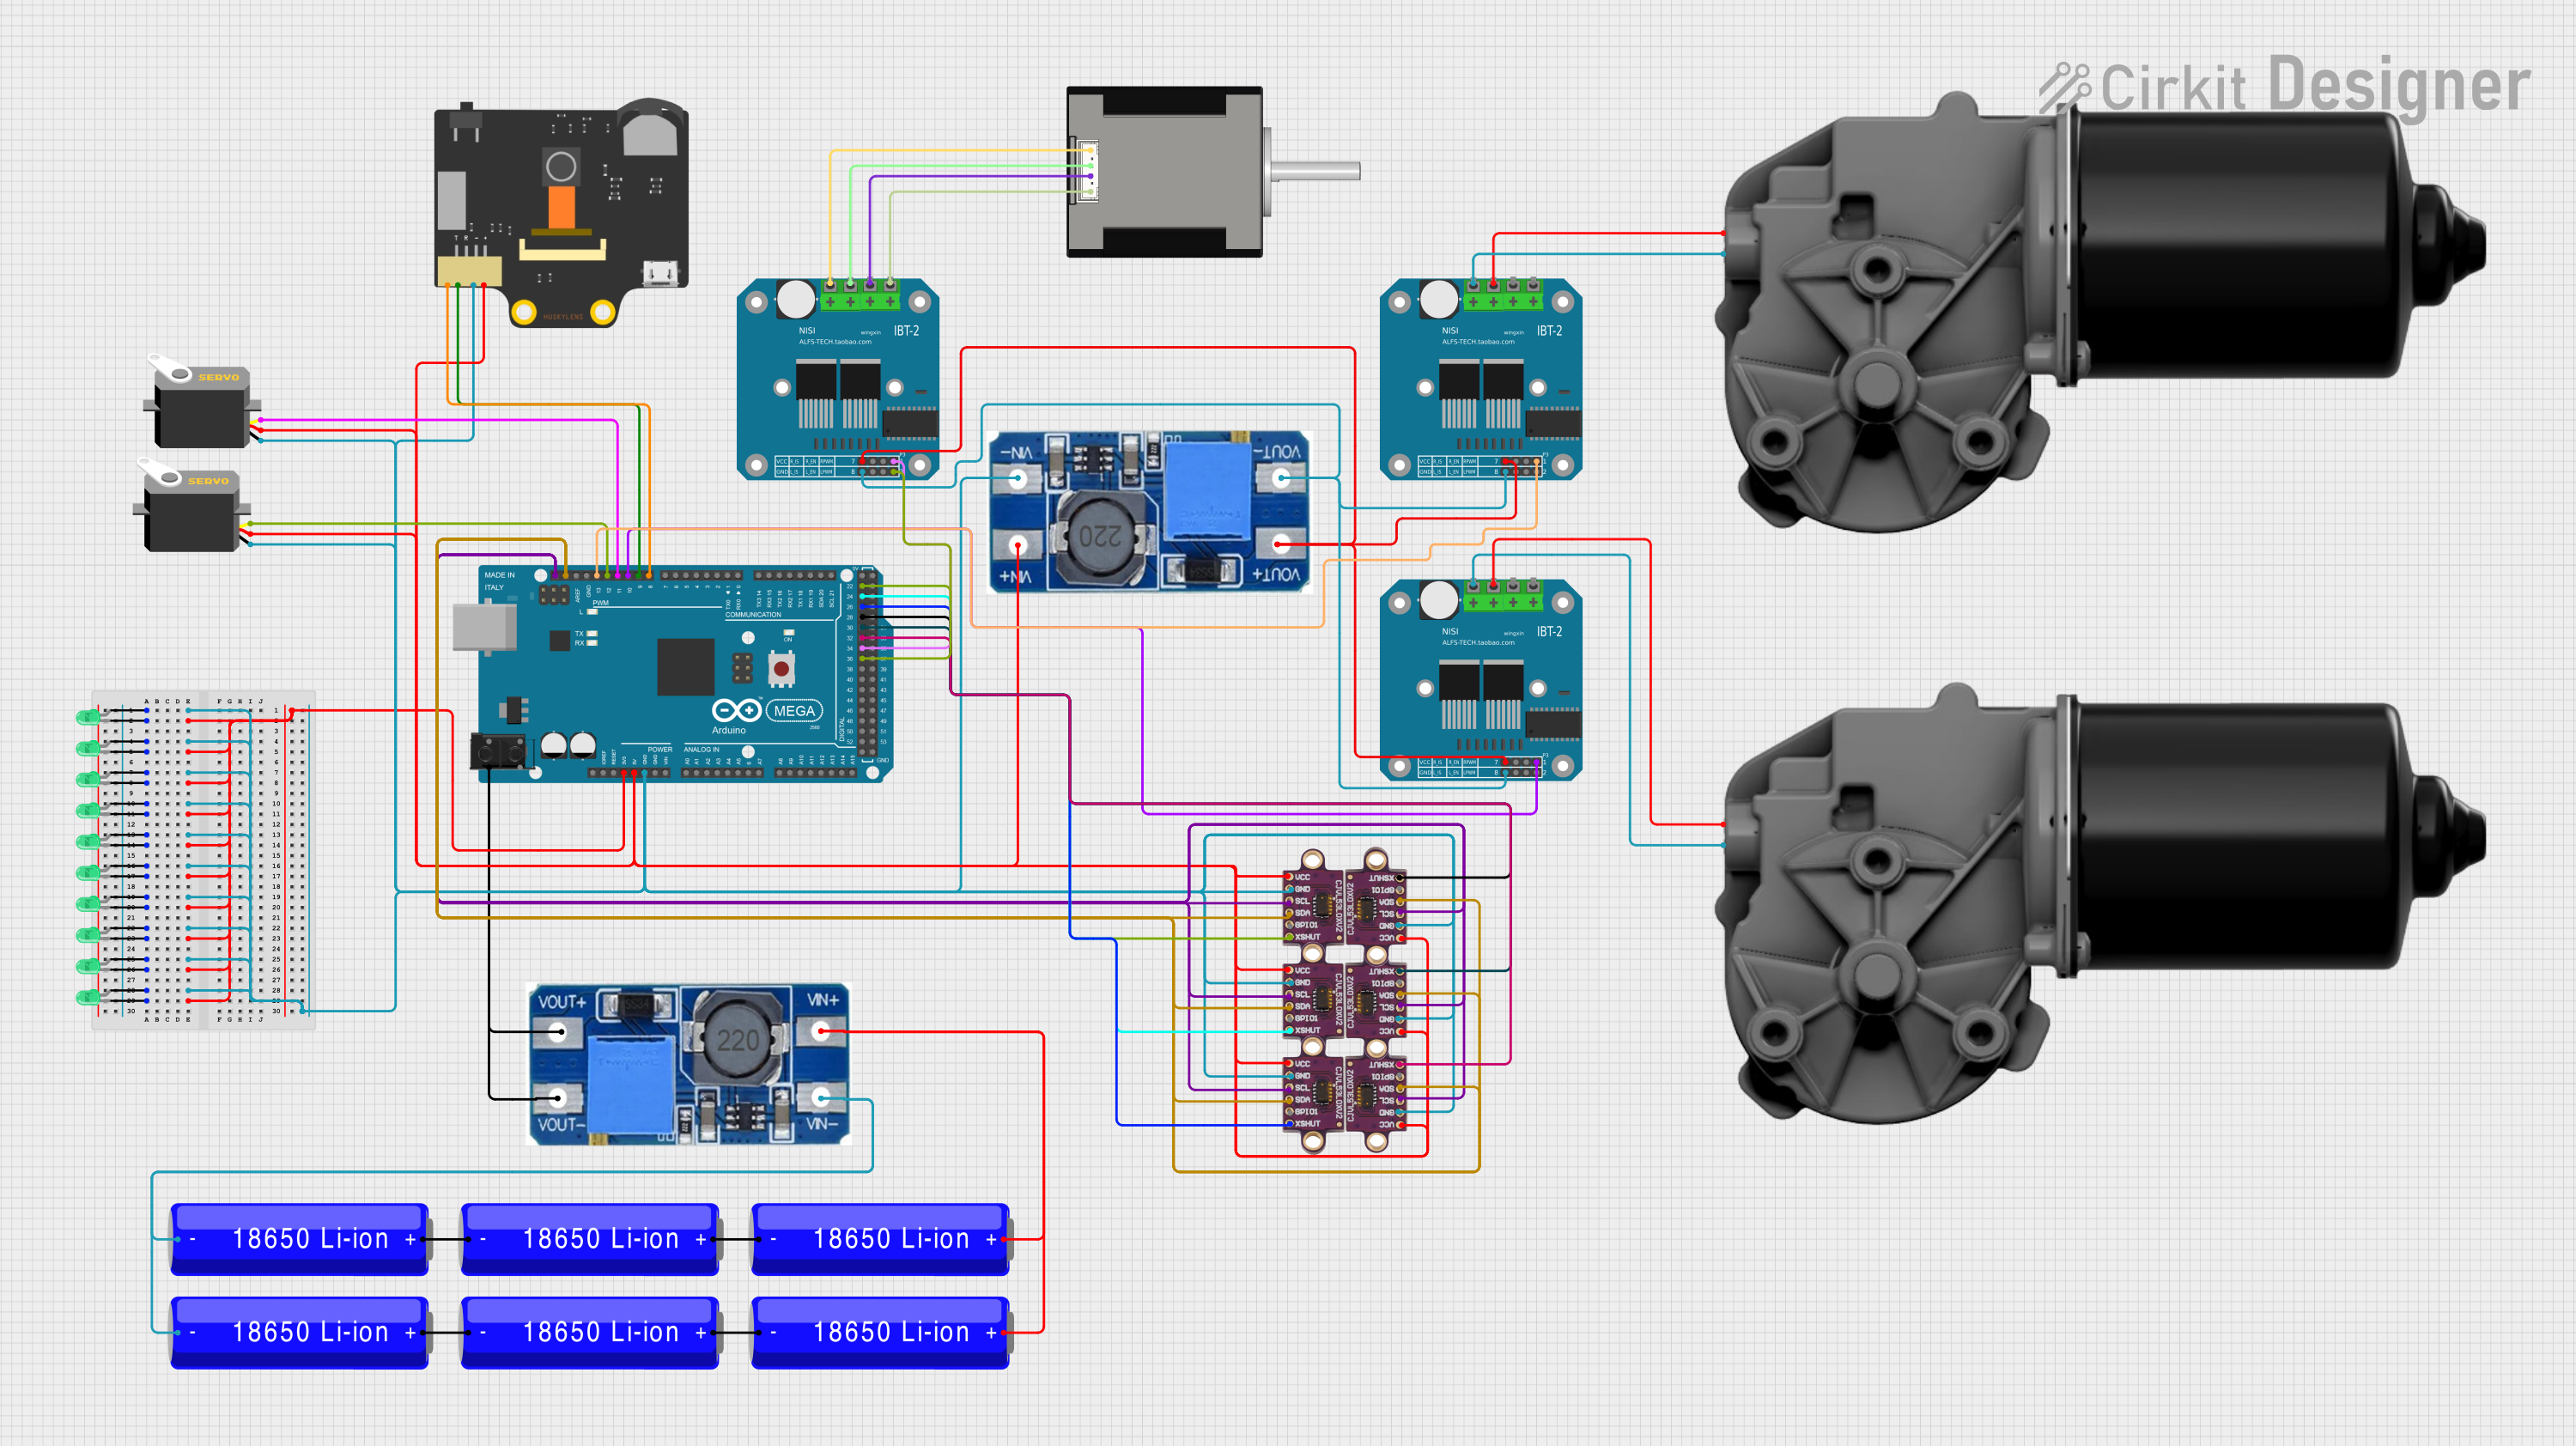 Open Project in Cirkit Designer
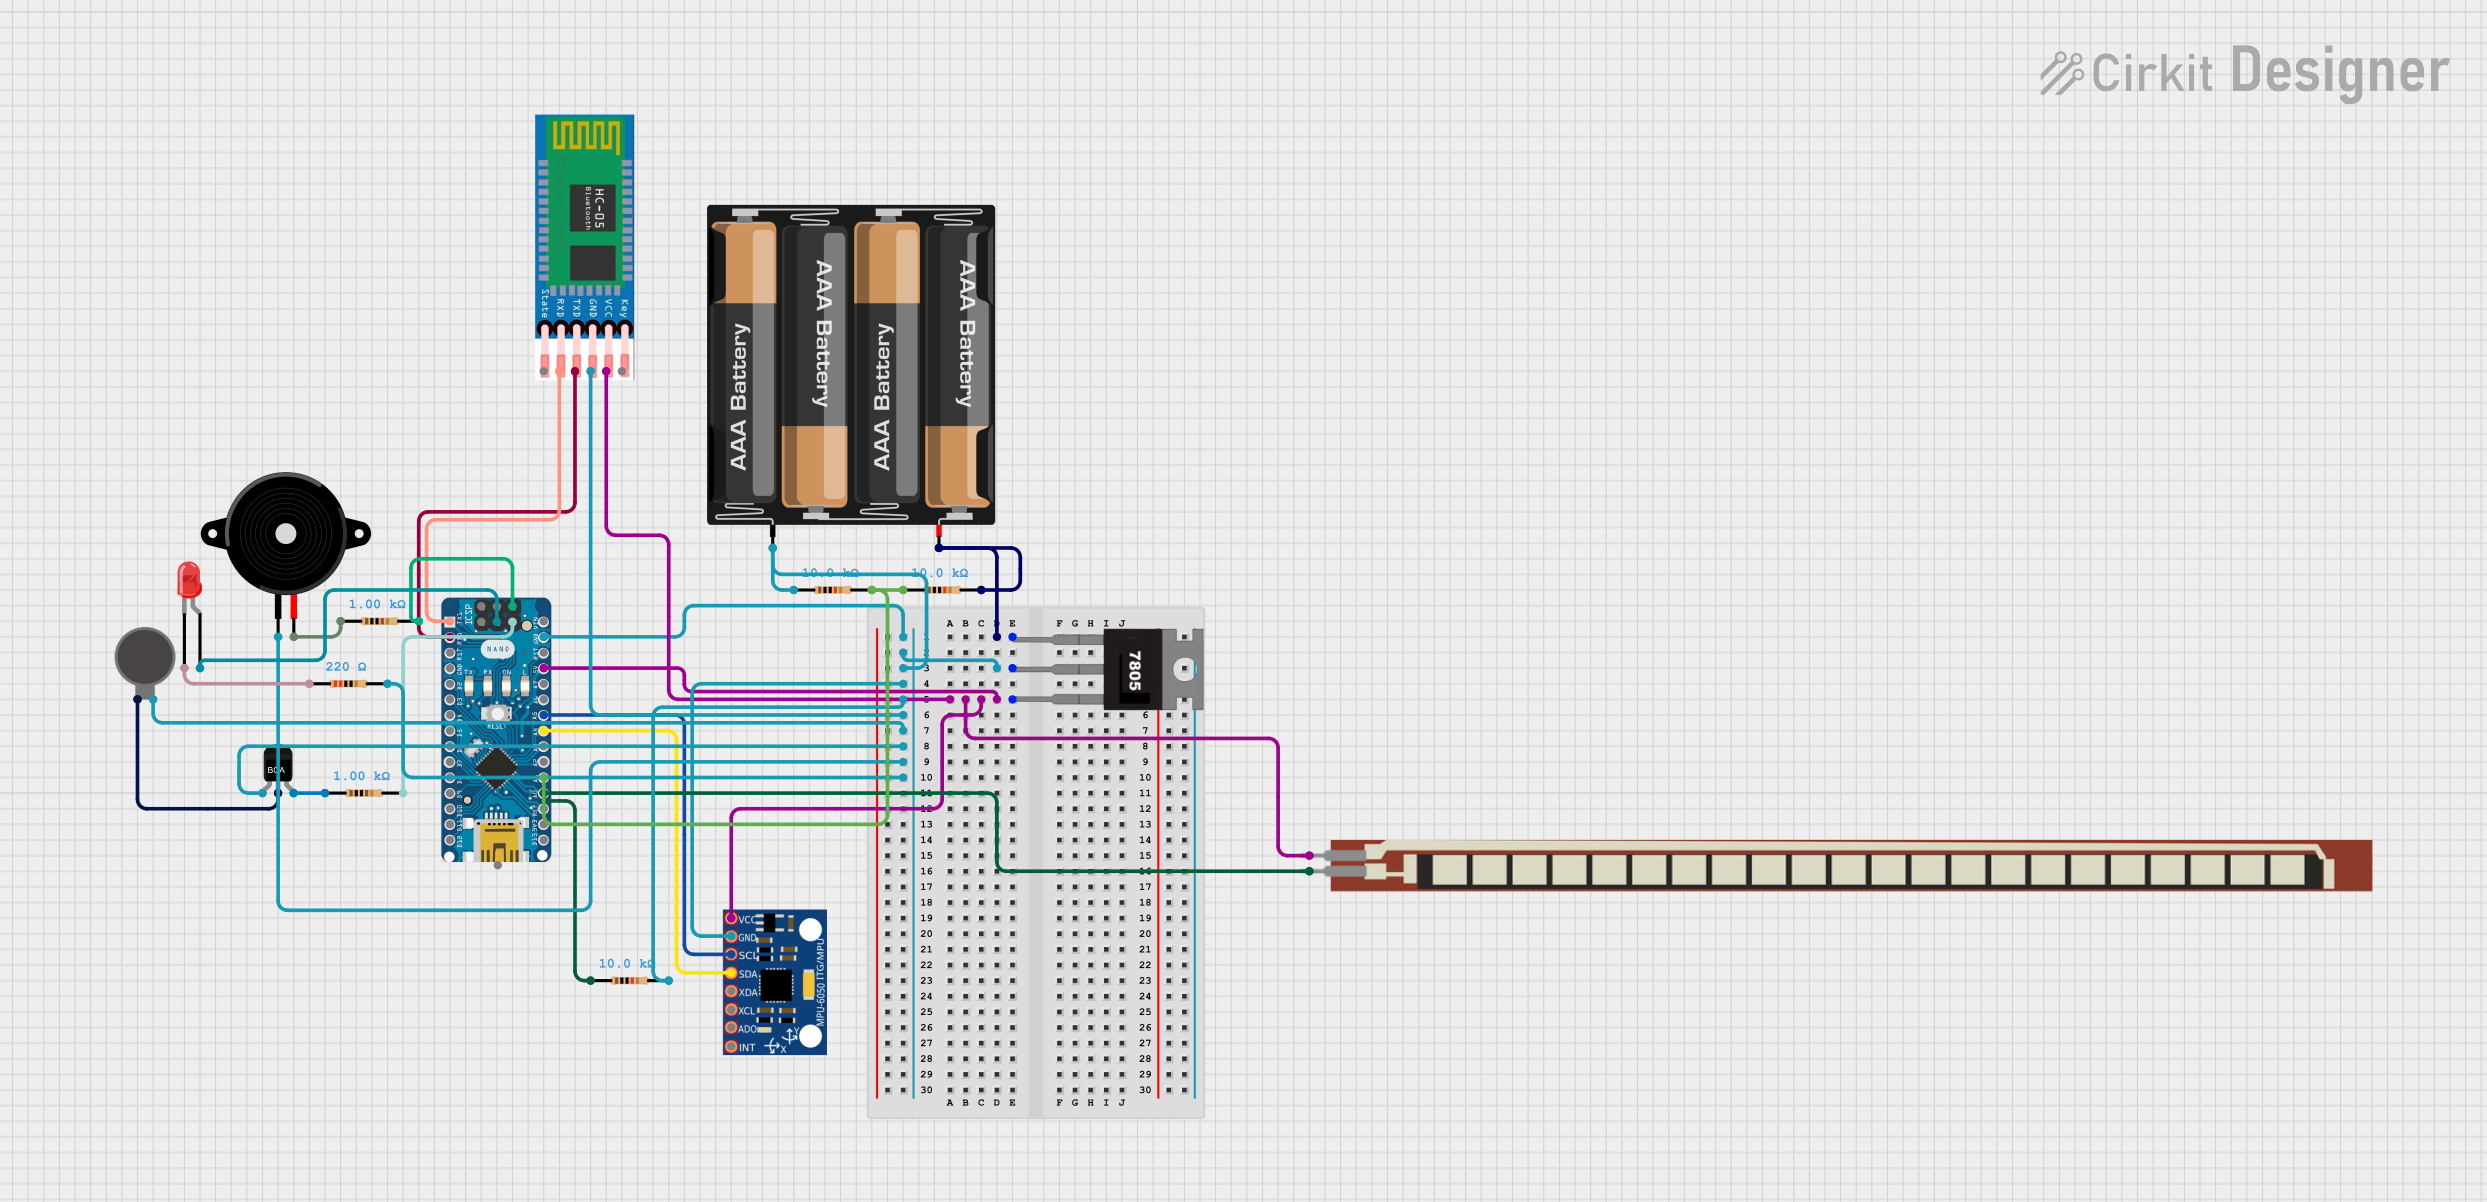 Open Project in Cirkit Designer
Explore Projects Built with Cyberbrick Battery
Open Project in Cirkit DesignerOpen Project in Cirkit DesignerOpen Project in Cirkit DesignerOpen Project in Cirkit DesignerCommon Applications and Use Cases
- Powering portable electronic devices such as handheld tools and gadgets
- Supplying energy to robotics and automation systems
- Backup power for IoT devices and sensors
- Use in DIY electronics projects and prototyping
- Integration with microcontroller platforms like Arduino and Raspberry Pi
Technical Specifications
The Cyberbrick Battery is engineered to deliver optimal performance under various conditions. Below are its key technical specifications:
| Parameter | Value |
|---|---|
| Battery Type | Lithium-Ion (Li-Ion) |
| Nominal Voltage | 3.7V |
| Capacity | 5000mAh |
| Maximum Discharge Rate | 2C (10A) |
| Charging Voltage | 4.2V ± 0.05V |
| Charging Current | Standard: 1A, Max: 2A |
| Operating Temperature | -20°C to 60°C |
| Dimensions | 70mm x 20mm x 20mm |
| Weight | 50g |
| Cycle Life | ≥500 charge/discharge cycles |
Pin Configuration and Descriptions
The Cyberbrick Battery typically comes with two terminals for connection:
| Pin | Label | Description |
|---|---|---|
| 1 | + (Positive) | Positive terminal for power output |
| 2 | - (Negative) | Negative terminal for power output (ground) |
Usage Instructions
How to Use the Cyberbrick Battery in a Circuit
- Connection: Connect the positive terminal (
+) of the battery to the positive rail of your circuit and the negative terminal (-) to the ground rail. - Charging: Use a compatible Li-Ion battery charger with a charging voltage of 4.2V and a current limit of 1A to 2A. Ensure the charger has overcharge protection.
- Load Considerations: Ensure the connected load does not exceed the maximum discharge rate of 10A to prevent overheating or damage.
- Protection Circuit: For added safety, integrate a Battery Management System (BMS) to monitor voltage, current, and temperature.
Important Considerations and Best Practices
- Avoid Overcharging: Do not exceed the recommended charging voltage of 4.2V.
- Prevent Deep Discharge: Avoid discharging the battery below 3.0V to maintain its lifespan.
- Temperature Monitoring: Operate the battery within the specified temperature range (-20°C to 60°C).
- Storage: Store the battery in a cool, dry place when not in use. For long-term storage, maintain a charge level of 40-60%.
- Polarity: Always double-check the polarity before connecting the battery to a circuit to prevent damage.
Example: Using the Cyberbrick Battery with an Arduino UNO
Below is an example of how to power an Arduino UNO using the Cyberbrick Battery:
Circuit Setup
- Connect the positive terminal of the Cyberbrick Battery to the VIN pin of the Arduino UNO.
- Connect the negative terminal of the battery to the GND pin of the Arduino UNO.
Sample Code
// Example code to blink an LED using Arduino UNO powered by Cyberbrick Battery

const int ledPin = 13; // Pin connected to the onboard LED

void setup() {
  pinMode(ledPin, OUTPUT); // Set the LED pin as an output
}

void loop() {
  digitalWrite(ledPin, HIGH); // Turn the LED on
  delay(1000);               // Wait for 1 second
  digitalWrite(ledPin, LOW);  // Turn the LED off
  delay(1000);               // Wait for 1 second
}
Note: Ensure the battery voltage is within the acceptable range for the Arduino UNO (7-12V when connected to VIN).
Troubleshooting and FAQs
Common Issues and Solutions
Battery Not Charging
- Cause: Charger not compatible or faulty.
- Solution: Use a charger designed for Li-Ion batteries with a 4.2V output.
Battery Overheating
- Cause: Exceeding the maximum discharge rate or operating in high temperatures.
- Solution: Reduce the load or ensure proper ventilation.
Shortened Battery Life
- Cause: Frequent deep discharges or overcharging.
- Solution: Use a BMS and avoid discharging below 3.0V or charging above 4.2V.
Device Not Powering On
- Cause: Incorrect polarity or insufficient charge.
- Solution: Verify the connections and charge the battery fully.
FAQs
Q1: Can I use the Cyberbrick Battery to power a motor?
A1: Yes, as long as the motor's current draw does not exceed the battery's maximum discharge rate of 10A.
Q2: How do I know when the battery is fully charged?
A2: Most Li-Ion chargers have an indicator light that turns green when charging is complete.
Q3: Can I connect multiple Cyberbrick Batteries in series or parallel?
A3: Yes, but ensure you use a proper BMS to balance the cells and prevent overcharging or over-discharging.
Q4: Is the Cyberbrick Battery safe for air travel?
A4: Yes, it complies with most airline regulations for Li-Ion batteries, but check with your airline for specific guidelines.
By following these guidelines and best practices, you can maximize the performance and lifespan of your Cyberbrick Battery.